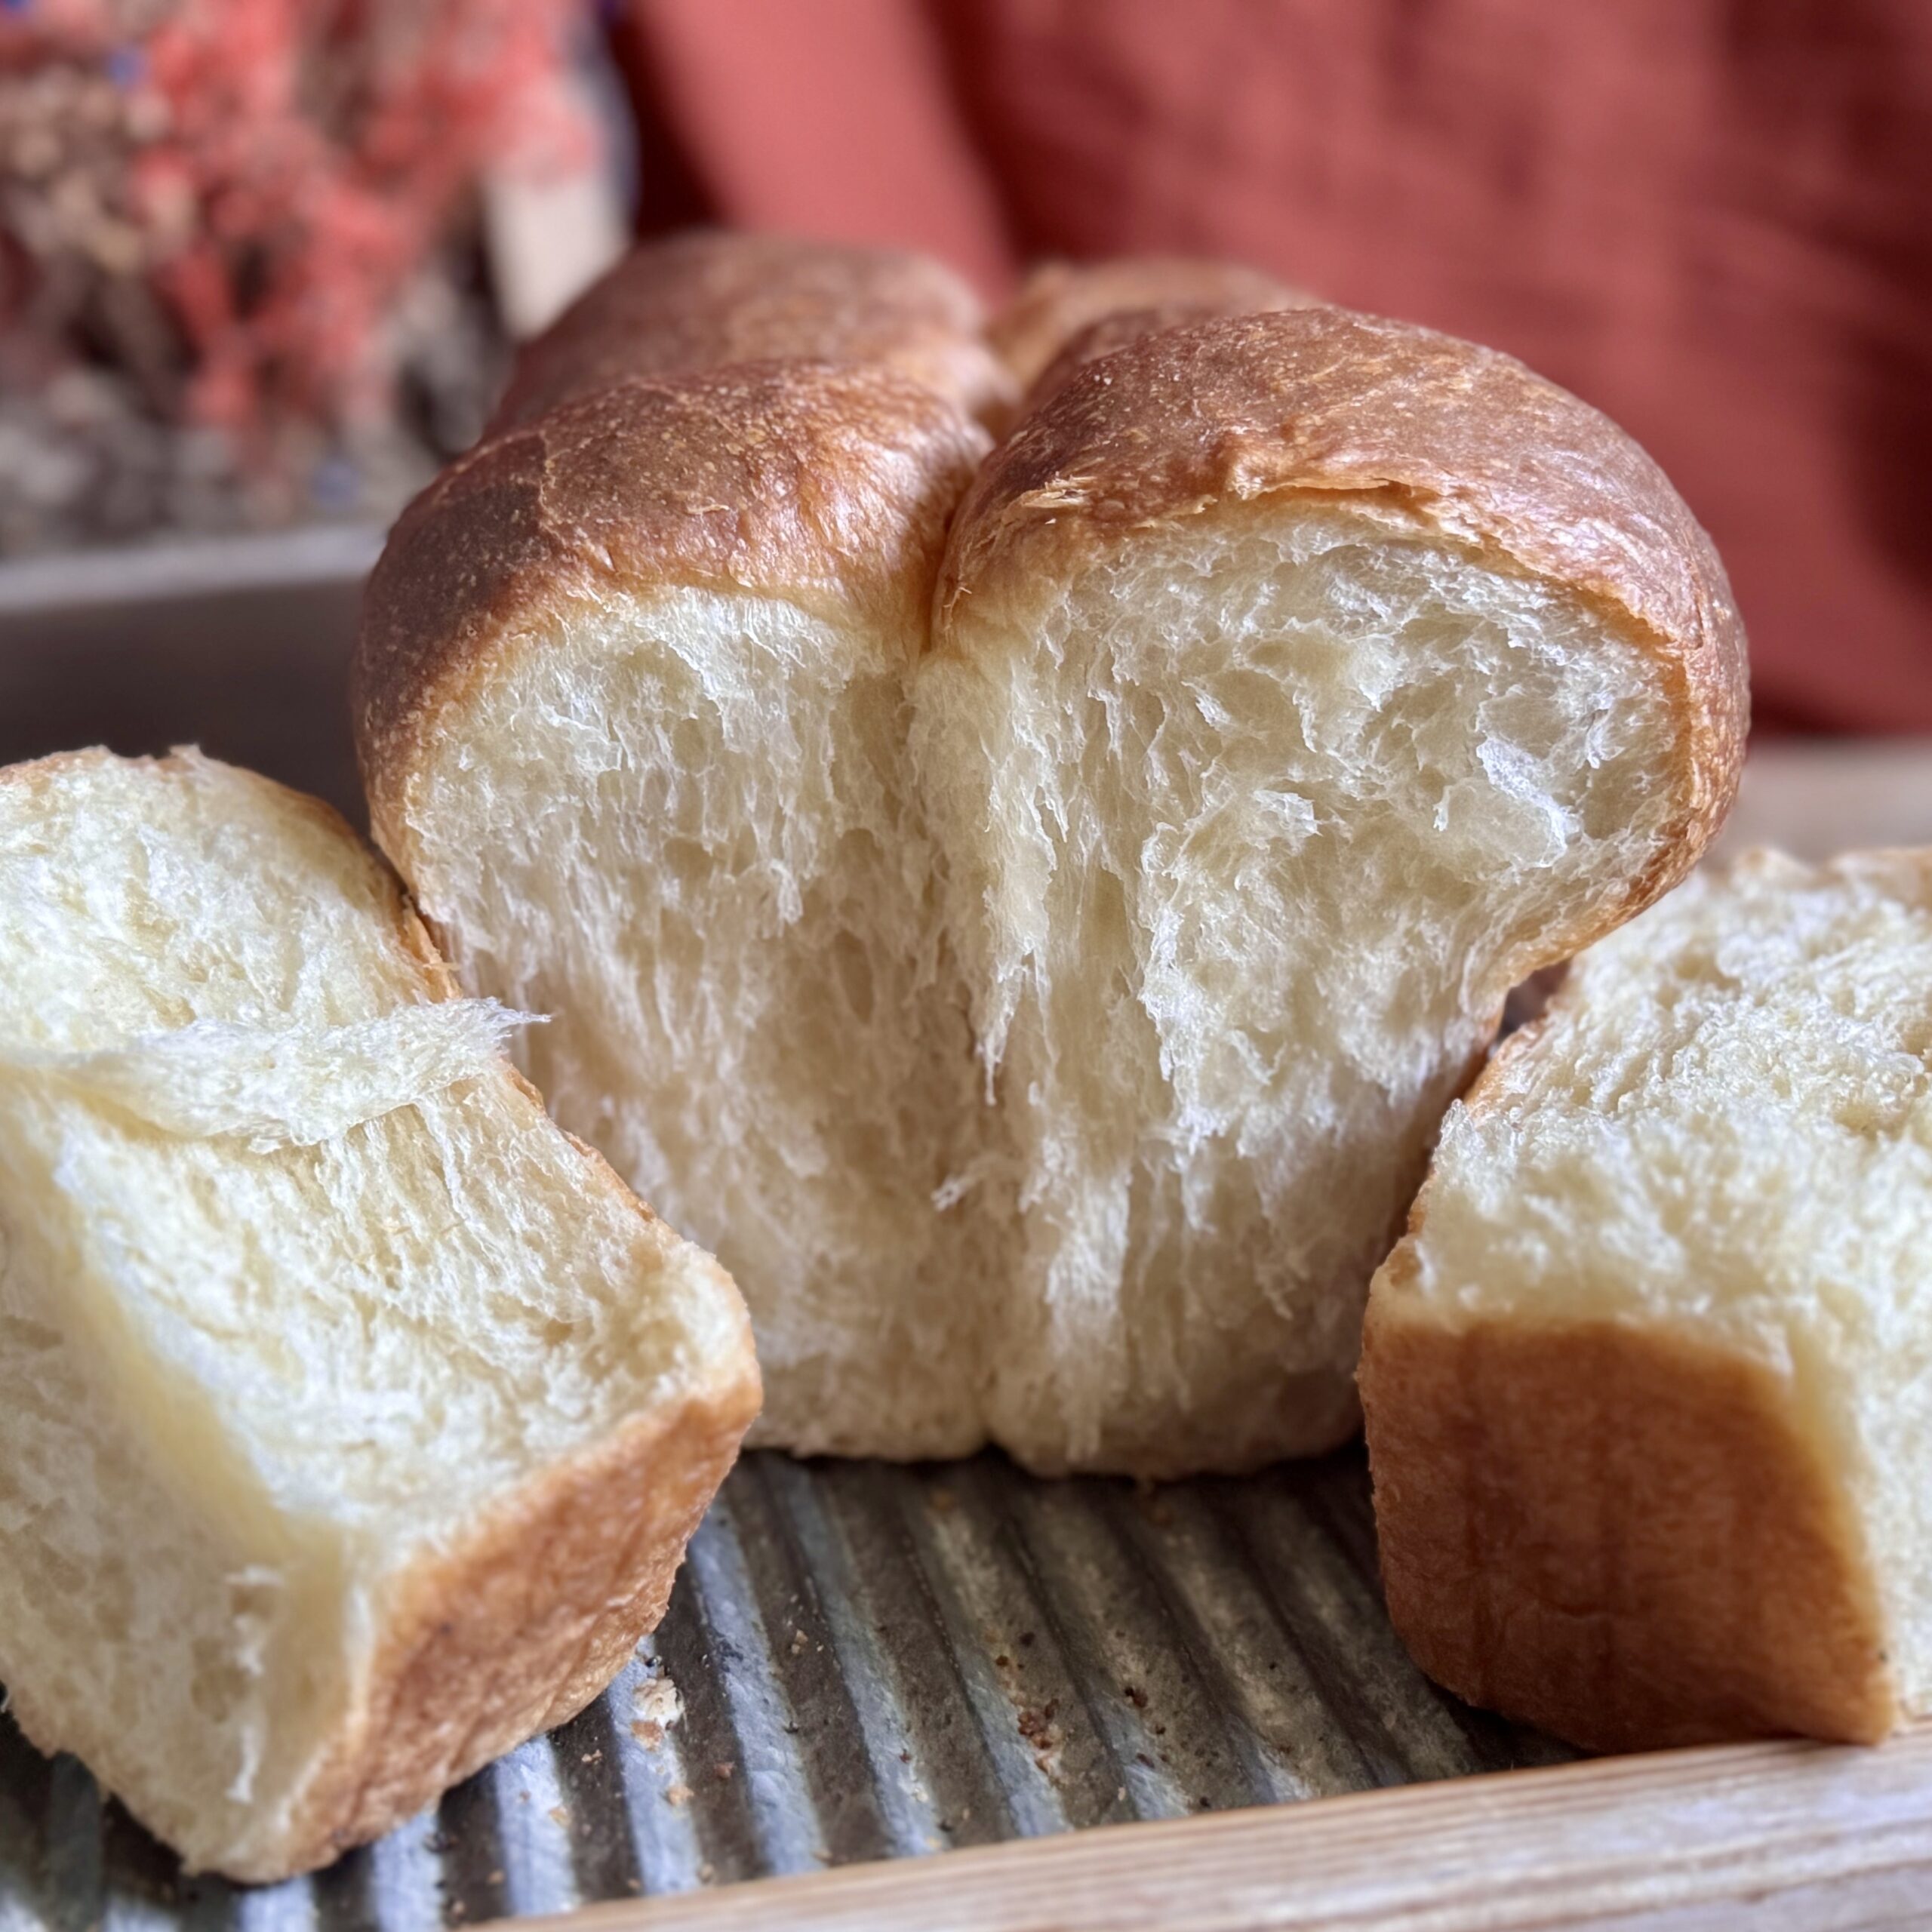
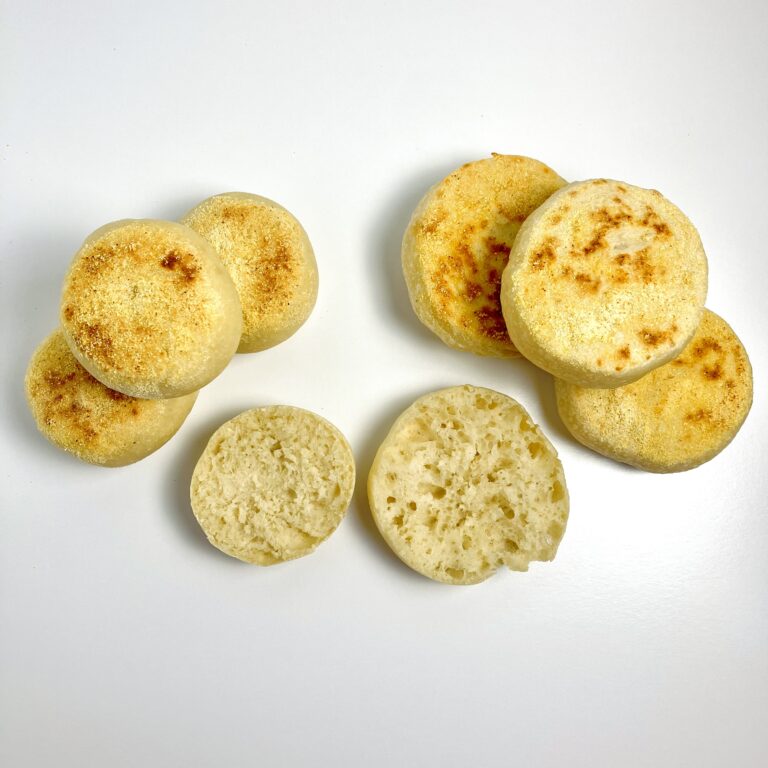
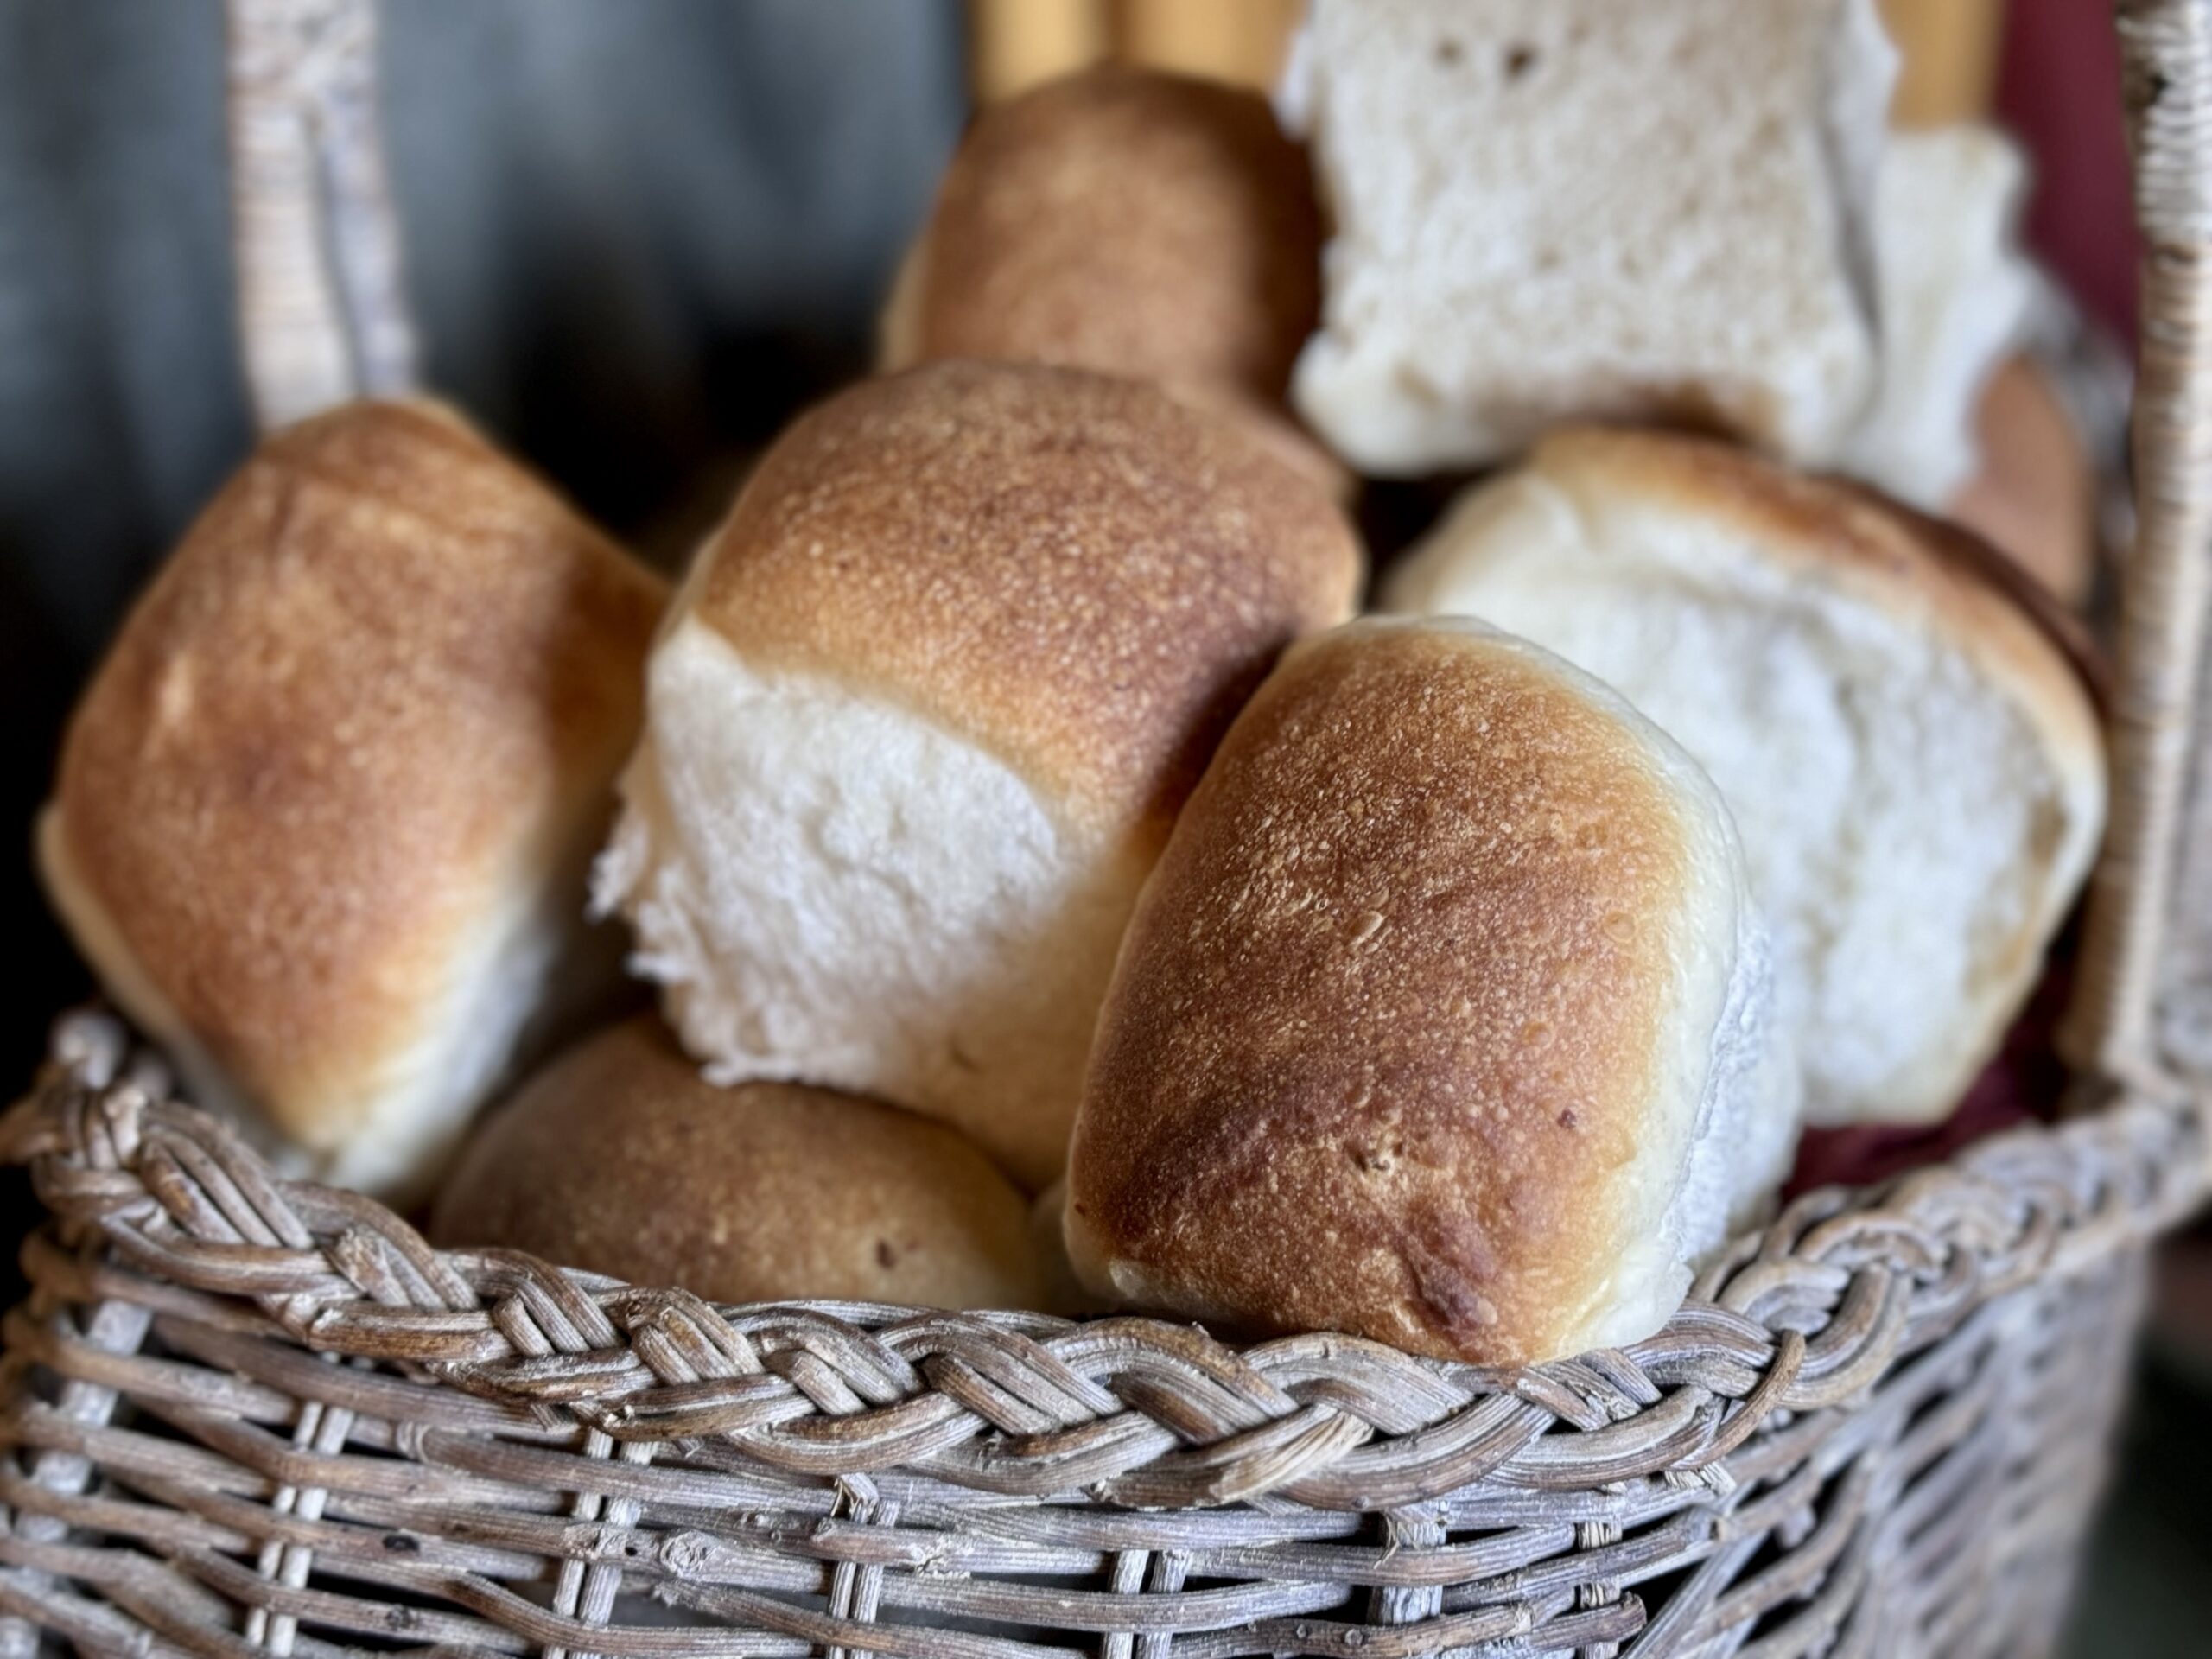
POTATO ROLLS

About This Recipe

It may just be me, but I don’t think you can do anything wrong with a potato. To whoever first decided to add a potato to bread, thank you. Potatoes contain extra starch and retain moisture incredibly well. If you know the benefits of tangzhong, a tool I often use in my dinner rolls, you can only begin to imagine the benefits of potato. Not only does a potato make the rolls softer and increase their shelf life, it adds an incredible lightness and airiness to the rolls. Here’s to a basic dinner roll recipe… with a potato.

All the "why's"

Sweet Stiff Starter

The purpose of a sweet stiff starter is to reduce overall sour flavor in bread. The stiff dough works together with the specific percentage of sugar (around 10%) to effectively feed the yeast and create osmotic stress, which limits the ability of bacteria (whose acidity causes a sour flavor) to reproduce rapidly. Read more about sweet stiff starter here. For these dinner rolls, I felt a sweet stiff starter was necessary in order to help neutralize the flavor. If you are in a pinch, you can use 100 g of 100% hydration liquid starter instead.

Bread Flour

Recently, I’ve become obsessed with gluten, as I have noticed just how much it impacts the dough and the end result. Bread flour contains more gluten-binding proteins that help your dough come together through the gluten development process. This is especially important in this recipe, where extra starches from the potato hinder gluten formation. All-purpose flour only makes it more difficult to achieve the same results. Without gluten, the dough cannot ferment well or rise properly in the oven. As long as the protein content of your flour is above 11.5%, you should be okay. I use King Arthur Bread Flour (protein content 12.7%) for any recipe that calls for bread flour.

Potato

Adding a cooked, mashed potato to bread dough is very similar to adding a tangzhong to bread dough, except a potato also contributes to a lighter and airier texture. The added moisture from the potato delays staling and extends the shelf life, while the starches help trap air, and the sugars increase browning.

During my testing, I discovered that different potatoes affect fermentation differently, due to differences in starch and sugar content. This recipe uses a russet potato, which I found lends a light and airy texture while still allowing the dough to ferment well.

Enrichments: Milk

Originally, I hoped to use only potato water in this recipe to lend the lightest, airiest result. Unfortunately, even with proper fermentation and development, the dough becomes incredibly unmanageable and very hard to handle, due to the excess of starches from the potato. Milk helps to balance this out. The addition of milk adds a subtle sweet and creamy flavor to the rolls, as well as reduces overall stickiness in the dough.

Enrichments: Butter

In this recipe, only four tablespoons of butter, which is a relatively small amount, are added to the dough. This amount, about 11.5%, works to soften the baked rolls, so they do not become crispy in the oven.

Enrichments: Sugar

While the sugar in this recipe does work together with the sweet stiff starter to reduce overall sour flavor, it also works to sweeten the rolls. Only 10-15% sugar is needed to limit bacterial reproduction, but this recipe uses 24%, resulting in a sweeter dough.

Gluten Development

Since the potato hinders gluten formation, it is better to develop the dough completely up front. This will ensure the dough has no issues with fermentation. To make this easy, I use a stand mixer. Knead the dough to a full windowpane before resting. In a pinch, you could also do this by hand. See below for all the ways to develop gluten in your dough.

Bulk fermentation

This bread should at least double in size before shaping. For reference, I use a 3.75 qt Glasslock bowl and let it rise completely to the top. A good fermentation will produce the airiest result.

Cold Bulk fermentation

While you do not have to place this dough in the fridge, I find this optional step helps to make the dough even more manageable during shaping, as well as helps increase flexibility in the baking timeline.

Shaping

This dough is simply divided and shaped into fifteen rounds, perfect for dinner rolls. Because this dough is loose, the rolls support each other in the baking dish, which allows them to hold their shape and rise upward.

Butter Wash

Because of the combination of potato, milk, and sugar (which all help with browning of the rolls), these rolls do not need a wash that will help them darken. Instead, brush the tops with butter to help keep them soft as they bake. You can add even more butter after they are done, if you choose.

Baking Method

400 F helps to give these rolls a nice oven spring, as well as bakes them to a beautiful golden brown color. For this recipe, steam is not necessary, as the dough contains enough moisture and the butter (inside and on top of the dough) works to keep everything soft.

Suggested Baking Timeline

8 AM (Day 1)

+Prepare the potato and the potato water.

8:30 AM (Day 1)

+Mix and strengthen the dough.

9:30-10 AM (Day 1)

+Perform one set of coil folds.

+Bulk ferment the dough to double in size.

5 PM (Day 1)

+Refrigerate the dough overnight.

8 AM (Day 2)

+Divide and shape the rolls

1 PM (Day 2)

+Wash, bake, and enjoy!

Suggested Daytime Baking Timeline

8 AM

+Prepare the potato and the potato water.

8:30 AM

+Mix and strengthen the dough.

9:30-10 AM

+Perform one set of coil folds.

+Bulk ferment the dough to double in size.

4 PM

+Divide and shape the dough into rounds.

7 PM

+Wash, bake, and enjoy!

Suggested Overnight Baking Timeline

8 PM (Day 1)

+Prepare the potato and the potato water.

8:30 PM (Day 1)

+Mix and strengthen the dough.

9:30-10 PM (Day 2)

+Perform one set of coil folds.

+Bulk ferment the dough to double in size.

7 AM (Day 2)

+Divide and shape the dough into rounds.

10 AM (Day 2)

+Wash, bake, and enjoy!

Potato Rolls

Recipe by Caitlin VincentCourse: Lunch, Dinner, Snack, SideDifficulty: Intermediate
Prep time

40

minutes
Resting Time

6-12

hours
Baking Time

30

minutes
Yield

15

rolls

Ingredients

  • Sweet Stiff Starter
  • 40 g water

  • 40 g active starter

  • 80 g all-purpose flour

  • 10 g sugar

  • Dough
  • One, small to medium, russet potato (peeled and diced)

  • Just enough water to cover the potato for boiling (at least 360 g or 1 ½ cups)

  • 120 g sugar (½ cup)

  • 4 tbsp butter (57 g)

  • 120 g cold milk (½ cup)

  • 500 g bread flour (4 cups)

  • 10 g salt (2 ½ tsp)

  • All of the sweet stiff starter

  • Other Ingredients
  • 2 tbsp softened butter, for greasing the casserole dish

  • 2 tbsp melted butter, for washing the rolls

Directions

  • Make a sweet stiff starter. Mix together all ingredients for the sweet stiff starter 8-12 hours before you plan to make the dough. Cover and rest at room temperature.

  • Prepare the potato and potato water. Add the peeled and diced russet potato to a 2 qt saucepan. Pour just enough water into the saucepan to cover the potato (at least 360 g/1 ½ cups, to account for what will evaporate while boiling).

  • Bring to a boil over the stovetop and continue to cook until the potato is fork tender, 10-15 minutes.

  • Make the potato water mixture. Reserve 240 g (1 cup) of potato water for the recipe. Combine this with the sugar (stirring to dissolve), butter, and cold milk. Set aside to cool until the mixture is only slightly warm to the touch, about 100 F (38 C).

  • Mash the potato. Reserve ½ cup (120 g) potato for the recipe. While the potato is still warm, mash it so that no lumps remain. As the potato is worked, it will release starches that change the texture: making it stringy and gummy. For mashed potatoes, this is undesirable, but for these potato rolls, this does not matter. You can use a food processor to make things easy and smooth, or simply mash with a fork (adding some of the potato water mixture as necessary) until no lumps remain.

  • Mix and knead the dough. To the bowl of a stand mixer, add the bread flour and salt. Whisk to combine, then add all of the potato water mixture, mashed potato, and sweet stiff starter. Transfer to your stand mixer to knead the dough.

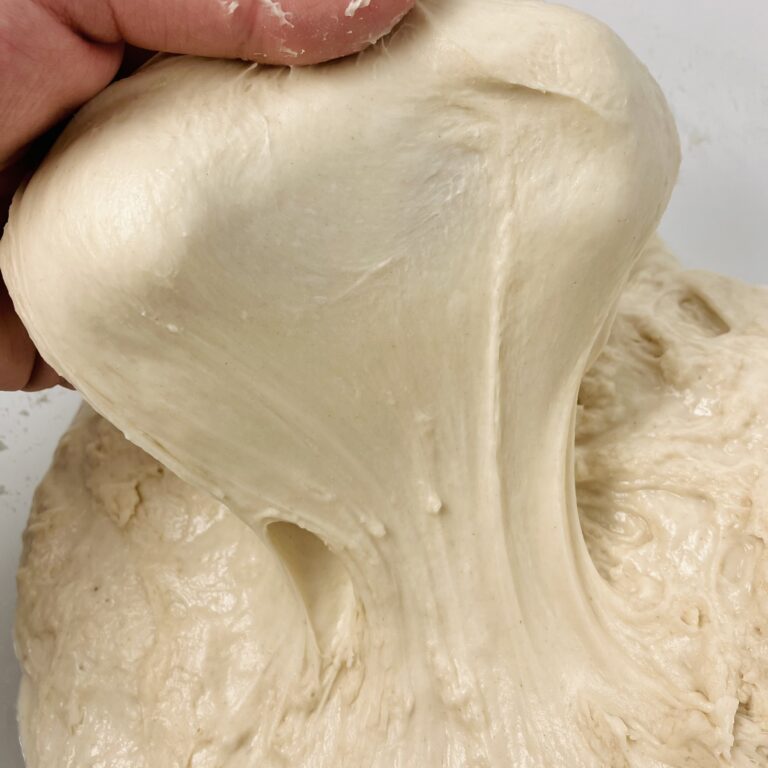
    • KitchenAid: Using the dough hook attachment, knead the dough on a medium speed (speed 5-6) until the dough begins to “slap” the sides of the bowl and passes a windowpane test, about 15 minutes. Take care that the mixer does not “jump” off the counter as the dough gets stronger.
    • Ankarsrum: Using the dough roller and scraper attachments, knead the dough on a medium speed (speed 5-6) until the dough comes together into a smooth ball and passes a windowpane test. This should take about 15 minutes if the roller is positioned correctly, about one inch from the side of the bowl. The roller should be close enough to the side of the bowl that it is able to work the dough up against it, but far enough away that the dough is not pushed upward, or that the dough does not push the roller too far inward.
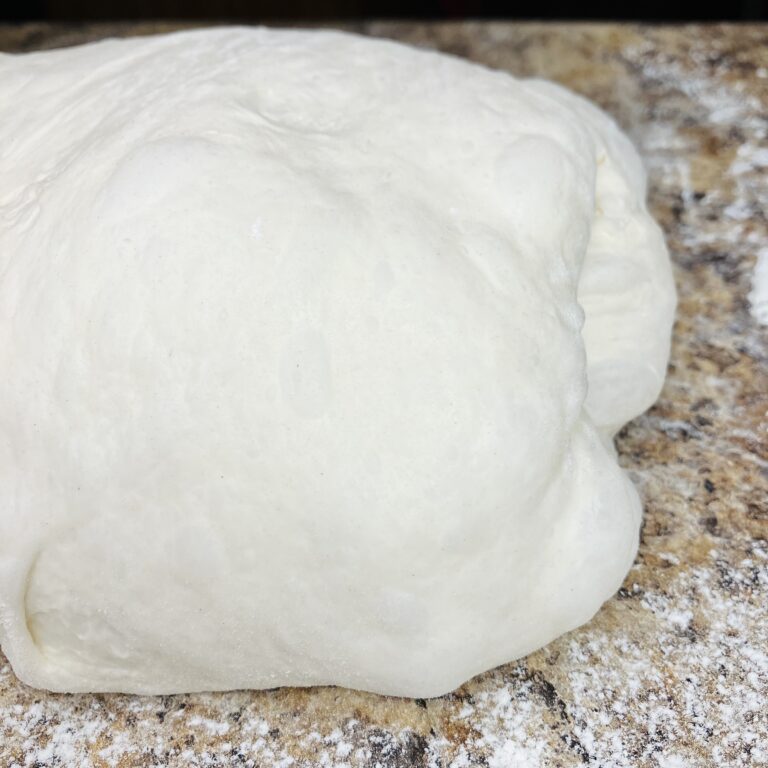
  • Once the dough has finished kneading, bring it together using the coil fold technique. Then, transfer to a 3.75 qt bowl for bulk fermentation.

  • Fold the dough. This dough needs one set of folds before resting for the remainder of bulk fermentation/doubling in size. Fold the dough once at least twenty minutes, but no longer than one hour, into bulk fermentation. (Use the shorter time if fermenting temperatures are higher and the longer time if fermenting temperatures are cooler.)

  • Bulk ferment the dough. Let the dough rest until it has doubled in size, or until it reaches the top of a 3.75 qt bowl. If you are fermenting in a warm environment and plan on utilizing the refrigerator, you can stop fermentation right at double in size, as the dough will continue to ferment in the refrigerator.

  • At this point, you can refrigerate the dough until the next day, or shape it right away. This is a sticky dough, meaning it is easier to shape from cold.

  • Divide and shape the dough. Butter or grease a 9X13 baking dish. Divide the dough into fifteen sections, about 80-85g each. Shape each section into a round by tucking all ends underneath each section, then using your bench scraper (or your pinkies) and the counter to pull the round toward you to tighten the outer skin. Place the shaped rolls, seam side down, in your baking dish.

  • Final proof. Cover and rest until very puffy and almost touching the covering, about six hours at 70 F (21 C).

  • Preheat an oven to 400 F (205 C).

  • Wash the rolls. Gently brush the rolls all over with 2 tbsp melted butter.

  • Bake the rolls for 30 minutes, or until the internal temperature reaches 190 F (88 C).

  • Enjoy!

  • How to store: These rolls are best stored on the counter for three to five days. 

    To reheat: Microwave until warmed through, about 20 seconds.

Watch the Video

Notes

  • You can save the extra potato water and potato in the fridge for another batch. To work with cold ingredients, heat the potato water on the stovetop with the milk, butter, and sugar until the mixture reaches 90-100 F (32-38 C). Warm the potato in the microwave until slightly warm to the touch, 30-60 seconds.
  • Alternatives for the potato: (note that each alternative will have a slightly different flavor and texture) 1) Use 25 g (⅓ cup) potato flakes stirred into 120 g (½ cup) hot water in place of the potato. 2) Use ½ cup leftover, prepared mashed potatoes in place of the potato. 3) Use 180 g (¾ cup) milk + 180 g (¾ cup) water in place of the potato water + milk in the recipe.

Join the email list

Join the email list to be notified when a new recipe or blog post comes out. No spam, just sourdough. Unsubscribe at any time.

Recent Recipes

IMG_6241
BLUEBERRY CREAM CHEESE BIALY
An artisan-style bread with a pop of sweet blueberry filling, enhanced with a lemon glaze.
View Recipe
Hawaiian Focaccia
HAWAIIAN FOCACCIA
Inspired by King's Hawaiian Ham and Swiss Sliders.
View Recipe
Jalapeno Popper Bialy
JALAPENO POPPER BIALY
Jalapeños, bacon, and cream cheese mesh with bialy top make this delectable treat.
View Recipe
Hummingbird Bread
HUMMINGBIRD BREAD
Finally! A banana bread recipe without chocolate. Bananas, pineapple, pecans, and coconut come together to make this delicious treat.
View Recipe

Recent POSTS

strong bread dough after shaping
GLUTEN DEVELOPMENT
What if I told you that bulk fermentation may not be your issue? Let's discuss gluten - a very important component to your bread! Learn how to achieve beautiful, tall, well-structured...
Read More
milk versus water English muffins
MILK VERSUS WATER IN ENGLISH MUFFINS
The liquid in an English muffin has a greater effect on the dough and end result than you may realize. Milk is a popular choice, but does it actually help achieve those nooks and c...
Read More
Autolysed bread dough
AUTOLYSE
What is autolyse? How does it affect the dough and final bake? And, is it the open-crumb secret?
Read More
IMG_8089
USING WHEY IN SOURDOUGH BAKING
Can whey be used in bread making? Absolutely! Learn more about they types of whey and how to use them in your sourdough journey.
Read More

Leave a Comment

Your email address will not be published. Required fields are marked *