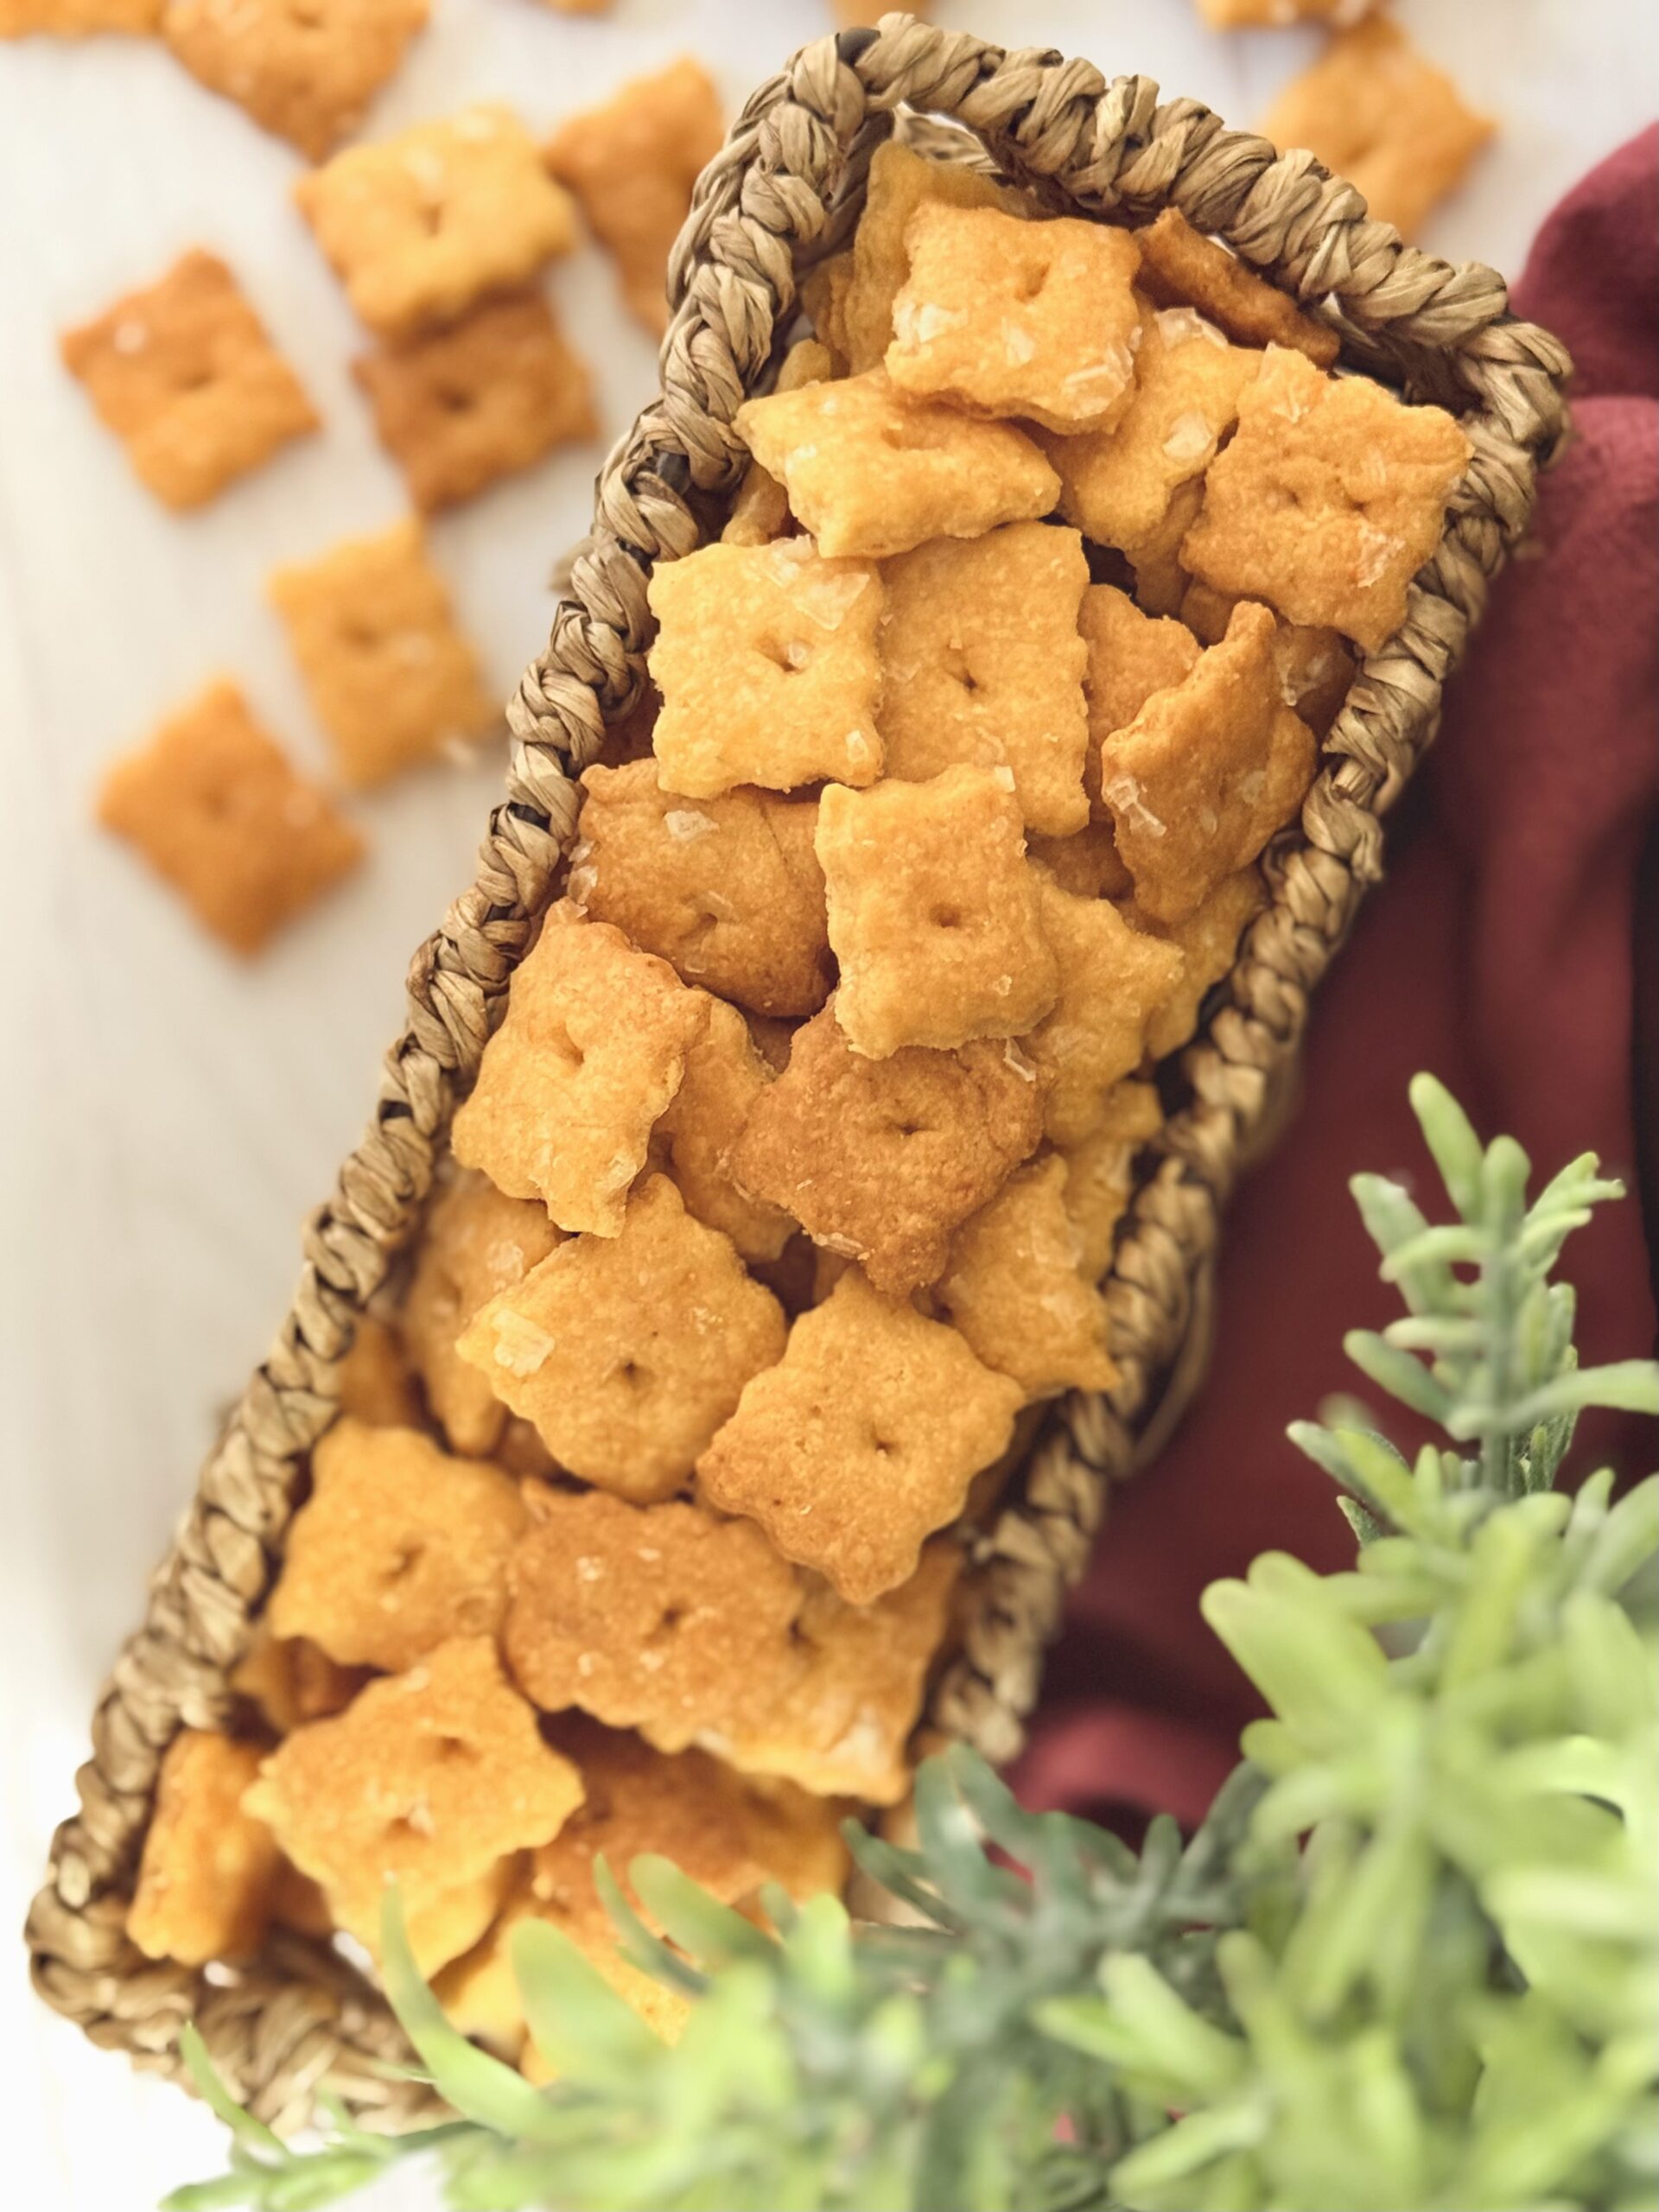
About This Recipe
Let’s be real: Cheez-Its are dangerously snackable. But what if you could make a homemade version that’s even better and uses some of your ever-faithful jar of sourdough discard? These crackers check all the boxes: easy to make, packed with sharp cheddar flavor, and totally addictive. My kids are absolutely obsessed (like, hide-the-container obsessed), so I know I’ve hit on something special. When the snack that disappears fastest in the house also uses up sourdough discard? That’s what I call a win-win.
What Are Cheez-Its?
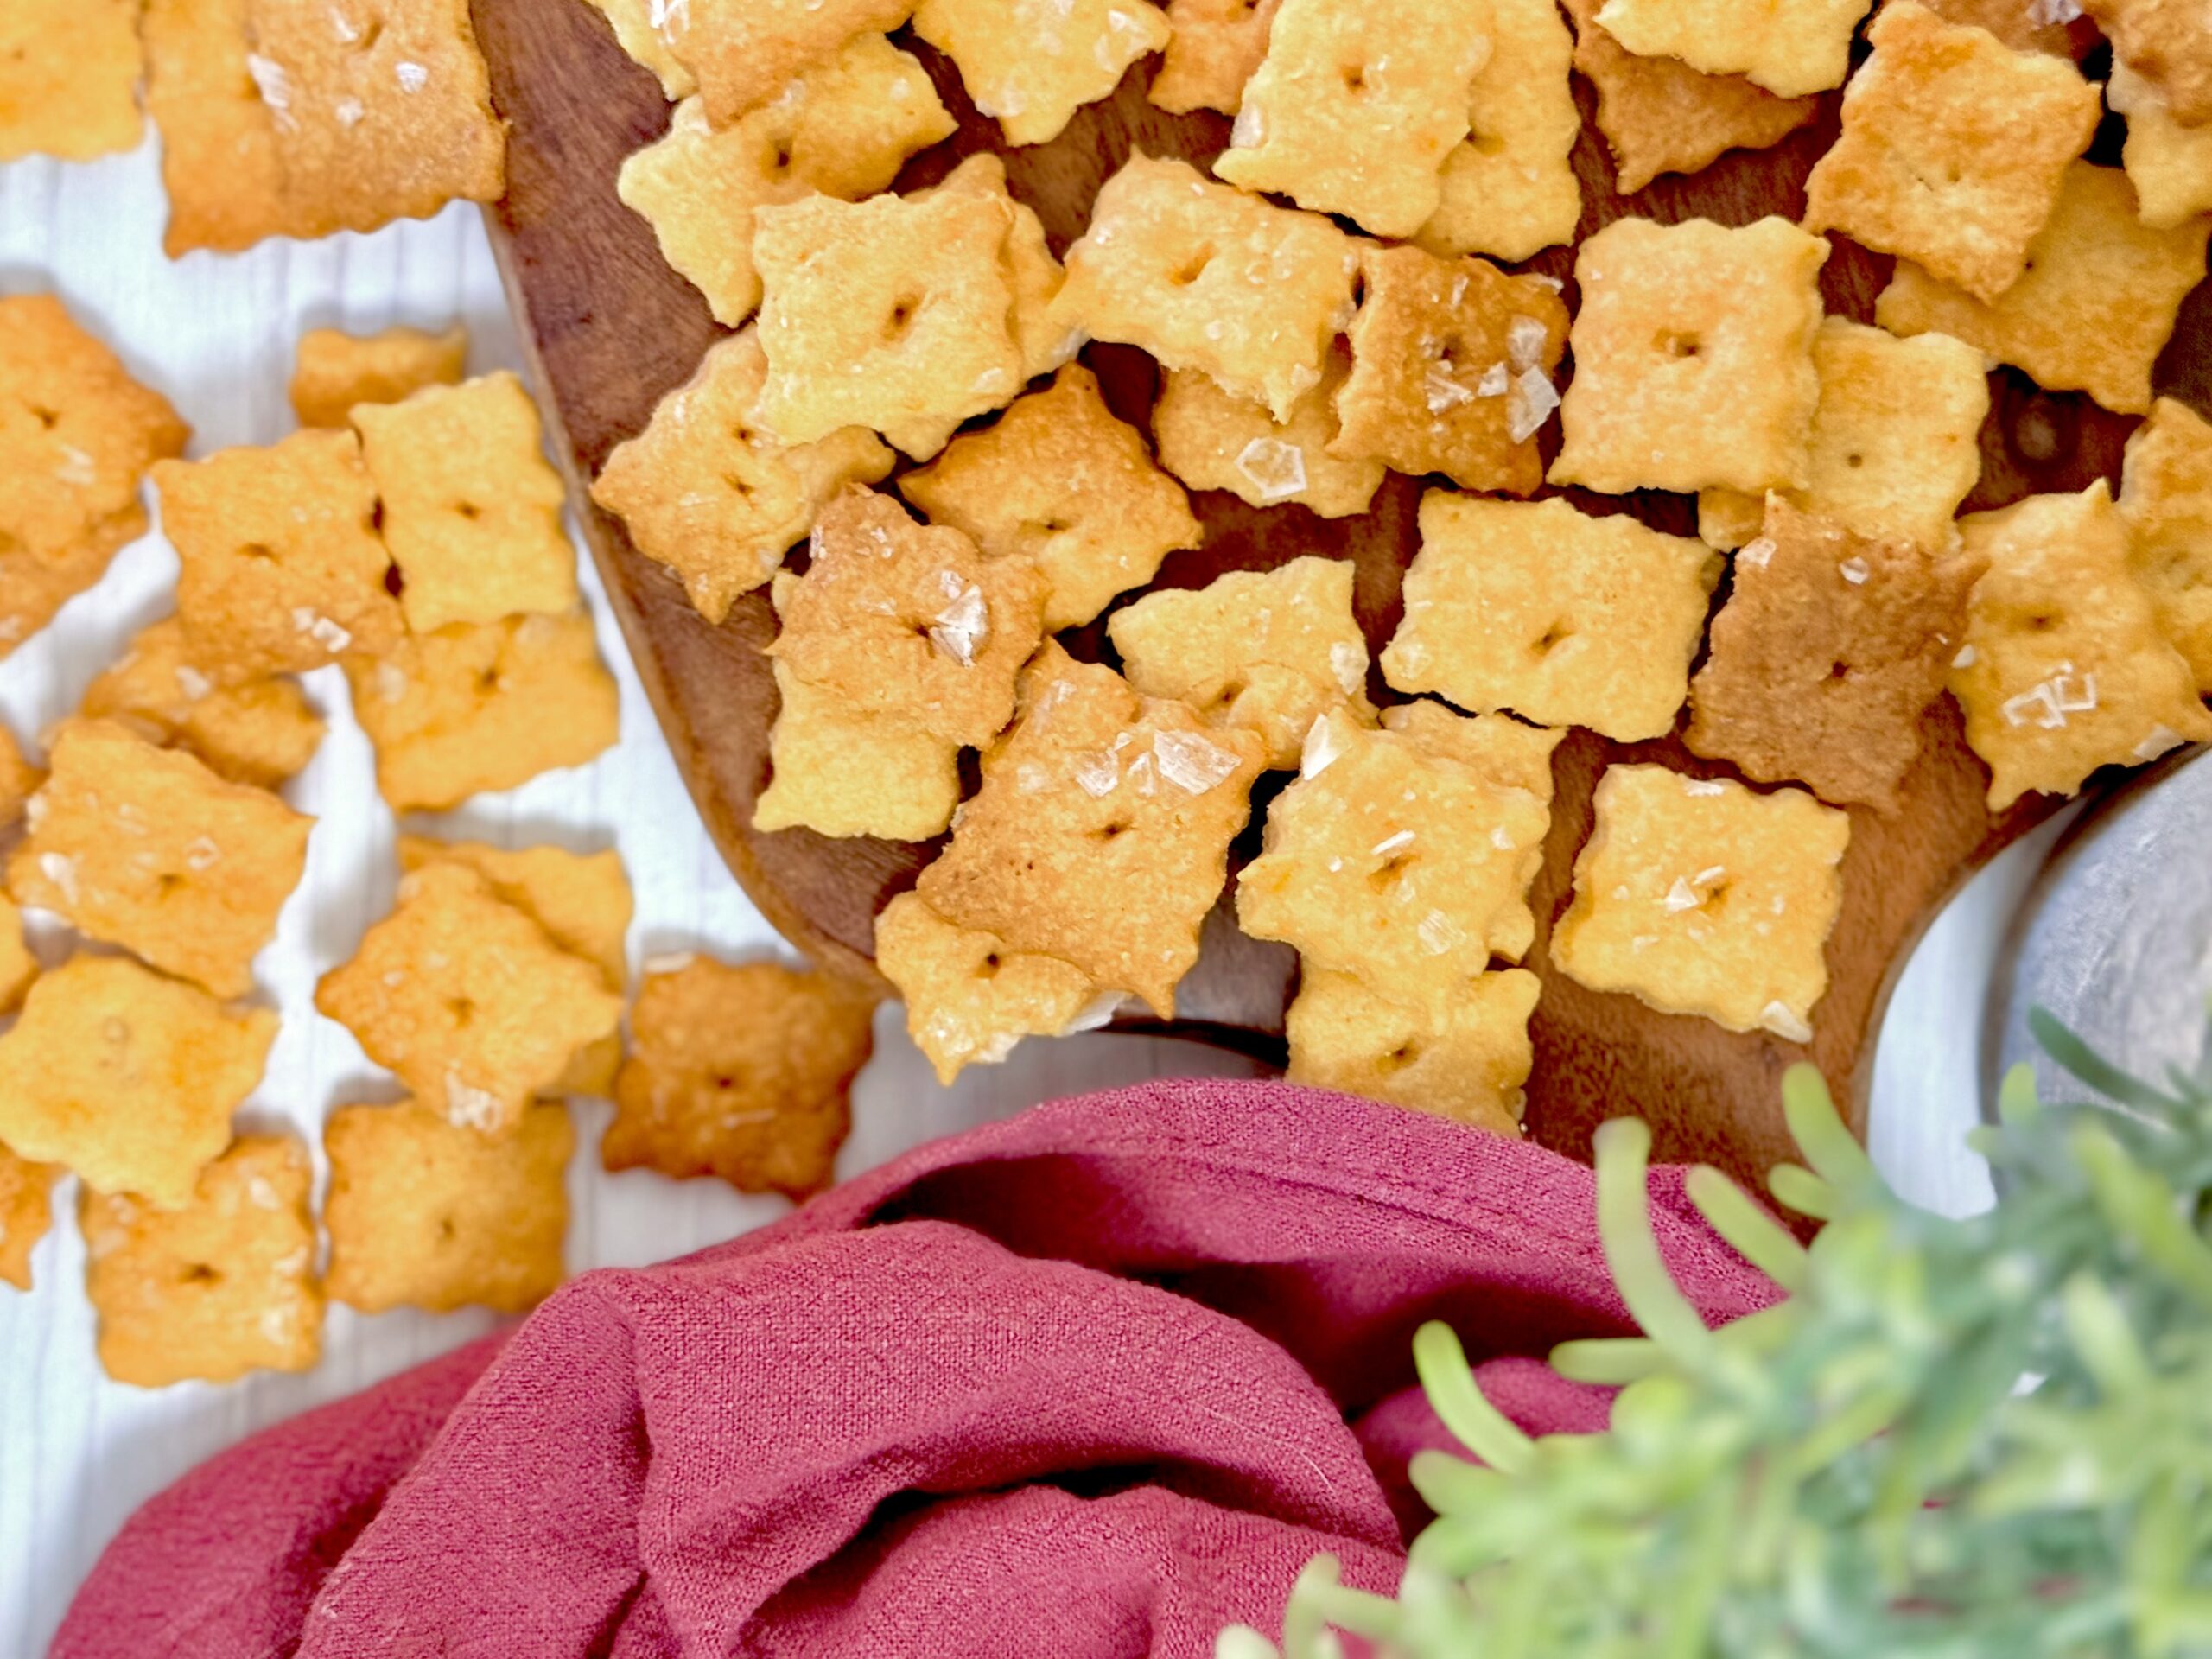
If you don’t now what Cheez-It’s are, you probably aren’t American. These iconic orange squares have been a stable in US lunchboxes an snack drawers for over a century. Cheez-Its are small, crispy crackers made with real cheese (typically sharp cheddar) and baked until perfectly golden and salty. They’re known for their addictively crunchy texture, signature ridged edges, and just the right hit of umami-rich cheese flavor. It’s the ultimate cheesy cracker that walks the line between a snack food and a comfort food.
What I Love About This Recipe
My honest-to-goodness favorite thing about this recipe? It uses oil instead of butter, which makes these crackers so easy to throw together. I’ll dive more into the oil situation later in this post but for now, just know this: because we’re using oil, there’s no need to chill the dough or stress about butter temps. That means you can simply throw all the ingredients in a food processor, blitz it up, roll it out (which happens so smoothly), and bake! Of all the roll-out cracker recipes I’ve tried, this one is hands-down the easiest.
Close second? The flavor. The ingredient combo in this recipe is straight fire. I based everything (minus the sourdough discard, of course) on the actual ingredient list from real Cheez-Its, and I think this version comes pretty darn close. Either way, judging by how fast my kids inhale these, I’m calling it: these crackers are a solid win. I hope you love them as much as we do.
All The “Why’s”
All-Purpose Flour
Without flour, this cracker dough would be too runny to roll out. Flour acts as a binder—it holds everything together. All you need is a basic all-purpose flour; whatever you have in your pantry should work just fine. In this case, a softer flour is actually better since w’re not trying to form gluten, trap air, or create a chewy texture.
While real Cheez-Its use wheat flour, you can use just about any kind of flour in this recipe. If you need to swap the all-purpose for a nut flour or another alternative, go for it. Since the flour’s only job here is to bind, your options are wide open. Just keep in mind that you may need to adjust the amount of heavy cream depending on how much liquid your flour absorbs.
Cheddar Cheese
Cheddar cheese is what gives these crackers their classic cheesy flavor! The sharper the cheddar, the bolder the taste. I like to use sharp or extra-sharp cheddar to get as close as possible to a real Cheez-it and to really maximize the cheesiness. That said, just like with the flour, you can totally play around here. Try swapping in parmesan, Monterey Jack, Colby, Cheddar Jack, or even Gouda for a fun twist. The key to getting a good result when experimenting is to choose a cheese with similar melting properties and flavor strength.
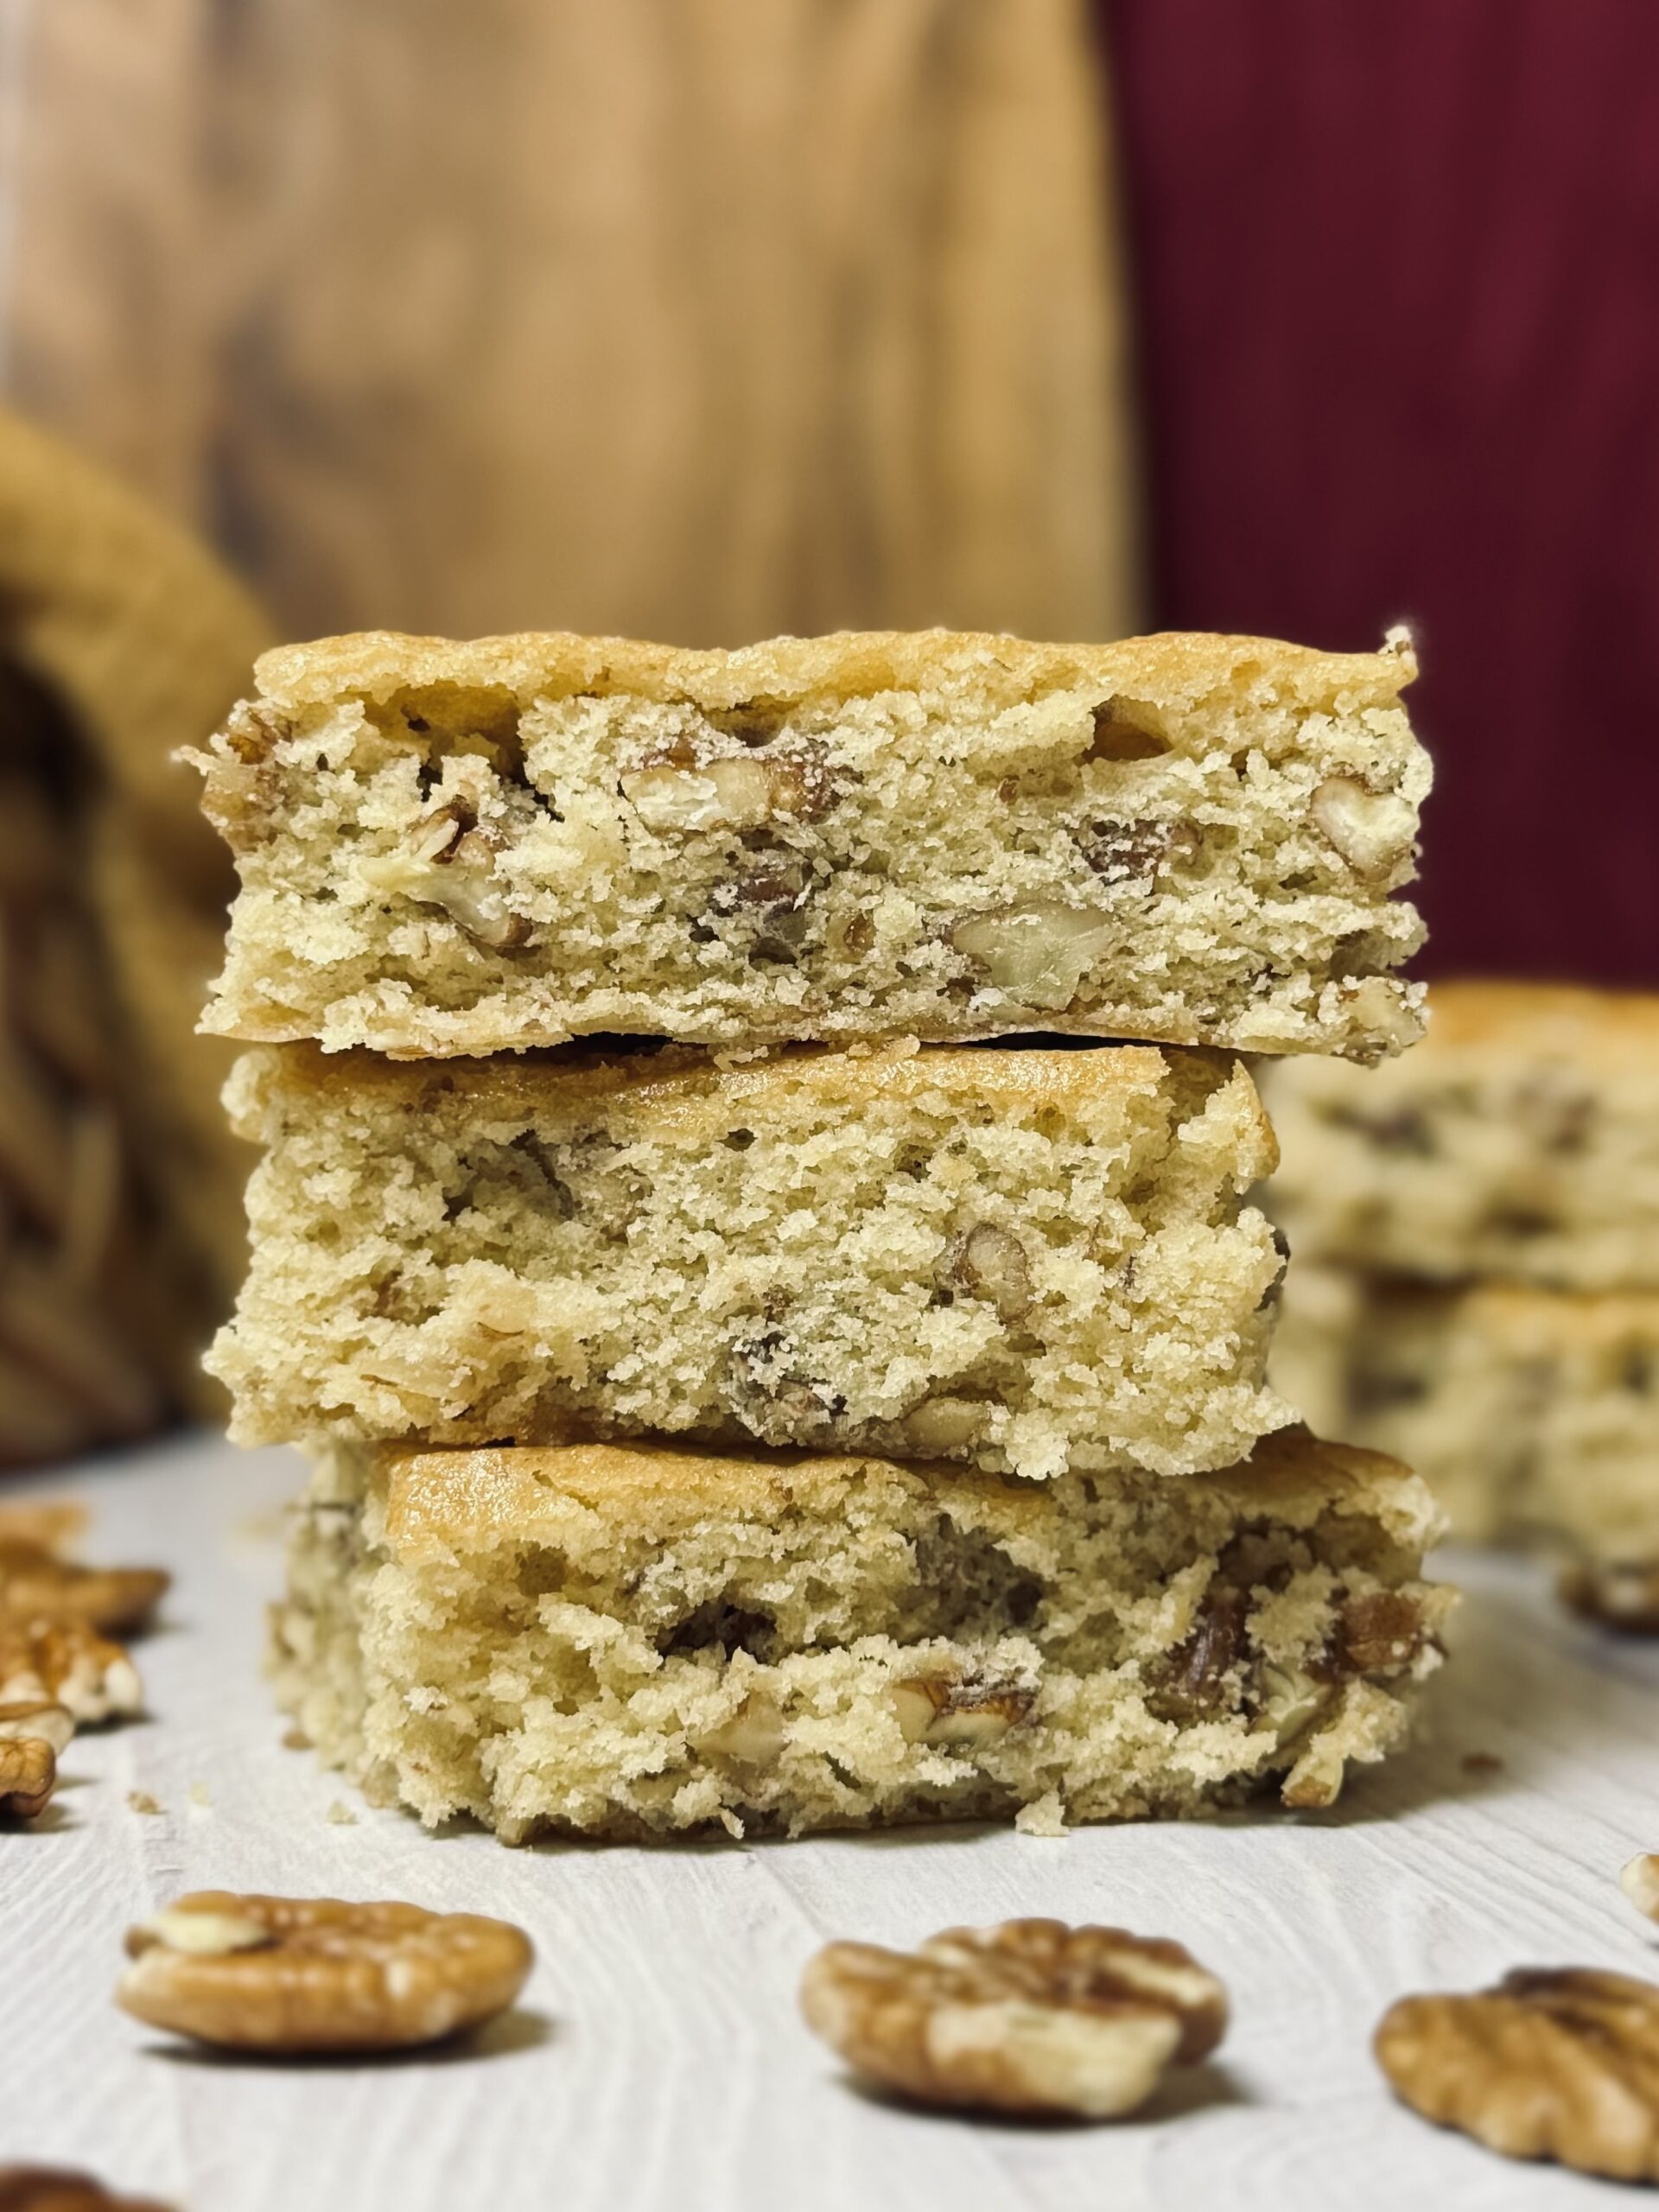
Sourdough Discard
Ah—the sourdough! Definitely not something you’ll find in real Cheez-Its, but come on… this wouldn’t be a sourdough blog if we didn’t sneak sourdough into everything, right?
Since sourdough discard is made of flour and water, it pulls double duty in this recipe: it helps bind (like flour) and adds moisture (like water). Plus, it brings its own unique flavor to the mix, which will vary depending on your starter’s maintenance and how long it has been hanging out in the fridge.
You can use your discard in any state here—it all works. Personally, I like mine a bit on the runnier side if I’ve got older discard around, but fresh discard works just as well.
Spices
The spices are flavor enhancers times one-thousand. Without them, this would just be an ordinary cheese cracker recipe and not a Cheez-It one. Let’s take a look at what I’ve added:
Salt
Well, we can’t have a recipe without salt! It enhances all the flavors, helping you really taste the depth in these crackers. I keep the salt in the dough on the lighter side, since we finish them with a sprinkle of flaky salt on top.
Paprika
Real Cheez-Its add paprika, so of course we had to add it too. They do this mainly for color, but it also adds a subtle warmth and depth that rounds out the cheesy flavor.
Nutritional Yeast
Okay, hear me out. The inspiration for this ingredient came straight from the actual Cheez-It box, which lists “yeast” as an ingredient. Nutritional yeast not only brings some health perks, but it also adds a savory, umami-rich depth that really boosts the cheesy flavor. Of all the “yeast” options out there, this one felt like the perfect fit—and after one bite, I think you’ll agree.
Onion And Garlic Powder
You won’t find onion or garlic powder on the back of a box of original Cheez-Its, but I had to sneak them in. Just a touch of each adds this savory little boost that makes the cheesy flavor pop even more. They don’t make the crackers taste like onion or garlic, they just round everything out and give it that extra something that keeps you coming back for more. Kind of like a secret ingredient, but not-so-secret.
Optional Addition: Cayenne Pepper
Add cayenne pepper if you want to give these crackers a bit of a kick. An eighth of a teaspoon keeps the heat subtle and lingering in the back of your mouth, while a quarter teaspoon might have you saying, “Man, those crackers really have a kick!” (At least, that’s what I said.)
Neutral Oil
The neutral oil in this recipe adds richness and helps create that tender, flaky texture we all love in a good cracker. Since it doesn’t have a strong flavor, it lets the sharp cheddar and seasonings shine while still giving the dough just the right amount of moisture and fat to bake up light and crisp.
I chose oil instead of the more common butter because it’s actually listed in the ingredients of real Cheez-Its. Personally, I prefer it, as oil makes the dough super easy to bring together and work with, and there’s no need to chill it to get great results. The dough rolls out and slices like a dream, making this a recipe you’ll want to come back to again and again.
Heavy Cream
The main reason I chose heavy cream is to help the crackers develop a deeper color in the oven. But, heavy cream does more than just help these crackers brown. It adds a little richness and flavor, too. Since it has both fat and milk solids, it gives the dough a softer texture and a bit more depth than plain water would. It also makes the dough super easy to work with and roll out smoothly. So, while ice water could technically do the job, cream just makes everything a little tastier and more tender.
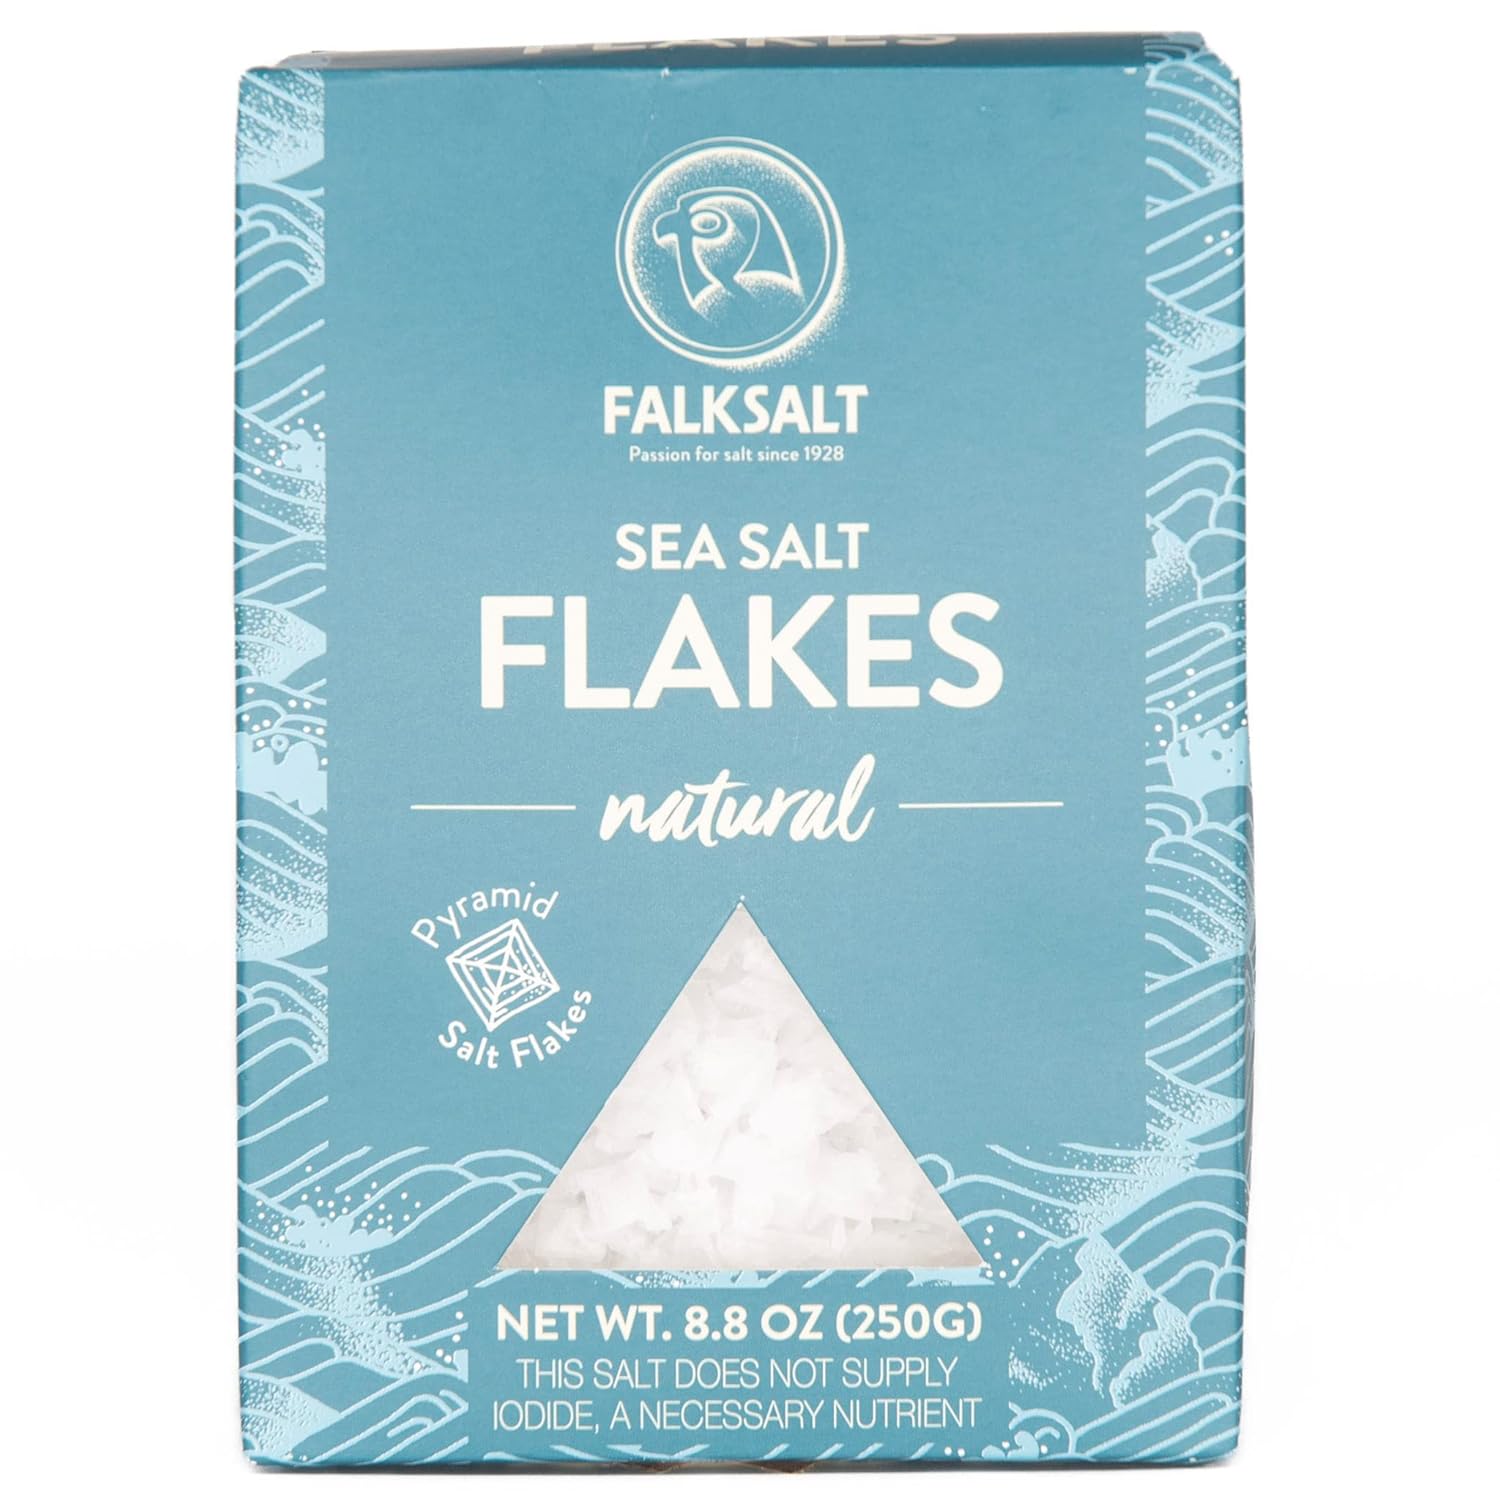
Coarse Salt
This is the finishing touch—and it’s not just for looks! Without the salt on top, I find these crackers a little flat (probably because I kept the salt in the dough on the lower side). That sprinkle of salt really brings out all the flavors and makes each bite more satisfying. Don’t skip it!
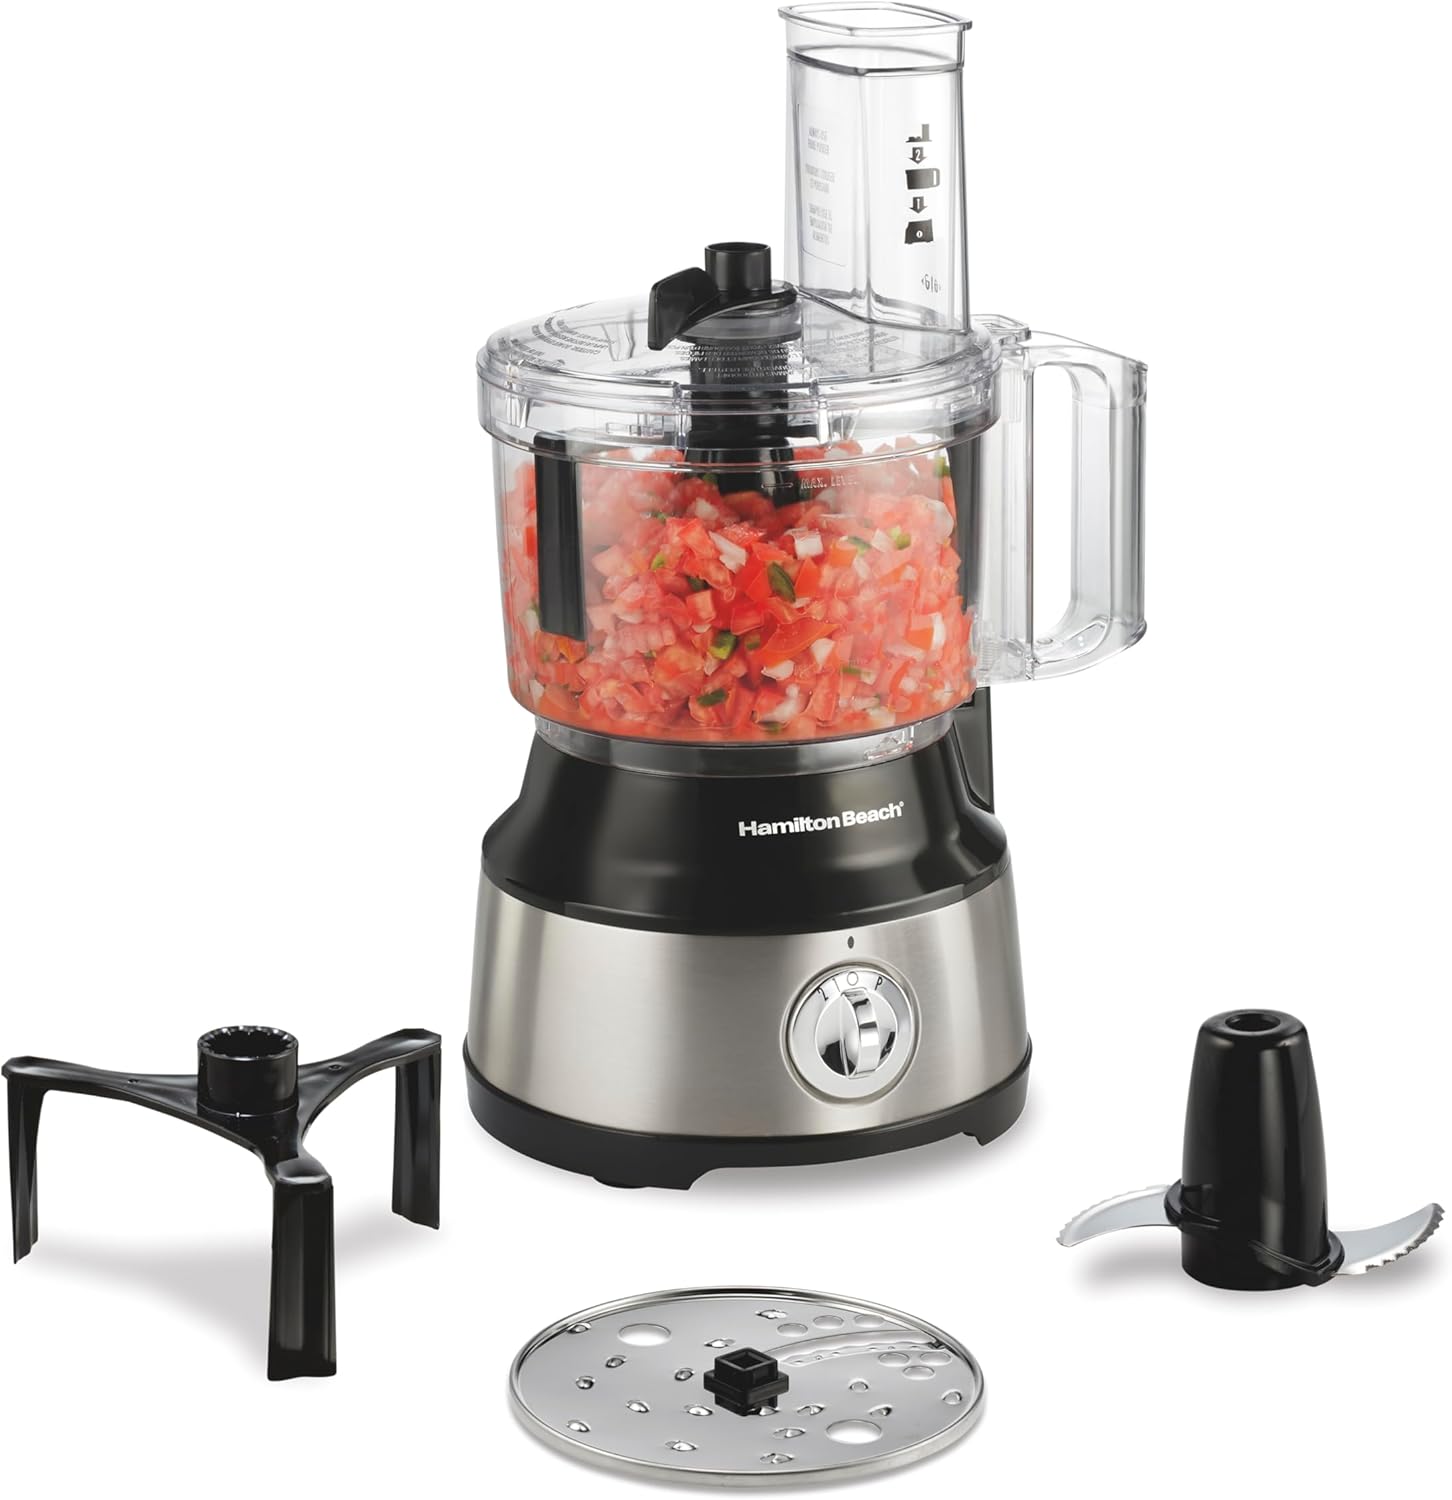
Food Processor
A food processor makes the whole process quick and easy, and it helps keep you from adding too much liquid (something that’s easy to overdo when mixing by hand). Just be sure to use the metal blade, and pulse instead of running it continuously so you don’t overwork the dough. Once the mixture starts clumping into moist crumbs you’re good to go—don’t wait for it to form a full ball. If anything sticks to the sides, give it a quick scrape to keep everything mixing evenly.
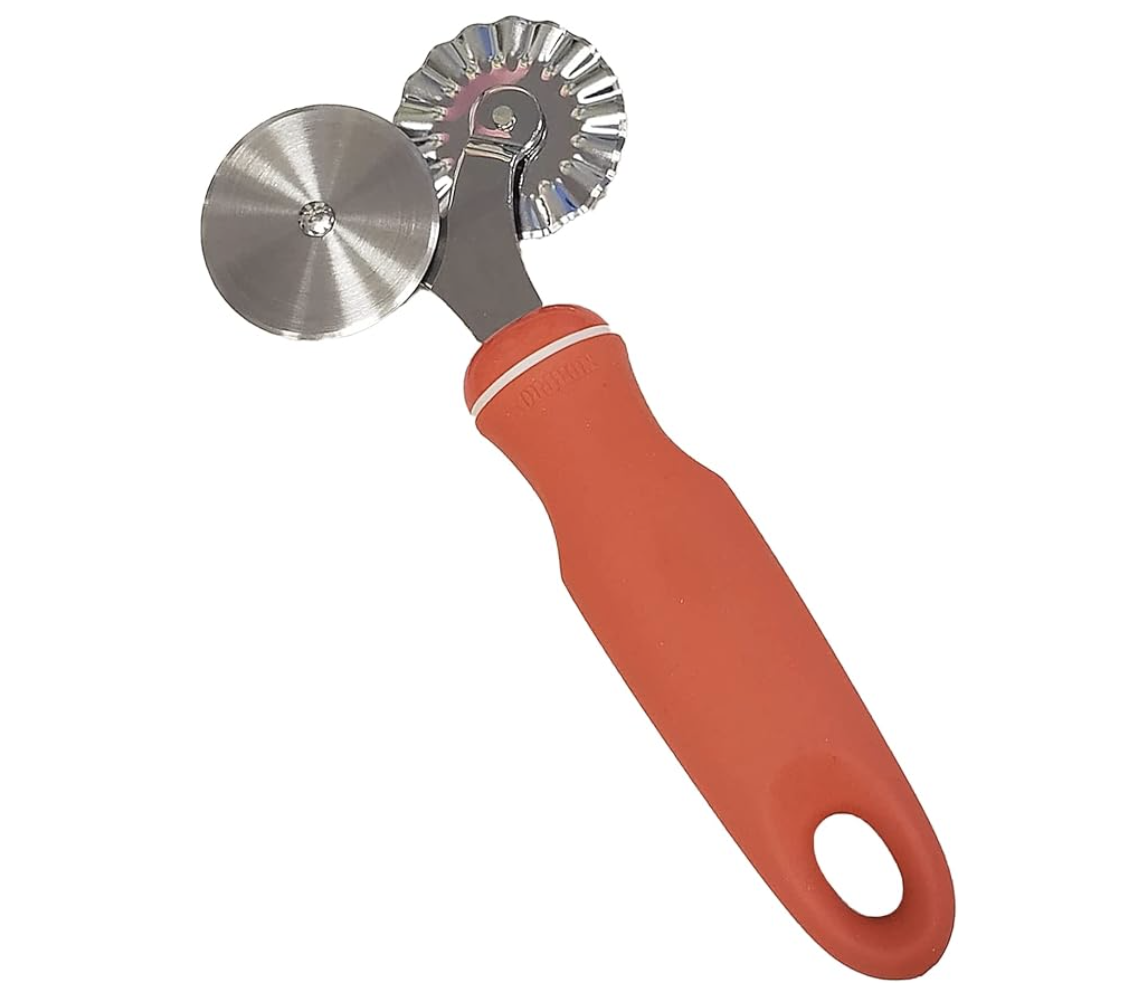
Shaping
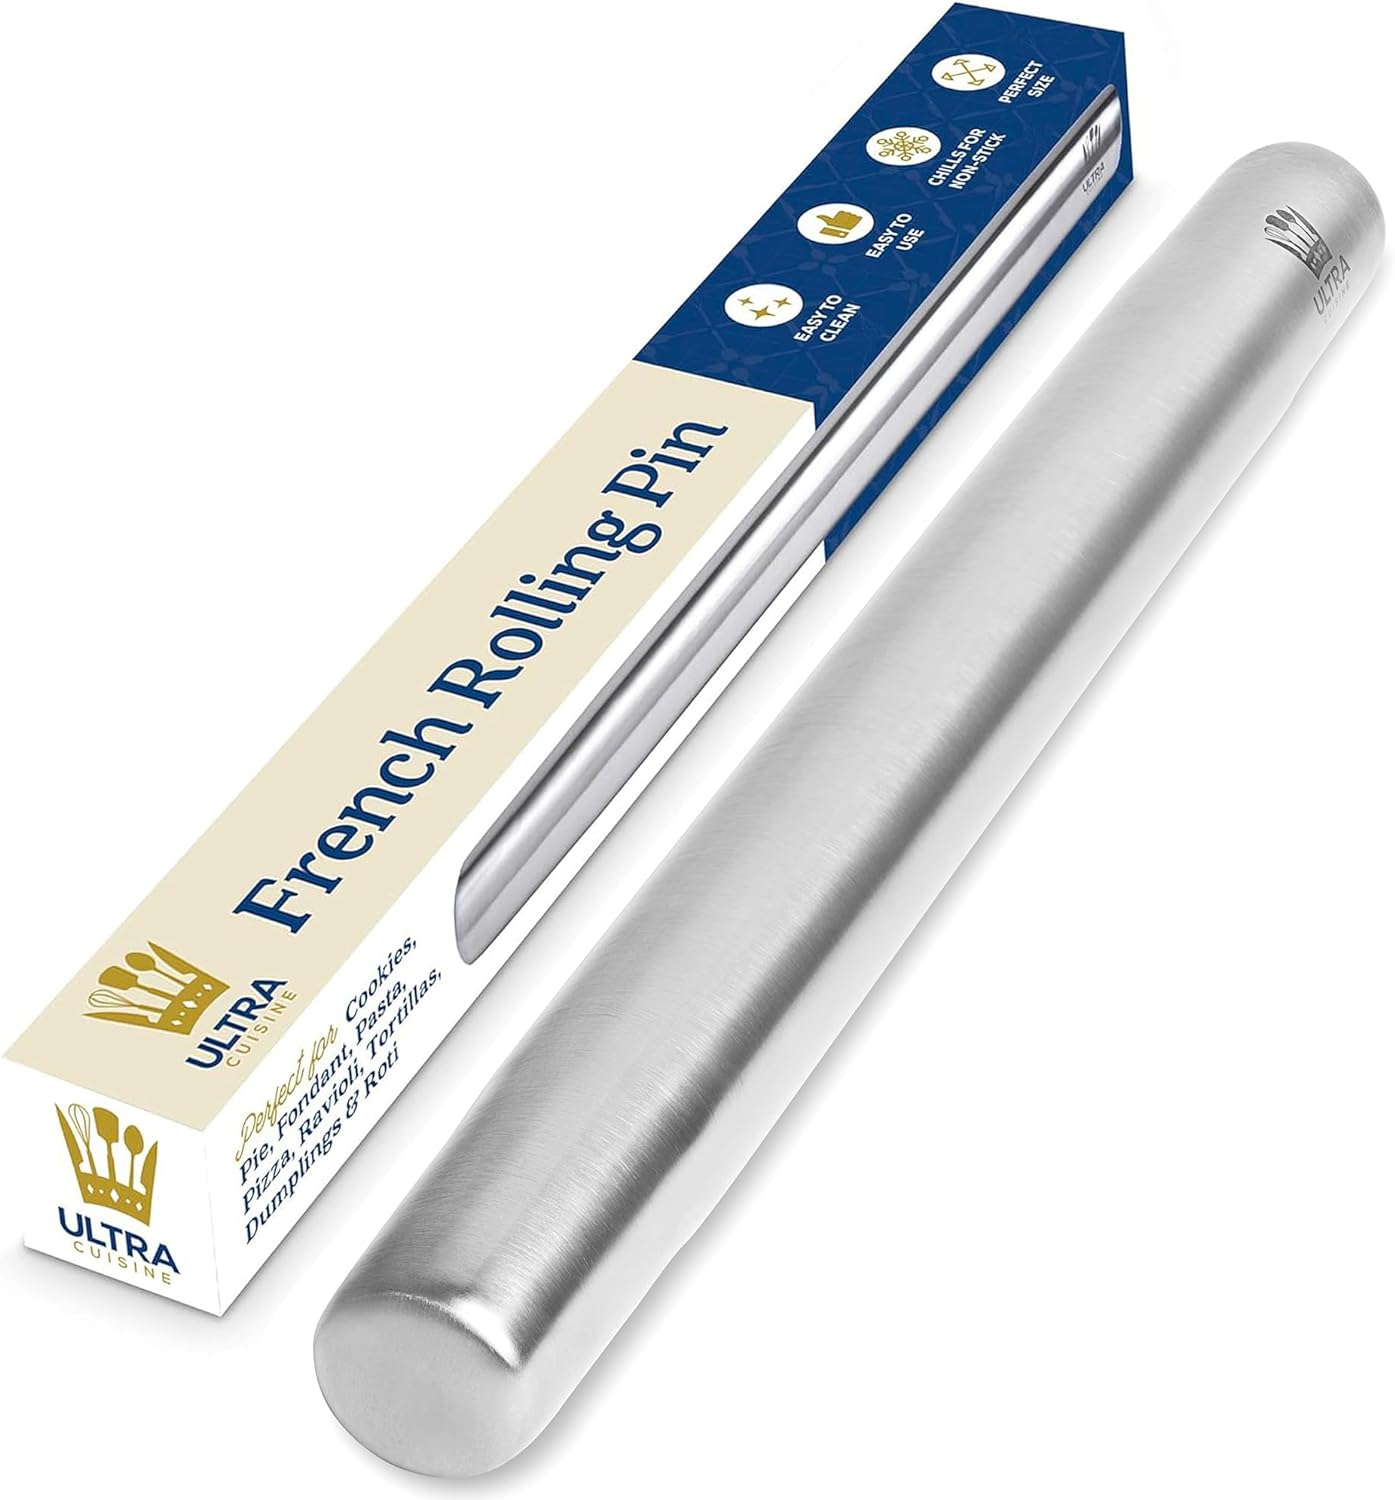
I love using this tool to get those crinkly edges, but you can cut these crackers however you like. The main thing to focus on is thickness—you want them to be thin, about an eighth-inch, and as even as possible for the crispiest, most evenly baked results. If the dough is too thick, the crackers can turn out a bit soft or unevenly cooked, so take your time when rolling it out. And don’t worry about making perfect shapes—once they’re baked and golden, no one’s going to care if a few are a little wonky.
Baking
Baking at 375 F gives these crackers the perfect balance of crispiness and golden color. In other words, it’s hot enough to get them nice and toasty without burning too quickly. That said, baking times can vary depending on your oven, so keep an eye on them near the end. You’ll see the color deepen, and some of the edge crackers may turn a rich, dark brown—that’s your sign they’re ready. They should feel crisp right out of the oven; if they seem soft, give them a few more minutes.

📌 Quick Tip: Read the recipe in its entirety before you start cooking. This will help you understand the ingredients, steps, and timing involved, and allow you to prepare any necessary equipment or ingredients beforehand.

Cheez-It Copycat
Ingredients
Instructions
-
Preheat your oven to 375 F (190 C).
-
To a food processor, add the all-purpose flour, nutritional yeast, salt, paprika, onion powder, garlic powder, and cayenne pepper (if using). Pulse to combine.
-
Add the shredded cheddar cheese and pulse, then add the sourdough discard and neutral oil. Pulse again until the mixture resembles coarse crumbs.
-
Gradually add the heavy cream, one tablespoon at a time, while pulsing. Continue adding cream until the dough forms very moist crumbs that stick together when pinched. You may need a little more or less depending on the humidity and your flour.
-
Turn the dough out onto a lightly floured surface and divide it in half (this recipe makes 2 sheet pans of crackers). Roll out one half of the dough to about 1/8 inch thick on top of your parchment paper or silicone mat. The thinner the dough, the crispier your crackers will be.
-
Sprinkle coarse salt all over the crackers and gently roll it into the dough with a rolling pin.
-
Use a sharp knife, pizza cutter, or cookie cutter to cut the dough into small squares (about 1 inch), trimming the edges as needed.
-
Use a skewer, fork, or toothpick and poke one or two holes in the center of each cracker. This will keep the crackers from puffing up too much and help them bake more evenly.
-
Transfer the parchment paper or silicone mat (with the cut out squares on top) to a half-size sheet pan.
At this point, you can prepare the other half of the dough and bake both batches of crackers at once, or you can prepare the other half of the dough while the first half is in the oven. -
Bake the crackers in the preheated oven for 15-20 minutes or until golden brown and crispy. Keep an eye on them towards the end to avoid burning.
-
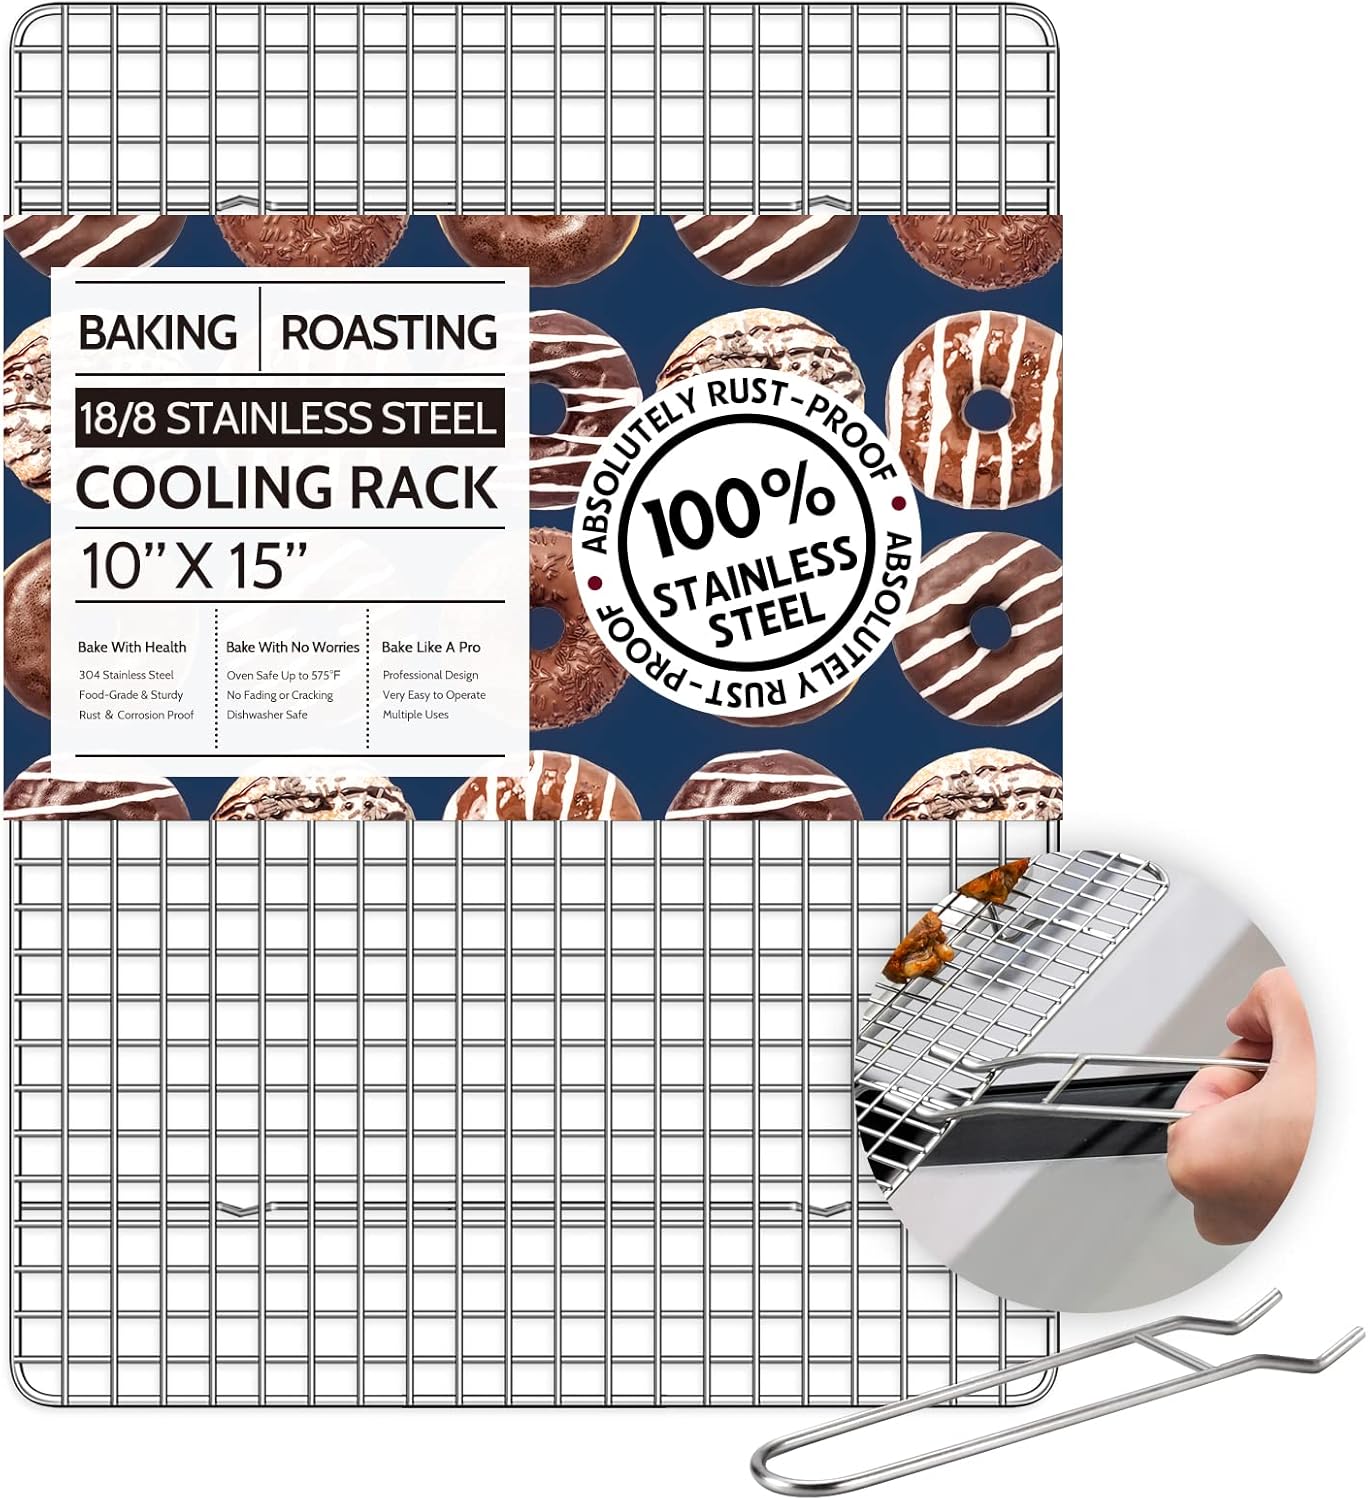
Allow the crackers to cool completely on a wire rack. Enjoy!
You need all the moisture to evaporate out of the crackers so that they stay crispy when stored.
You might need...
Affiliate Disclosure: This post contains Amazon affiliate links. This means when you buy a product using one of my links, I may receive a small commission at no cost to you. Thank you, in advance, for supporting my work.
Nutrition Facts
Servings 8
- Amount Per Serving
- Calories 303.7kcal
- % Daily Value *
- Total Fat 16.67g26%
- Saturated Fat 6.85g35%
- Trans Fat 0.07g
- Cholesterol 33.14mg12%
- Sodium 247.02mg11%
- Potassium 67.8mg2%
- Total Carbohydrate 26.75g9%
- Dietary Fiber 1.94g8%
- Sugars 1.05g
- Protein 12.26g25%
- Vitamin A 115.81 mcg
- Vitamin C 0.04 mg
- Calcium 212.26 mg
- Iron 1.79 mg
- Vitamin D 0.24 mcg
- Vitamin E 1.21 mg
- Vitamin K 4.59 mcg
- Thiamin 2.67 mg
- Riboflavin 2.72 mg
- Niacin 15.98 mg
- Vitamin B6 2.44 mg
- Folate 20.76 mcg
- Vitamin B12 2.26 mcg
- Phosphorus 169.05 mg
- Magnesium 22.9 mg
- Zinc 2.07 mg
* Nutrition values are auto-calculated and should be used as an approximation only.

Notes
- Storage: Store in a Ziploc bag or covered food storage container on the counter for 1-2 weeks. Make sure the crackers are completely cool before storing so that they stay crisp.