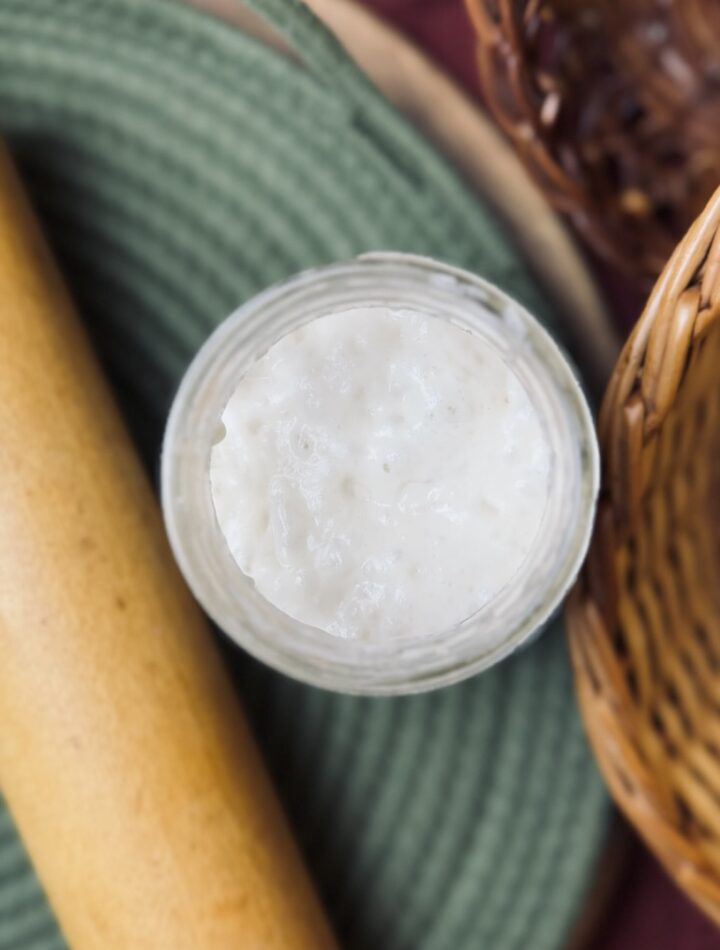
We’ve all been there—staring at a crusty starter jar, wondering if all that buildup really needs to be scraped off. You’ve probably seen people on both ends of the spectrum: those who never clean their jar and those who clean it with every feed. So what’s the answer? Is there a middle ground? And how do you know when it’s actually time for a cleaning?
Background Knowledge
The reason we clean our starter jar in the first place is simple: to help keep our starter from going bad. A moldy jar—or worse, a moldy starter—means starting over from scratch or dipping into your backup (which I hope you’ve got stashed away somewhere). And let’s be honest: no sourdough baker, especially a new one, wants to scrap their starter and begin again. So how do we keep mold from taking over? And if mold is such a risk, why do some bakers seem to get away with never cleaning their crusty jars?
We all know mold seems to grow on everything, from fruit gone bad, to leftovers forgotten in the fridge, and even occasionally on sourdough starter. All mold needs is moisture, a host to grow on, and warmth to speed things up! It can hitch a ride into your starter from anywhere: flour, water, your jar, your utensils, or even your hands.
But here’s the good news: sourdough starter contains something mold doesn’t like: lactic acid bacteria (LAB). These are the good microbes, and they play a big role in keeping the bad ones out.
As LAB multiply, they produce lactic acid. While (in some of my other blog posts) I have a lot to say about how too much lactic acid can cause problems, we do actually need a healthy amount in the starter. Lactic acid lowers the pH of the environment, creating conditions that mold can’t live in. In fact, if you’re starter’s pH is below 4.5, mold simply won’t be able to grow in the wet starter itself.
This is one reason why it can be helpful to feed less frequently during the early days of creating a new starter, or to use acid whey (leftover from straining yogurt or making certain cheeses) in the first few feedings. These techniques help drop the pH quickly, giving LAB a head start and helping them establish a protective, mold-resistant environment.
But what about the dry stuff on the sides of the jar?
While I can’t guarantee your dried starter remnants won’t mold, I can tell you that if your fresh starter is acidic enough, the dried starter likely is too. That’s probably why experienced bakers can get away with crusty, never-cleaned jars—because the acidity is doing the heavy lifting.
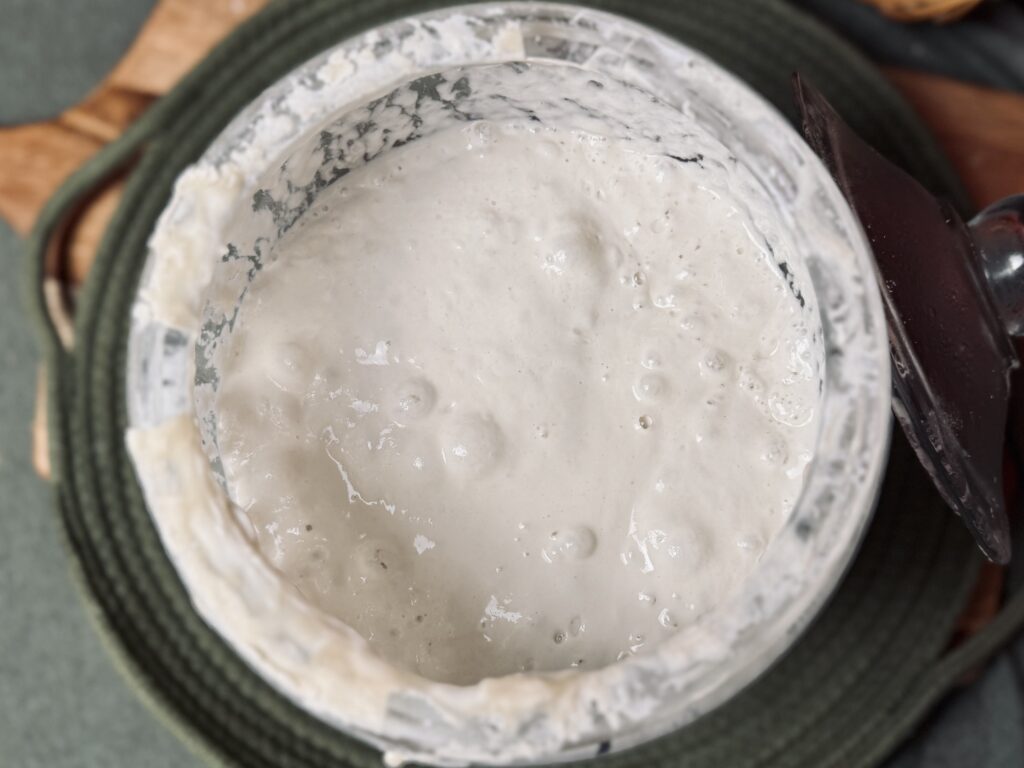
That said, dried starter can mold. This usually happens for one of two reasons: either the starter wasn’t acidic enough (which is common in new starters still building up a strong LAB culture), or the dried starter (being dehydrated) isn’t actively protecting itself. If moisture gets into that dry buildup and the LAB are no longer active, mold has a chance to grow.
So, while a bit of dried starter on the sides won’t automatically ruin your jar, there is a point where it can become a risk—or at the very least, a bit gross. So how do you know when it’s time to give your starter jar a proper clean?
When To Clean: Basic Guidelines
Now that you know why cleaning your jar matters (and that your starter is actually pretty resilient), the choice is yours. You can clean as often or as little as you’re personally comfortable with.
Some bakers keep a rotation of clean jars and transfer their starter with every feed. Others rarely, if ever, clean their jar. While switching jars every time is a great practice, it’s definitely not required. A simple once-a-week or every-other-week clean is usually enough to keep things from getting out of hand.
If the jar gets so coated you can’t see what’s going on inside, or if the dried starter around the rim becomes especially thick, it’s probably time for a reset. And, if you ever notice discoloration or an “off” smell (especially something pint, orange, or fuzzy) that could indicate mold, it’s best to play it safe: clean the jar and start fresh, ideally with some backup starter.
Other than that, it’s totally up to you!
How To Clean
- Transfer the starter. Start by scooping a portion of your starter into a clean jar for feeding and maintenance. Add any remaining starter to your discard stash (don’t toss it—check out some discard recipes here!) or use it in your next bread dough. Try to scrape out as much as you can from the dirty jar.
- Soak the dirty jar. Fill the used jar with warm water, or just submerge it in a bowl or sink full of water. The goal is to hydrate and loosen the dried starter, especially the crusty stuff along the rim. Let it soak for at least five minutes, or up to a few hours if it’s really stubborn.
- Wipe it clean. Once the starter has softened, wipe the inside and outside with a sponge or cloth. It should come off easily. Quick note: while you can pour the dirty starter water down the drain, thick starter residue has been known to cause clogs. If possible, pour it outside or use it to water your plants—it’s harmless and even a little nutritious (as long as it’s just starter and water).
- Wash or sanitize. Finish by washing the jar with warm, soapy water or running it through your dishwasher.
And that’s it! Easy, quick, and your starter gets a fresh home!
Jar Recommendations
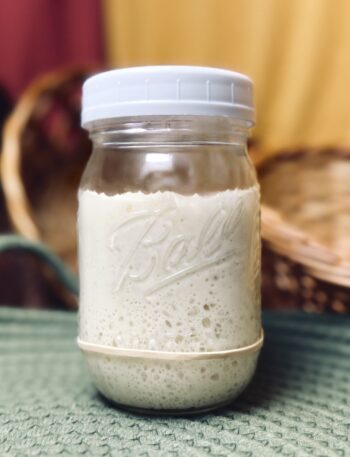
Wide-mouth glass jars are the easiest to clean. Try to avoid tall, narrow jars, unless you’re in the mood for a cleaning challenge. Personally, I love using a two-cup Pyrex storage container. It’s easy to clean, I have plenty on hand to rotate, and my starter seems to love the extra room to breathe.
FAQs
Do I need to clean my jar every time I feed it?
Certainly not! Some people do, but this is just a matter of personal preference.
What happens if I never clean my jar?
Maybe something, maybe nothing. As your starter dries, it naturally forms crusty layers on the sides of the jar. These flakes can sometimes fall into your dough, which is harmless, but not exactly appealing. There’s also a small chance of mold developing, especially on the dried bits. That risk is much lower in a well-established, acidic starter, but it’s still something to keep an eye on.
Can I reuse the same jar indefinitely?
If you prefer. If you need to clean the jar, make sure to set aside a bit of your starter so that you don’t have to start from scratch.
Why is there build-up or crust on the sides of my jar?
This is just dried starter that was never removed from the jar. It gets thicker over time without cleaning.
Is mold more likely if I don’t clean the jar often?
Mold is most likely if your starter is not properly acidified, or if your starter continues to be contaminated by something. Whether you clean the jar often or not does not usually make a difference.
How do I clean the jar without harming the starter?
Make sure to transfer a bit of starter to a separate container while you clean your jar! See above for a step-by-step.
Should I switch jars or just clean the same one?
This is totally up to you! I, personally, like to rotate my jars, but every baker has their own preference for what suits their lifestyle.
What kind of jar is easiest to keep clean?
Wide mouth, glass jars, particularly ones that aren’t too deep. A wide mouth mason jar or a two-cup Pyrex storage container are simple, effective options.