About This Recipe
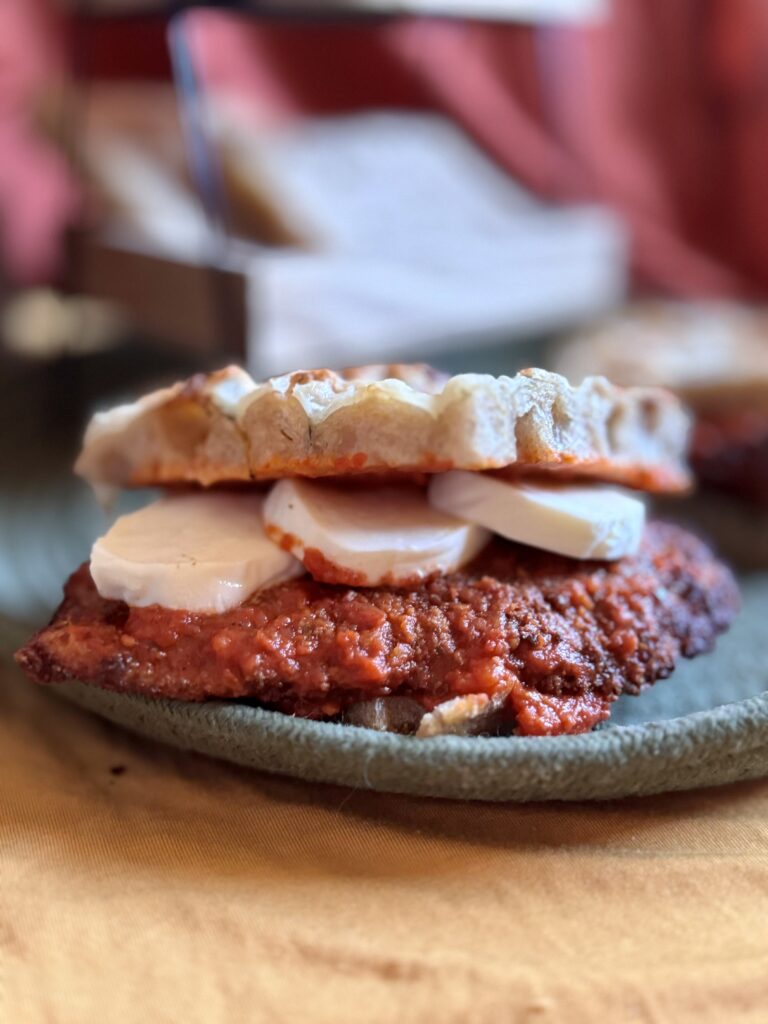
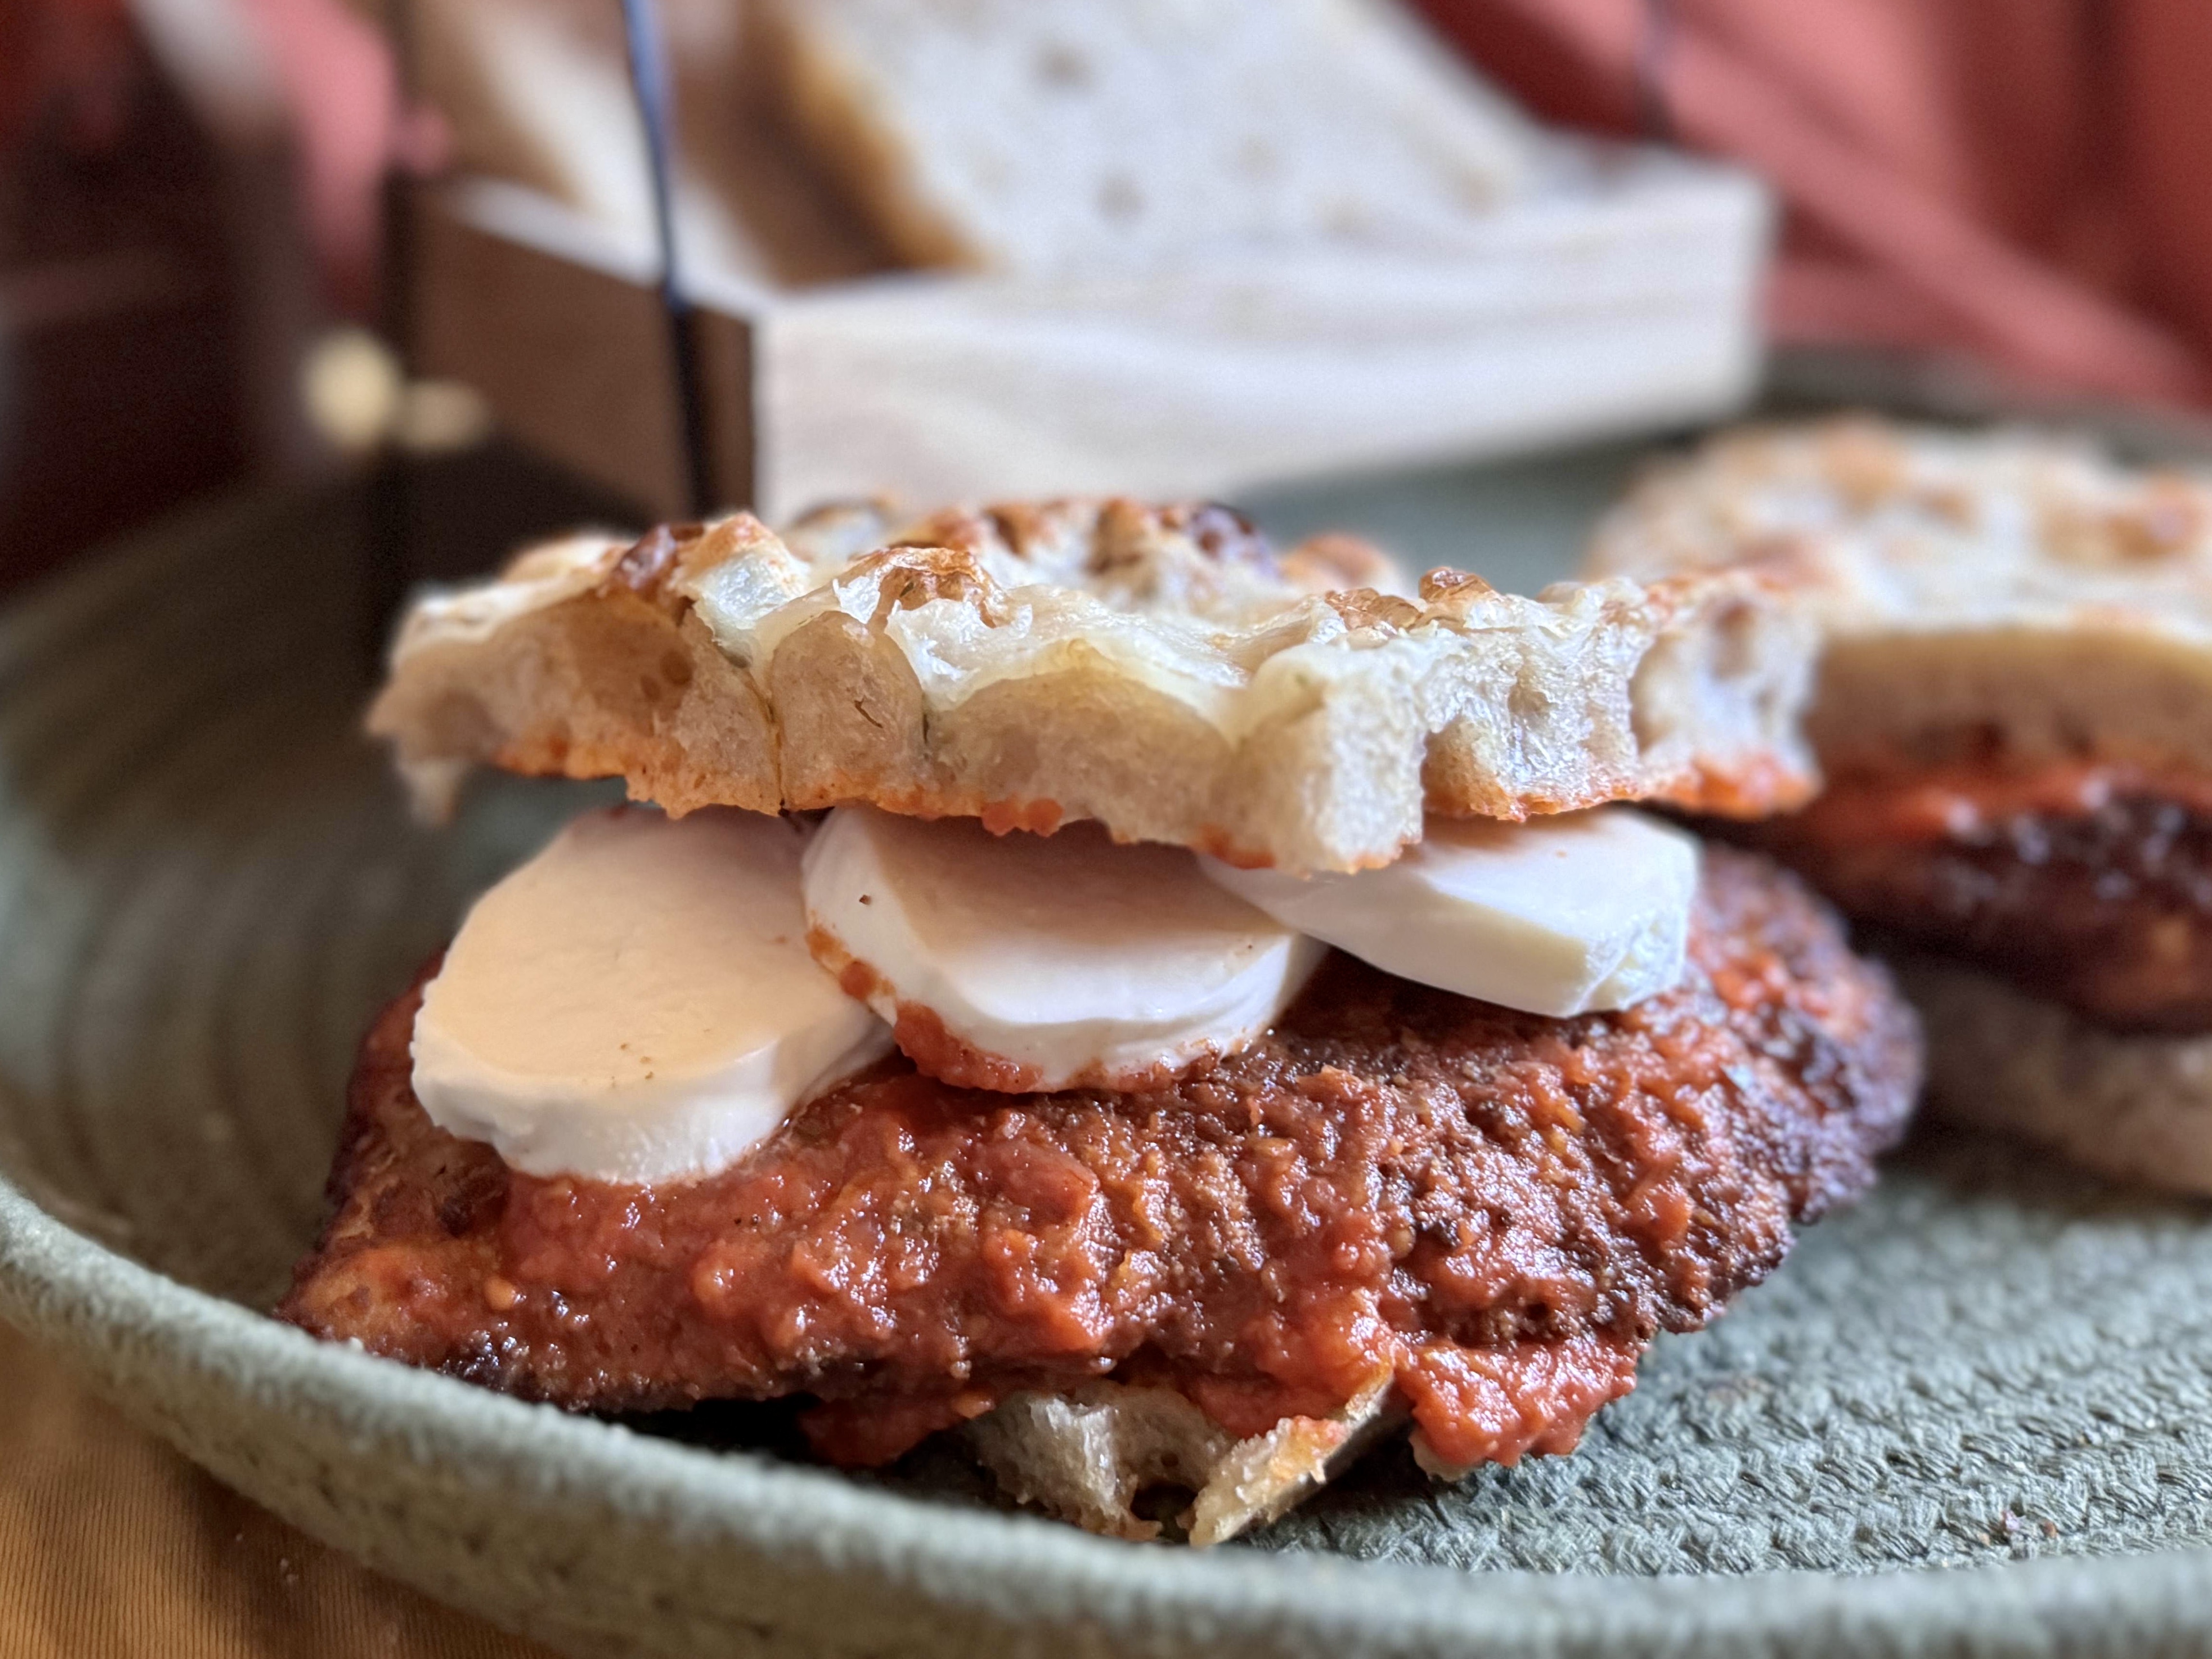
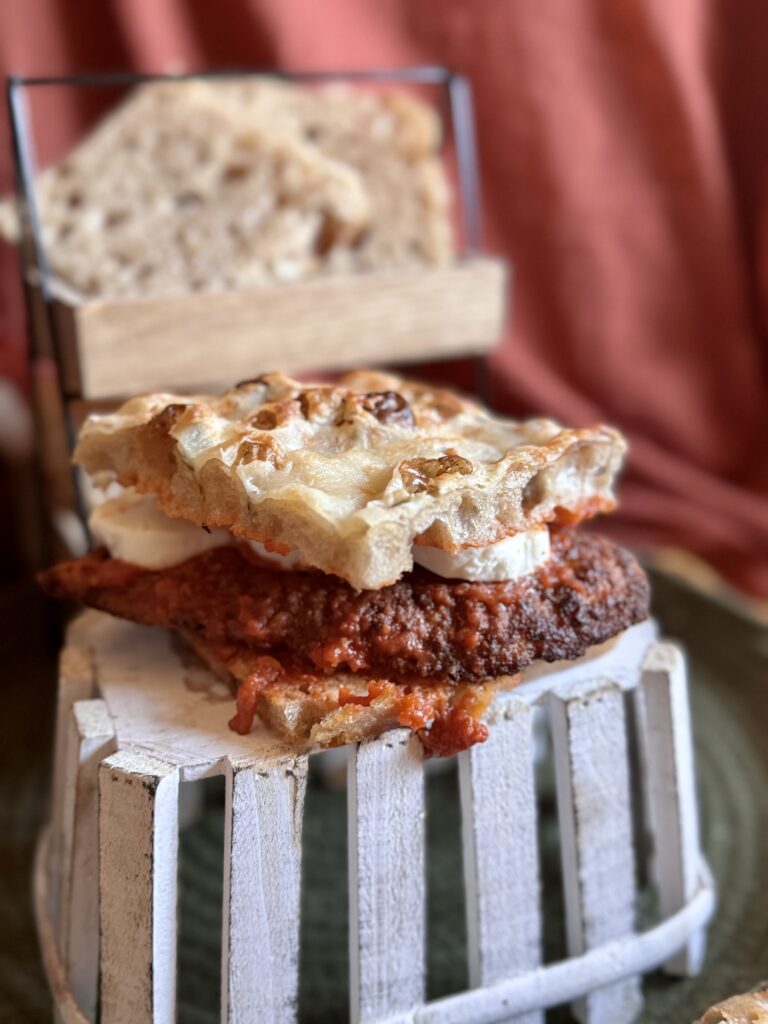
This recipe is the second in a series of focaccia recipes that are made to be an entire meal in one. My goal: to empower you to make homemade bread into enjoyable meals for your family. This recipe is inspired by one of my favorite Italian-American suppers: chicken parmesan. Instead of serving it over noodles, I use focaccia and turn it into a sandwich. Originally, I hoped to build this like a pizza, piling chicken, marinara, mozzarella, and fresh basil on top of the focaccia dough before baking. Boy, was this a mistake. Not only did the toppings weigh down the dough, keeping it from rising properly in the oven, but the marinara sauce kept the dough from cooking properly. Making this dish into a sandwich just made sense: you keep the simple, flavorful, lightly crisp focaccia, while gaining all the delectable fillings and flavors of chicken parmesan.
How to make This focaccia
To watch how to make focaccia step-by-step, see the video below. This series will focus on variations in the focaccia sauce, toppings, and ways to enjoy, meaning I will not be detailing how to make the focaccia base in each post. To read my full post on focaccia, click here.
Recently, I’ve been working with Hayden Flour Mills Artisan Bread Flour over my usual King Arthur Bread Flour. It is fresh and contains more of the bran and germ from the wheat kernel than other flours, which adds incredible flavor to my bread. I’ve been eager to experiment with and dive into a world of better-for-you and better-tasting sourdough baked goods, and this has been a wonderful start.
After several wins and fails, I’ve finally discovered how to make this flour fit my typical sourdough bread-making routine. Because it is much fresher than what you can buy on grocery store shelves, it has (what is called) increased enzymatic activity. This just means the yeast and bacteria in your starter are very active and multiply much quicker when feeding on this flour, leading to faster fermentation times. To compensate, I reduce the amount of stater I use in my recipe by 5%. In addition, due to the increased percentage of bran and germ, the flour itself can absorb more water, which means I can increase the amount of water I use by 5% as well.

The Toppings and Assembly
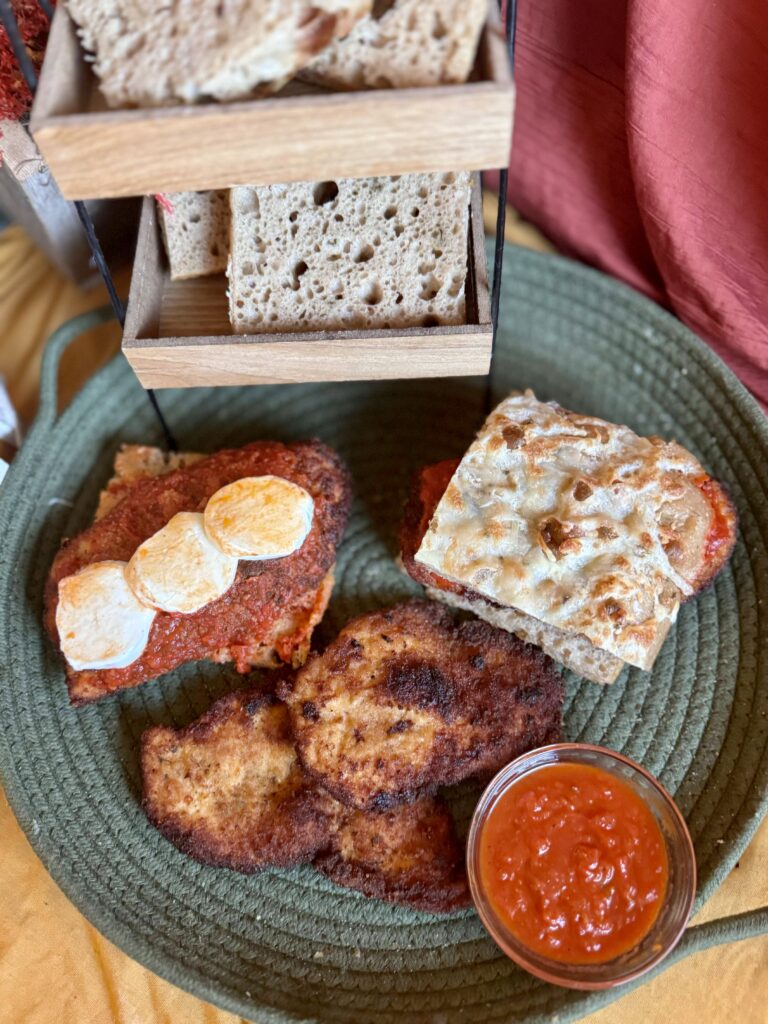
While I desperately wanted to top the focaccia with everything – including the chicken and the marinara – I quickly discovered that marinara greatly affects the texture and outcome of the focaccia. If you add the marinara before baking, the focaccia comes out gummy, having absorbed too much extra moisture and unable to get a good oven spring. Par-bake the focaccia before adding the marinara, and the sauce still seeps into the bread and softens the crust, taking away the delicate crisp of a perfectly fermented and baked focaccia. Make a sandwich and you get a beautiful compromise: a delicate, flavorful, crispy focaccia with all of the reminiscence of chicken parmesan. So for this focaccia, stick with simple toppings – oil, flaky salt, and basil (or any other herbs you like). Add mozzarella in the last five minutes of baking to get it bubbling and lightly brown, or add it directly to the sandwich.
Chicken
This is the classic chicken parmesan chicken. I pound out and batter the chicken, first in flour and seasonings, then in eggs, and last in breadcrumbs and parmesan. Then, I cook it on the stovetop in hot oil before adding to the sandwich. I mean, honestly, skip the entire rest of the meal and just eat the chicken (it’s that good). Only, this is a bread blog so I won’t be doing that here.
Marinara
After making both the focaccia and the chicken, I did not feel like it was necessary to also make my own marinara. While it is so incredibly easy, it is just an extra step. You can use any marinara sauce, homemade or store-bought for this recipe. Pick one you like and roll with it!
Mozzarella Cheese
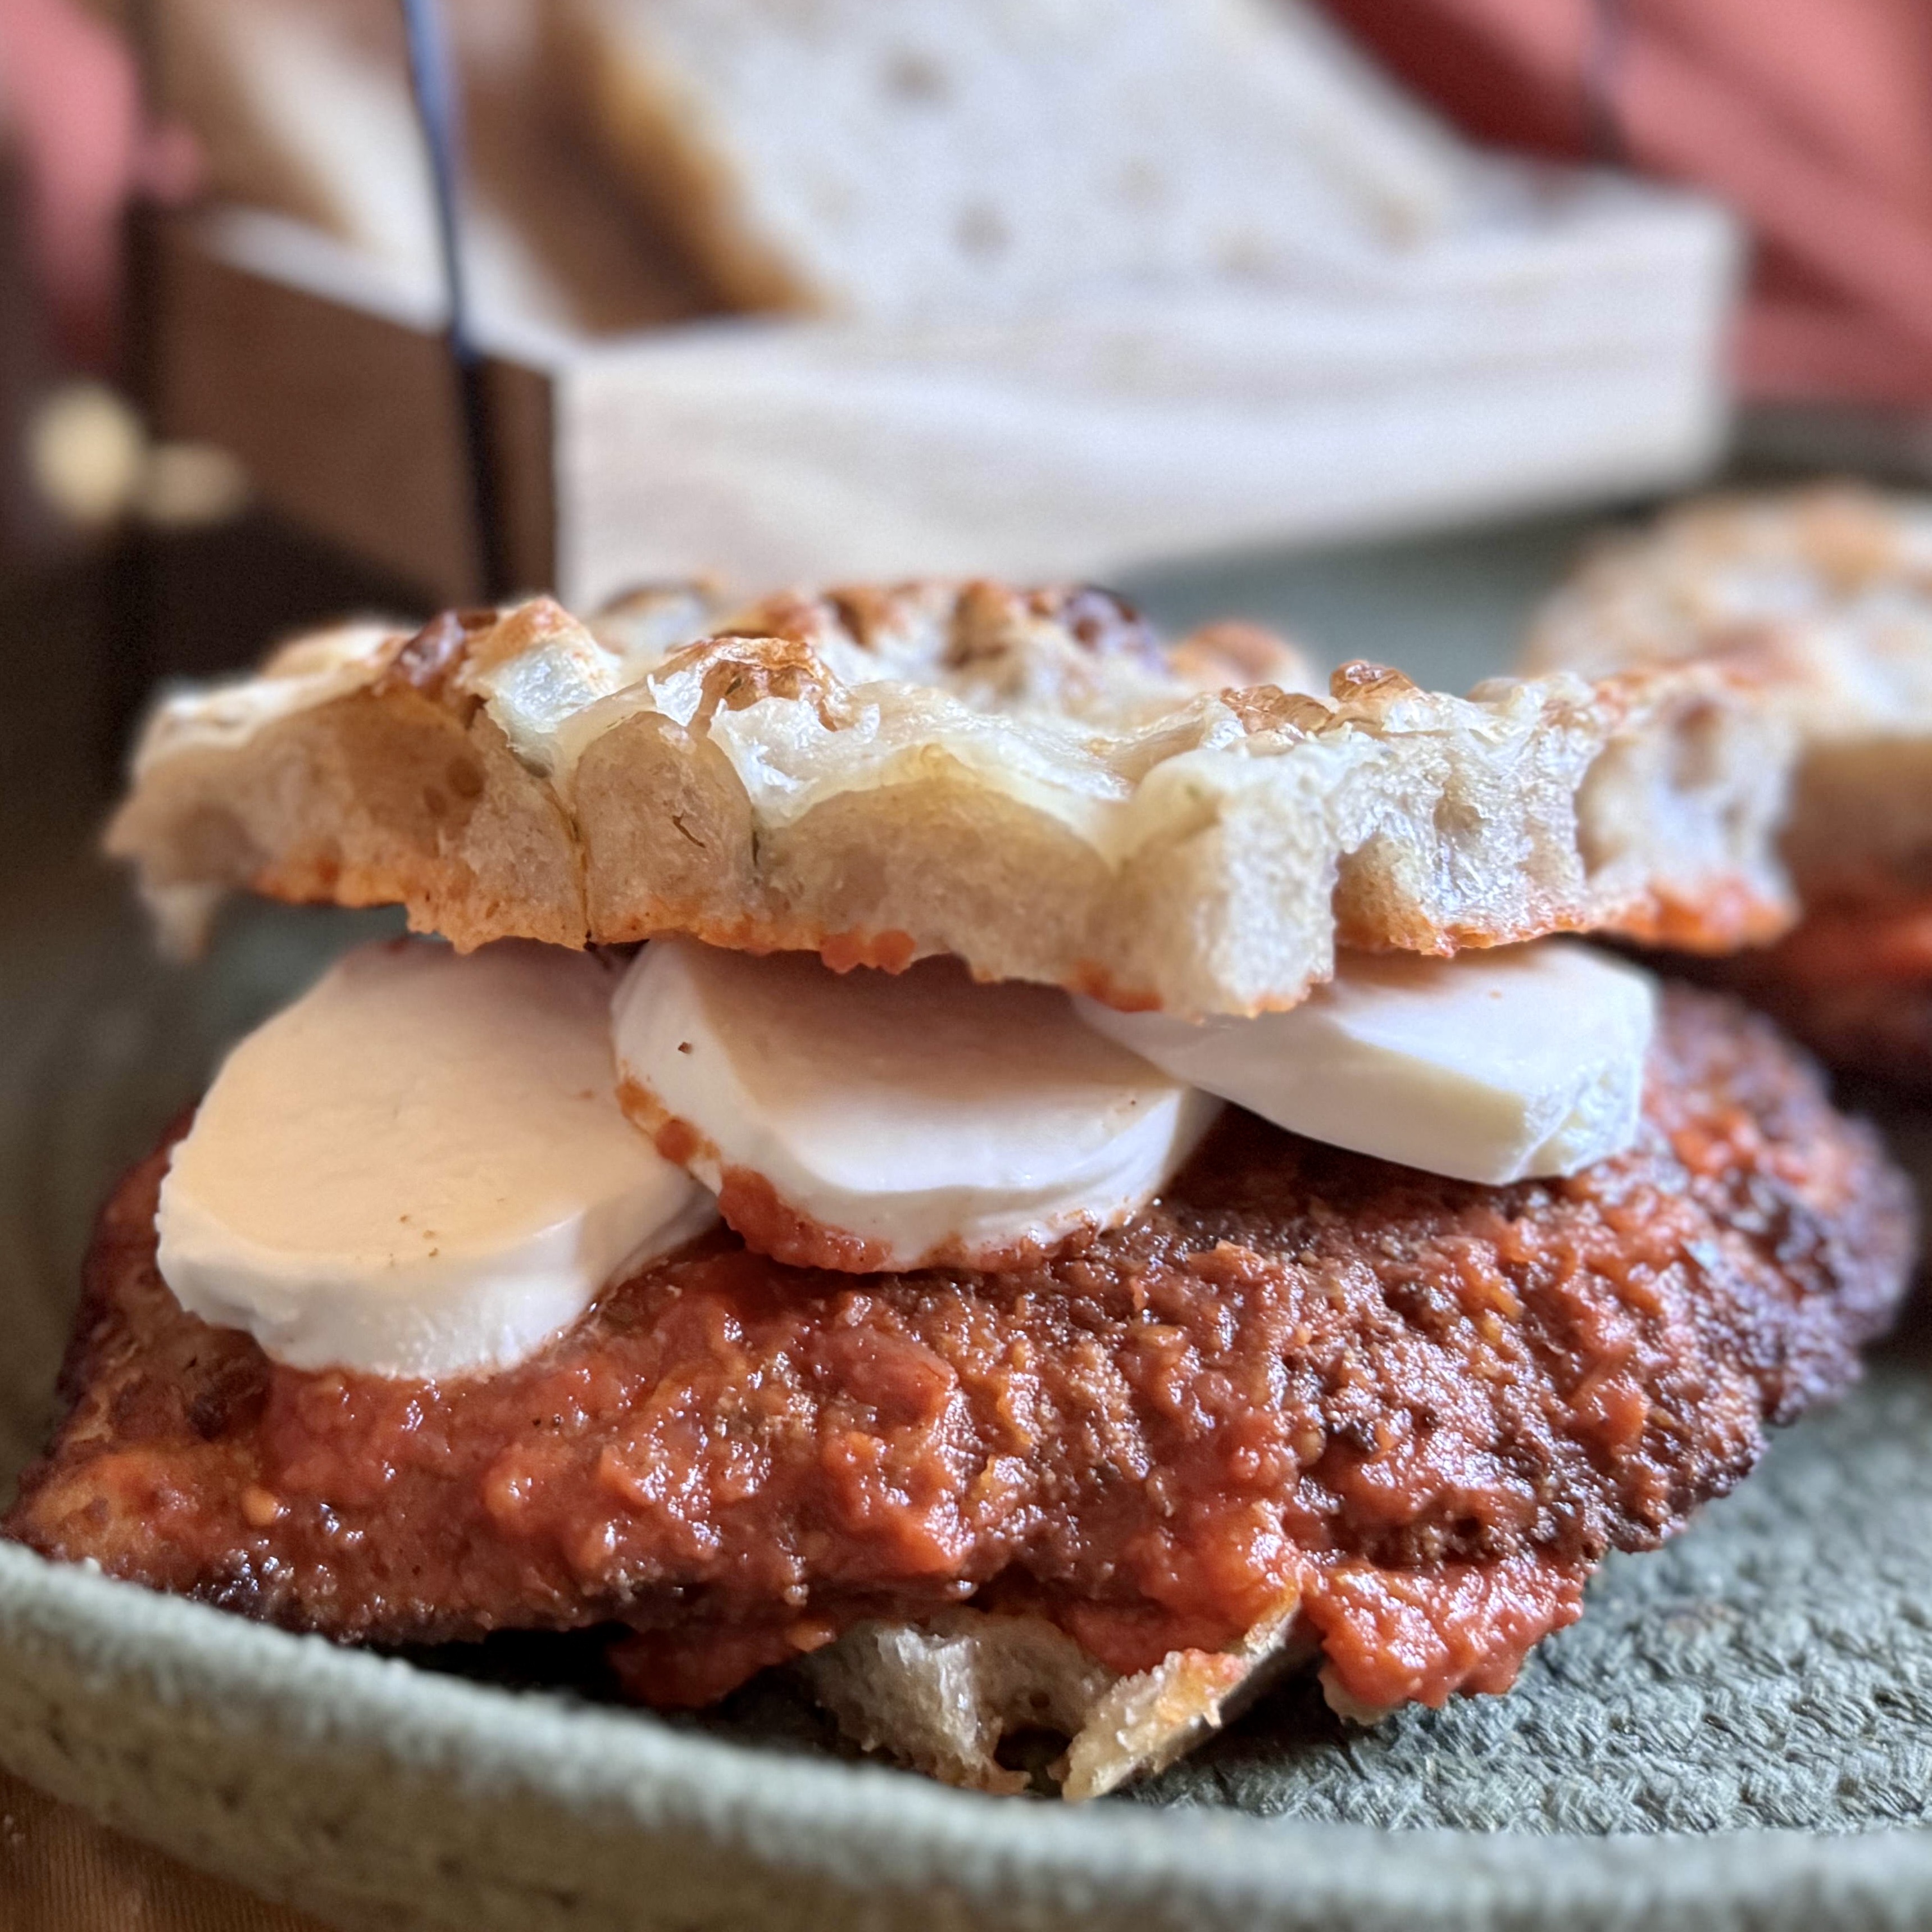
I was so torn on where to add mozzarella. It is great on top of the focaccia, inside the focaccia, or both. It’s honestly great all three ways. If you add mozzarella to the focaccia during baking, make sure to do it in the last five minutes or so to prevent burning during the thirty-minute baking period. If the chicken and sauce are still warm during assembly, the mozzarella melts nicely onto the sandwich. If you have fresh mozzarella slices, as pictured, they are good cold or warm.

Suggested Baking Timeline
(for a 70 F home)
11 AM (Day 1)
+Start focaccia dough
5 PM (Day 1)
+Refrigerate focaccia dough
10 AM (Day 2)
+Focaccia dough to counter for final proof
4:30 PM (Day 2)
+Bake focaccia
+Make chicken
5 PM (Day 2)
+Assemble and enjoy!
Chicken Parmesan Focaccia Sandwich
Recipe by Caitlin VincentCourse: Lunch, DinnerDifficulty: Beginner25
minutes24
hours30
minutes30
minutes6
sandwichesIngredients
- For the focaccia dough
425 g water (use 400 g for other white flours, such as King Arthur)
75 g active starter (use 100 g for other white flours, such as King Arthur)
10 g salt
- For the chicken
2 chicken breasts, large (about 1 ½ lbs)
½ cup all-purpose flour (80 g)
1 tbsp Italian seasoning (7 g)
1 tsp salt (5 g)
½ tsp pepper (1 g)
3 large eggs, beaten until frothy
⅔ cup breadcrumbs (100 g)
⅔ cup freshly shredded parmesan cheese (55 g)
Oil, for frying
- For the focaccia topping
Olive oil
Flaky salt
Basil (coated in oil, if fresh [to prevent burning])
Sliced or shredded mozzarella (you can put this on top of the focaccia, inside the sandwich, or both)
- Other Ingredients
Marinara sauce
Directions
- Make the focaccia dough
Mix together the flour, water, starter, and salt. Mix for five minutes, until no dry bits of flour remain and gluten development has begun. Cover the dough with a lid, damp towel, or plastic cling wrap and let it rest for thirty minutes.
Strengthen the dough: Thirty minutes after mixing, begin four sets of folds, spaced about thirty minutes apart. I prefer coil folds for this bread, as it is a fairly wet dough.
- To coil fold the dough: Pull the dough up from the middle, stretching up as far as it will go. Then, fold the dough under itself in each cardinal direction before covering the dough and allowing it to rest once more.
Bulk fermentation: After folds are complete, allow the dough to rest until it has increased in volume by about 50% and is showing nice bubbles on top.
Shape: Oil a 9X13 baking dish generously with olive oil and dump the proofed dough into it. If needed, stretch the dough out slightly to mostly fill the container.
At this point, you can refrigerate the dough until the next day or let it rest once more until it is finished proofing.
Final proof: The next day, remove the dough from the refrigerator and let it rest until it is very puffy, bubbly, and filling up the pan. The dough should approximately double in size, 5-8 hours. I let mine proof for 7 hours at a room temperature of approximately 70 F. If you did not place your dough in the refrigerator, this will only take 2-4 more hours.
- Arrange and bake the focaccia
Preheat your oven to 450 F.
Generously pour olive oil over the top of the focaccia. Add flaky salt and dried basil, then dimple the focaccia all over.
Bake the focaccia for 30 minutes, until the internal temperature registers 200 F. Add mozzarella cheese in the last five minutes of baking, if desired.
Cool for 15 minutes before slicing.
- Make the chicken
Slice two chicken breasts in half lengthwise, to make four cutlets of equal thickness.
Pound each cutlet out to about ⅓ inch thickness.
In a shallow bowl, whisk together the flour, Italian seasoning, salt, and black pepper. In a second bowl, beat the eggs until frothy. In a third bowl, stir together the bread crumbs and parmesan cheese.
Dip both sides of each chicken cutlet into the flour, tapping off the excess. Then, dip in the beaten eggs, letting excess egg drip off. Finally, dip into the cheesy breadcrumbs, pressing the cutlets into the breadcrumbs to ensure a thick, even coating of crumbs.
Heat a large, non-stick pan over medium heat and add enough olive oil to lightly coat the bottom of the pan. Once the oil is hot, add the chicken cutlets in batches, cooking two to three minutes per side, or until the internal temperature registers 165 F (74 C) and the outside is nicely browned.
- Assemble
After the focaccia has cooled enough to handle, slice into six sections. Cut each section in half lengthwise, then add the chicken cutlets and marinara sauce to the center. Optionally, add more mozzarella cheese.
Enjoy!
Join the email list
Join the email list to be notified when a new recipe or blog post comes out. No spam, just sourdough. Unsubscribe at any time.

