About This Recipe
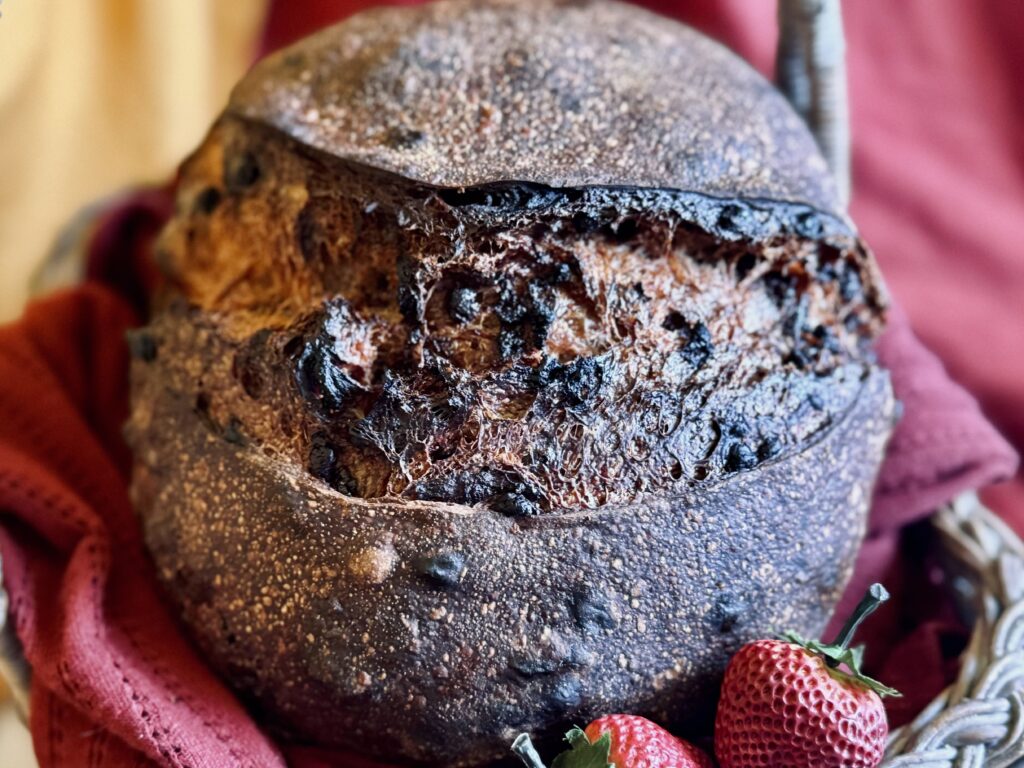
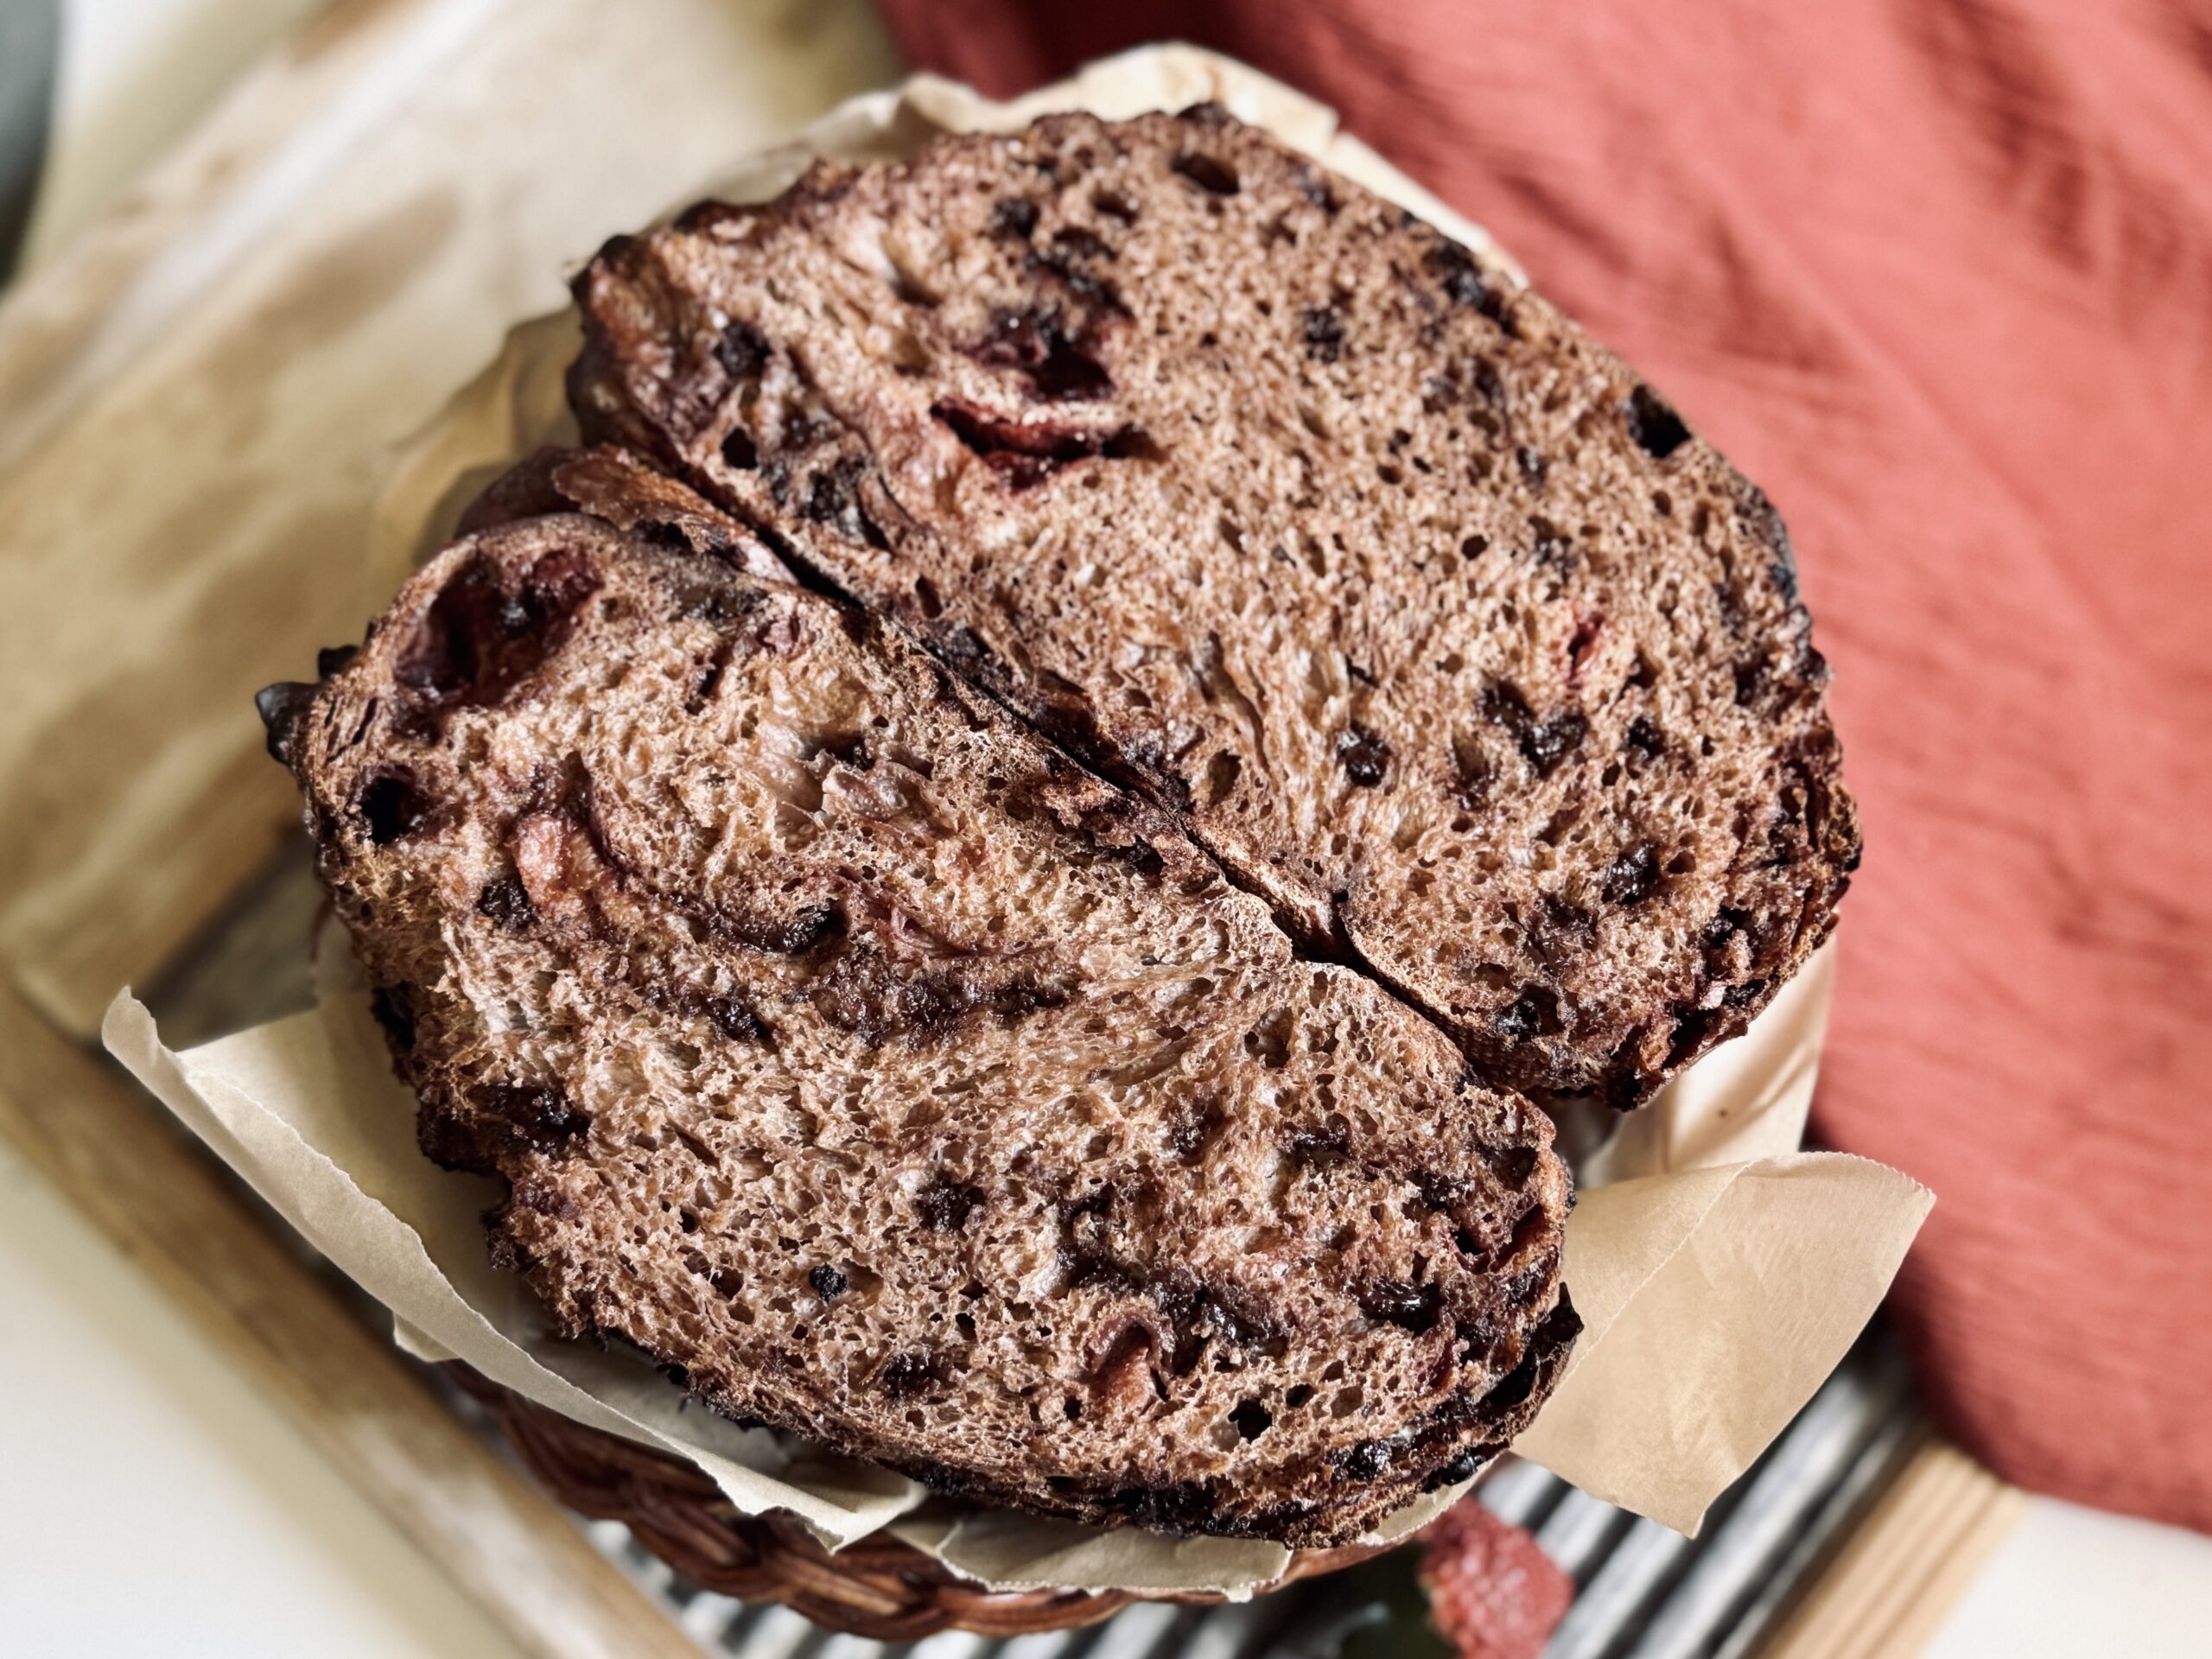
I am just a girl who cannot resist chocolate. And this delicacy? Absolutely no way. Chocolate bread with chocolate chips and tart, freeze-dried strawberries? Count me in.
Now, here’s the thing, if you’ve read my original post for country bread, maybe you noticed that I am still working on my technique for this style of bread. While I have a recipe that is well-fermented, soft and airy, with all the flavors my palate could ever dream of, I still do not feel like my skills are complete. And, that is the case with this recipe, too. I hope to update this post in the future, once my skills grow and I hone in on an even better technique. For now, though, I will share with you all the knowledge I do have, and a recipe with great texture and flavor.
What Is Country Bread?
Country bread is a French-inspired rustic loaf of sourdough bread. It can be shaped into a boule (round) or a batard (oval). This is the bread that most people simply call “sourdough” today. This bread was popularized in the early 2000’s by Chad Robertson, whose book, Tartine Bread, is the root for which all modern sourdough is based today.

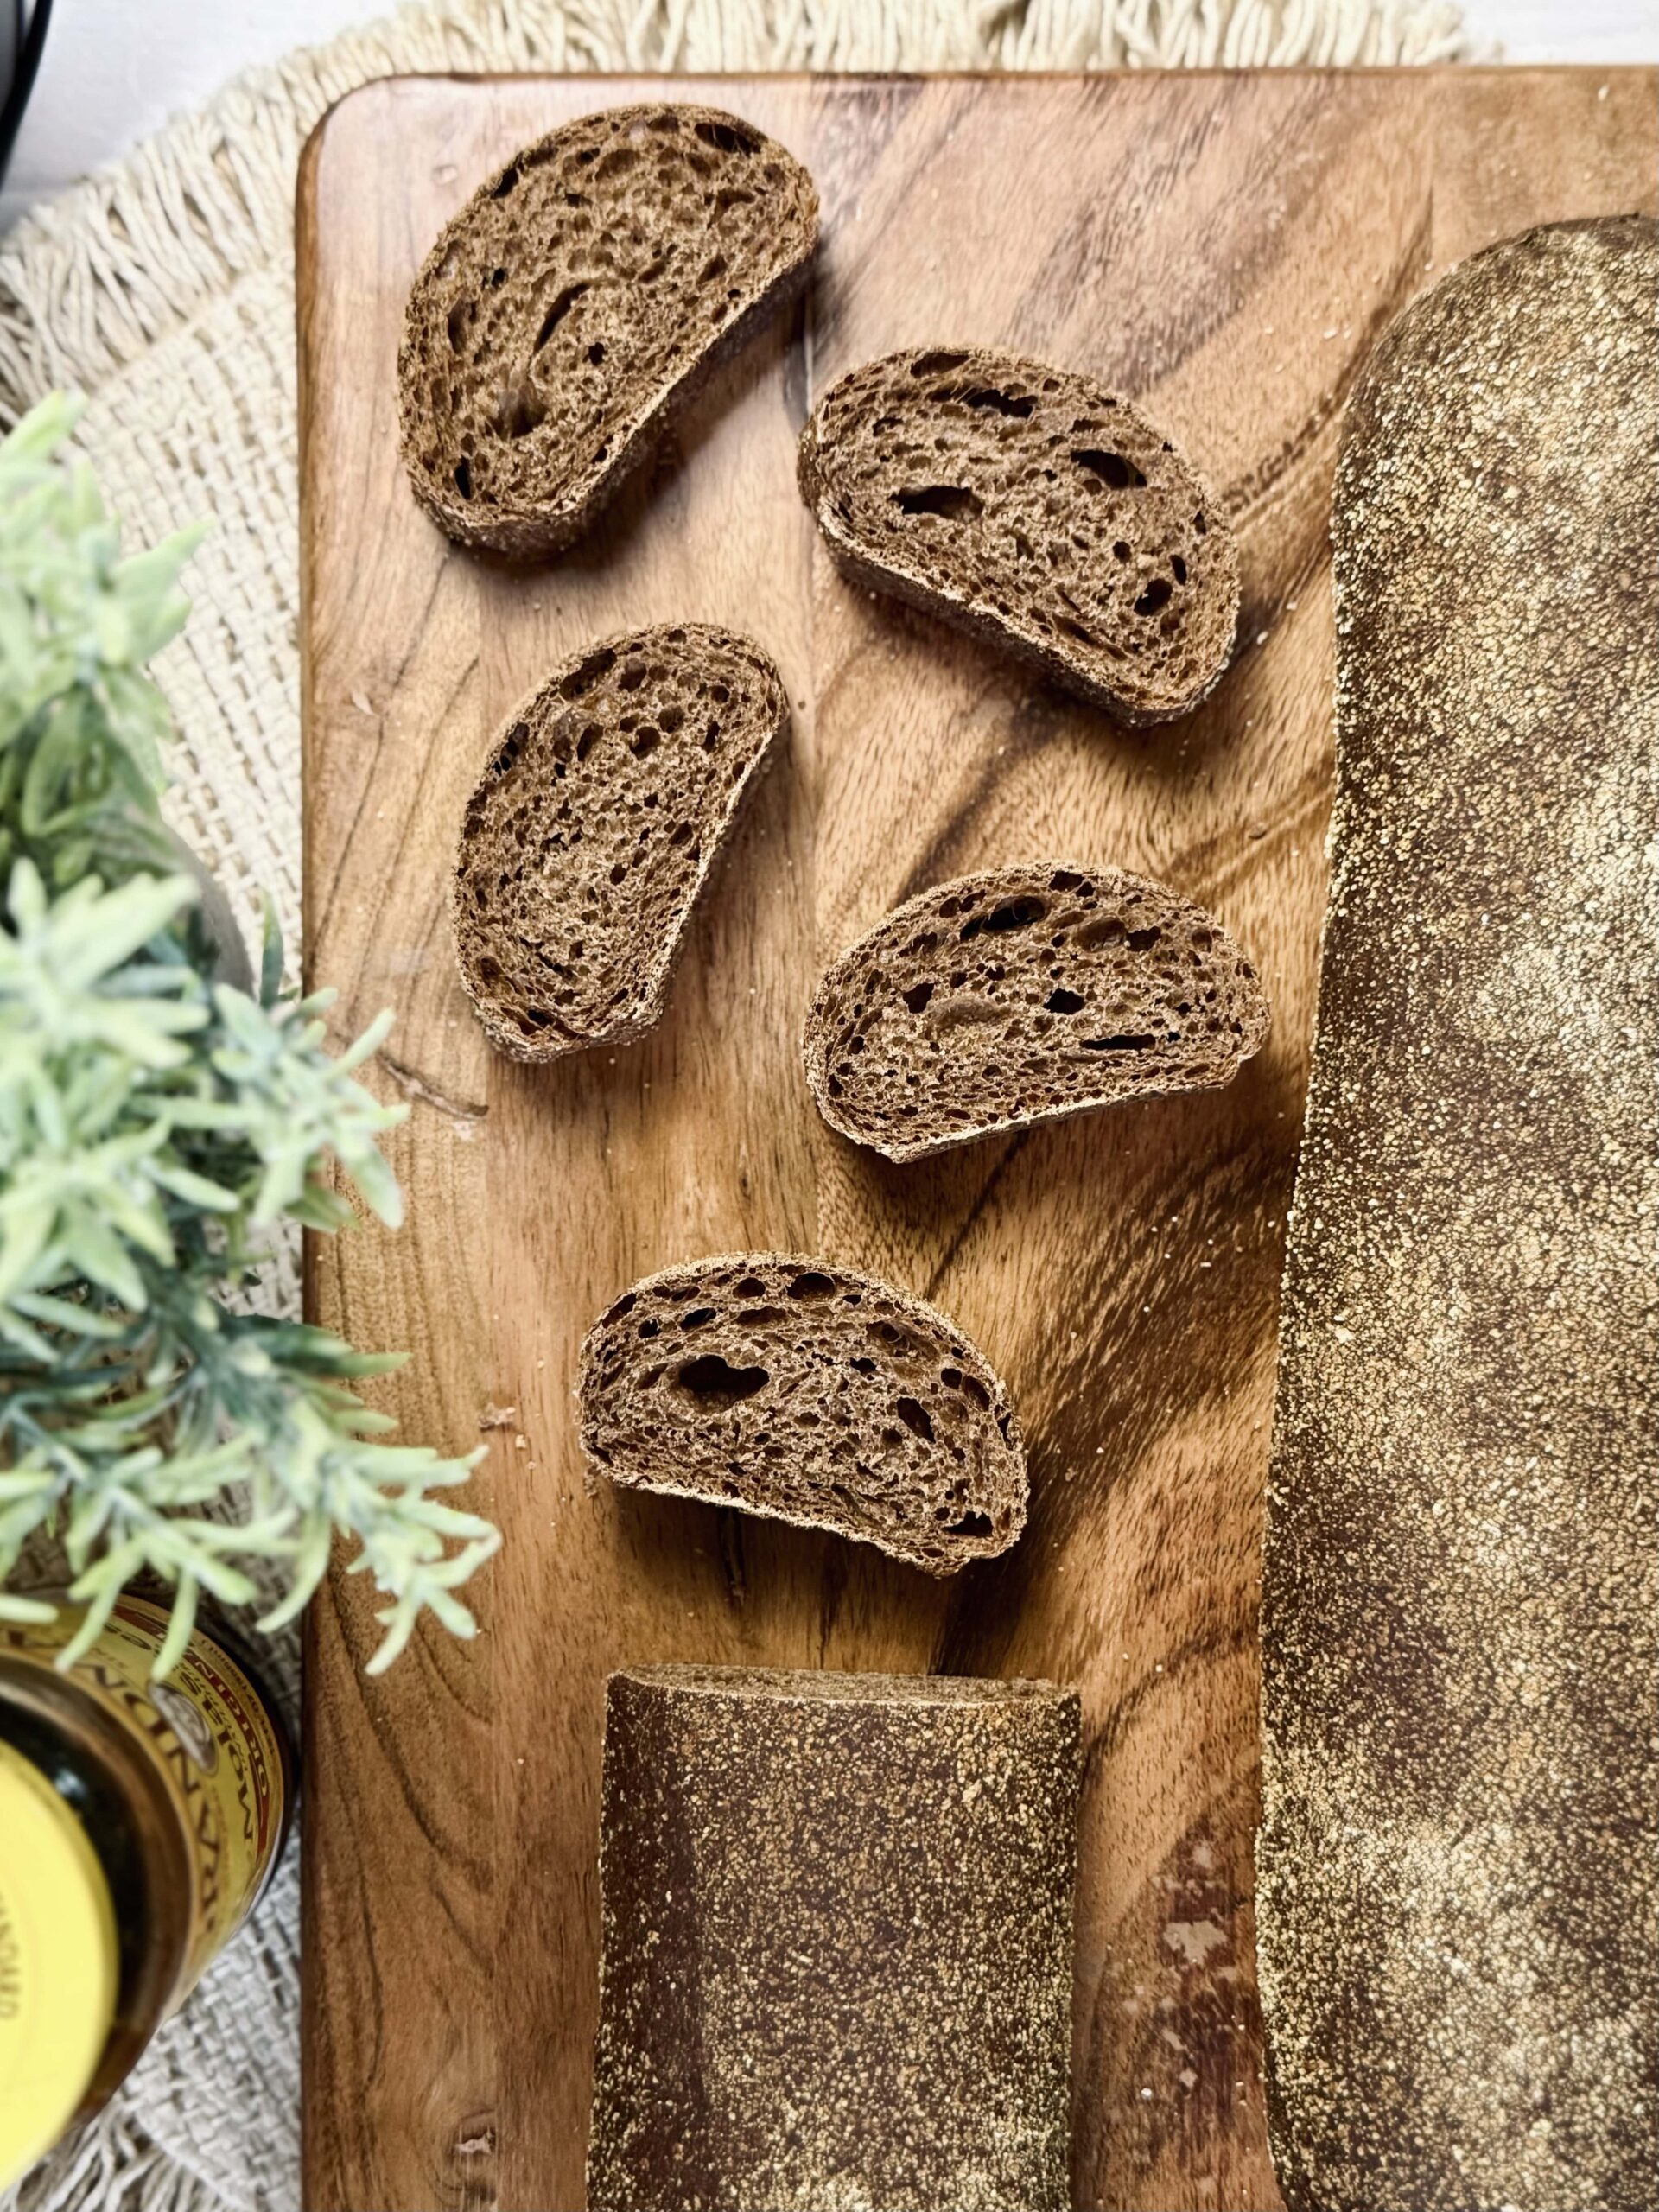
This type of bread is made from a fairly wet dough, which easier to develop by hand. The long fermentation time allows gluten to come together, as well as provides the dough with most of its strength. It is baked at a high temperature with steam (for a fuller expansion) to achieve a sort of “explosion” in the oven, which gives the loaf a beautiful oven spring and interior.
What I Love About This Recipe
This recipe makes the perfect dessert bread. It does not need a single spread; all the flavors are just right there in each slice. Though, if you did want to spread it with something, I highly recommend Nutella. Definitely a win.
I tried some new techniques with this one and I learned a lot from them. In this recipe, I employ an autolyse technique, though not a true autolyse (since it contains more than just flour and water), in order to let the dough come completely together and develop extensibility (starchiness; flexibility) before adding the starter. This step allows me to strengthen my dough and incorporate my mix-ins via lamination in the beginning stages of fermentation. I also incorporate an egg into the mix, which adds protein and structure. Altogether, I find the process of making this bread just as enjoyable as eating it.
All The “Why’s”
Bread Flour
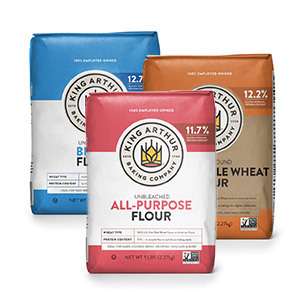
Here’s the thing about artisan bread: most of the gluten is developed through time during the slow fermentation process. You see, as dough rests, gluten comes together naturally and fermentation provides strength. Bread flour contains more gluten binding proteins, which naturally create a stronger network that traps air and helps the loaf ferment more efficiently. I use King Arthur Bread Flour in most recipes that call for “bread flour” because of its higher protein content (12.7%) and excellent ability to form gluten.
Tightening Agents: Salt + Cocoa Powder
Salt helps bring out flavor (without salt, bread would taste almost like nothing), but also has notable effects on the dough. Salt is a tightening agent, meaning it helps create a more elastic (strong) dough. But, cocoa is also a tightening agent, and with both of these things, we risk a dough that is too strong. Both of these ingredients slow fermentation, as well as gluten development, but are necessary to achieving the right flavors in this bread. Therefore, I reduce the amount of salt I use in this recipe from my usual 2% down to 1.5% to help loosen the dough. In addition, you will notice I do not use too much cocoa powder, only 3%, for the same reasons: to help keep a loose dough.
I had some comments about how there is simply not enough cocoa powder in this recipe. The truth is: it is all a matter of personal opinion. The more cocoa powder that is added, the tighter the dough becomes, which leads to a dough that is dense, hard to shape, and just does not bake up right. For this kind of bread, country bread, I think keeping the cocoa powder at a minimal is important due to the characteristics we are trying to achieve. For other kinds of bread, such as pan loaves and milk breads, my opinion is different, since the process and desired outcomes of the bread are different.
Brown Sugar
The purpose of the sugar here is to compliment the cocoa powder. Sugar affects fermentation, sometimes positively and sometimes negatively, but in this case positively. 5% sugar is enough to feed the yeast and give them a boost, since salt and cocoa powder restrain them. It is the perfect compliment to this bread, both for flavor and fermentation needs of the dough. While I use brown sugar, white, granulated sugar or honey should work just the same.
Hydration (And, Why The Egg?)
In this recipe, I use an egg as part of the hydration. The goal here is to add protein and structure to the dough, helping to produce a taller, more defined loaf of bread. Yes, it does add subtle richness, but I think that pairs well with everything else going on.
Eggs are about 75% moisture, so in this recipe I just count the whole egg as part of the hydration. It is an estimate, but altogether not a big deal, especially since the dough contains a bit more moisture, resting at approximately 80% hydration in total. Because of the naturally tight dough the ingredients of this recipe produce, I think it is important to add extra moisture in order to help counter this.
Water Over Milk
I cannot tell you how much I wanted to use milk instead of water in this dough. Just think of the magical combination of cocoa + sugar + milk! The end result can still be delicious, but milk simply does not pair well with artisan bread. It is yet again, another tightening agent, and causes the dough to stiffen and expand in a weird way, as well as leads to major cracking, a burnt crust, and a closed crumb. Milk-based breads are typically baked at much lower oven temperatures to prevent burning; everything about milk just does not go well with country bread. Therefore, water it is.
“Autolyse”
Autolyse, in quotes, because this is not a true autolyse. A true autolyse is simply the flour and water from the recipe, which is allowed to sit for a period of time before the sourdough starter and salt are added. For this recipe, I mix together all the ingredients except for the sourdough starter and salt. Why? The effect is essentially the same as a traditional autolyse: gluten development is initiated and the dough gains extensibility (flexibility) from this rest period. This means our dough is super stretchy and will pass a windowpane before fermentation even begins. This is especially important here, where there are so many tightening agents (cocoa, salt, even the egg).
Lamination
There are some things I have changed in this recipe since learning a lot more about bread and creating my original recipe video (which you can still find at the end of the recipe card). I originally included lamination as a means of incorporating inclusions near the beginning of bulk fermentation. I do not do this anymore. Here’s why: lamination is another means of building strength, or in other words: tightening the dough. We already have so much of that going on here! The dough becomes too tight, and the resulting loaf is too strong, with not enough extensibility. Instead, just skip the lamination and fold the dough instead. You can dump all the inclusions onto the top of the dough before its first fold (after the starter and salt are added), and simply layer them in with your folds.
Inclusions
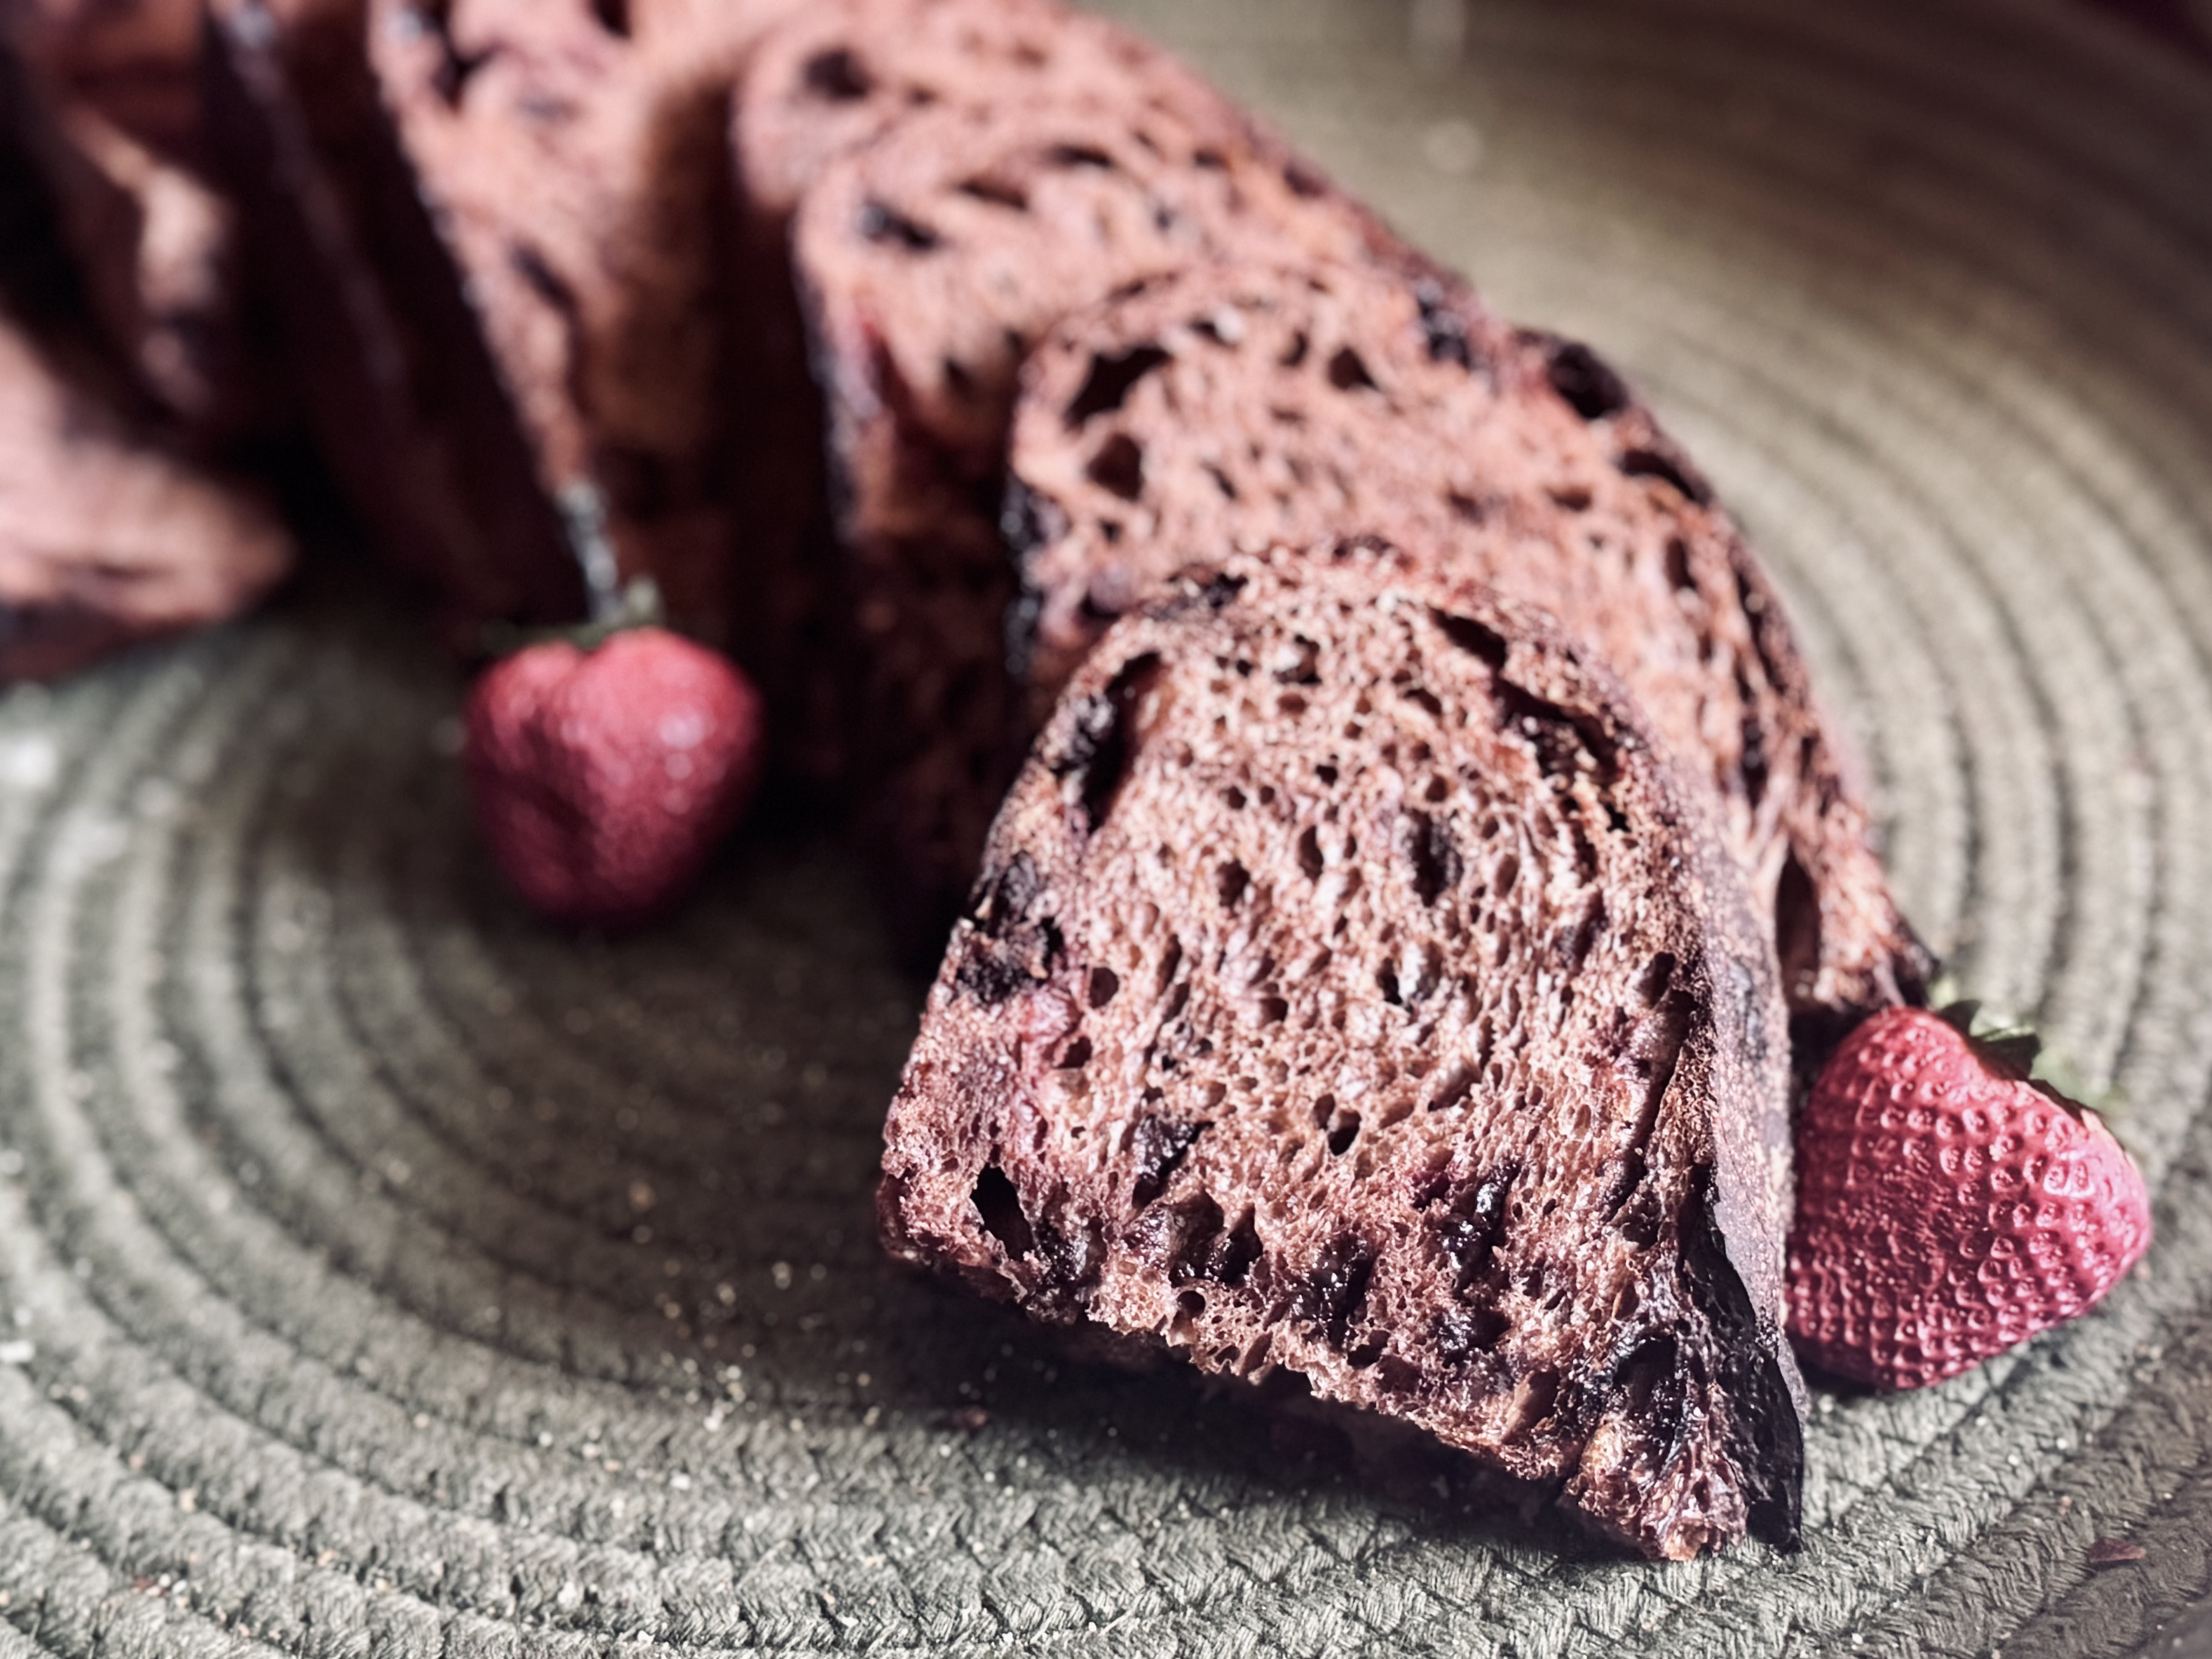
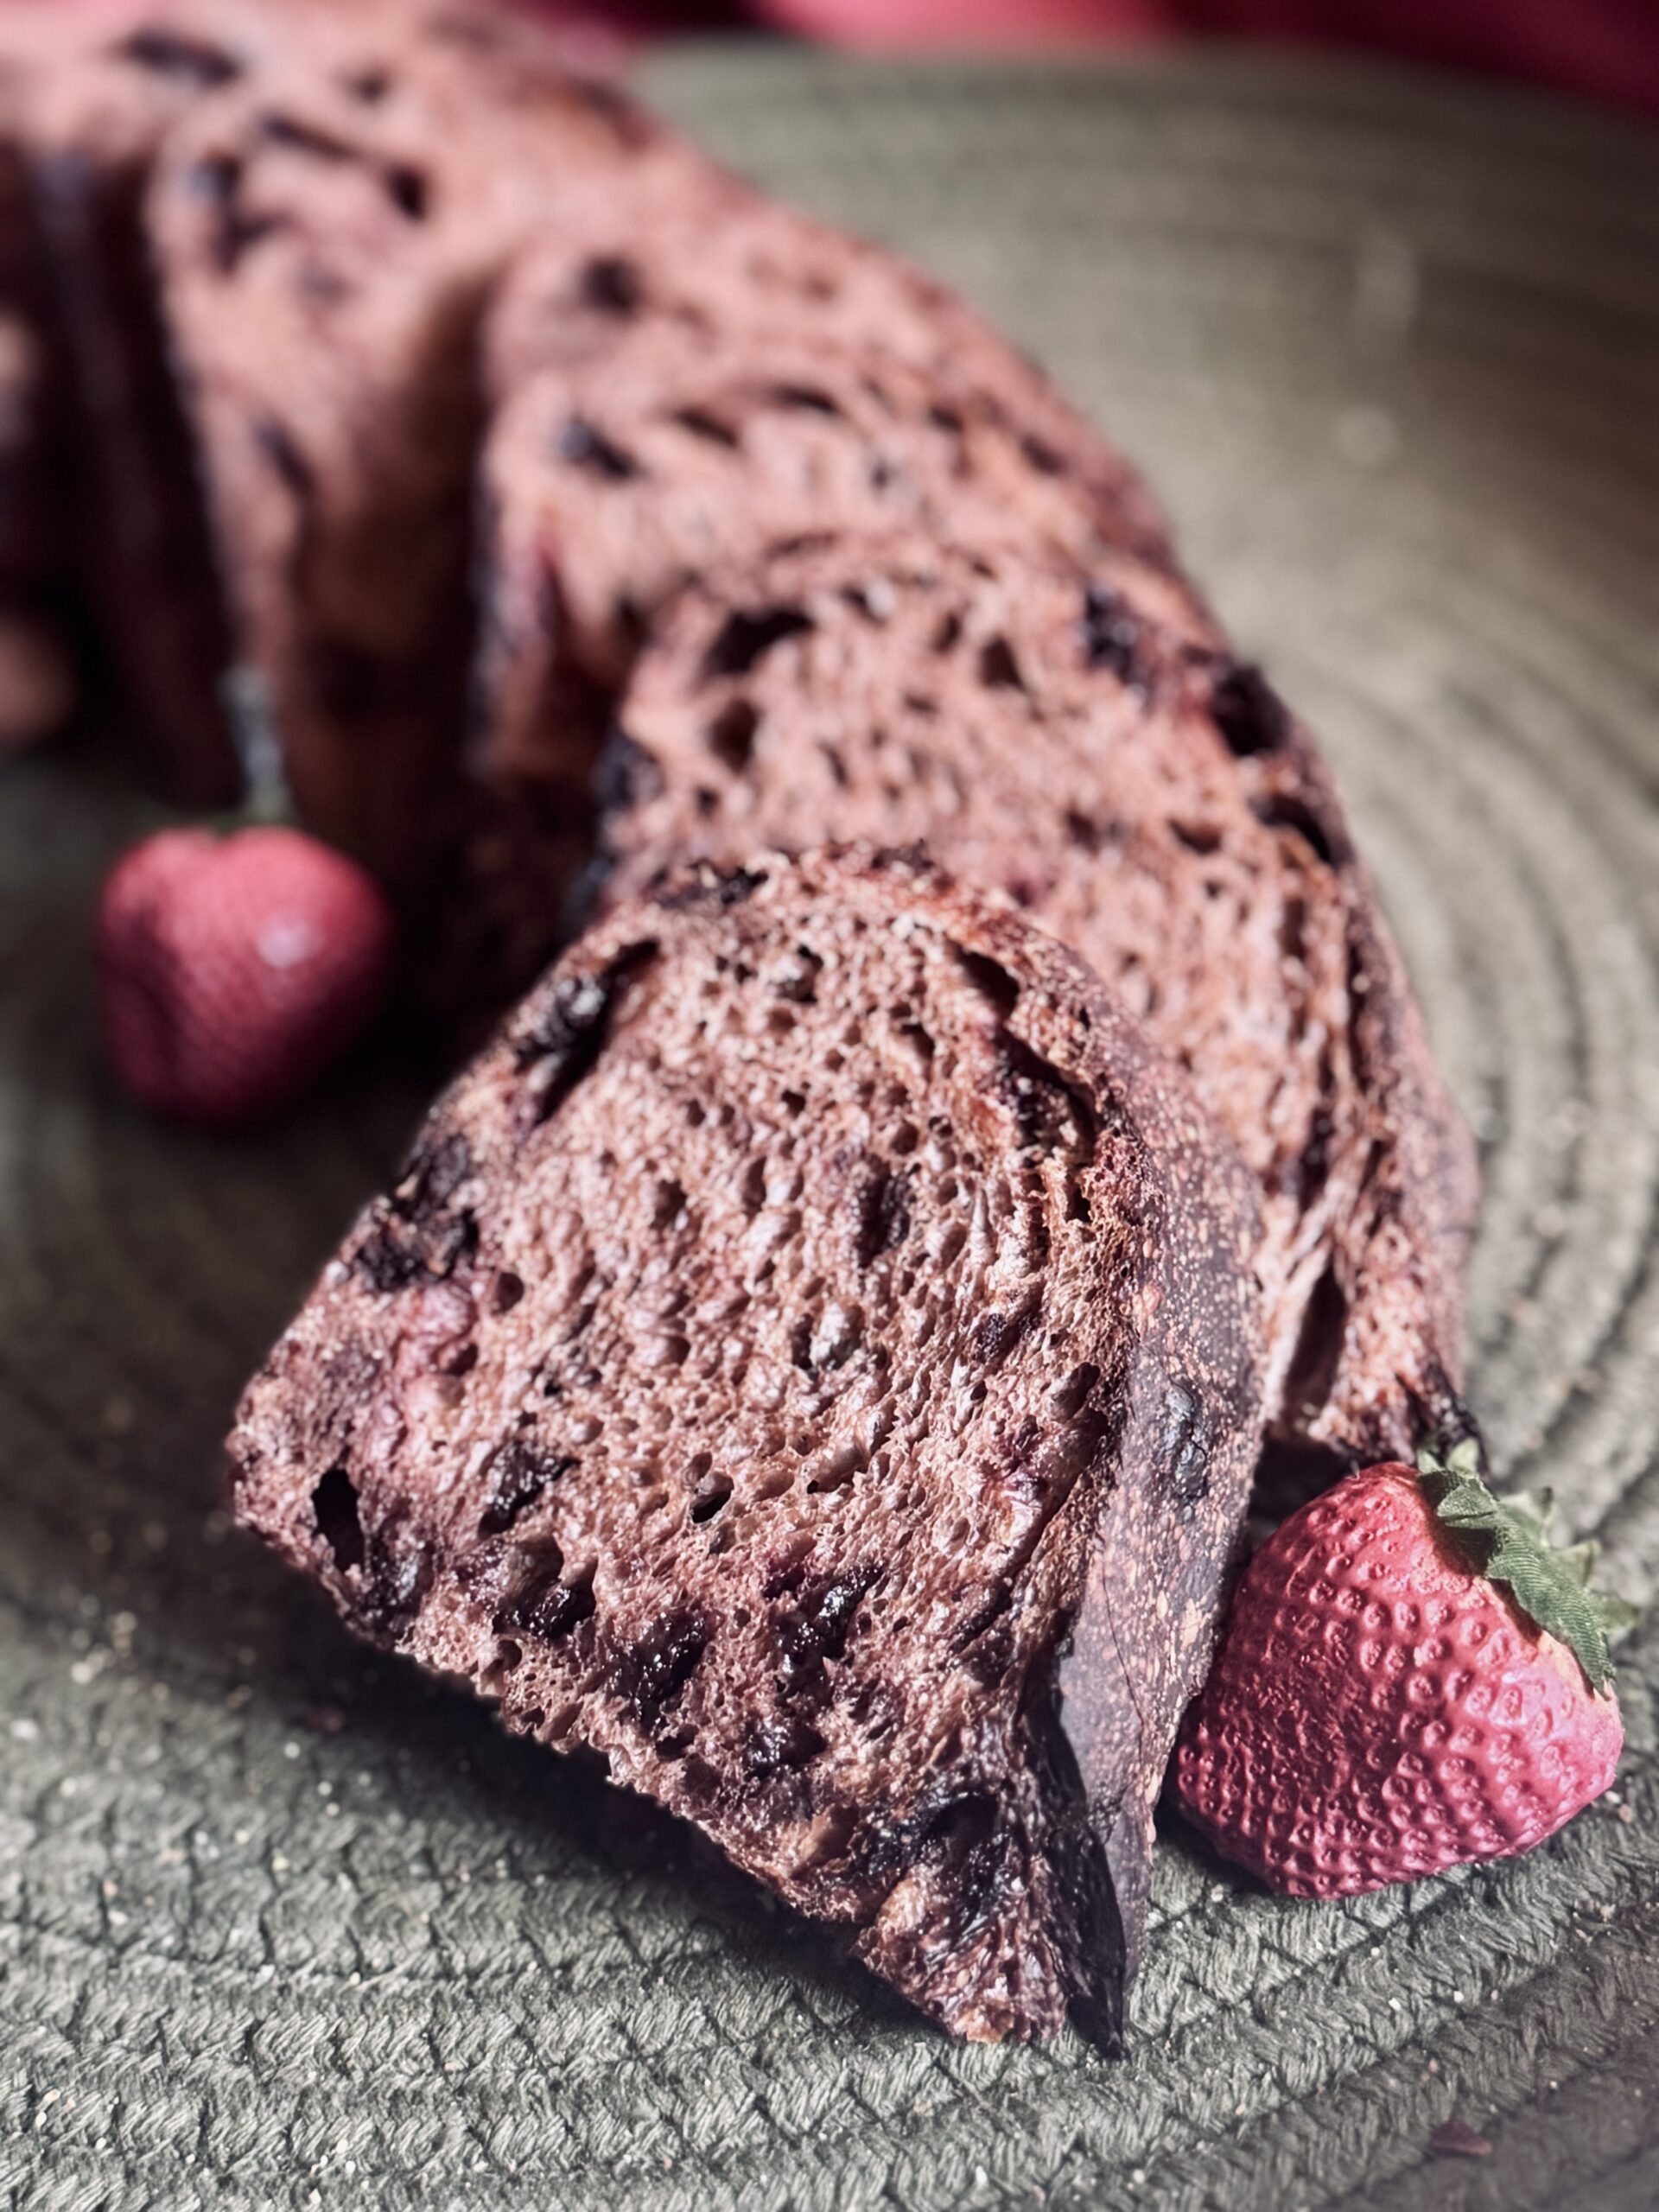
I chose to use freeze-dried, rather than fresh, strawberries in this recipe. This is a personal choice due to the fact that I allow the strawberries to rest in the dough through folds and fermentation. Freeze-dried strawberries will moisten as they sit in the dough, and as they are baked in the bread. Fresh strawberries will provide extra moisture to the dough, which is not necessarily a problem, but may not hold up as well through fermentation and may affect baking.
I now prefer to chop my chocolate and strawberries very small (or use miniature chocolate chips). This helps better distribute the ingredients and keeps them from tearing the gluten strands that are developed through time. Once again, this is a personal choice; do as you wish.
Dough and Gluten Development
This dough is enriched, but minorly. The small amount of sugar, egg, and cocoa powder still allow gluten to come together and develop naturally over time. This means we can let fermentation do most of the work in our dough, aerating it and building strength. Since this dough includes so many tightening agents, we only need to perform two folds. The folds help to incorporate inclusions, build structure and layers, and help fermentation do its best work.
For this recipe, I aim for two to three folds, depending on how the dough is looking, and I space them out well. The key is to make sure the dough relaxes completely between each set. This way, the folds are more efficient at structuring the dough, but without taking away any more of our dough’s precious extensibility. You can do each set of folds a minimum of one hour apart, but up to two hours, though this fully depends on your fermenting environment. I ferment this dough in my warmer set to 75 F (23 C) for about nine to ten hours before shaping.
Bulk Fermentation
It is important to note that fermentation varies significantly depending on temperature and climate. This dough ferments more slowly than other doughs, so a warmer environment is better. It may take a very long time in temperatures below 75 F (23 C). Always watch the dough and read your baked loaf as best as possible to be able to determine necessary adjustments for your next attempt. The goal is to ferment the dough as long as possible, but not to overproof. The longer the dough ferments, the lighter and airier your bread will be.
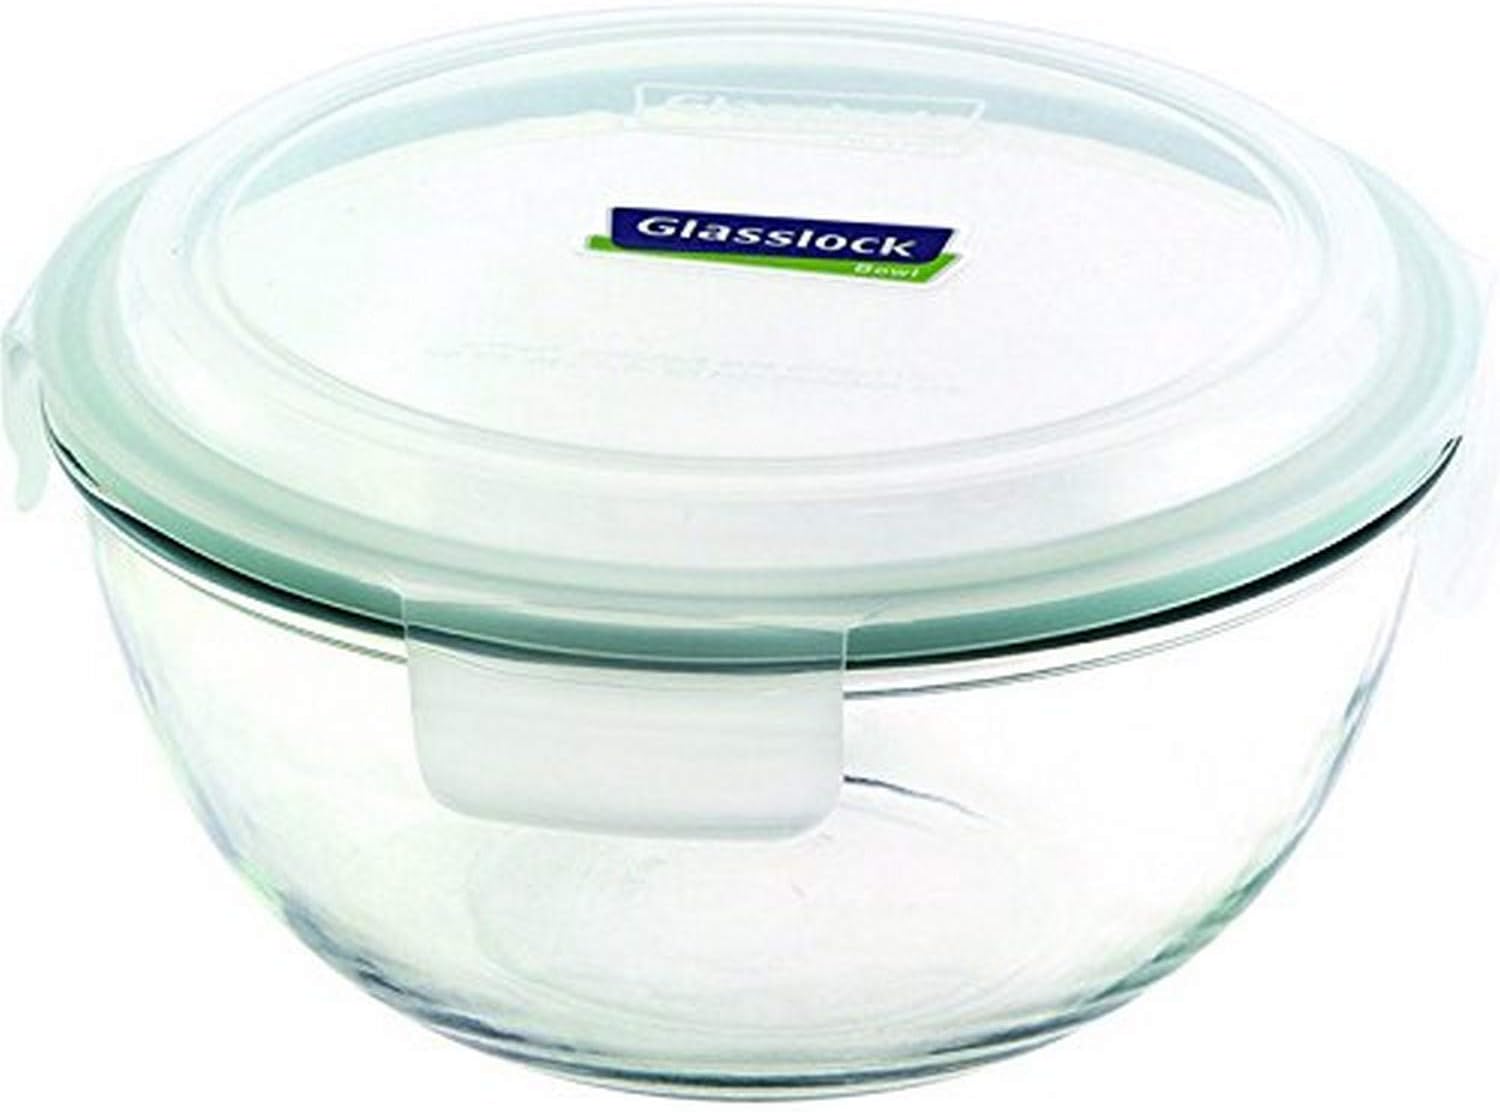
If you choose to cold proof your dough, as I do in this recipe, the temperature of your bulk fermentation is very important. A warm dough will continue to rise significantly in the fridge after shaping, while a cooler dough will not. I keep this dough around 75 F, and bulk ferment it until it fills my 3.75 quart Glasslock bowl. This takes about nine hours, and I have never had this recipe overproof in the fridge at this temperature and time. But, if your environment is warmer, you will need to consider decreasing the percentage of rise you give the dough before you shape it.
Shaping
Since we are only making one loaf of bread, it is not necessary to pre-shape the dough. Simply turn it out, and shape it using your preferred method for a boule or batard before adding to your banneton.
It is important to be very gentle with the dough during this step, if you want to keep air bubbles intact, that is. If not, simply pat the dough all over after turning out, which will degass the dough and result in a more closed and even crumb.
Cold Proof
A cold proof is always an option to extend the baking timeline, which creates flexibility. I do usually cold ferment this dough due to the extended fermentation time, that way I can prepare it the day before and bake it whenever I want fresh bread the next day. If you make this recipe as an overnight dough, you may not want to cold proof (and, that works as well!). Simply let it rest for one to three more hours on the counter before baking, depending on the climate and how the dough is looking.
Scoring
I am super simple when it comes to scoring. You only need one score, 1/4 to 1/2 inch deep, to help this loaf expand without cracking all over. I am not about decorative scoring, but if you are, then go for it!
In my video, I teach you how to score your dough at the right angle for the most prominent ear, as well as how to do a five-minute score to improve expansion in the oven. In reality, if your dough is well-balanced, with enough extensibility, the loaf will expand just perfectly without scoring at the right angle or adding the extra score at five minutes.
Baking Method: Temperature
The best oven spring and crumb comes from baking the dough hot and fast. Since originally writing this recipe, I’ve increased the baking temperature even more. In my opinion, 500 F gives the dough the best “pop” in the oven, as well as a delicate thin and crispy crust.
Baking Method: Steam
Because I have a gas oven, it is hard to open bake. I open bake breads that are smaller in size, such as bialy or pan de cristal, but whole loaves do not do well. Therefore, I always use a Dutch oven for bakes like this (lid on for the first half of baking [steam], lid off second half [to firm up the crust]). Currently, that is my Challenger bread pan (which I absolutely love!).
In reality, you can open bake this bread, just make sure your oven has plenty of steam for the first twenty minutes of baking to help the dough expand properly. Open-baking works best with electric ovens that do not have vents. The main goal: make sure your bread has the ability to expand to its maximum potential before the crust begins to harden.

Suggested Timelines
Suggested Timeline
DAY 1
8:00 a.m.
- Mix all ingredients except the starter and salt.
10:00 a.m.
- Add the starter and salt.
- Keep the dough warm, around 75 F (23 C) if possible.
11:00 a.m. – 2:00 p.m.
- Strengthen the dough through folds.
8:00 p.m.
- Shape and refrigerate the dough.
DAY 2
8:00 a.m.
- Bake and enjoy!
Work Day Timeline
DAY 1
5:00 p.m.
- Mix all ingredients except the starter and salt.
7:00 p.m.
- Add the starter and salt.
- Keep the dough around 70 F (21 C) if possible.
7:30 p.m. – 10:00 p.m.
- Strengthen the dough through folds.
DAY 2
6:00 – 8:00 a.m.
- Shape and refrigerate the dough.
After Work
- Bake and enjoy!
📌 Quick Tip: Read the recipe in its entirety before you start cooking. This will help you understand the ingredients, steps, and timing involved, and allow you to prepare any necessary equipment or ingredients beforehand.

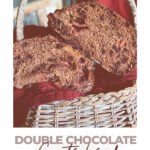
Double Chocolate Country Bread (With Strawberries)
Ingredients
For The Initial Mix
For The Final Mix
Mix-Ins
Instructions
-
Combine all ingredients for the initial mix. Let the dough rest for 1-2 hours.
-
Add the active starter and the salt. Mix well, making sure everything is fully and completely incorporated. Rest one hour.
-
Add the chocolate chips and freeze-dried strawberries (chopped, if desired) to the top of the dough. Coil fold the dough by pulling the dough up from the center until one side releases, then coiling it under itself. Coil fold the dough three to four times, until the dough will no longer fold/layer itself. This is one set. Rest one hour.
-
Perform only one more sets of coil folds, spaced one to one and one half hours after the first one. Only fold the dough until it will not stretch any longer, two to three more folds. Then, let the dough rest until it has approximately doubled in size or fills a 3.75 quart container, about nine hours in total (from the time the sourdough starter was added to the dough) at 75 F (23 C).
-
Turn the dough out onto a lightly watered or floured working surface. Shape the dough into a boule or batard.
Boule: Fold the left and right sides into the middle. Next, fold the top half to the middle, then follow by folding the bottom half all the way over. Last, use your hands to push and tuck the dough in order to complete the round. This step will also tighten the surface of the dough, helping it keep a nice shape and providing you with a beautiful oven spring.
Batard: Fold the left and right sides into the middle. Then, roll the dough up like a log, from the top downward.
-
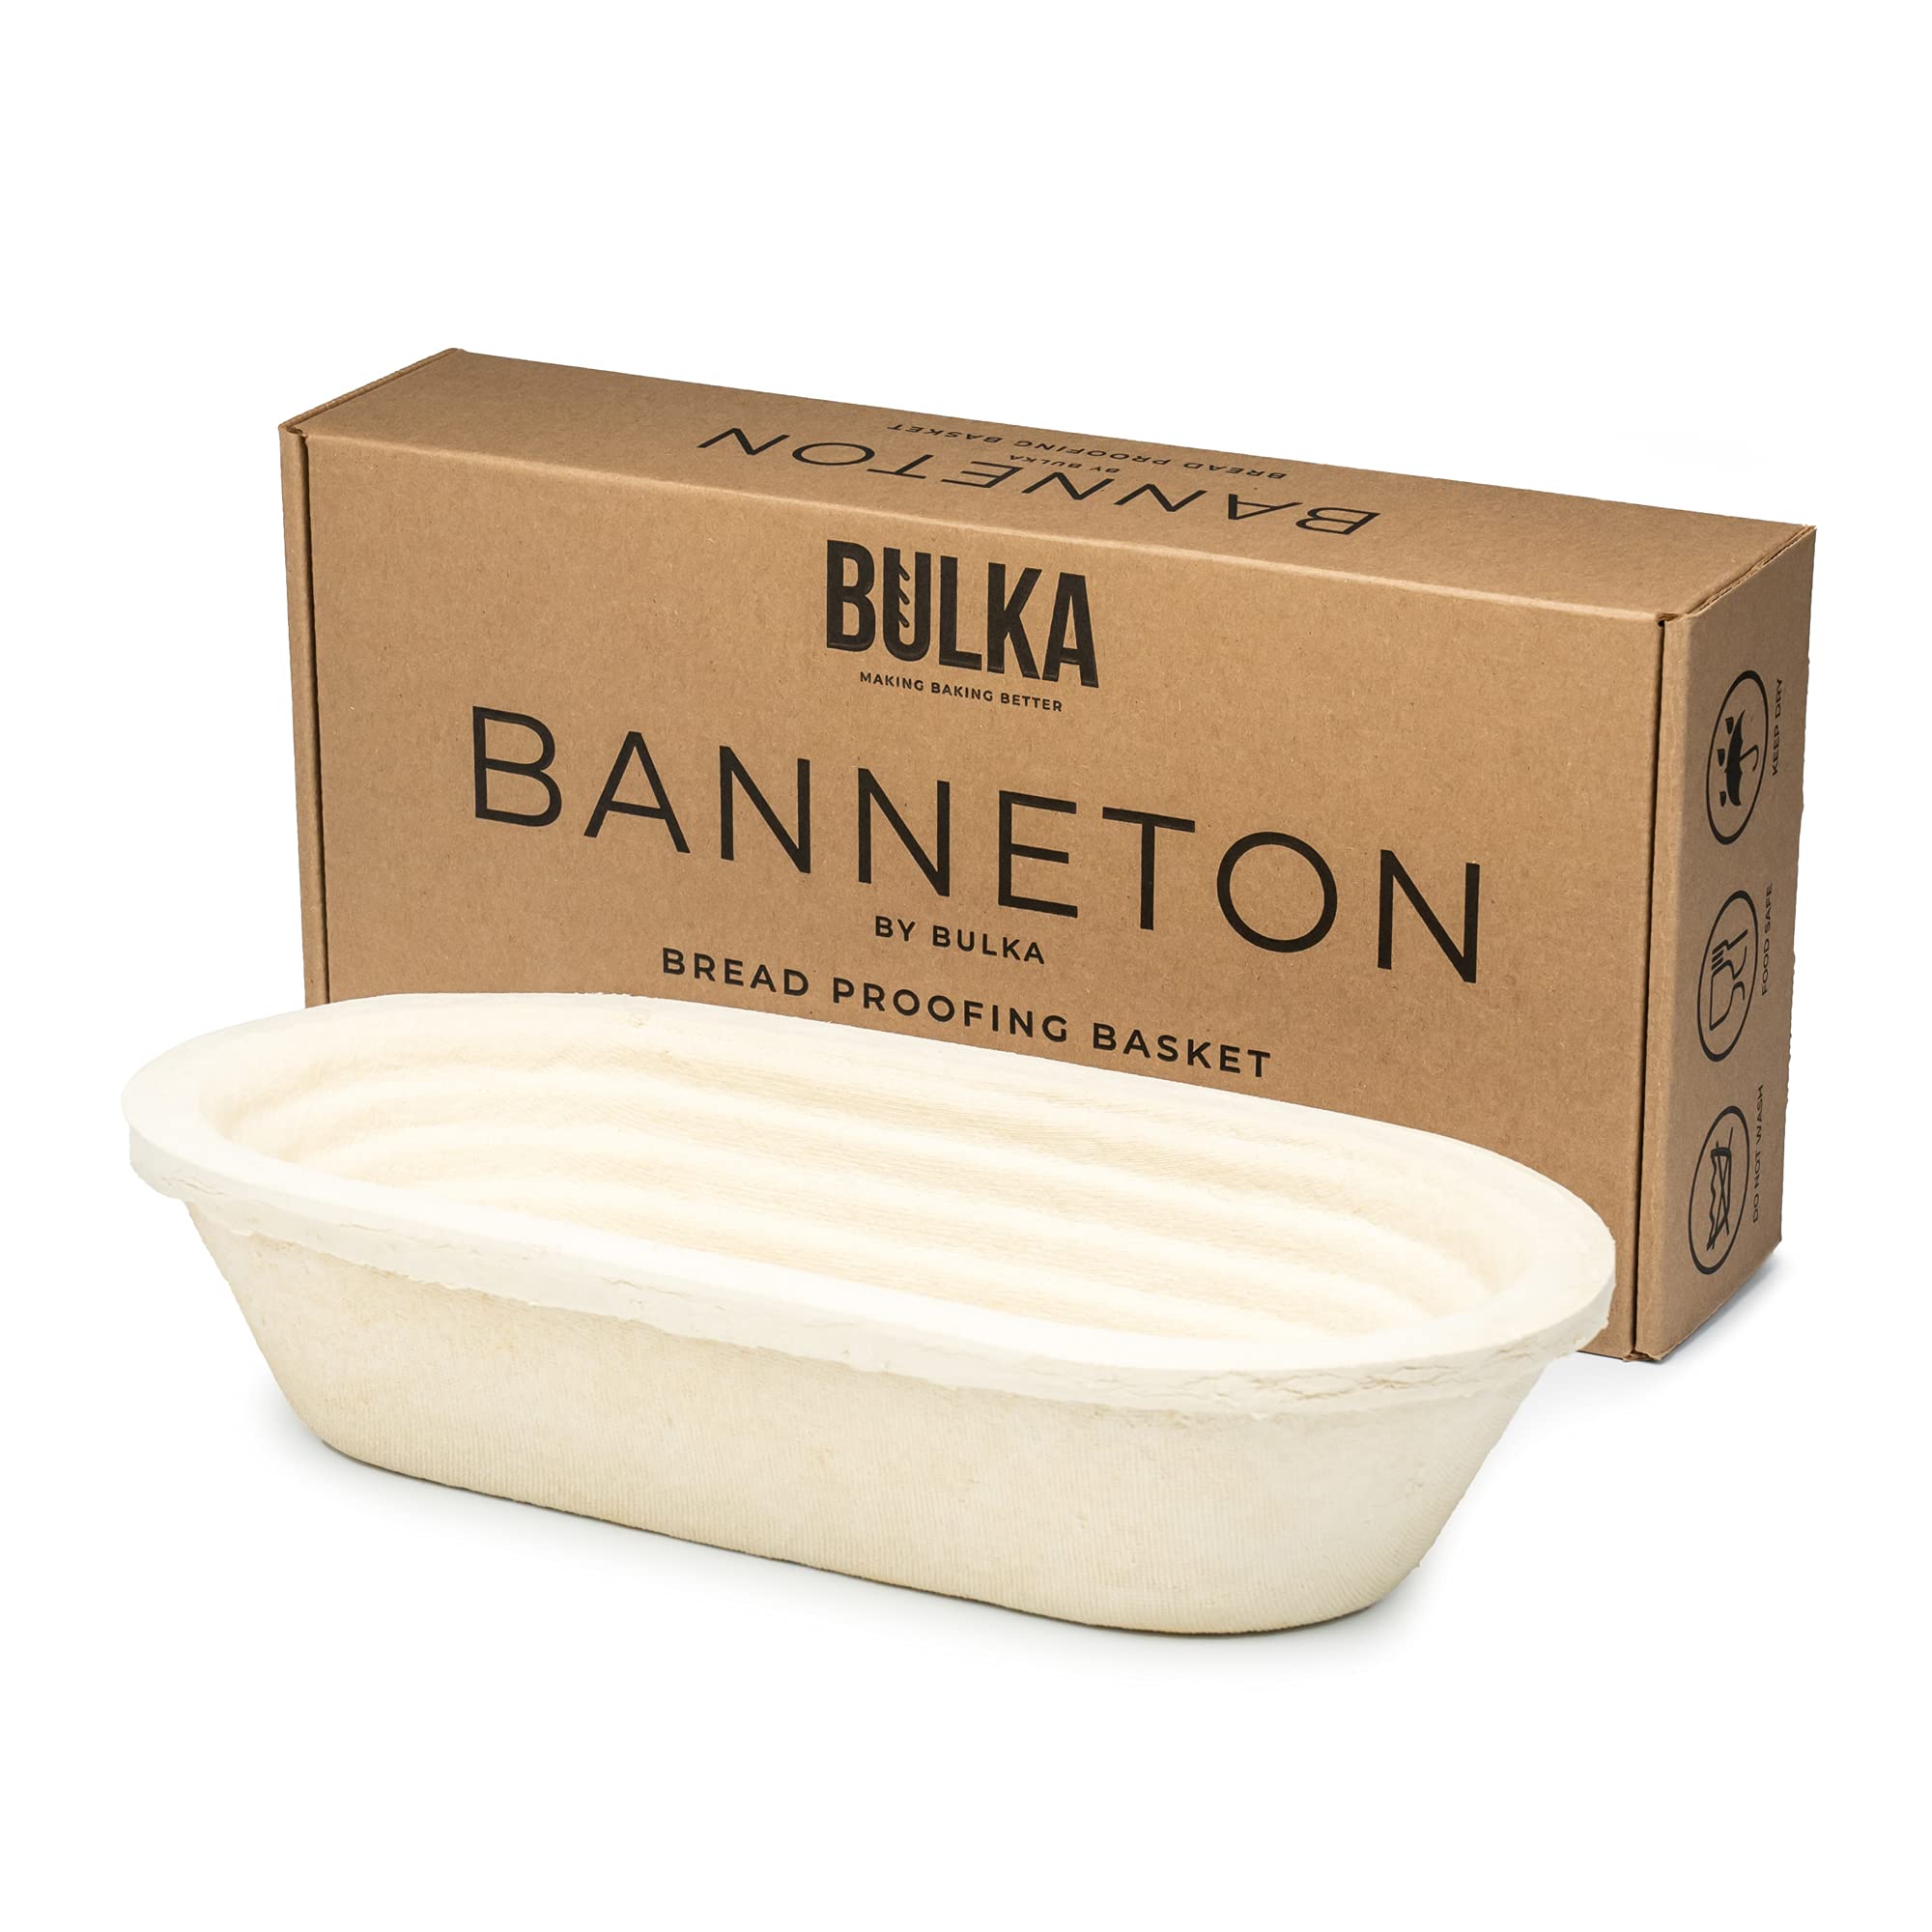
Using a bench scraper, transfer the loaf seam side up into your banneton. Pinch any seams closed.
-
Cover with a plastic bag. At this point, you can place the loaf directly into the refrigerator overnight (8-12 hours) or let it proof 1-3 more hours on the counter before baking.
-
Preheat your oven and Dutch oven to 500 F for at least 30 minutes before baking. A baking stone or baking sheet on the rack underneath the Dutch oven will help prevent the bottom of your loaf from burning.
-
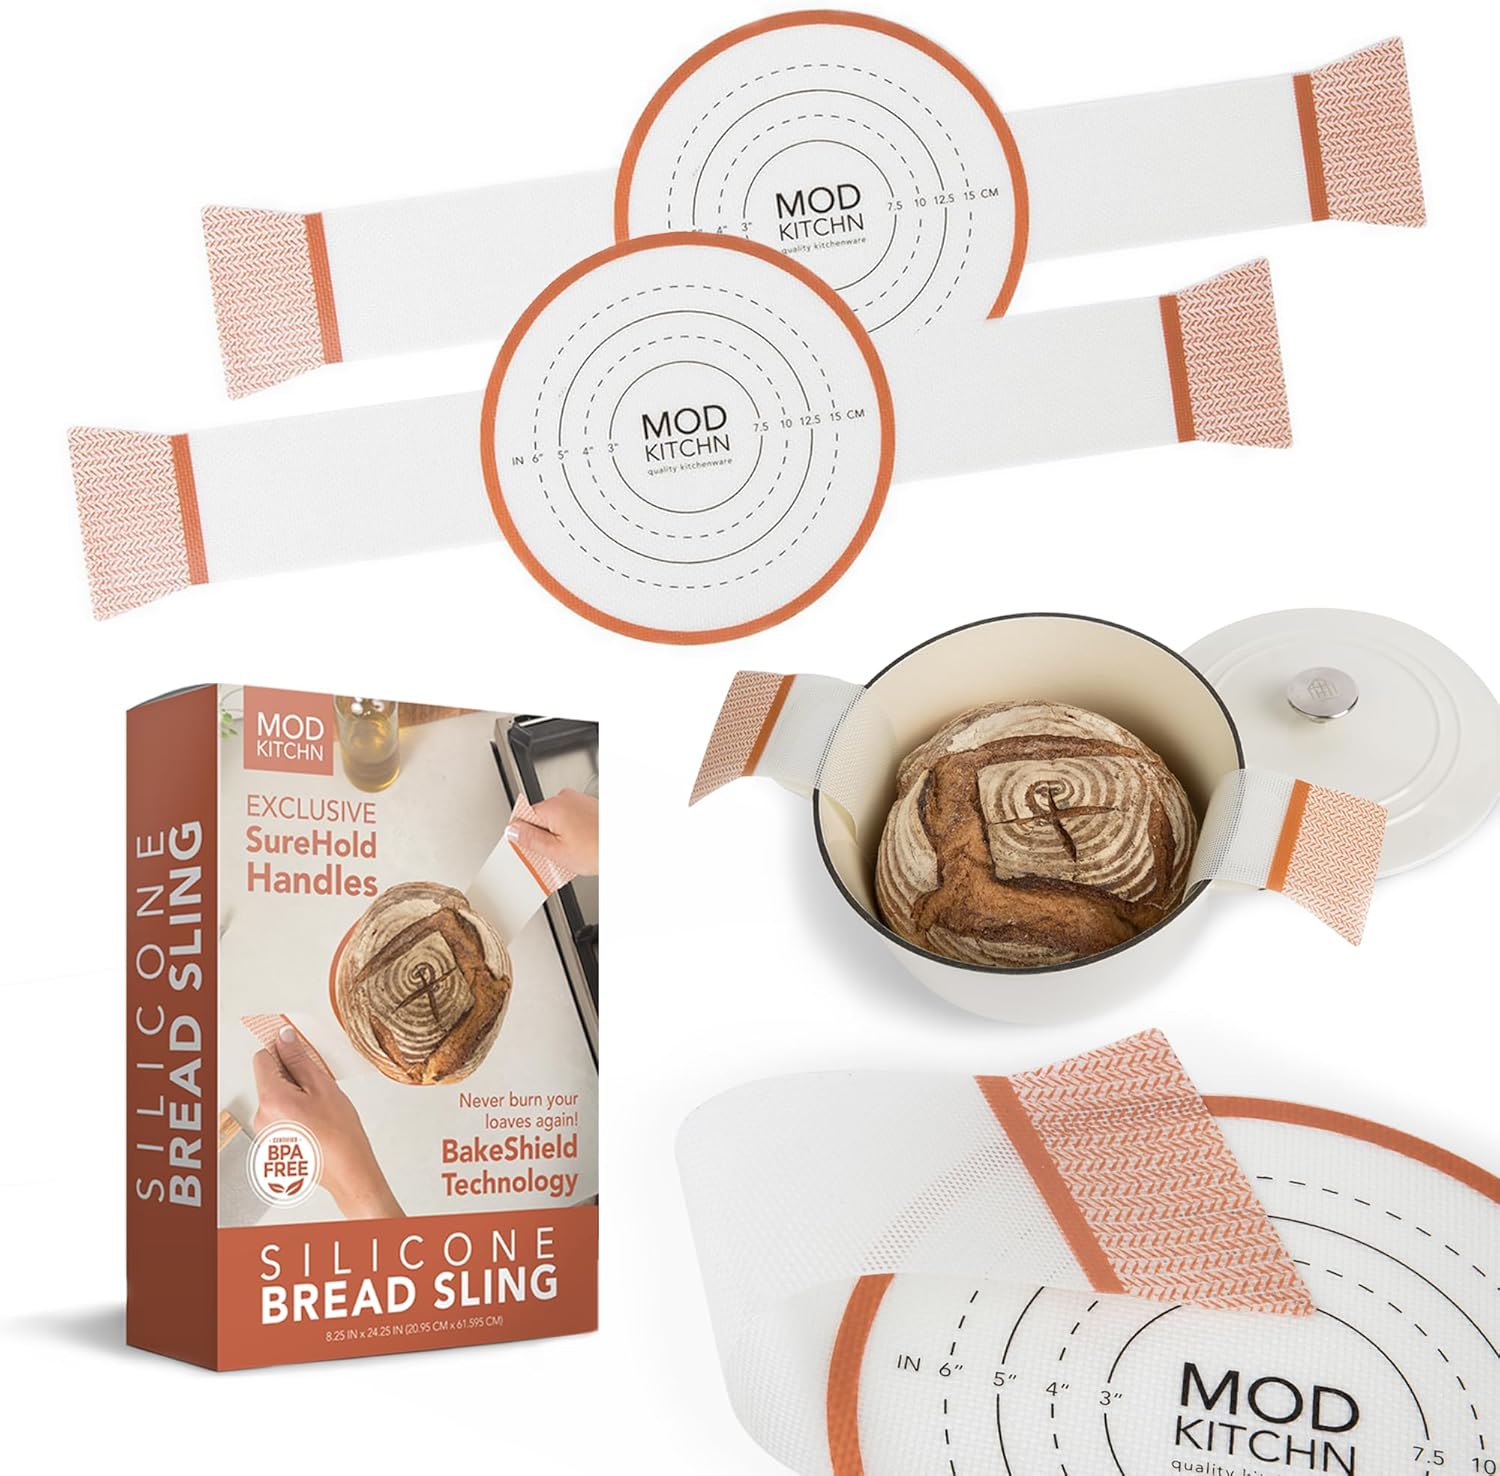
Remove your dough from the fridge. Turn it out onto a silicone baking mat or a piece of parchment paper.
-
Score the loaf 1/4 to 1/2 inch deep, then transfer to the preheated Dutch oven.
-
Bake for 20 minutes with the lid on, then remove the lid and bake 15-20 minutes more, until the internal temperature reaches at least 200 F (93 C).
-
Cool for at least 30 minutes before slicing.
You might need...


Affiliate Disclosure: This post contains Amazon affiliate links. This means when you buy a product using one of my links, I may receive a small commission at no cost to you. Thank you, in advance, for supporting my work.
Nutrition Facts
Servings 12
- Amount Per Serving
- Calories 174.76kcal
- % Daily Value *
- Total Fat 1.39g3%
- Saturated Fat 0.36g2%
- Cholesterol 15.5mg6%
- Sodium 182.16mg8%
- Potassium 74.79mg3%
- Total Carbohydrate 34.3g12%
- Dietary Fiber 1.54g7%
- Sugars 2.55g
- Protein 6.17g13%
- Vitamin A 6.66 IU
- Calcium 16.44 mg
- Iron 2.24 mg
- Vitamin D 0.08 IU
- Vitamin E 0.21 IU
- Vitamin K 0.21 mcg
- Thiamin 0.36 mg
- Riboflavin 0.24 mg
- Niacin 3.26 mg
- Vitamin B6 0.03 mg
- Folate 19.42 mcg
- Vitamin B12 0.03 mcg
- Phosphorus 62.63 mg
- Magnesium 19.21 mg
- Zinc 0.54 mg
* Nutrition values are auto-calculated and should be used as an approximation only.
Notes
- Storage: Store in a Ziploc or bread bag on the counter for three to five days, or slice and store in the freezer. Toast to warm.
- Video Discrepancies: I have updated this recipe since creating the original YouTube video. Please use what is written in the recipe over what is shown in the video. The video is meant as a guide only.
