About This Recipe
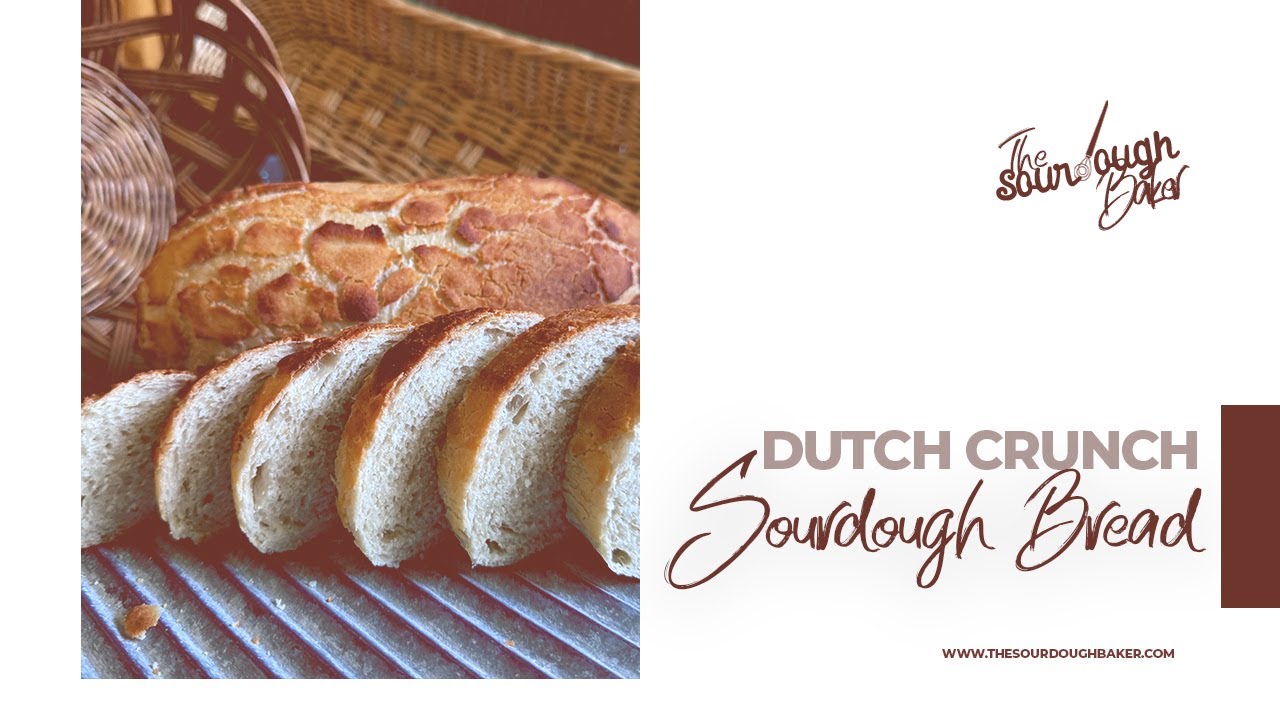
Dense and soft with a perfectly crunchy topping, Dutch crunch bread is the perfect alternative to country bread. If you’re not a fan of the chewy interior and crispy exterior of artisanal bread, meet its opposite: the soft and tender sandwich bread with a delicate, crunchy topping.
What Is Dutch Crunch Bread?
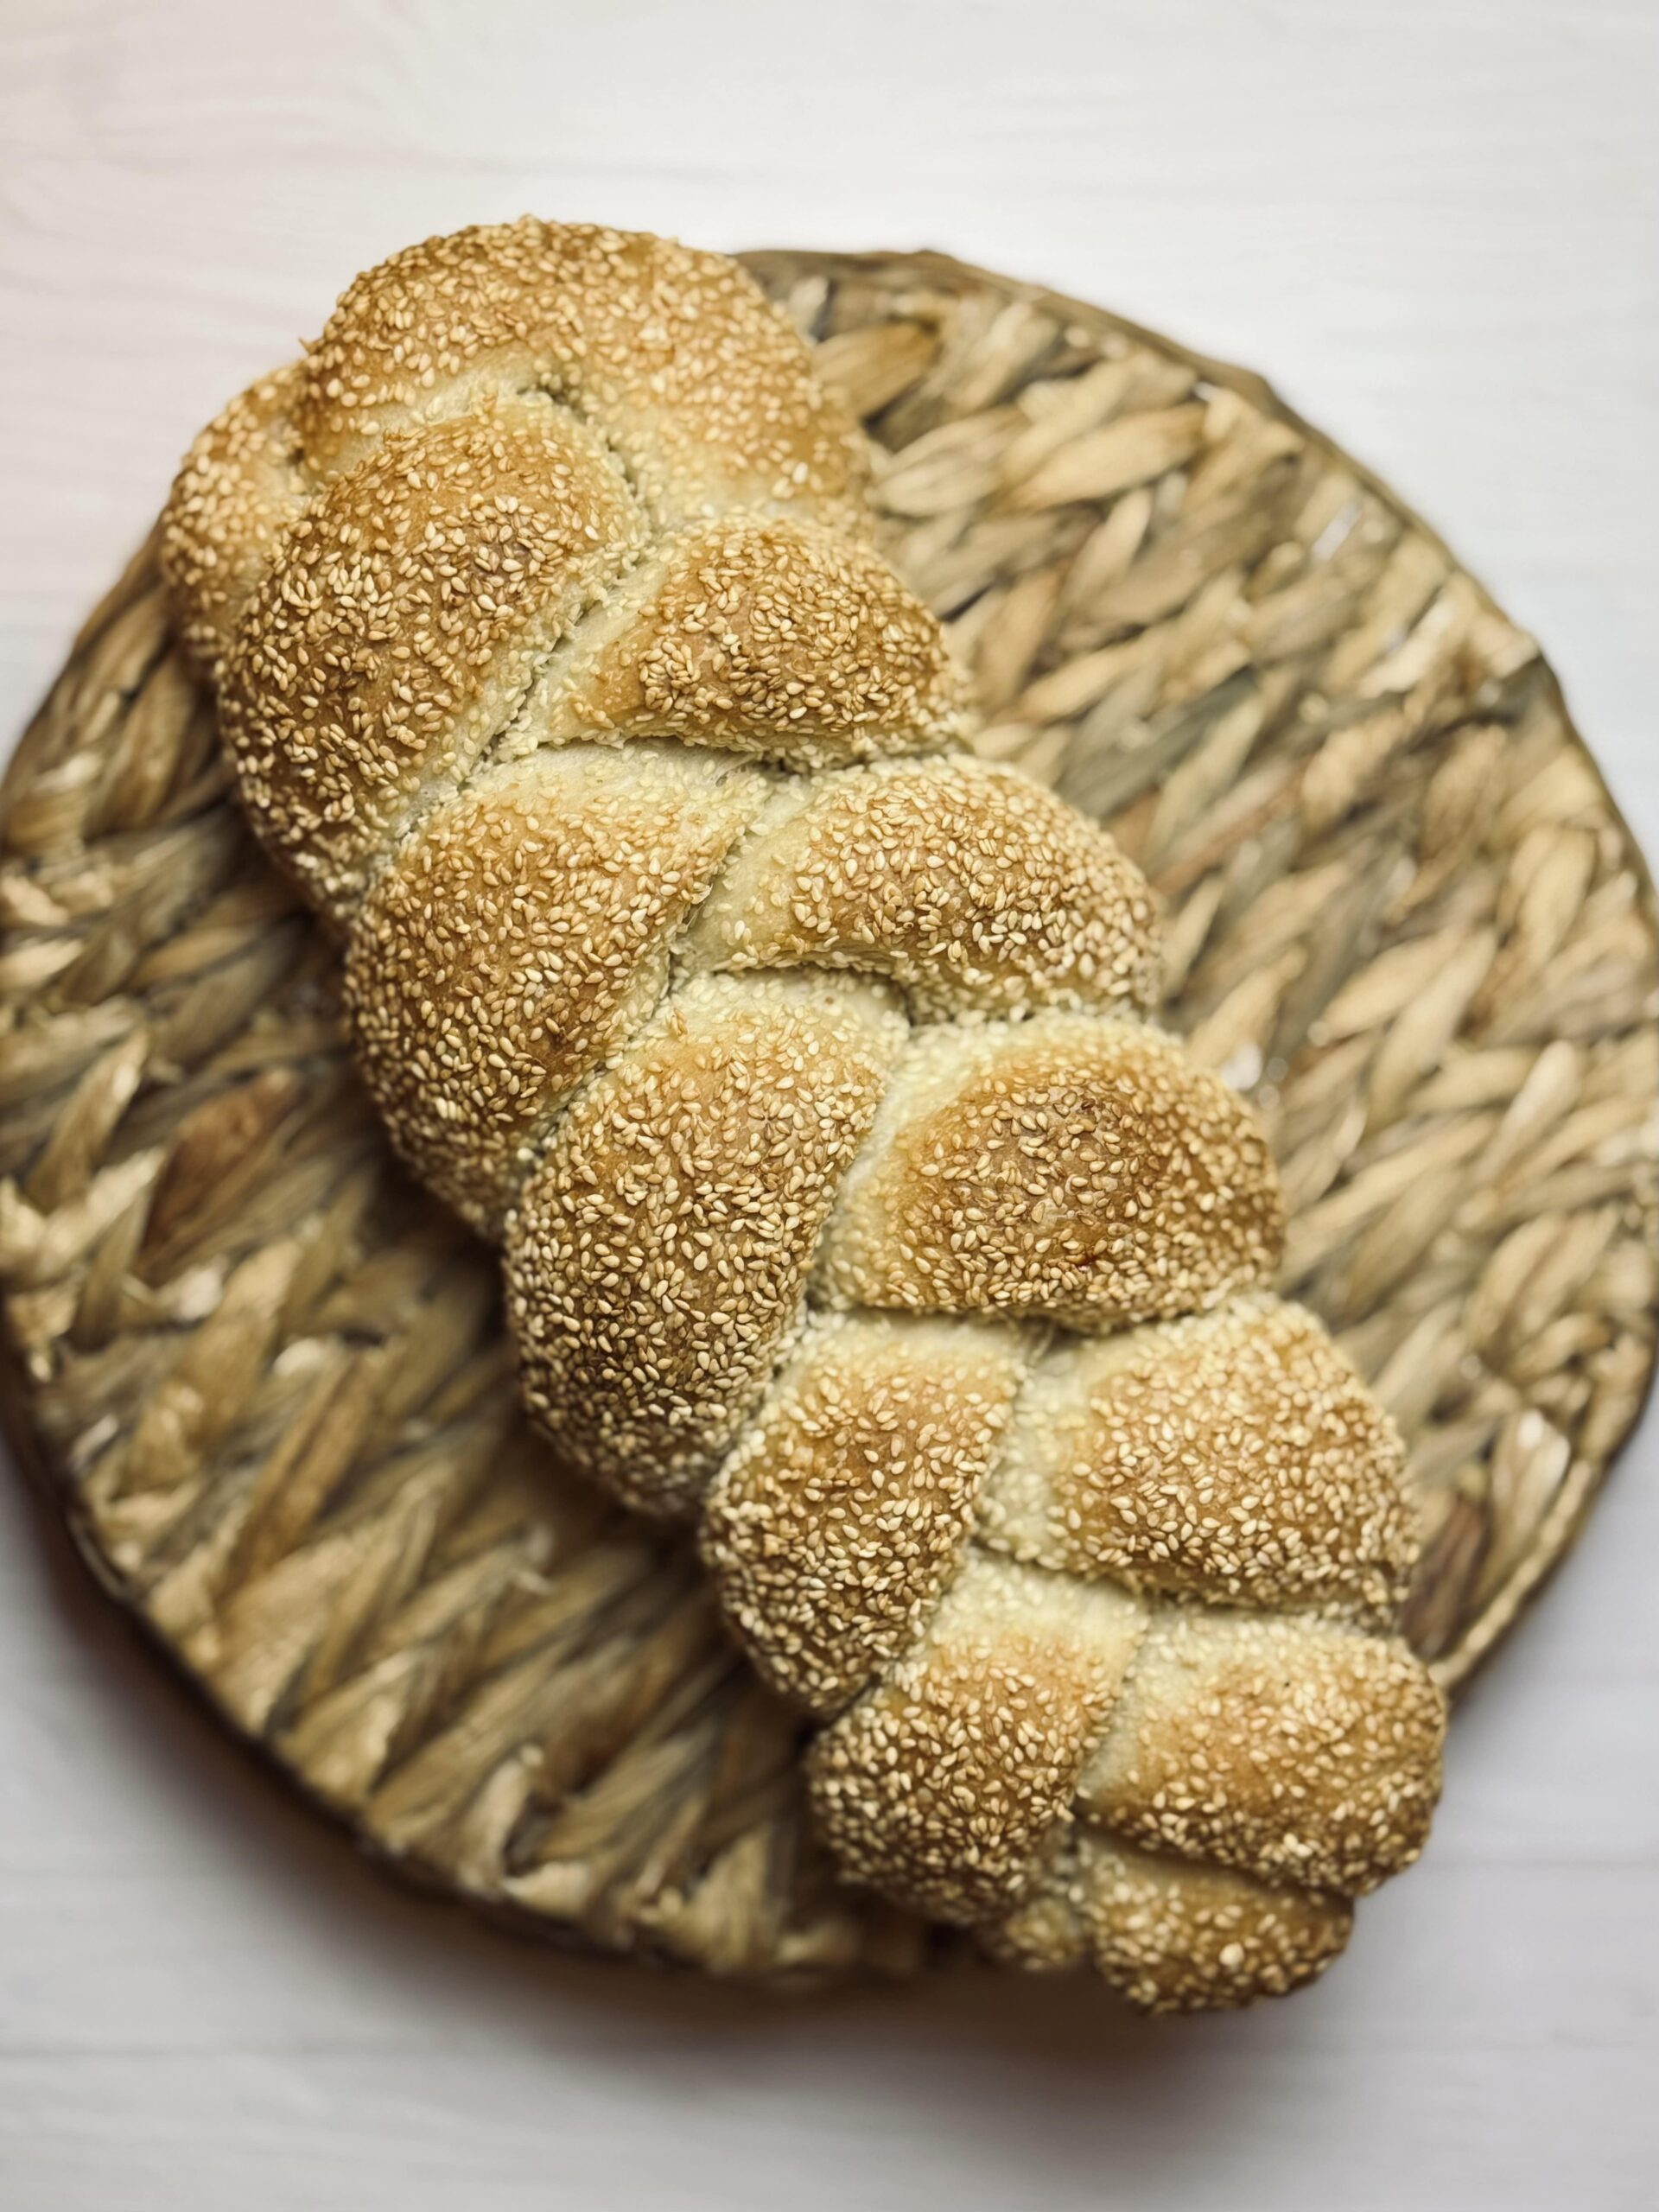
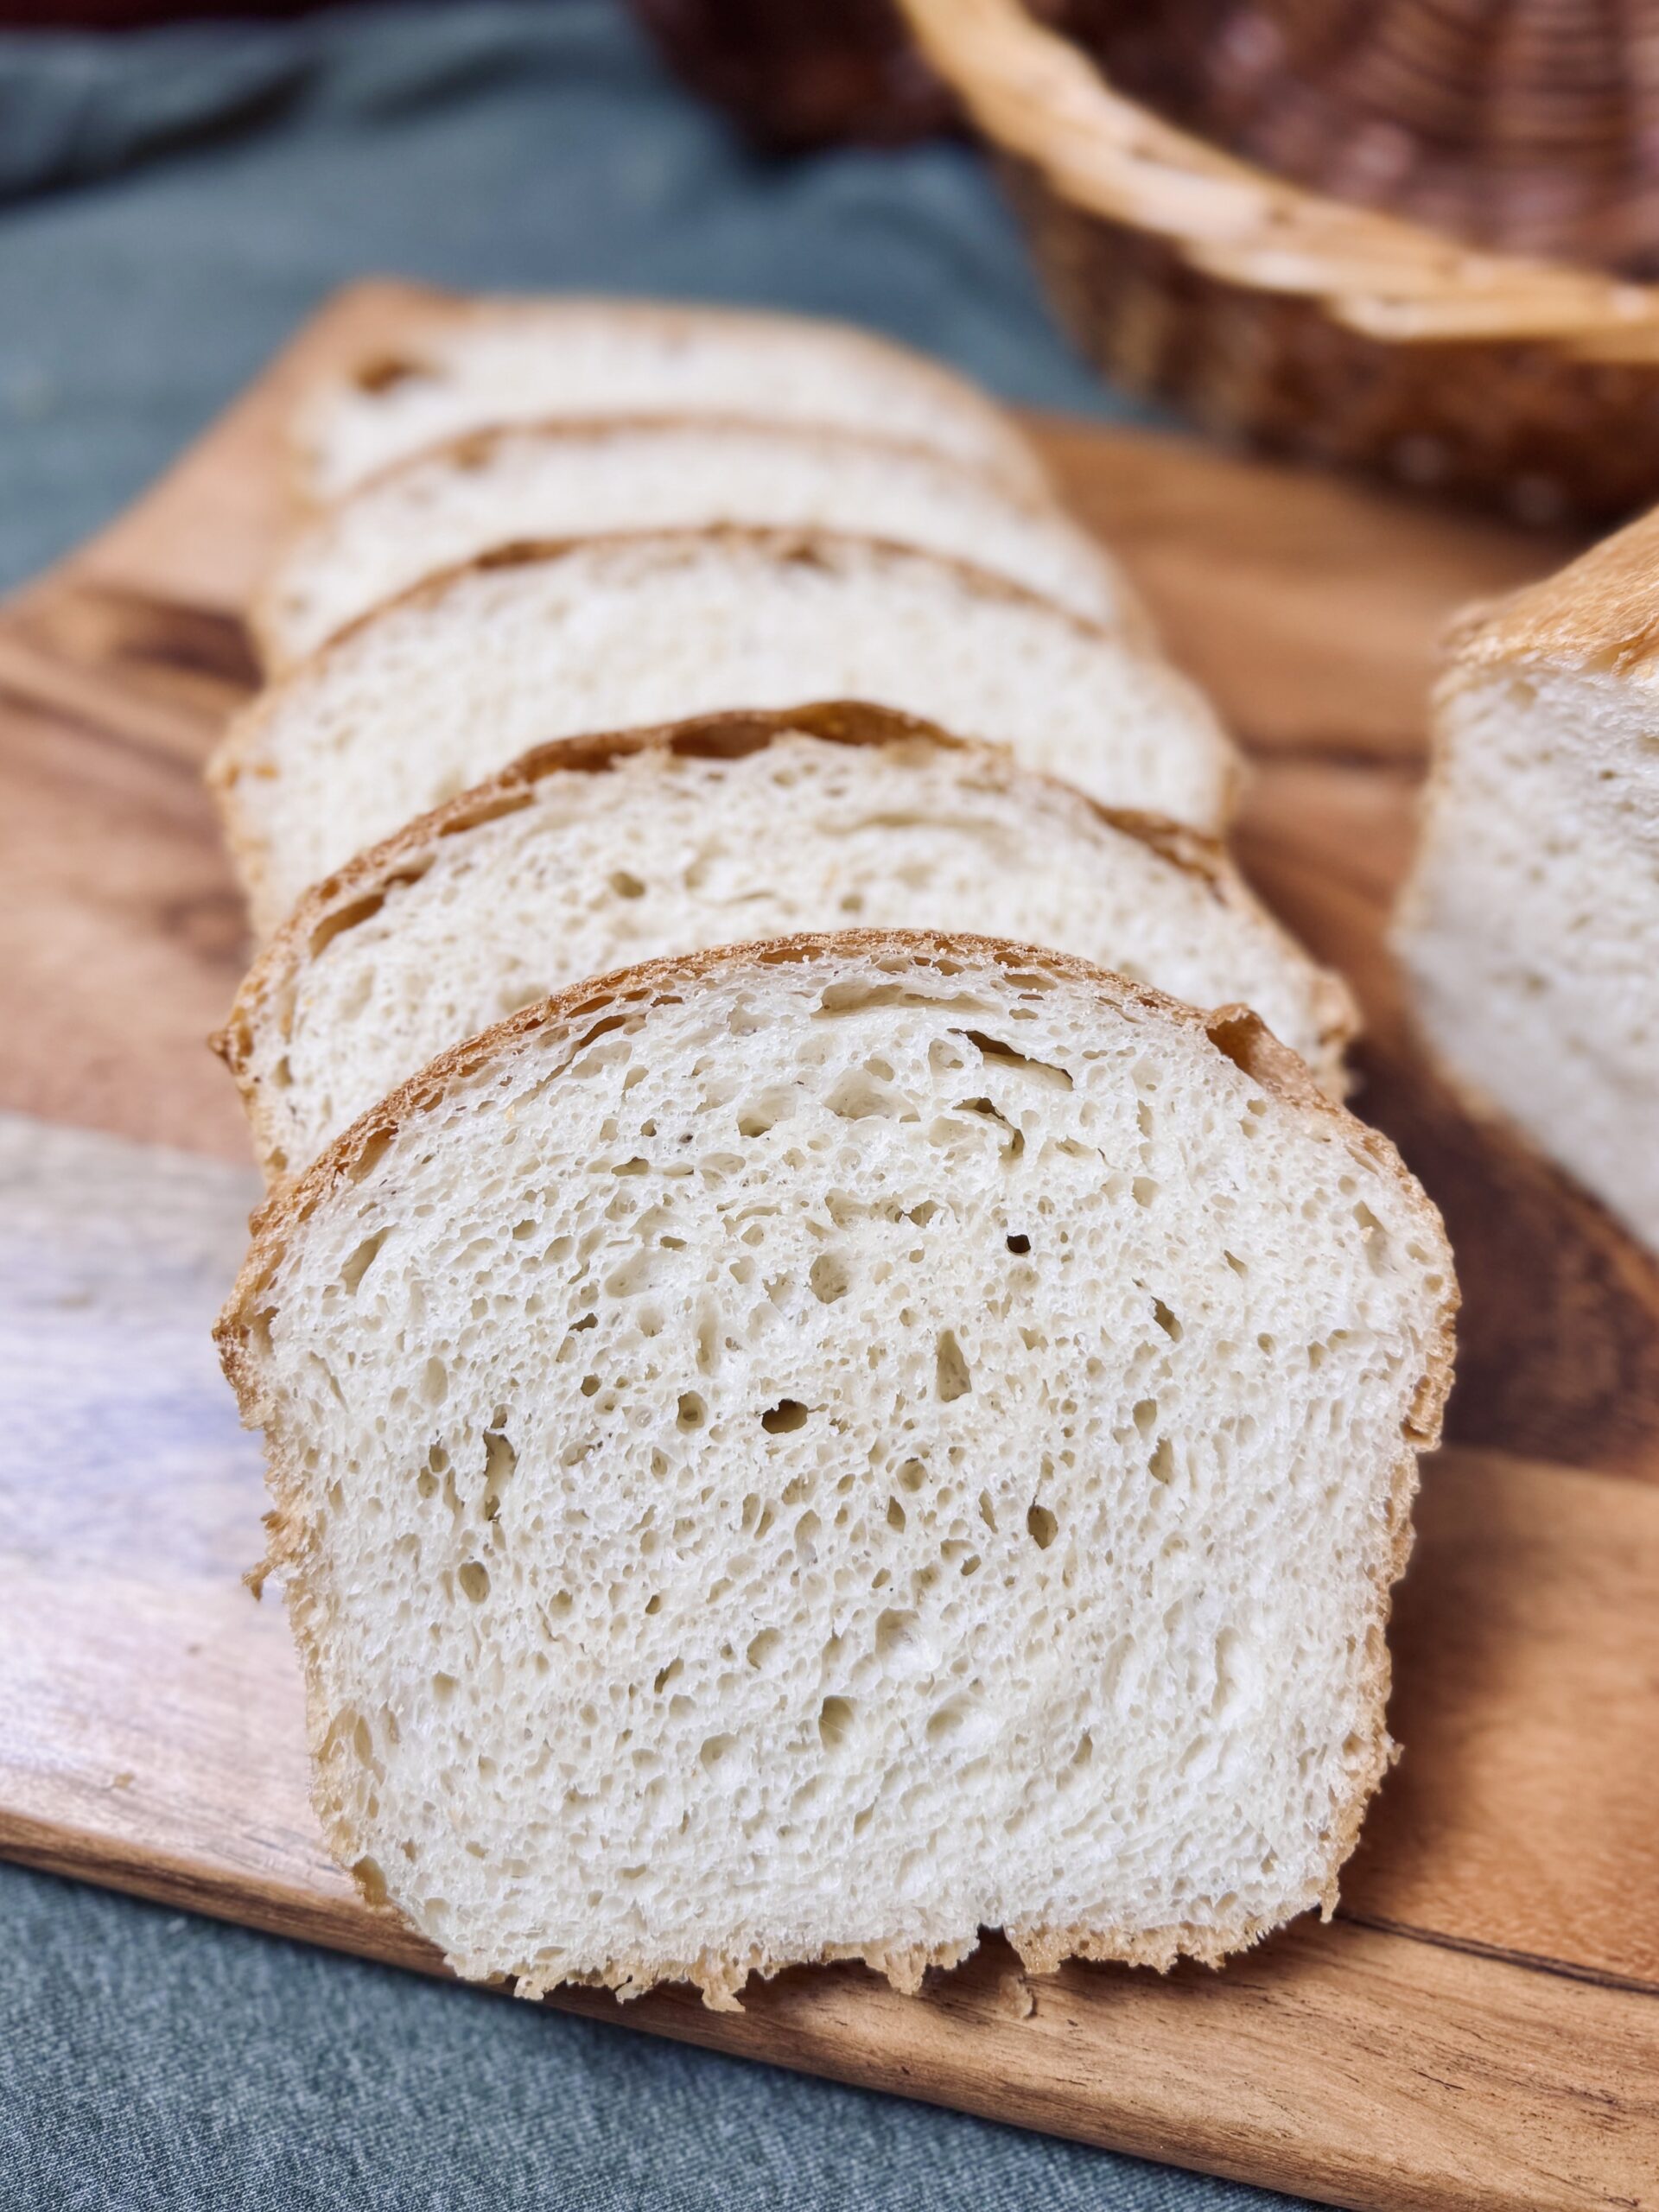
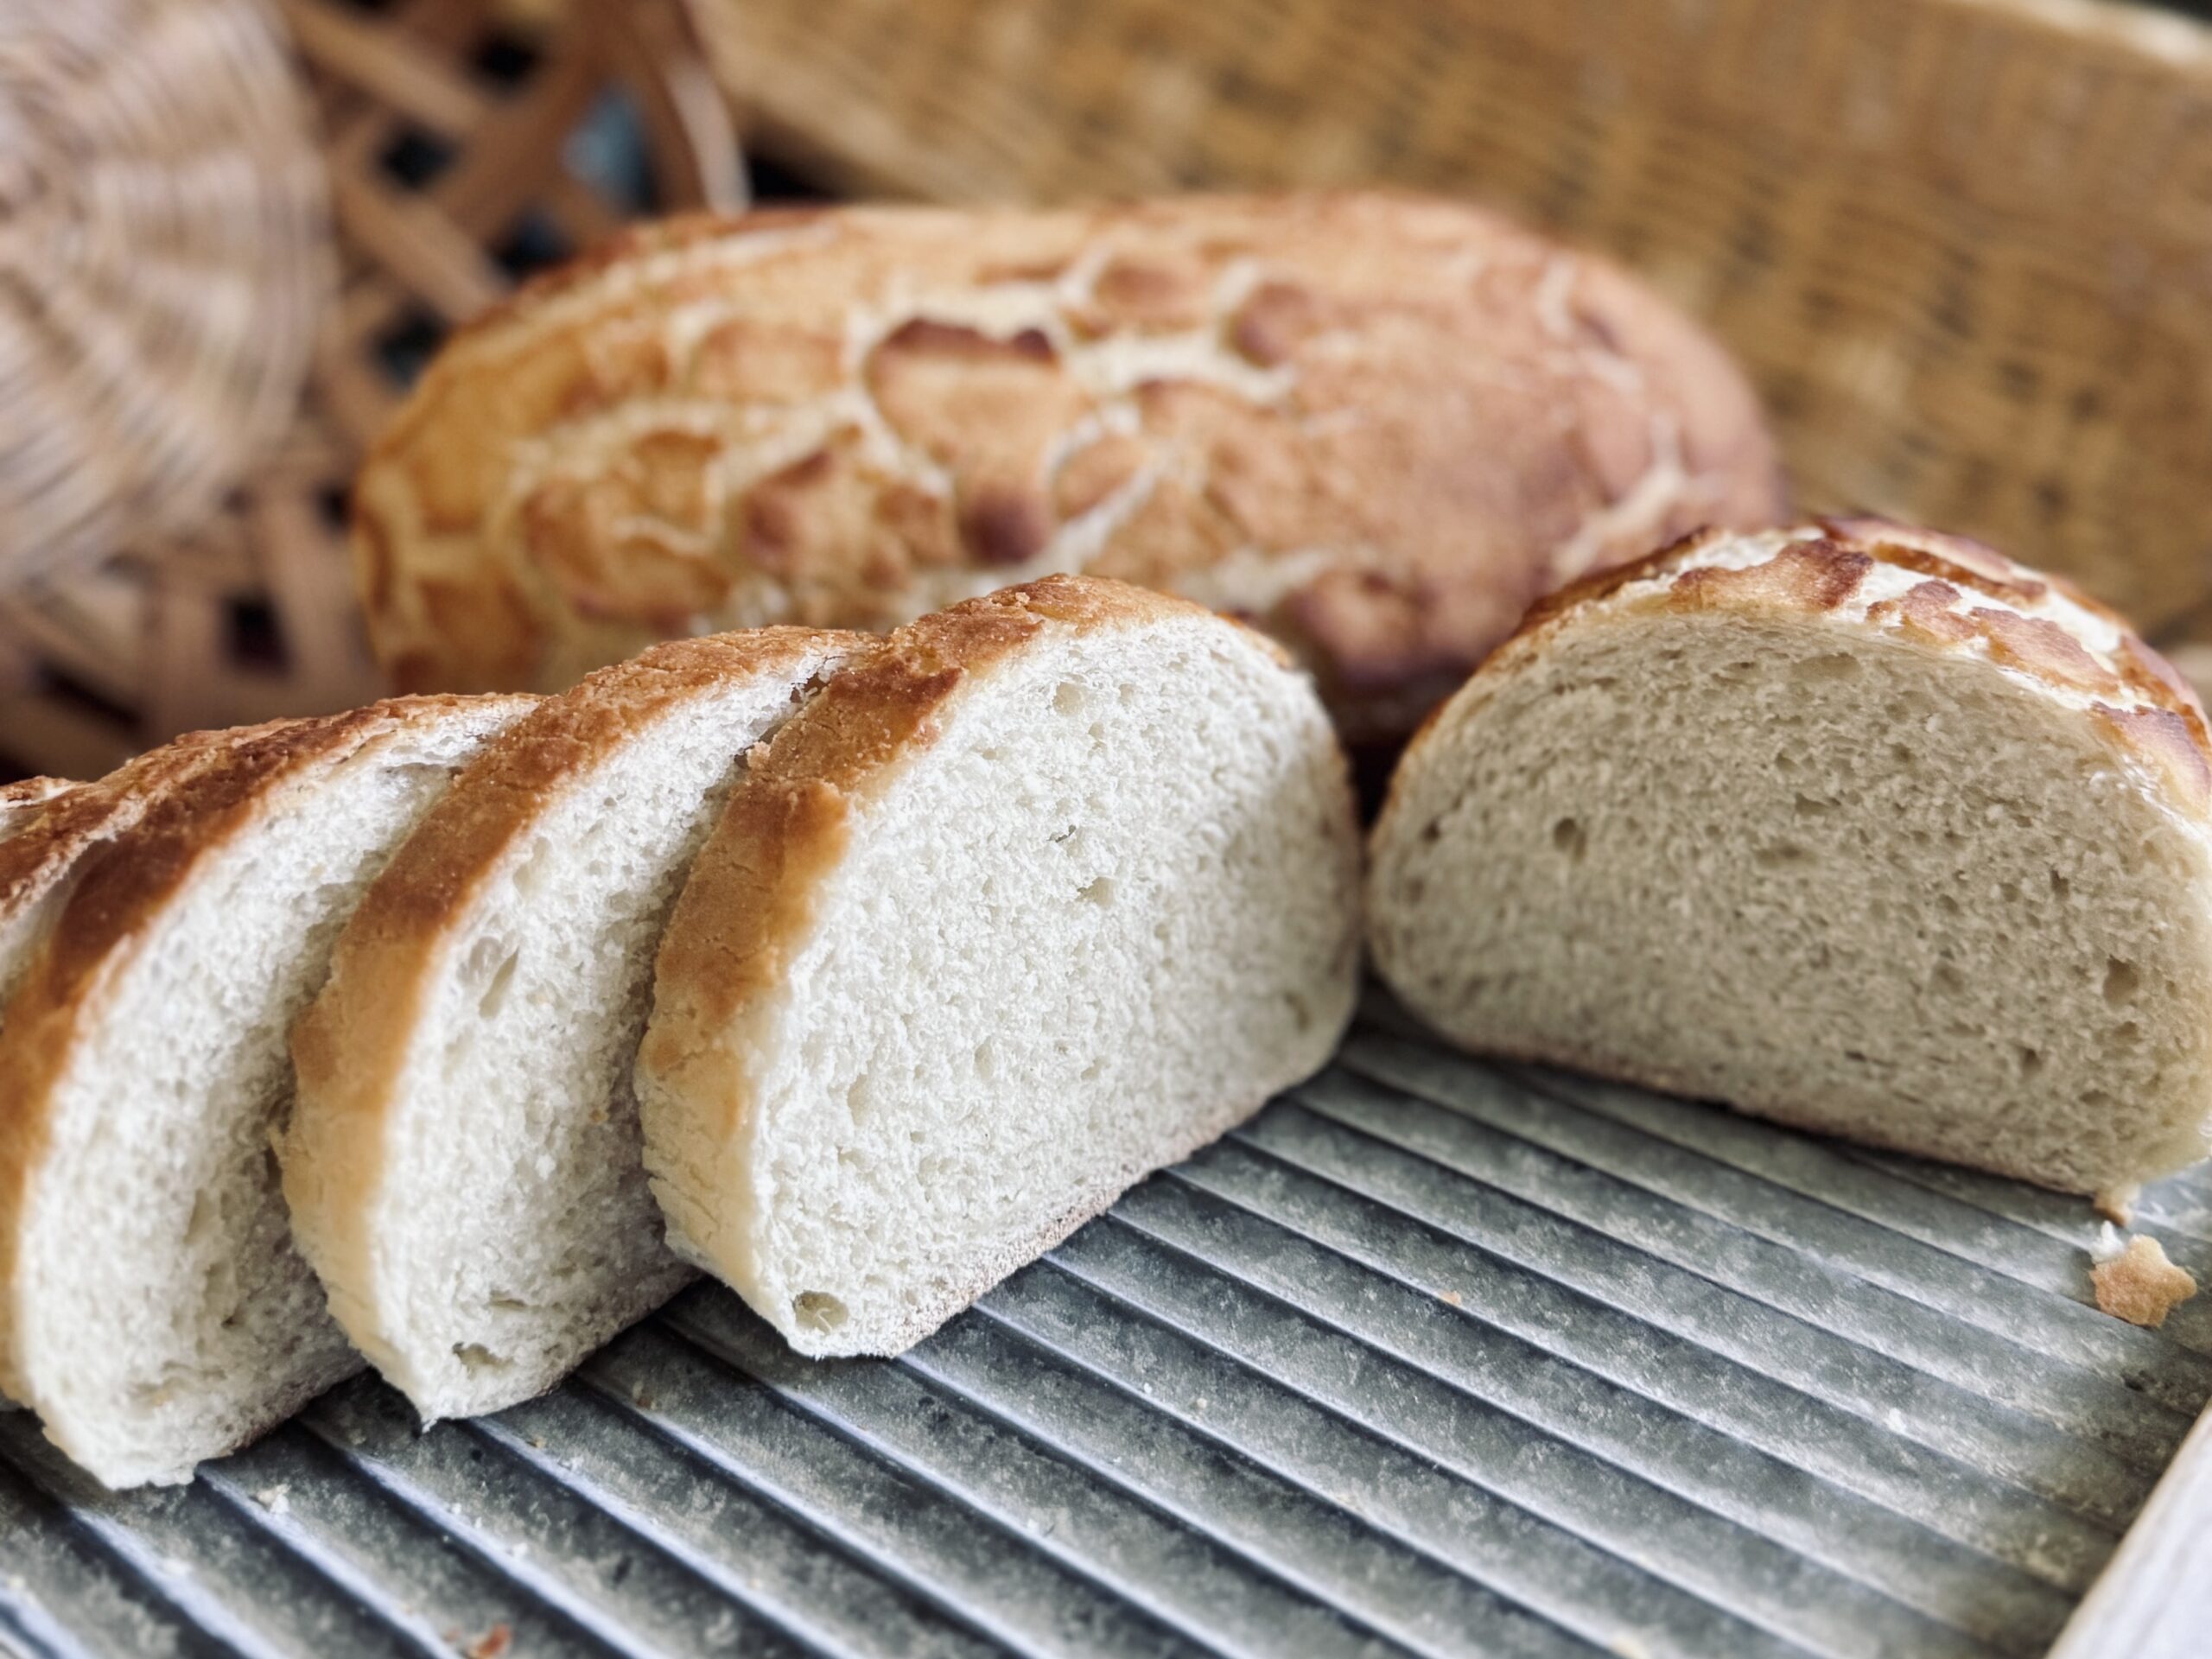
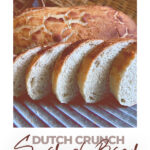
Dutch crunch bread is a dense and soft white bread with a delightful crunchy topping made from rice flour, sugar, yeast, and sesame oil. This incredibly popular, but also very controversial, sandwich bread is well known in the San Francisco Bay Area of the United States. The texture of the bread is soft and plush, similar to that of a white sandwich bread. The crunchy topping adds the perfect contrast to the interior of the bread and makes a flawless compliment to most sandwich recipes.
A Bread With Many Names
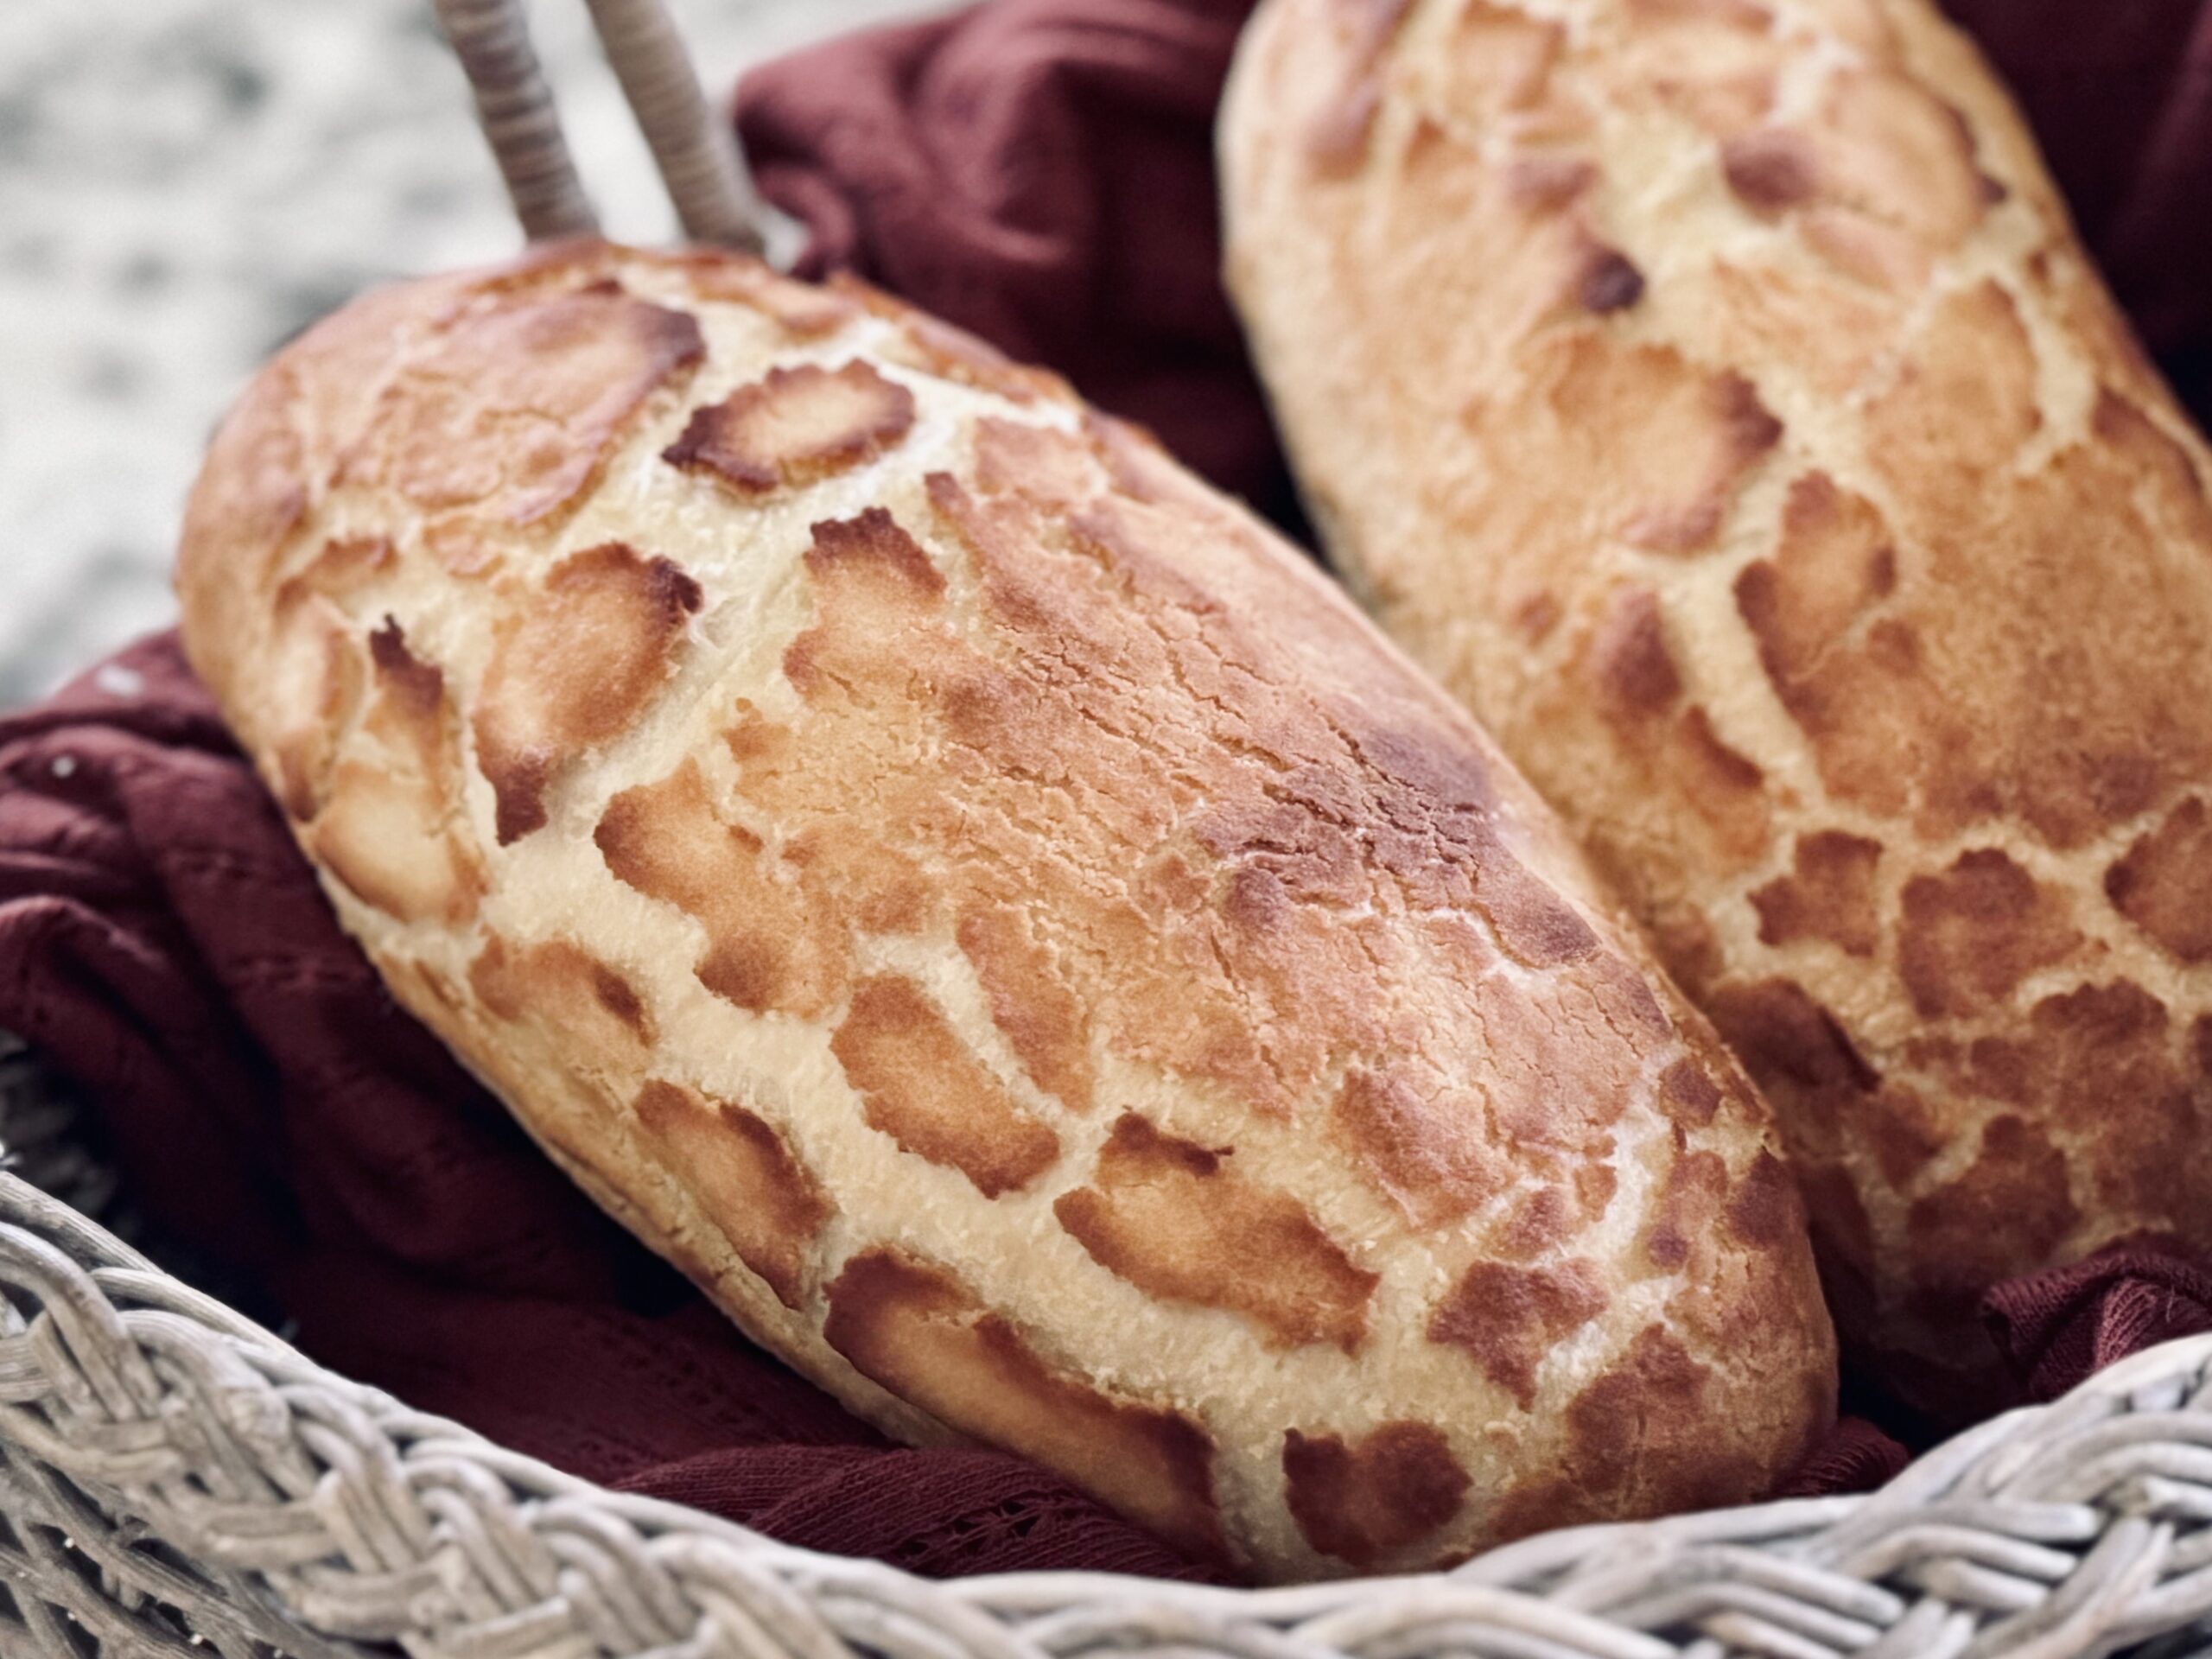
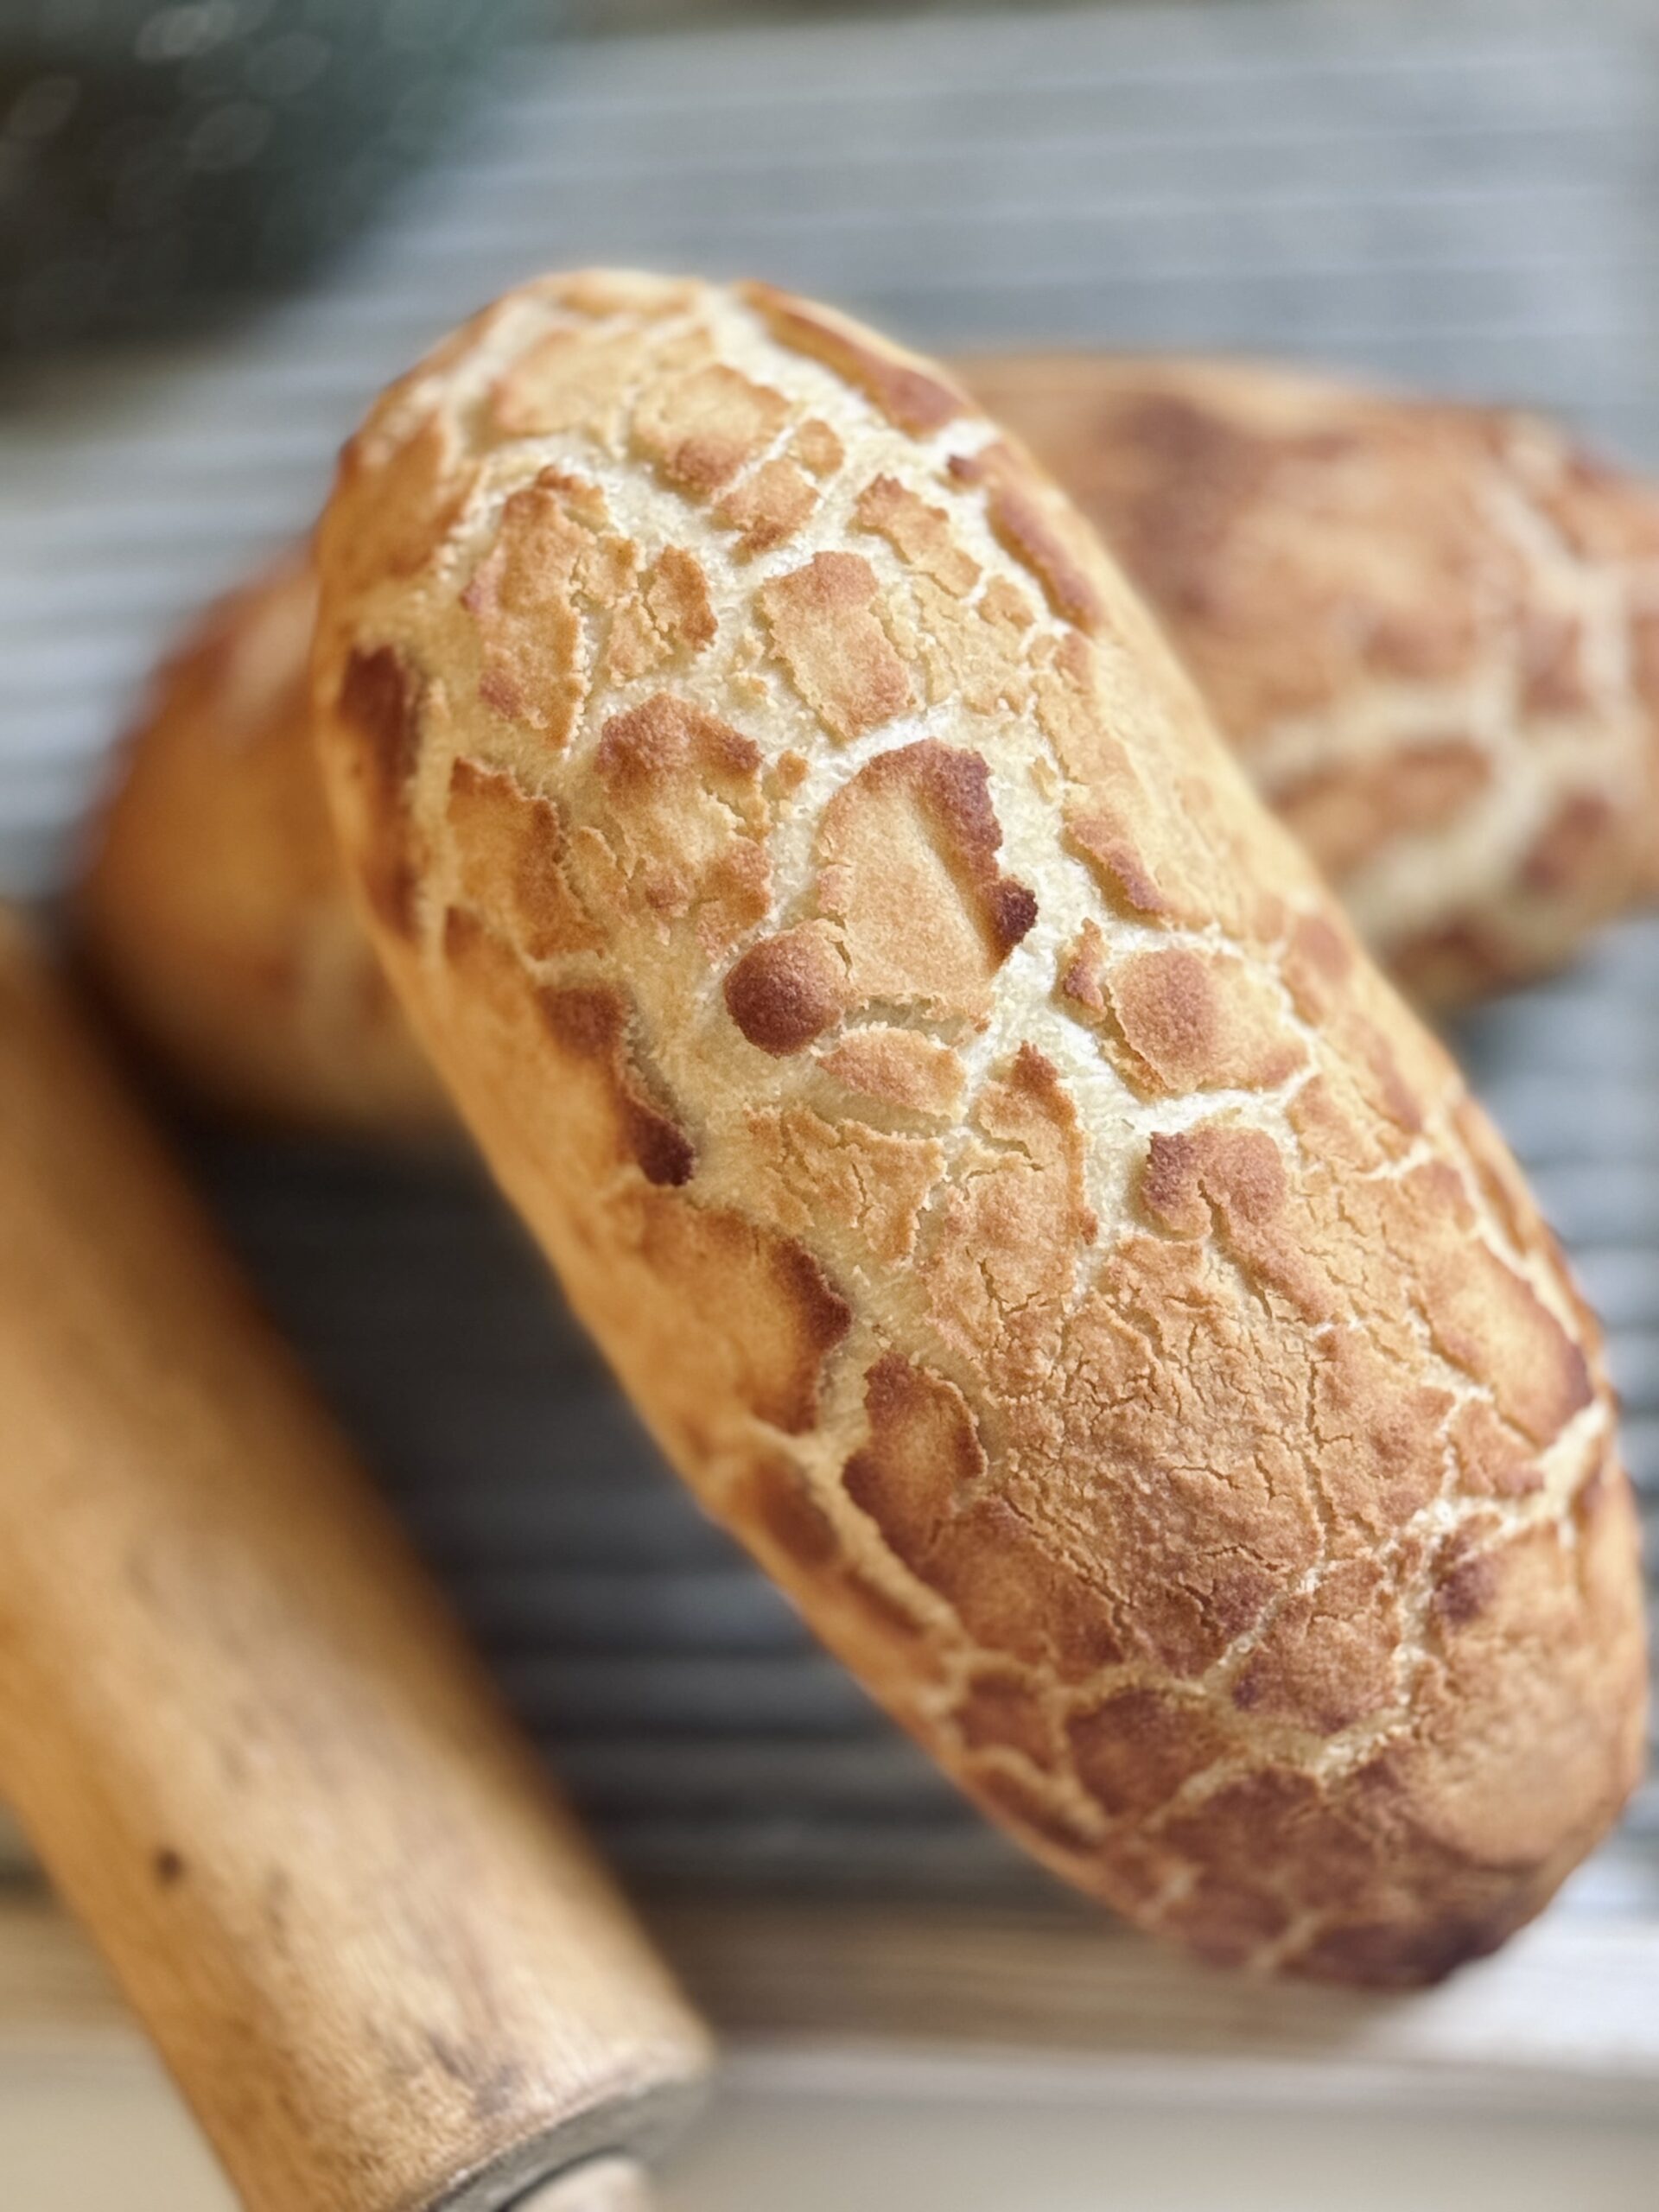
Dutch crunch bread originated in the Netherlands, where it is known as “tijerbrood” (tiger bread) because its crackly topping resembles the stripes of a tiger. In the UK, a three-year-old girl wrote to the supermarket chain Sainsbury’s, suggesting that the name “tiger bread” be changed to “giraffe bread” because the pattern resembled a giraffe more than a tiger. This bread eventually made its way to the United States, where it became popular in the San Francisco Bay Area (though nearly unknown everywhere else) and is known as “Dutch crunch bread.” Wegmans Food Markets of New York markets this bread under the name “Marco Polo bread.”
What I Love About This Recipe
As someone who bakes sourdough, I compare this bread to rustic-style artisan bread quite often. An artisan boule has a chewy interior with a crispy outer crust. For some, the chewy interior is not their preference, and the crispy crust makes for a difficult bite. The interior of Dutch crunch bread is similar to a plush white sandwich bread. It is softer, denser, and not at all chewy, a style that may be preferable for some. A crispy crust is still present, but in a lighter, more gentle form. The process of making Dutch crunch bread is much more beginner-friendly than that of a rustic loaf, as the bread itself is lower in hydration, meaning it requires different handling practices that some find easier to work with.
My Little Secret
This sourdough take on Dutch crunch bread is unlike any other recipe you will find on the internet. After thoroughly researching the bread and reviewing nearly every already-published recipe, I set out to make this bread as described, “soft, moist, flavorful, fluffy, and dense, with a pillowy interior.” The problem? I never liked my end result, feeling it never truly fit the description. I played with numerous ingredient combinations and proportions, varied the liquids, changed the hydration, and shaped it a million different ways. Nothing was giving me the results I wanted.
That is, until I relented and added this Asian technique called “tangzhong” to the dough. There are numerous ways to achieve the same effect, but essentially by precooking a portion of the flour, the dough is able to retain moisture almost by double. The end result is a bread that is beautifully soft, pillowy, and moist by ten thousand times over.
All The “Why’s”
Tangzhong
This Asian technique is the trick to making, and keeping, the interior of this bread soft and plush. Without it, the bread would only taste its best right out of the oven, and would be dry after just twenty-four hours. Tangzhong aids in moisture retention, which is where all the benefits come in. Read more about tangzhong here.
Milk
Milk adds softness, density, and a subtle creamy flavor. It balances well with the water from the tangzhong, which creates a lightness in the bread.
Honey
This recipe contains about 10% honey, which is the perfect percentage to create osmotic stress, especially paired with the stiffness of this dough. If you don’t know what osmotic stress is, it’s when the bacteria in your starter (they produce acids that result in a sour flavor) are suffocated, in a sense. It helps to reduce sourness. The honey also works to sweeten the bread, but only a bit. Really, the honey just helps create a neutral flavored (not sour) bread. This is not a sweet bread.
Honey can be substituted with most other natural sweeteners – granulated sugar, molasses, maple syrup, brown sugar. I have not tested this recipe with sugar substitutes.
Butter
Butter (any kind of fat, really) is a tenderizer; it makes the dough fragile and soft. In this recipe, I only use a small amount, which is meant to keep the bread soft in the oven and after baking – so important for a bread like this one! You can use all butter, or replace part or all of the butter with sesame oil for a subtle, nutty flavor.
Bread Flour
Bread flour absorbs more moisture, so you’ll find that if you substitute this ingredient with all-purpose flour, the dough will be wetter and you may need to add more flour. I prefer bread flour in my stiff doughs because of its higher protein content, which helps the gluten bind. This is especially important in stiff doughs because the lack of water makes it more difficult for gluten to come together. Without gluten, the dough will not be able to trap air, and it will not rise properly. I use King Arthur Bread Flour, protein content about 12.7%, in any recipe that calls for bread flour (unless otherwise noted).
Salt
Salt helps bring out flavor (without salt, bread would taste almost like nothing), but also has notable effects on the dough. Salt is a tightening agent, meaning it helps create a more elastic (strong) dough. It does slow fermentation, as well as gluten development, but these are things we must account for in the recipe because we cannot have a recipe without salt. It is important to use just the right amount, enough to bring out the flavor, but not so much that the loaf cannot ferment or come together. I use the standard – 2% salt – in all my recipes, unless otherwise noted.
Low Hydration
The term “low hydration” simply means this is not a wet and sticky dough; it does not include as much moisture as other recipes. The approximate hydration is 63%. At this hydration, you’ll find the dough is soft, smooth, and firm (but still pliable). It may be slightly sticky but should not stick to the bowl of the stand mixer when kneading.
This consistency of dough contributes to a lot of the signature traits of Dutch crunch bread. For one, it allows the dough to hold its shape without help, which is needed in order to apply the crunchy topping. It also contributes to a finer crumb and a softer, more tender texture (perfect for a sandwich bread).
The low hydration of the dough also has one other bonus – reduced sourness. Stiff doughs (and starters, for that matter) do not encourage the reproduction of bacteria that release acids resulting in a sour flavor. In other words, the dough’s consistency works together with the small percentage of sugar (honey, in this case) to really hinder acid production, giving the bread a neutral flavor.
Mixing
For this recipe, we just need the dough to form a gluten network. This can be a difficult task in stiff doughs due to the lack of water (which makes it harder for gluten to form). Without enough gluten-binding proteins, the dough may struggle to form a gluten window, which allows opportunity for air to escape. This decreases the dough’s ability to rise to its fullest potential, resulting in a denser crumb and texture. Gluten must be developed through kneading and time; the more help it can get, the better. Using a flour with a high protein content can be helpful. Ten to twelve minutes in a stand mixer or by hand should do, and if your flour is good, time will do the rest. Follow your stand mixer’s directions for a stiff dough, generally a low speed is all you need, and you will be on your way! This recipe does not require any folds.
Bulk Fermentation
Letting the dough rise as much as possible, but not too much, contributes to the airiest of loaves. In an attempt to favor the yeast and reduce sourness, I recommend keeping the dough temperature between 70-75 F (21-24 C). Watch the dough and ferment until it doubles in size (at least; eight to twelve hours). Then, you can shape it and let it double again. Though I favor an overnight method for this dough, use your knowledge of your environment to bulk ferment this dough appropriately.
Shaping
Traditionally, this dough is shaped into hoagies or buns. This shaping method is perfect for sub sandwiches or burgers where you want a bit of the crispy topping in every bite. However, I usually choose to shape this dough into two mini-loaves, which make the perfect slices for toast. That’s the shaping method you’ll find in this recipe. To do this, I first pre-shape the dough into rounds. This step is necessary for this stiff dough, in order to get a solid and even final shape. Then, I use my baguette shaping technique to elongate the stiff rounds into a batard shape.
The Crunchy Topping
Rice flour is a must here! This topping is made out of rice flour and instant yeast. It rises with the dough on the final proof before being baked in the oven. Since rice flour is gluten-free, it will crack (it does not form gluten), giving you a pattern that looks like the spots on a giraffe or the stripes on a tiger.
I’ve been asked before why instant yeast is important in the topping. This is, after all, a sourdough recipe – why can’t we just use that?
If you keep a gluten-free starter, you could make a topping with your starter. However, the majority of us sourdough bakers keep a starter made of flour and water. The flour is an absolute no-go in the topping. We cannot have it. It makes more sense just to use the instant yeast to get the effect we want.
The topping isn’t just comprised of water, rice flour, and instant yeast, though. It also includes other important ingredients. Salt enhances the flavor, sugar helps it brown in the oven, and oil adds flavor and helps with the “crunch.”
One fun thing about this topping is that you control how it looks based on how you proof it. The longer the rest period, the darker and more defined the cracks in the topping become. Use this knowledge to your advantage when reflecting on the outcome of your final bake.
Baking Method
We need a compromise of high and low temperatures for this bread. A high temperature browns the topping appropriately in the allotted time for baking. A low temperature keeps the bread from burning – it is a milk-based bread, after all. 400 F (205 C) is my perfect middle, and steam isn’t even necessary to get a great expansion.

Suggested Timeline
Suggested Timeline
DAY 1
8:00 p.m.
- Make the tangzhong.
- Mix and knead the dough.
- Begin bulk fermentation.
DAY 2
8:00 a.m.
- Divide and shape the dough.
- Make the topping.
11:00 a.m.
- Bake and enjoy!
📌 Quick Tip: Read the recipe in its entirety before you start cooking. This will help you understand the ingredients, steps, and timing involved, and allow you to prepare any necessary equipment or ingredients beforehand.

Dutch Crunch Bread


Ingredients
Tangzhong
Dough
Topping
Instructions
-
Make the tangzhong.
Whisk together all ingredients for the tangzhong in a small saucepan over medium-low heat until thickened.
-
Mix the dough.
Add the tangzhong to the bowl of a stand mixer (no need to cool first) along with the milk, butter (and/or sesame oil), and honey. Whisk to incorporate and to cool the tangzhong slightly. Add the flour and salt; briefly mix. Last, add the sourdough starter. Transfer to a stand mixer.
-
Knead the dough.
- KitchenAid: Using the dough hook attachment, knead the dough on a low speed (speed 2) for 10-12 minutes.
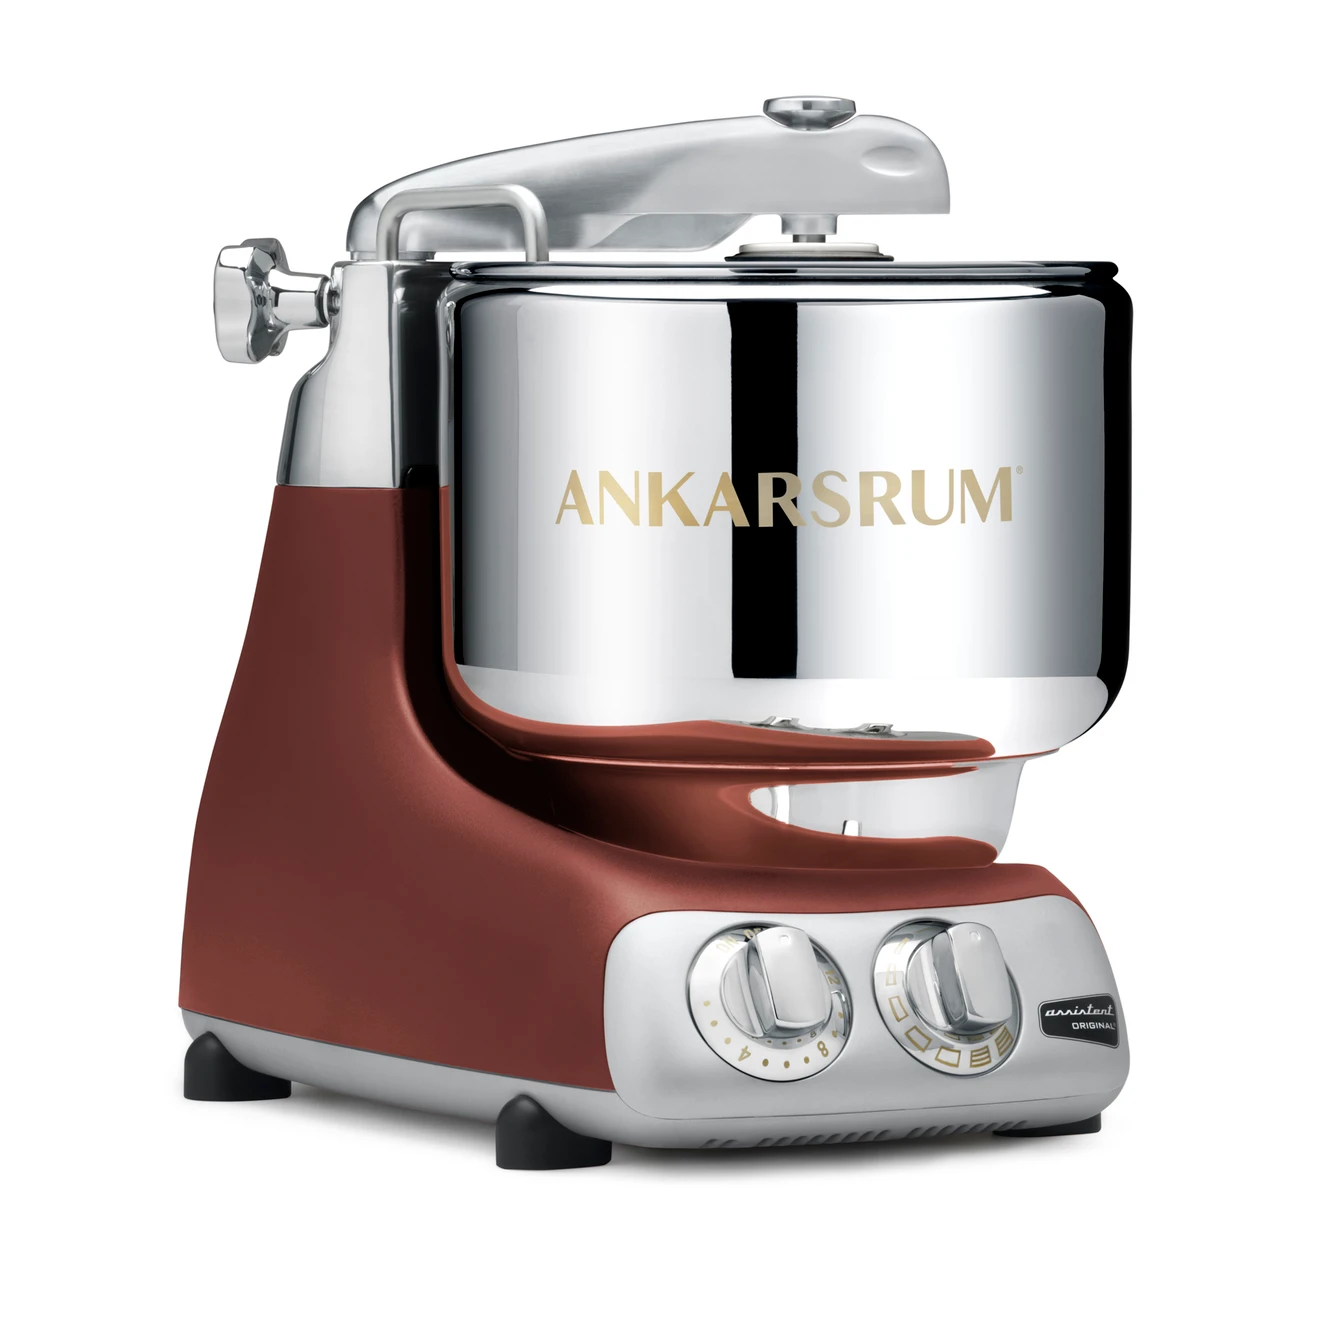
- Ankarsrum: Using the dough roller and scraper attachment, knead the dough on a low speed, 1 o'clock, until the ingredients form a cohesive mass. Use a spoon as needed, or move the dough roller into the center of the machine and back to the edge repeatedly, to help the ingredients come together. Increase the speed to medium-low, 2-3 o'clock, for 12-15 minutes.
-
Begin bulk fermentation.
Form the dough into a round, transfer to a proofing container, cover, and let it rest until it has doubled (or slightly more) in size. I do this overnight (8-10 hours) in my 70 F (21 C) home.
-
Pre-shape the dough.
Remove the dough from the proofing container and divide into two sections, approximately 370 g each. Pre-shape each section into a round by tucking all the ends underneath and pinching the seams closed on the bottom.
-
Make the topping.
Whisk together all ingredients for the topping in a small bowl. Cover and rest until 1-1 ½ hours before the bread is ready to go into the oven.
-
Shape the dough.
Fold the top and bottom of each round toward the middle, gently pressing the dough to seal. Next, fold the dough in half two times. Use your thumb to mark the middle and the heel of your palm to help you seal the dough. Pinch any seams closed. Last, very gently roll the dough out to elongate and complete the batard shape. Place seam side down on a baking sheet.
Shaping alternatives: This bread is popularly enjoyed as a sandwich bread in the form of rolls or hoagies. Instead of shaping into two mini loaves, you can make this into eight rolls, approximately 92 g each, or six hoagies, approximately 123 g each. -
Proof the dough.
Cover the dough and let it rest again for 2-4 more hours, until doubled in size once more.
-
Top the dough.
1-1 ½ hours before the bread is finished with the final proof, add the Dutch crunch topping. Stir the topping to deflate. Uncover the dough and use the back of a spoon to gently spread the topping all over the bread, stopping just shy of the pan, if possible. Let the dough rest for the remainder of the final proof, uncovered. Go ahead and preheat the oven to 400 F (205 C) at this time.
The longer the topping rests, untouched, on the dough, the darker the topping and the more defined the cracks will be. I find 1-1 ½ hours to be the perfect amount of time. Use this knowledge to adjust timing based on your desired outcome. -
Bake the dough.
Bake at 400 F (205 C) for 30 minutes, until the internal temperature reaches at least 190 F (88 C). Cool for at least 30 minutes before slicing.
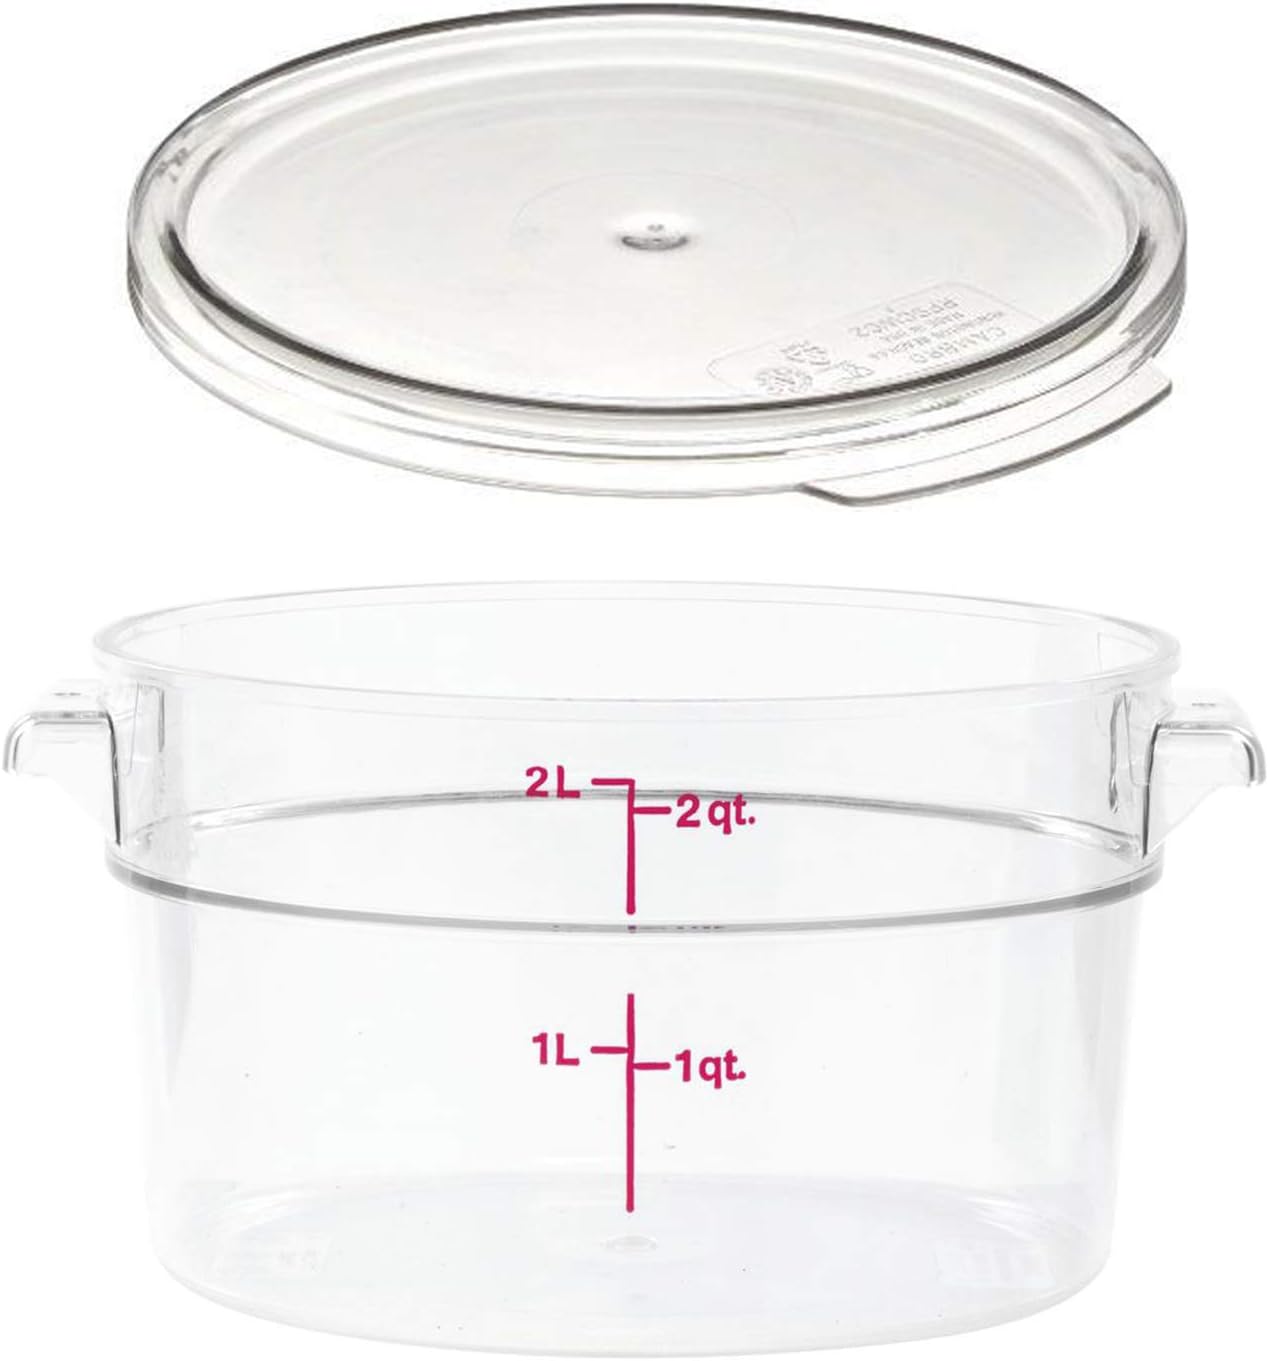
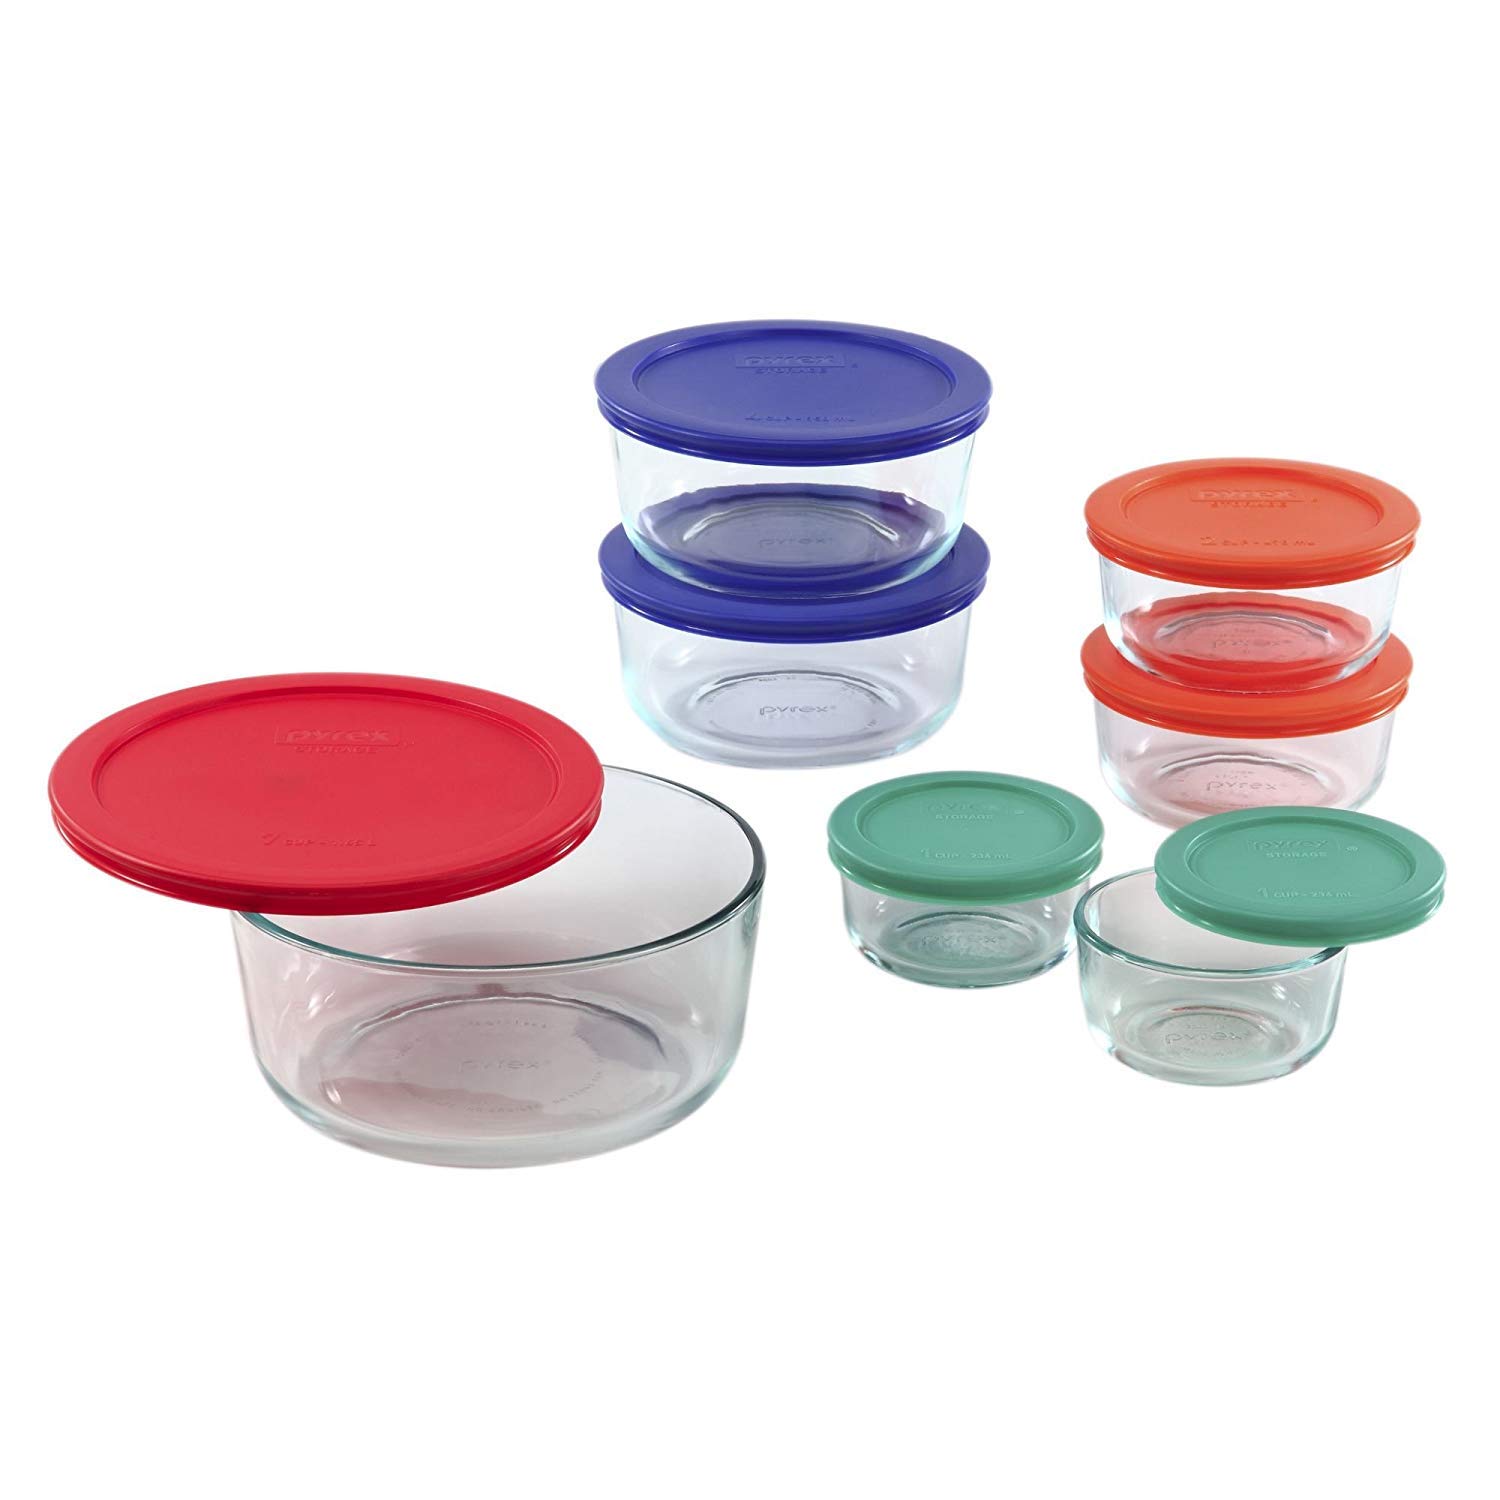
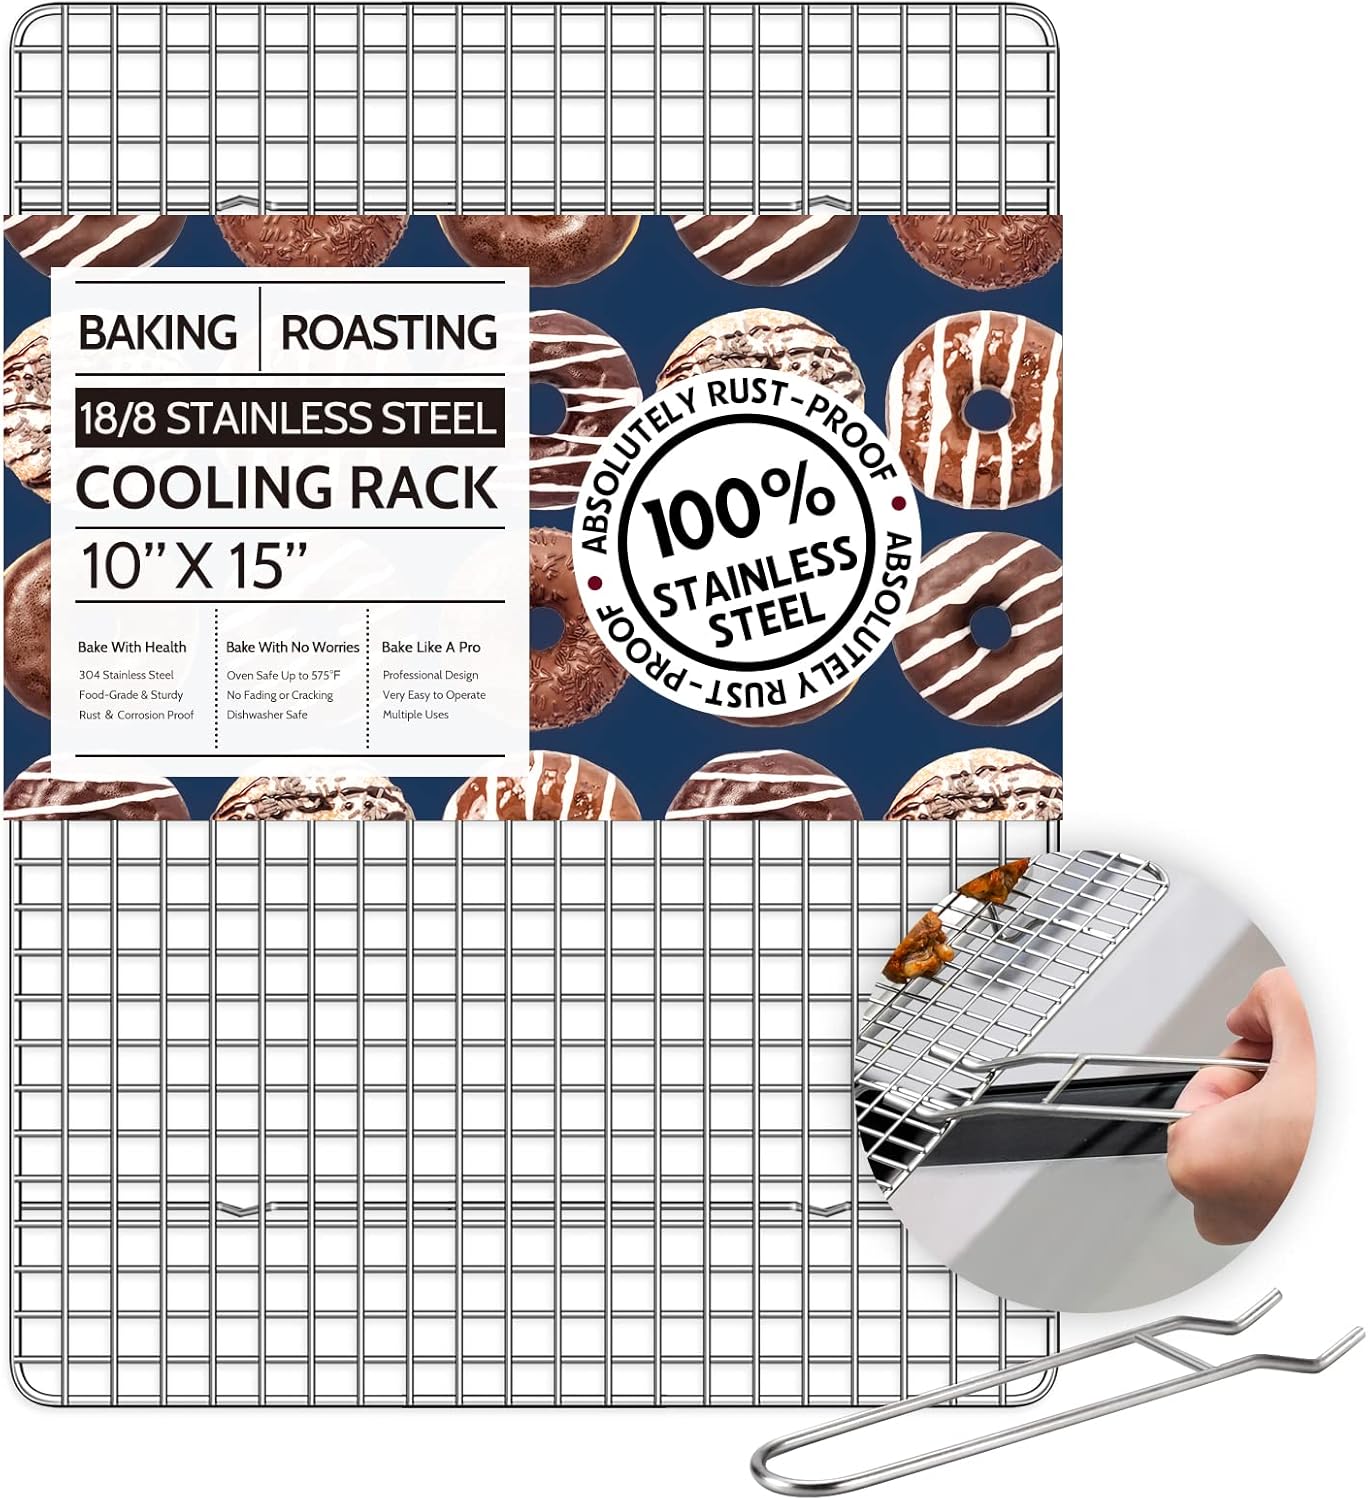
You might need...
Affiliate Disclosure: This post contains Amazon affiliate links. This means when you buy a product using one of my links, I may receive a small commission at no cost to you. Thank you, in advance, for supporting my work.
Nutrition Facts
Servings 8
- Amount Per Serving
- Calories 279.42kcal
- % Daily Value *
- Total Fat 5.67g9%
- Saturated Fat 2.51g13%
- Cholesterol 9.56mg4%
- Sodium 252.02mg11%
- Potassium 91.42mg3%
- Total Carbohydrate 49.01g17%
- Dietary Fiber 1.64g7%
- Sugars 5.69g
- Protein 7.64g16%
- Vitamin A 32.54 IU
- Vitamin C 0.02 mg
- Calcium 32.69 mg
- Iron 2.37 mg
- Vitamin D 0.19 IU
- Vitamin E 0.31 IU
- Vitamin K 0.66 mcg
- Thiamin 0.49 mg
- Riboflavin 0.31 mg
- Niacin 4.11 mg
- Vitamin B6 0.07 mg
- Folate 34 mcg
- Vitamin B12 0.07 mcg
- Phosphorus 79.44 mg
- Magnesium 19.46 mg
- Zinc 0.66 mg
* Nutrition values are auto-calculated and should be used as an approximation only.
Notes
- Optionally, replace some (or all) of the butter with sesame oil for a unique nutty flavor.
- Storage: Because of the unique topping on this bread, it is best enjoyed fresh. If you must store, allow the bread to cool completely on the counter, then store in a Ziploc or bread bag for up to five days at room temperature, or in the freezer long-term. Toast to warm.
- To thaw on the counter from frozen, be sure to remove from the bag until completely thawed, then return to the bag for storage. Any kind of moisture will ruin the Dutch crunch topping!

User Reviews
Easy to try