
About This Recipe
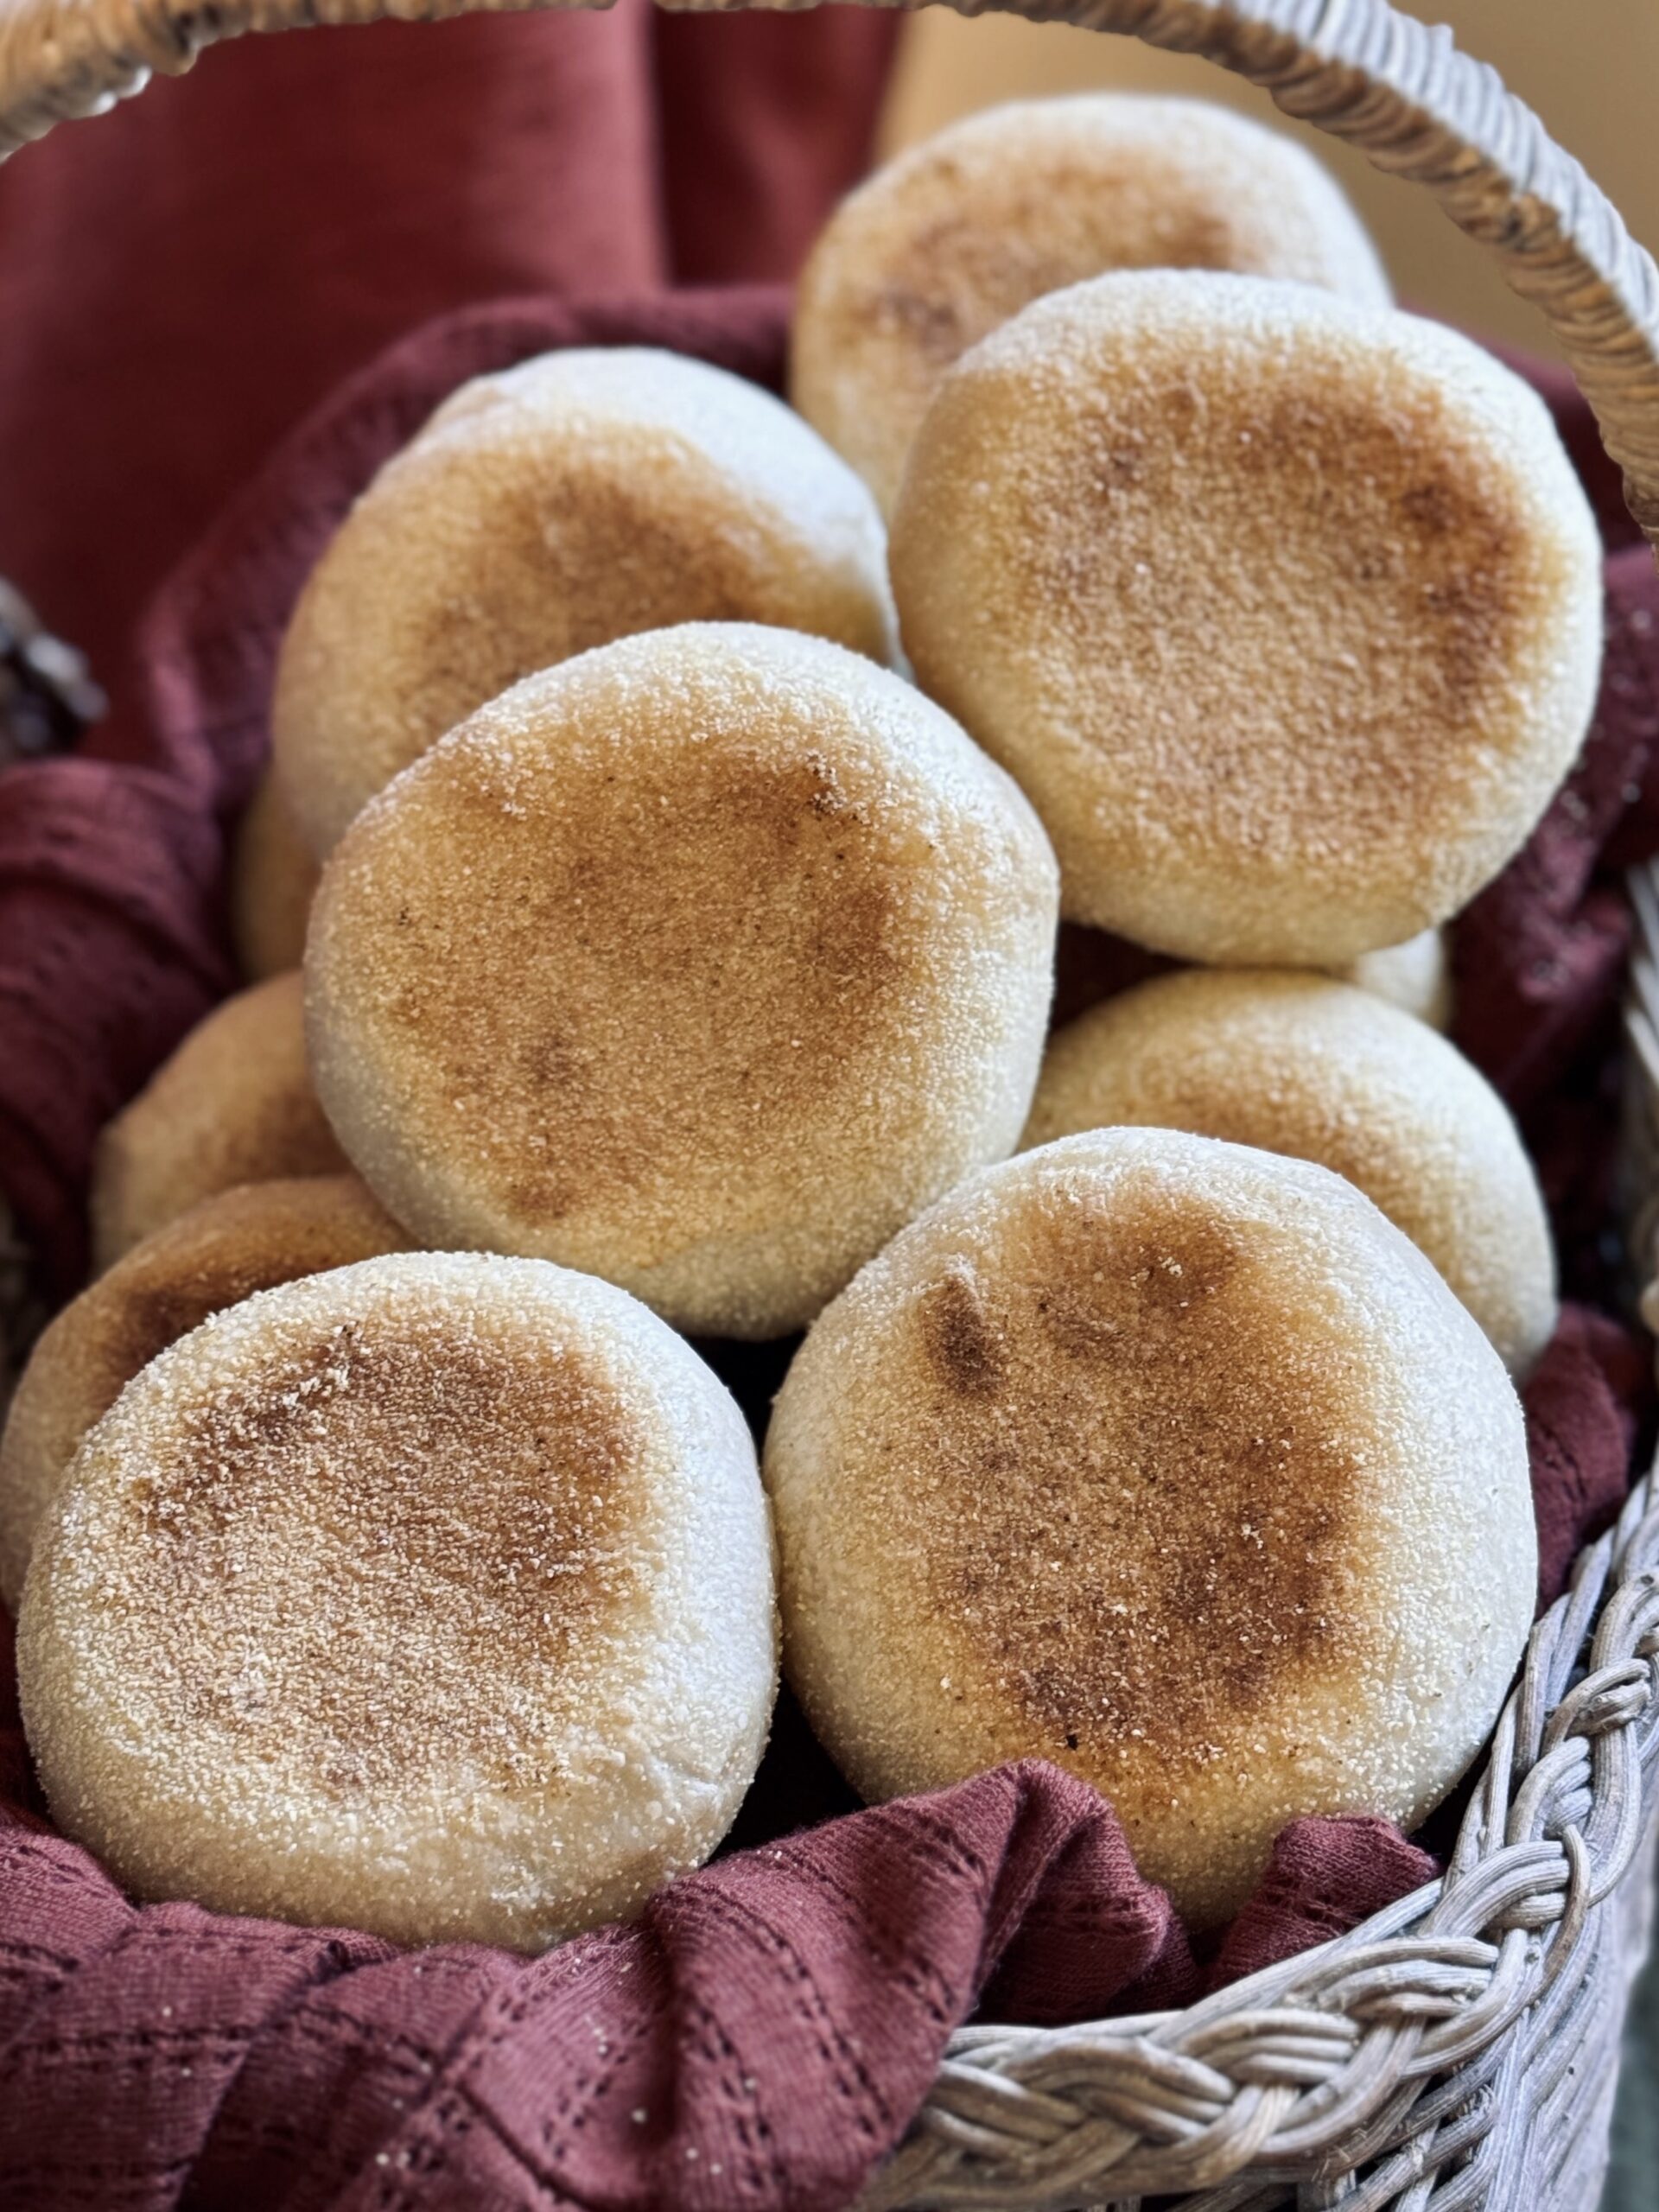
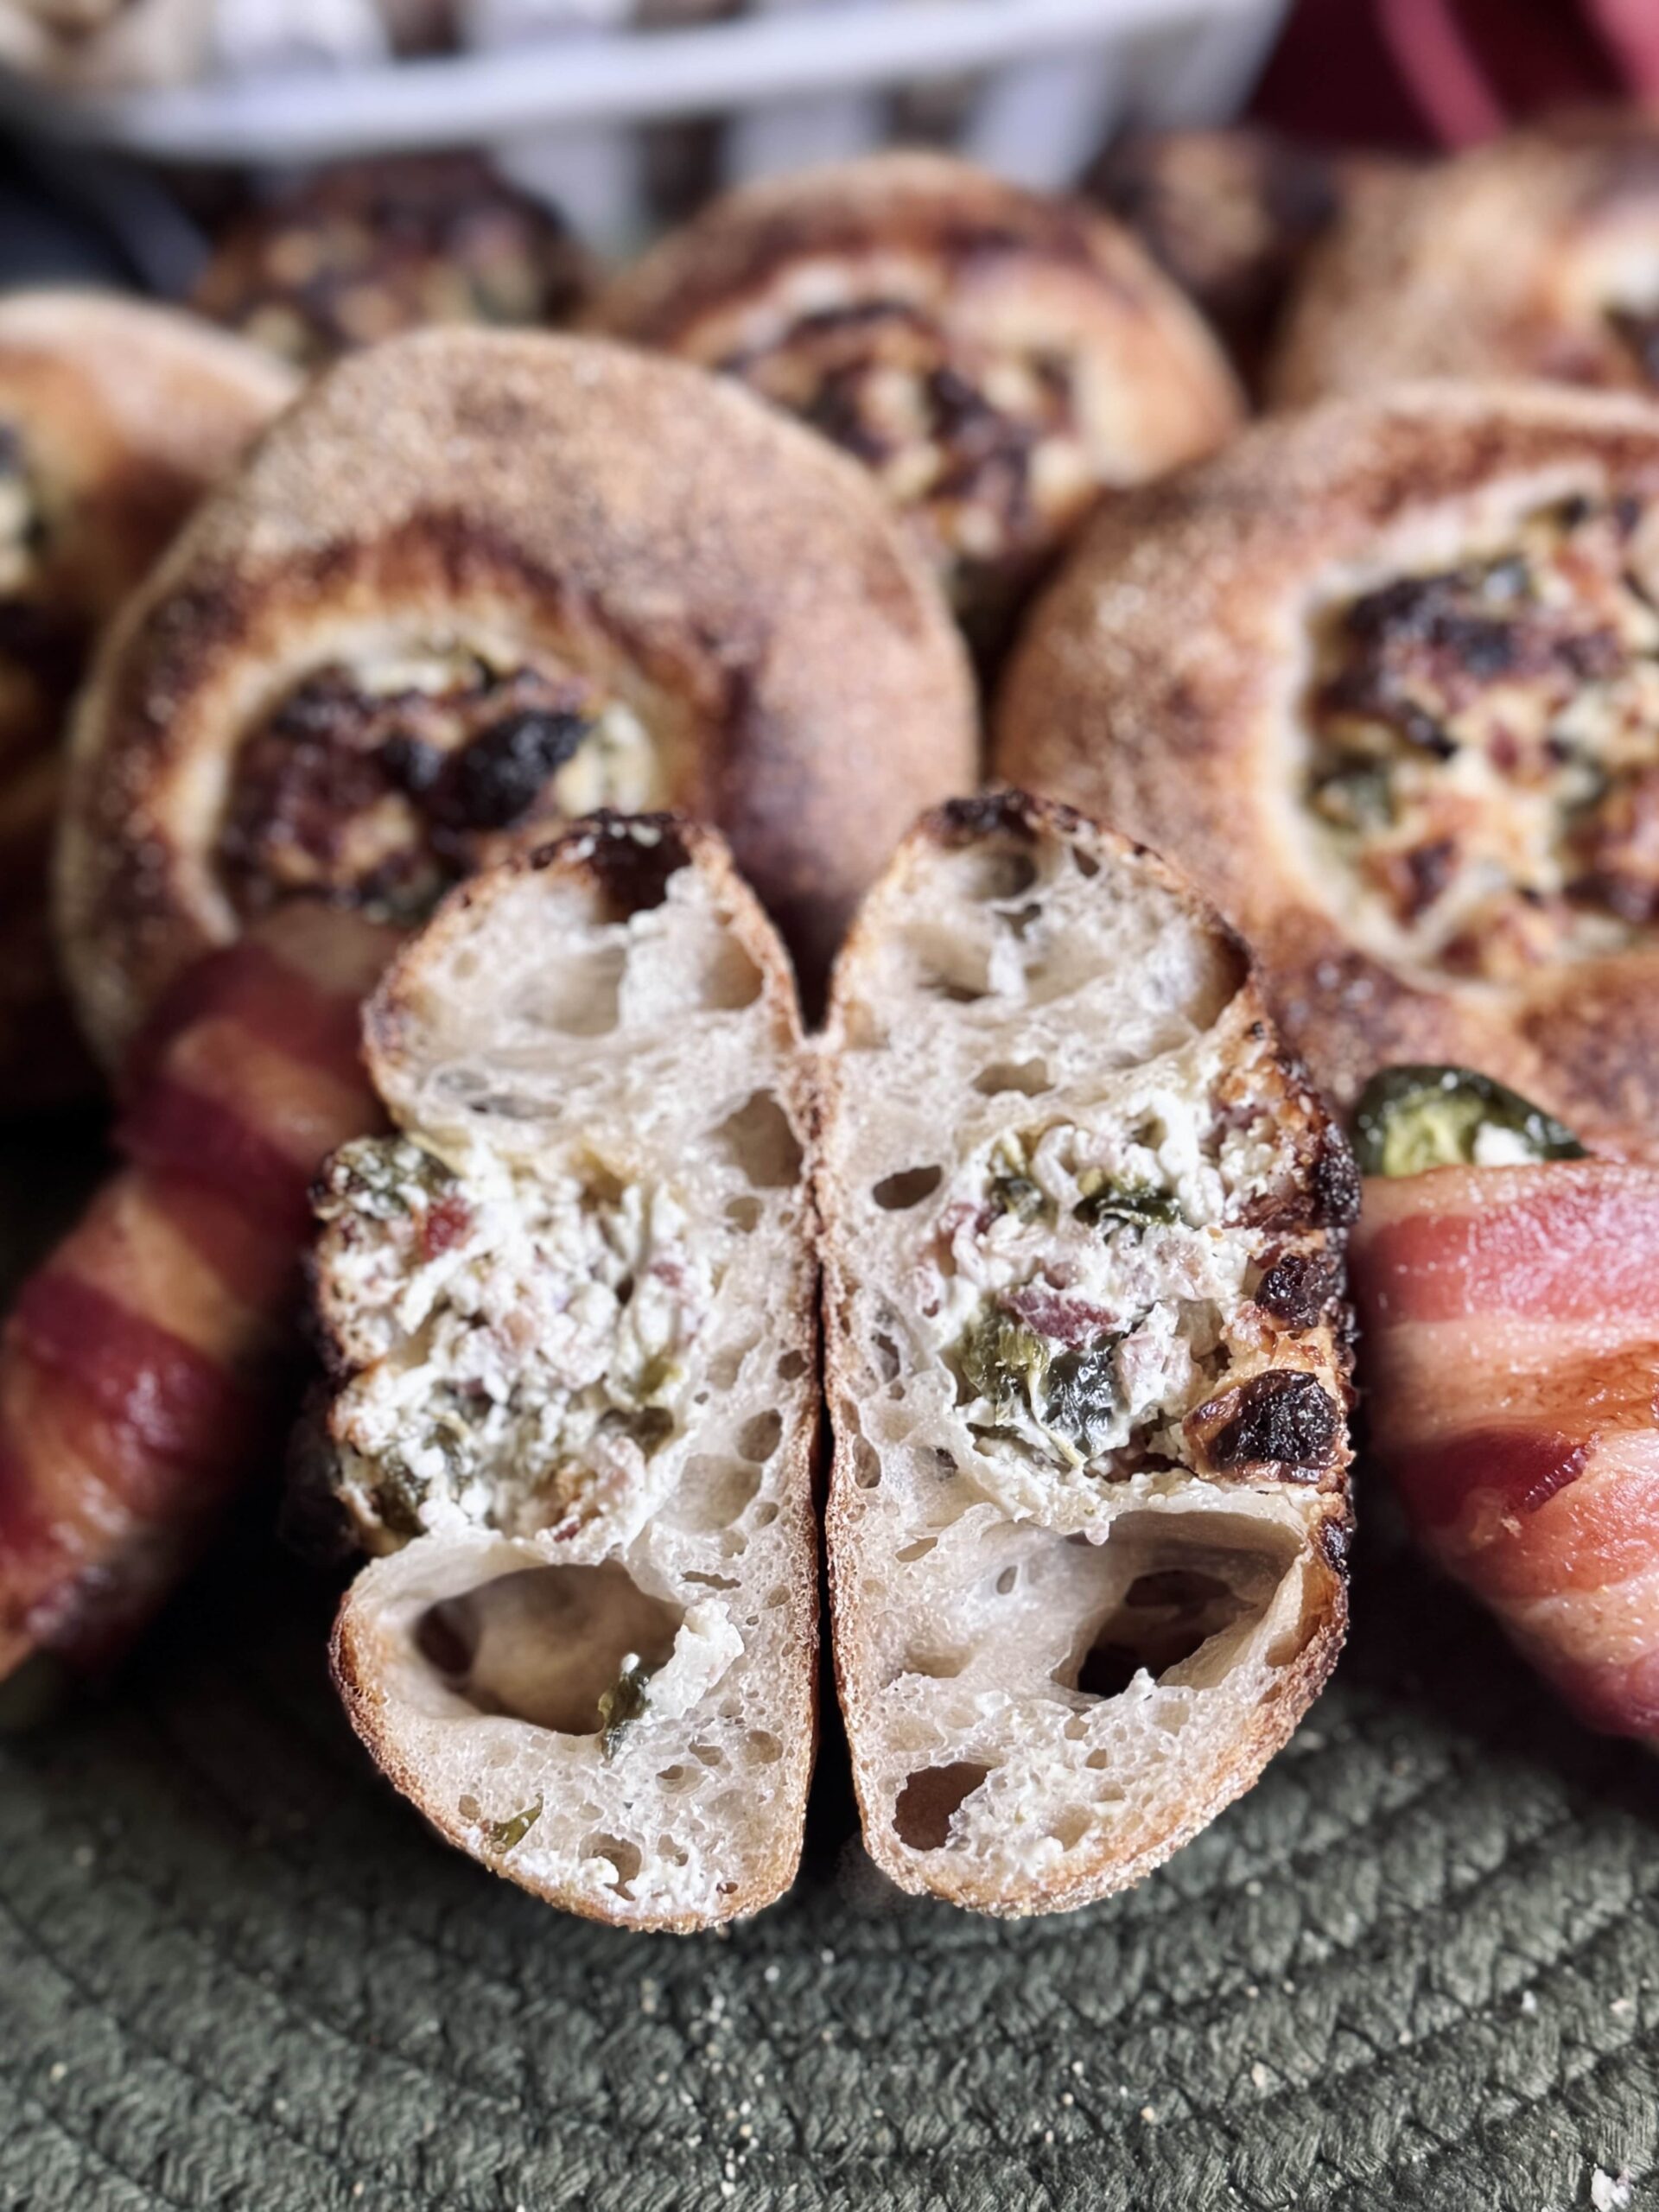
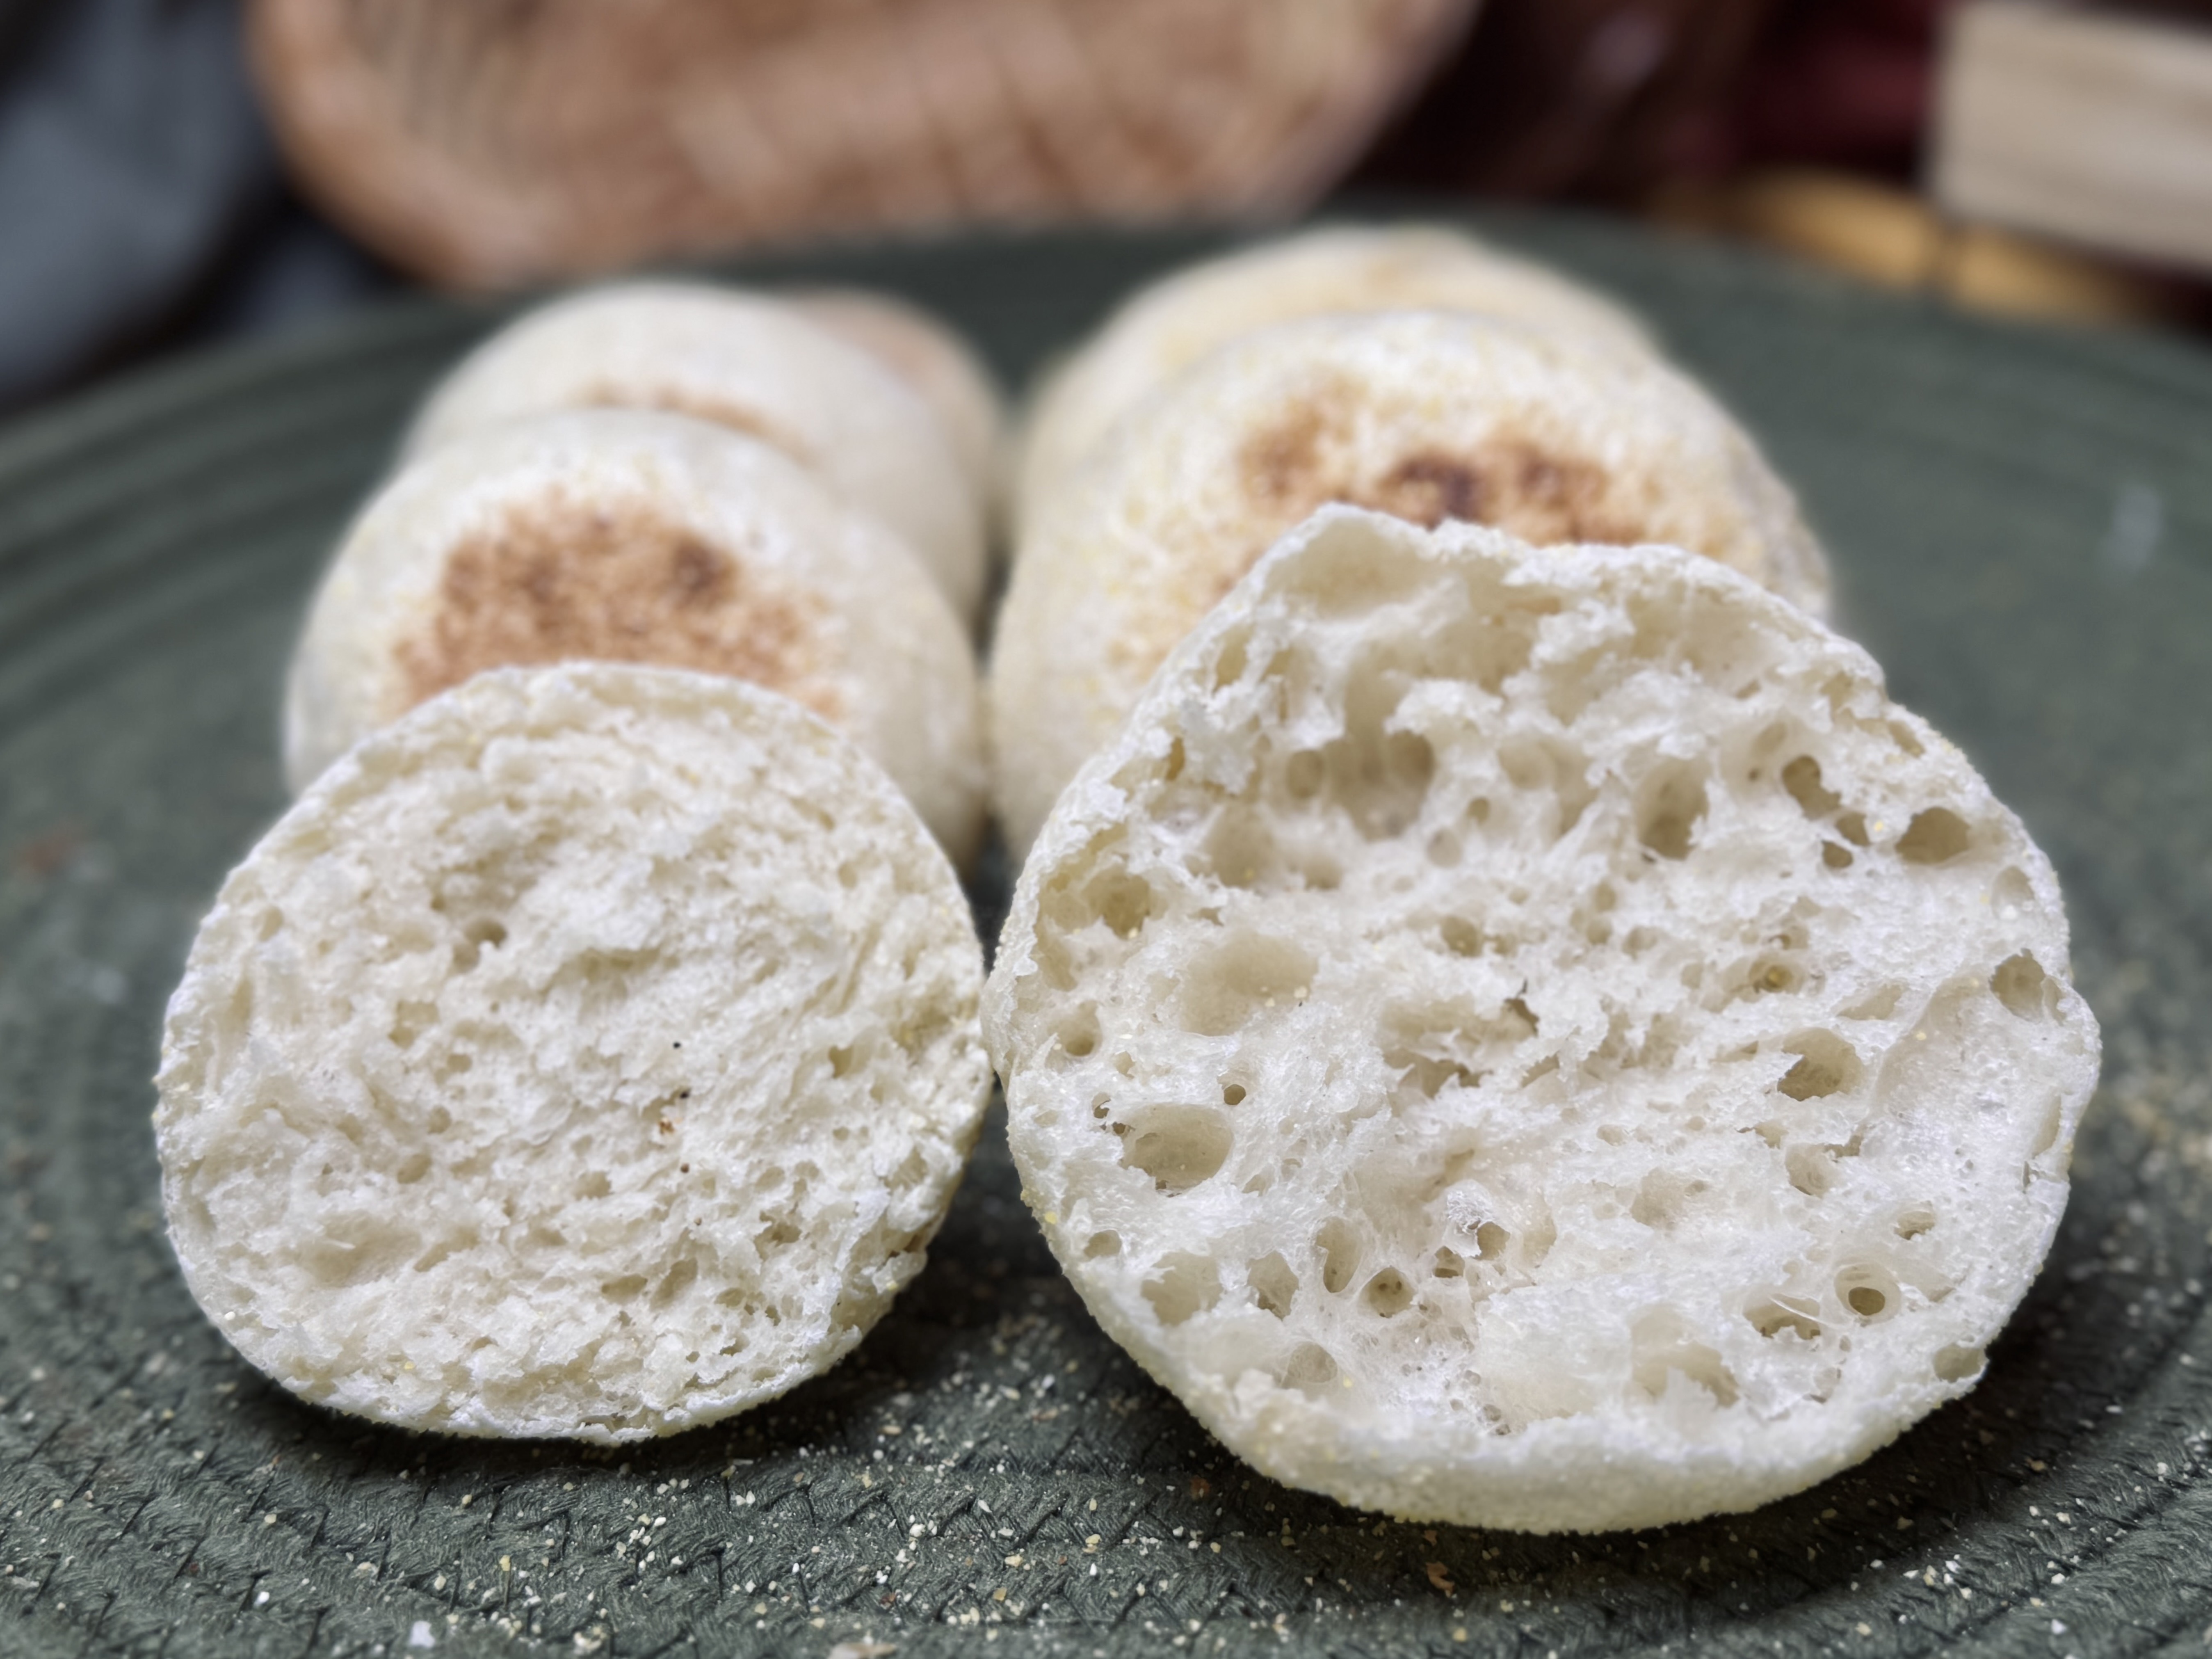
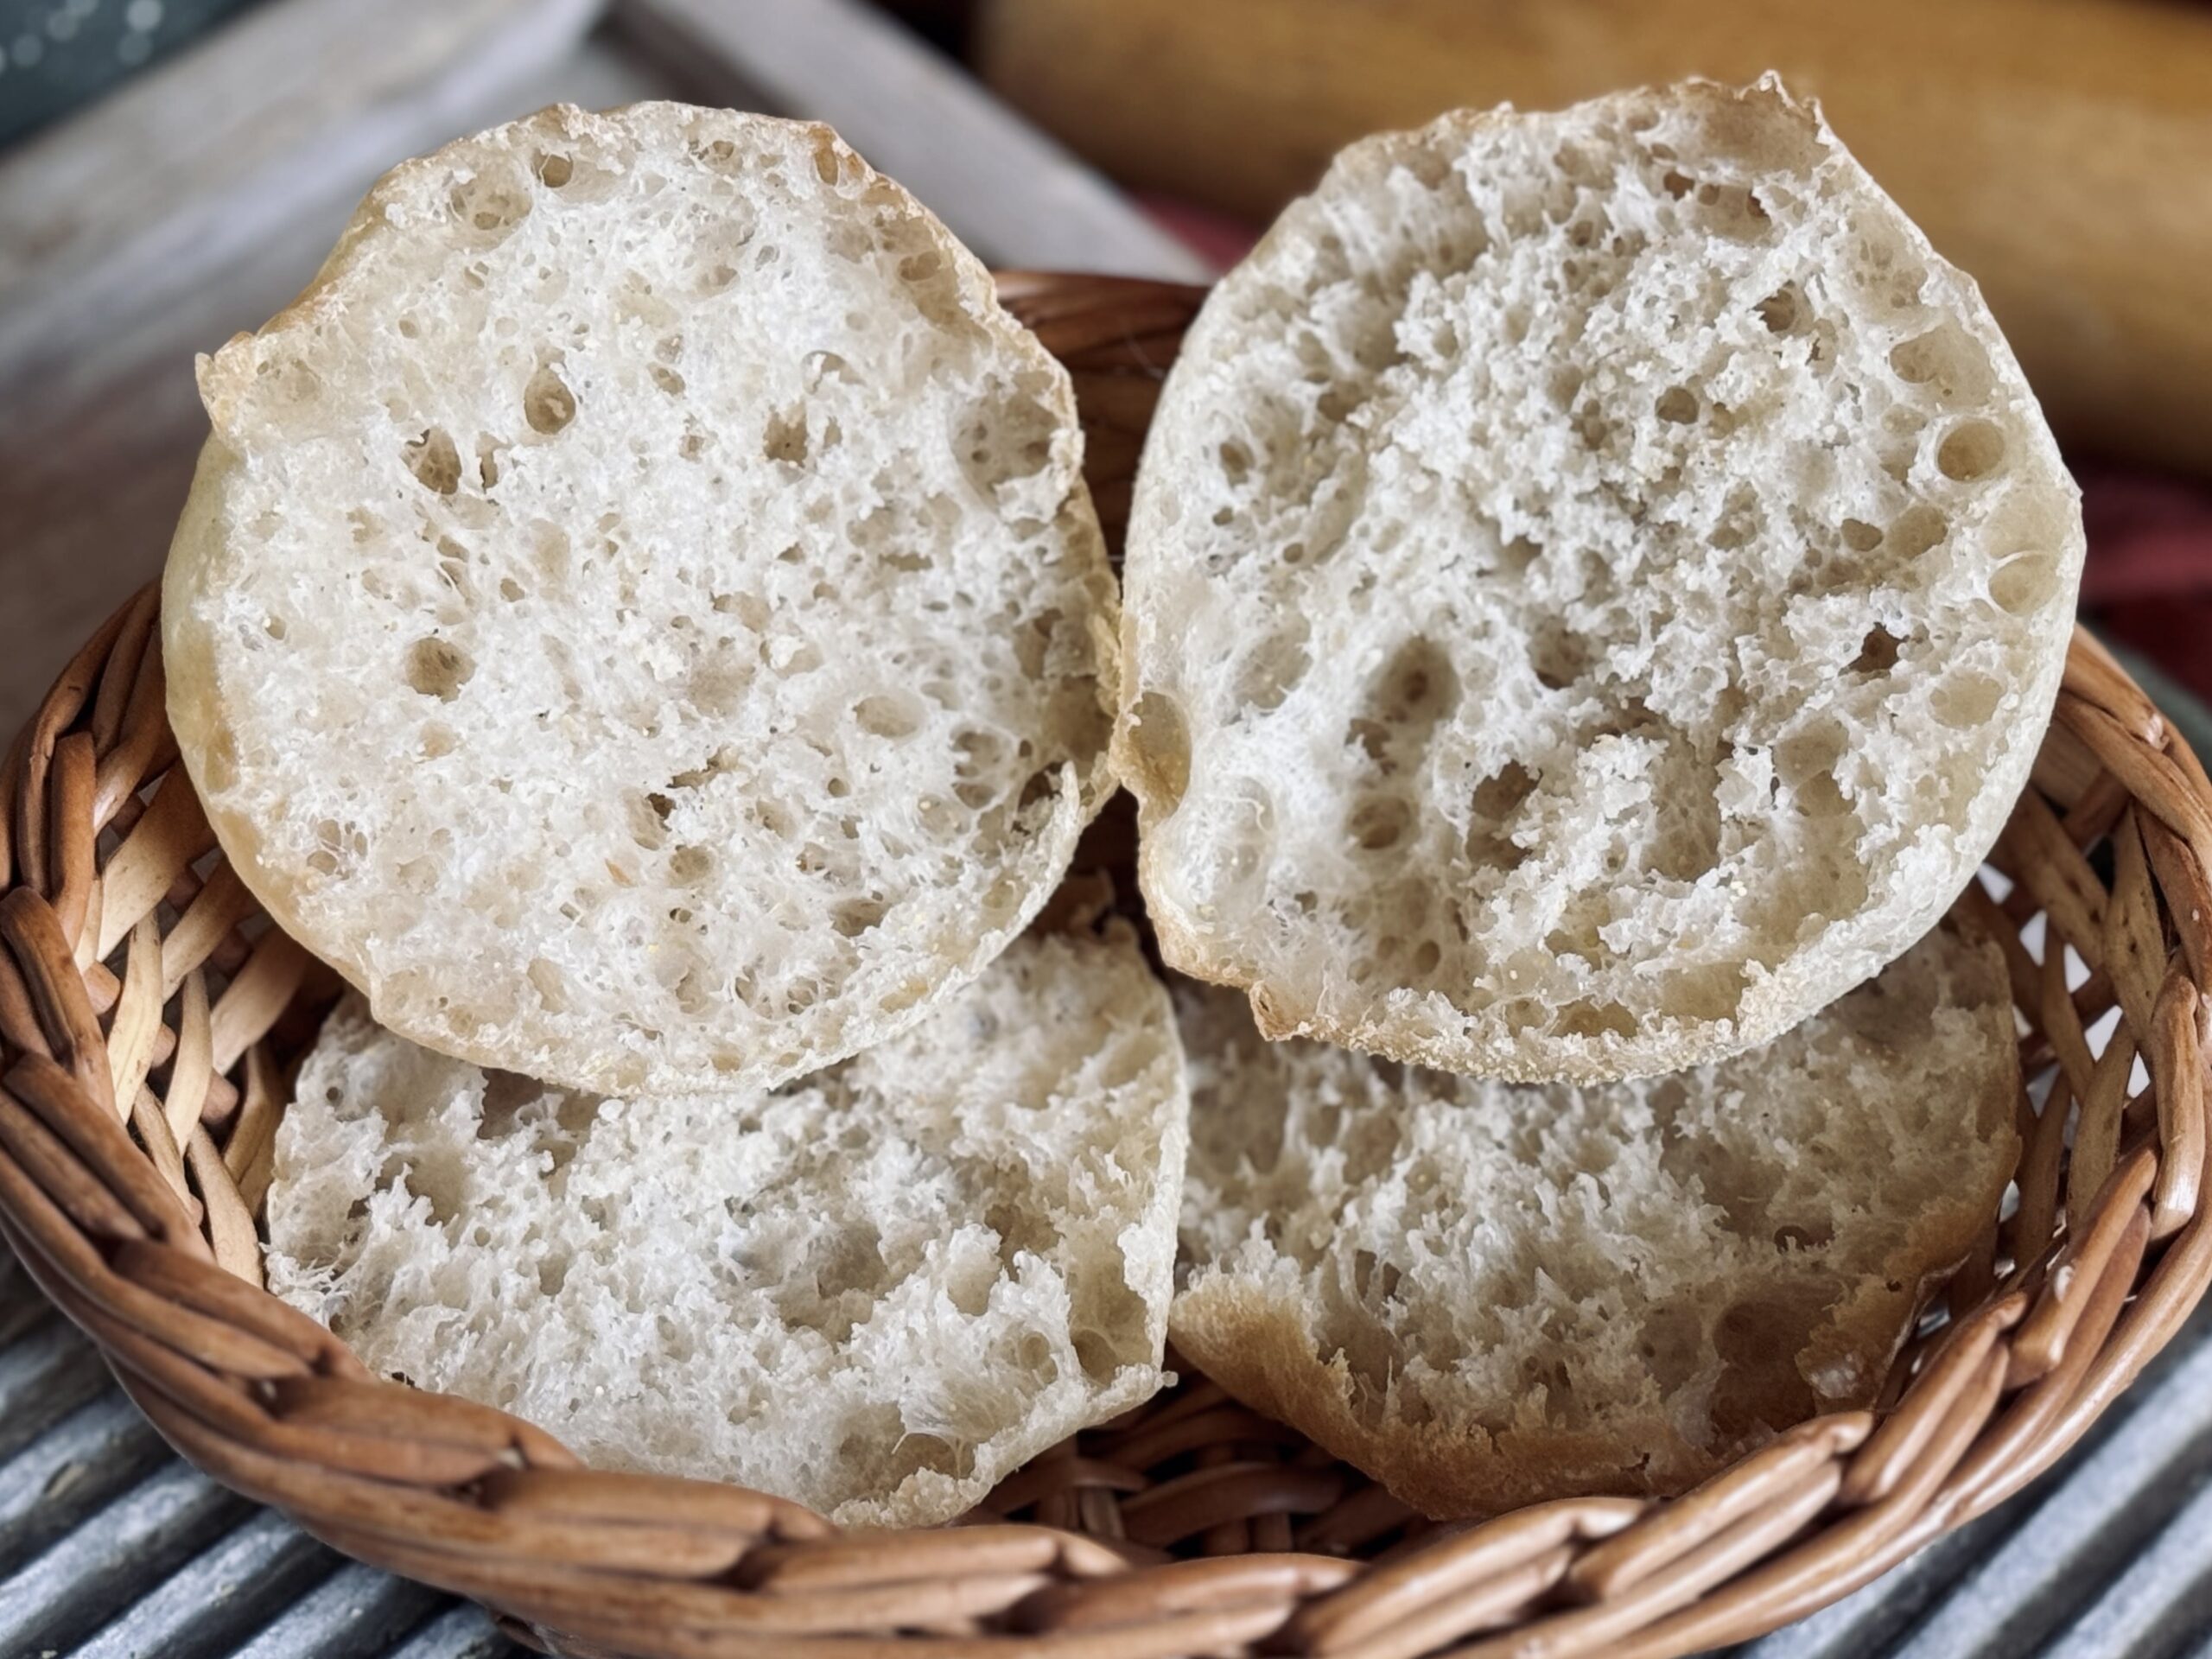
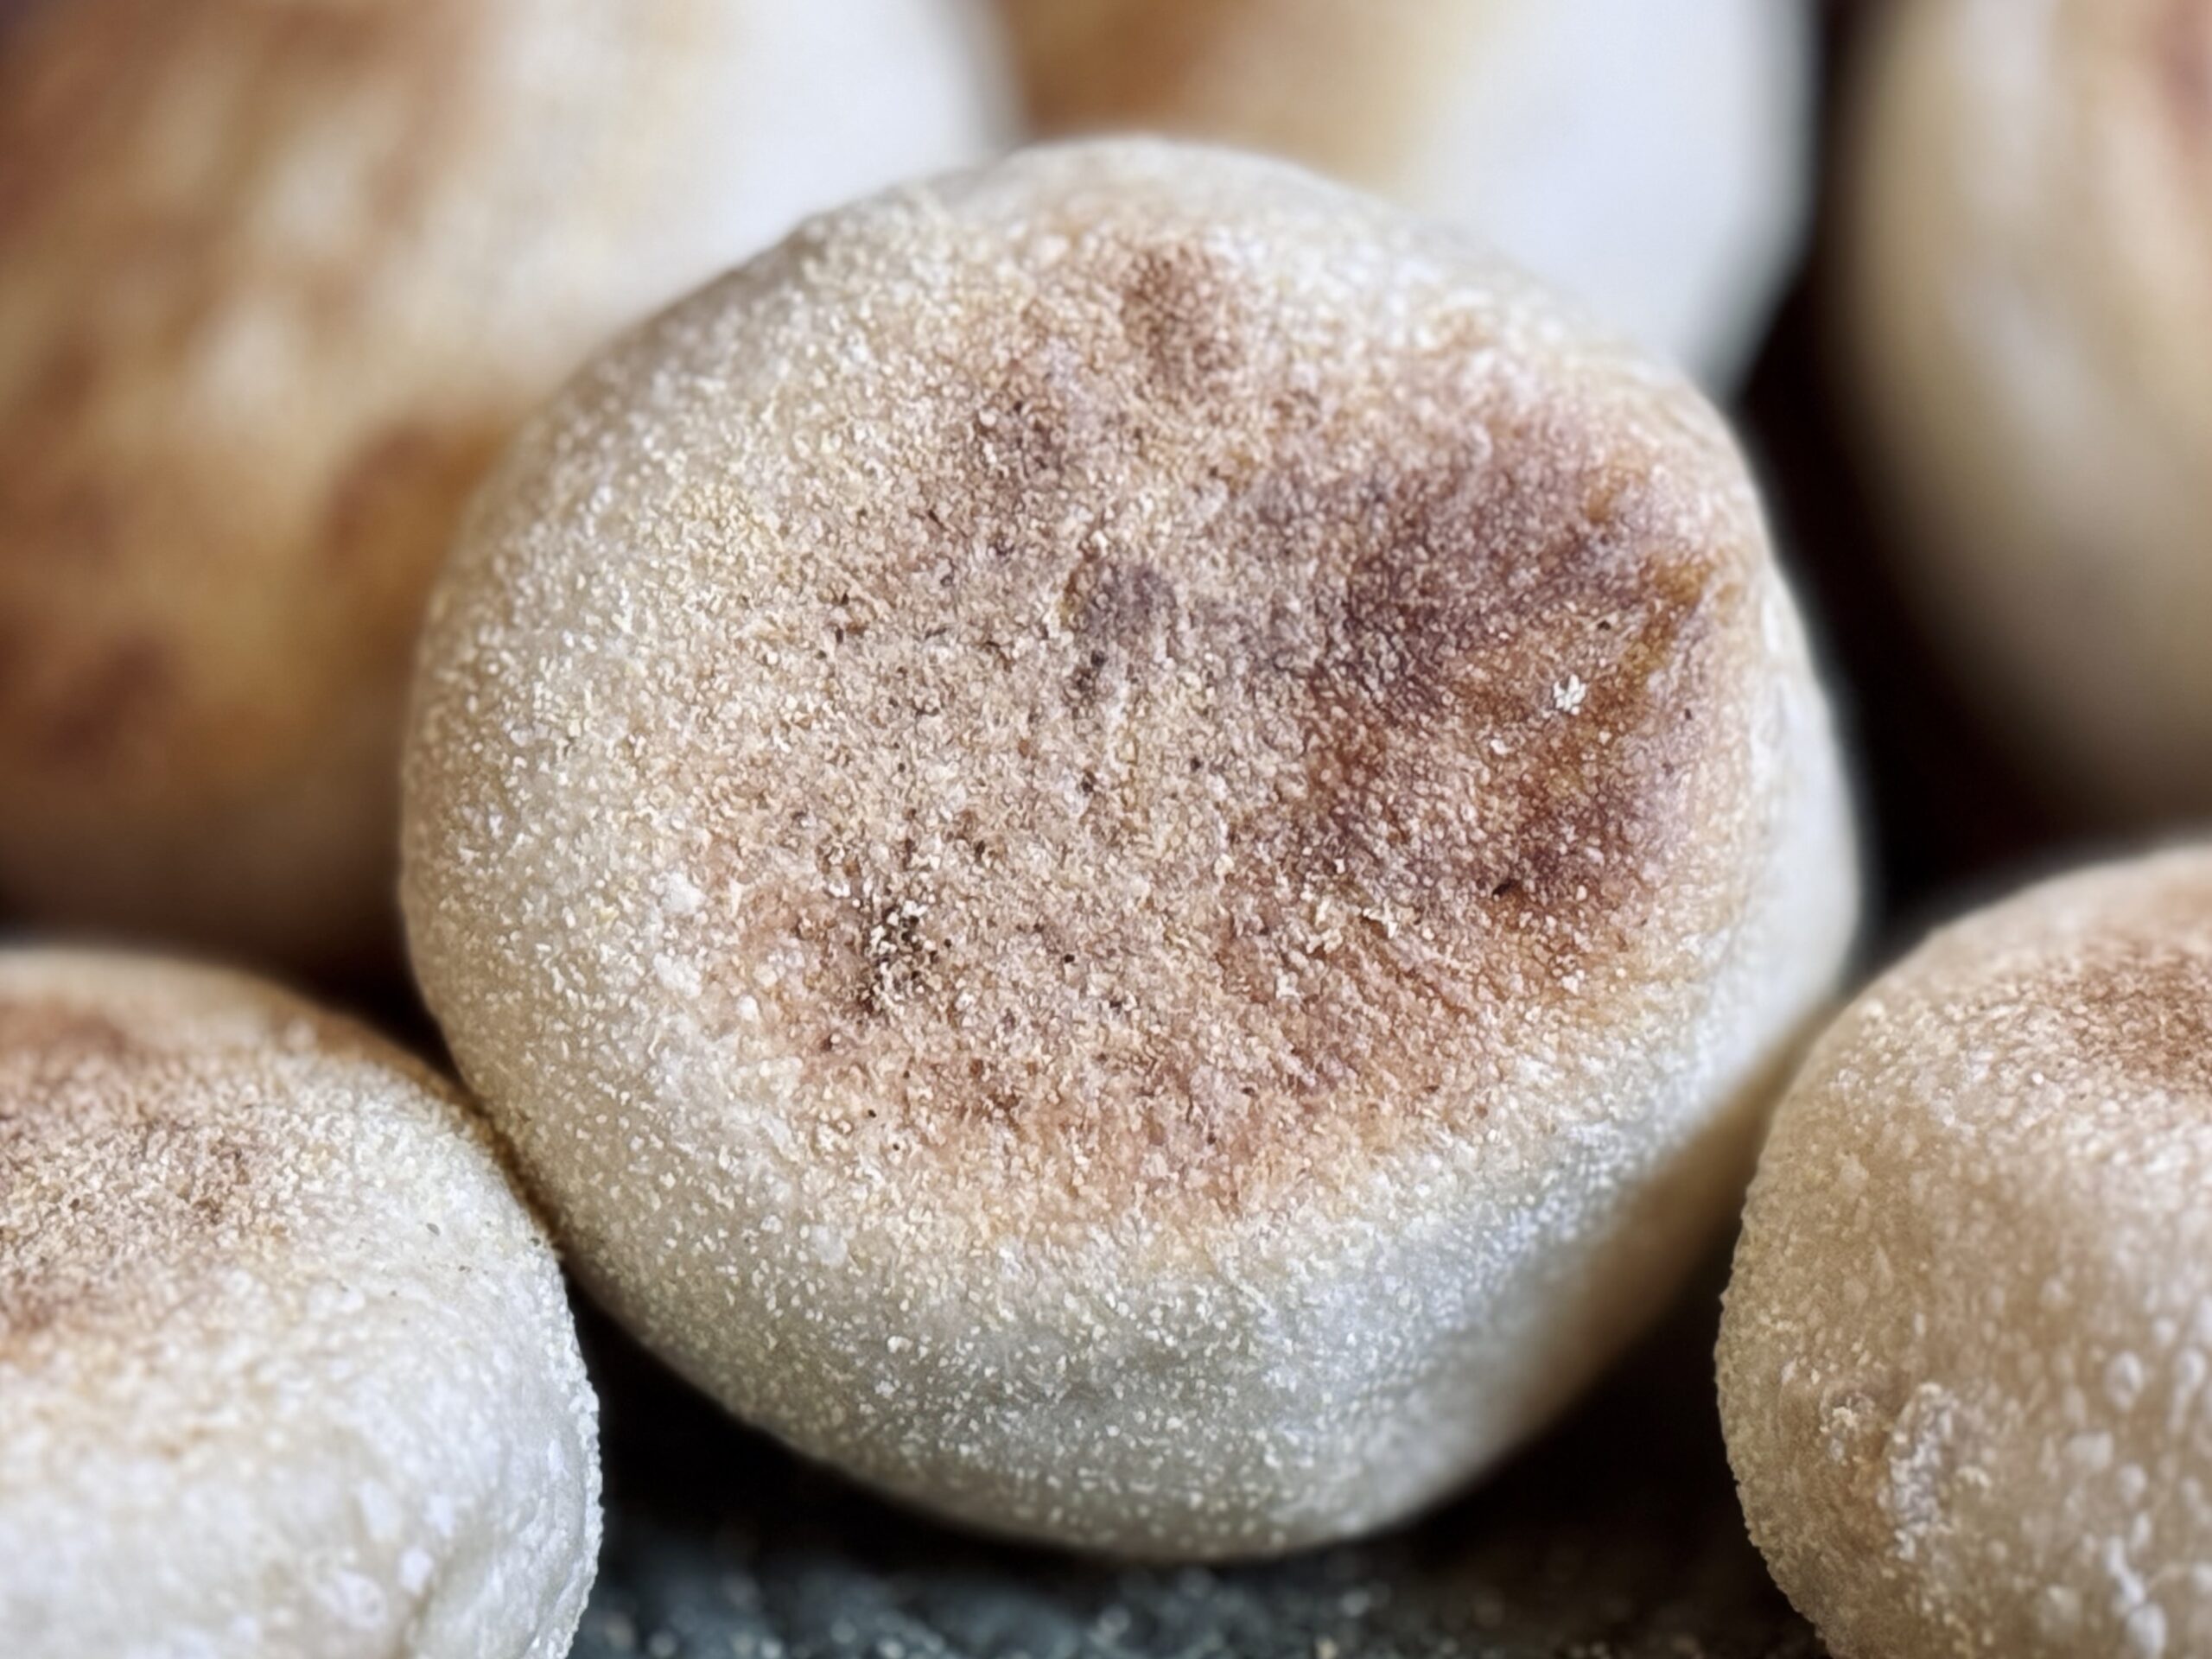
For some reason, good English muffin recipes are rare. Many are dense and heavy, lacking nooks and crannies for all that butter and jam. Not this one. My perfect English muffin is one that is light, slightly soft, with a subtle crisp when bitten into. It has nooks and crannies scattered throughout, but not as in “random large holes.” No – nooks and crannies as in: a bunch of little holes all next to each other that perfectly and evenly hold their filling. It is possible, and it is not that hard. You just have to know a few key pieces of information, which (of course) I spill the beans on below.
What Are English Muffins?
English muffins are a small, round, and flat yeast-leavened bread product. They are fried on a griddle or stovetop, which gives them their unique texture and appearance – golden and crispy on the outside, yet soft and chewy on the inside. English muffins are often split open with a fork, toasted, and served with butter, jam, or used as a base for breakfast sandwiches (my favorite!).
A Brief History Of English Muffins
English muffins were invented by a British expatriate in America in the late 1800s. A man named Samuel Bath Thomas developed them as a thinner, pre-cut version of crumpets. While crumpets are made from a wet batter that is cooked only on one side, English muffins are made from a firmer dough that is split down the middle, usually with a fork. They are much more well-known and popularized in America than England, where they are termed, “American muffins.”

What I Love About This Recipe
This recipe creates an English muffin that is beautifully light and airy with nooks and crannies throughout. To create them, I break a few traditional rules, such as frying low and slow until the muffins are cooked completely through. I also bring back forgotten knowledge, such as the main liquid base for English muffins. I also use some techniques I do not see often, such as dividing the dough into equally-weighted sections and shaping into rounds, rather than rolling out the dough and cutting with a dough cutter. Altogether, I think the blend of techniques and ingredients in this recipe creates a stunning end result that will leave any baker obsessed with baking more.

All The “Why’s”
Bread Flour
Here’s the thing about artisan bread: most of the gluten is developed through time during the slow fermentation process. You see, as dough rests, gluten comes together naturally and fermentation provides strength. Bread flour contains more gluten binding proteins, which naturally create a stronger network that traps air and helps the loaf ferment more efficiently. I use King Arthur Bread Flour in most recipes that calls for “bread flour” because of its higher protein content (12.7%) and excellent ability to form gluten.
Salt
Salt helps bring out flavor (without salt, bread would taste almost like nothing), but also has notable effects on the dough. Salt is a tightening agent, meaning it helps create a more elastic (strong) dough. It does slow fermentation, as well as gluten development, but these are things we must account for in the recipe because we cannot have a recipe without salt. It is important to use just the right amount, enough to bring out the flavor, but not so much that the loaf cannot ferment or come together. I use the standard – 2% salt – in all my recipes, unless otherwise noted.
Hydration
This recipe has an approximate hydration of 70%. The amount of liquid present is just enough to create a soft dough that can be structured by hand through folds. Increased hydration (more liquid) leads to chewier textures, which I do not want too much of in this recipe. I find this amount of liquid to yield the perfect texture in the bread, as well as create the right consistency of dough to make for easy handling for any level of sourdough baker.
Little To No Milk
While most English muffin recipes on the internet today are primarily milk-based, this one is not. This recipe includes hardly any milk, though it does include a smidgen for reasons I will explain in a moment. In fact, your muffins will come out great if the milk is skipped altogether and replaced with water. This factor is so very important to the overall texture of the muffins and it plays a large role in the presence of the nooks and crannies.
Originally, I did not include any milk in the recipe. But, milk creates density and softness. A small amount of this is actually very helpful to balancing out the chewiness that water creates. That is why I, inevitably, decided to include a small percentage of it in this recipe. Did you know the original English muffin recipe did not include milk at all? It is not essential.
Aside from the positive effects, milk has some neutral effects, such as darkening of the crust, and also one majorly negative effect for English muffins, and that is that it completely closes the crumb. Why? Milk is a tightening agent (like salt), and in large portions brings too much elasticity to the dough. With milk as the base, no matter the fermentation, it is nearly impossible to achieve the openness desired in English muffins. Therefore, this recipe is primarily made with water as the liquid base, and uses only a small percentage of milk (small enough to still allow for those gorgeous nooks and crannies to come through) to add a little bit of softness to the interior of the muffin. For a deeper dive into the effects of milk in English muffins, see my expansion post on this topic, linked below:
Oil Over Butter
Oil, in addition to milk, adds softness to the dough. I chose to use oil over butter in this recipe due to the fact that I chose to hand mix the dough and develop the gluten through folds. Unless the liquids are heated (which I do not do) butter will solidify during mixing and is much more difficult to incorporate. Butter can be used, if desired, keeping this fact in mind, being sure to warm the liquids so that it can be incorporated easily.
No Added Sugar
Many English muffin recipes add sugar, usually only a small amount, to the dough. The purpose of the small portion of sugar would be to aid in fermentation. Unlike adding a large amount of sugar (which slows fermentation) a small amount of sugar can help the yeast get going. This is more important in English muffins made with commercial yeast, and is not necessary for a sourdough English muffin recipe like this one. The yeast are able to receive plenty of nutrients and sugars through the flour and the milk in this recipe. It is not even necessary to sweeten the dough for the purposes of eliminating a “sour” flavor, as a well-developed “sour” flavor is often a sought-after trait in English muffins.
Dough and Gluten Development
This dough includes only a small percentage of enrichments (oil, milk), neither of which is enough to interfere with the natural process of gluten development that happens over time. This means we can let fermentation do most of the strengthening of our bread, aerating it and building structure, while we take time to fold the dough, which helps fermentation do its best work.
Folding the dough has many benefits, and time you fold it in relation to its stage in fermentation can also change the outcome of your crumb completely. More folds up front (sometimes, I also pair this with increased mixing time) creates a more elastic loaf, which just means the end result will be taller with a more defined shape. Less folds, or folds that are more spaced out, can mean a flatter muffin, but with a more “wild” and open crumb.
Troubleshooting
- If you feel your crumb is too closed (and you know fermentation is on point), try spacing the folds out more.
- If you feel your muffins are too flat, try replacing the first set of folds with two to three minutes of kneading, adding one to two sets of folds to the recipe, or performing your folds closer together.
- Beware of how temperature plays a part; you will want to do your folds closer together if the environment is warm (above 72 F, 22 C) and farther apart if the environment is cool (below 72 F, 22 C)
For this recipe, I aim for four folds. The key is to make sure the dough relaxes completely between each set. This way, the folds are more efficient at structuring the dough. You can do each set of folds a minimum of fifteen minutes apart, but thirty minutes is better. Even an hour apart can be okay, but then it may throw off your ability to judge fermentation, which is only a factor if you are new to making sourdough and do not quite know the right timing for your environment. Feel free to play around with everything I just mentioned and notice what intervals gives you the results you are looking for in your bread. You can do a minimum of four sets of folds, or a maximum of eight sets; though, I do not see a reason to go so high.
Bulk Fermentation
It is important to note that fermentation varies significantly depending on temperature and climate. My home generally rests around 68-72 F (20-22 C), so my fermentation times are very extended from someone whose home rests around 75 F (24 C), or even warmer. Always watch the dough and read your baked loaf as best as possible to be able to determine necessary adjustments for your next attempt. The goal is to ferment the dough as long as possible, but not to overproof. The longer the dough ferments, the lighter and airier your bread will be.
If you choose to cold ferment your dough, as I do in this recipe, the temperature of your bulk fermentation is very important. A warm dough will continue to rise significantly in the fridge, while a cooler dough will not. I keep this dough around 70 F, and bulk ferment it until it reaches 50-75% in size after folds are complete. The bulk fermentation here is significantly reduced from what I usually do, and that is because I let the dough rest on the counter for a very long final proof. If you live in a climate like mine, or even cooler, this method will work fine. But, if your environment is warmer, you will need to consider decreasing the percentage of rise you give the dough before you shape it. I can give you some guidelines, but ultimately you will need to experiment and find your own way for your own environment.
Generally, loaves that ferment around 70 F (21 C; this is the temperature I ferment my dough) take about 5-6 hours to warm bulk ferment (before the refrigerator) in this recipe. Colder climates, say 65 F (18 C) take much longer: a minimum of 8 hours. Increase the temperature to 73-75 F (23-24 C), and the bulk fermentation time is reduced to around 3-4 hours. Last, very warm temperatures, 78-80 F (25-27 C) generally take only 2 hours to complete the first fermentation. All in all, your dough is in your hands, and in your climate.
Cold Bulk Fermentation
Though placing the dough in the fridge isn’t necessary, it will create a deeper final flavor, as well as add flexibility to the baking timeline. I choose to do this before the muffins are shaped, rather than after, but either way will result in a beautiful flavor. The dough must be at room temperature or slightly warmer before frying, which is why placing the dough in the fridge at the end of bulk fermentation seems to make the most sense. Furthermore, it will also make handling the dough for shaping slightly easier.
If you choose to skip cold bulk fermentation, you will want to shape the dough after about a 50-75% size increase, and then let the muffins proof on the counter until about double in size for best results. When skipping the fridge, it is easy to use visual cues since we do not have to worry about the dough rising too much in the refrigerator.
Shaping
The dough is shaped by dividing into twelve equal sections and shaping each section into a round by using a clean counter and your pinkies to tighten the outer skin. This method, at least in my opinion, is much easier and a lot less time consuming than rolling out the dough and cutting into rounds using a biscuit cutter.
A Long Final Proof
A “final proof” is simply the time the dough is left to rest and ferment after shaping, but before cooking. This recipe includes a long final proof, which is possible due to the shortened bulk fermentation, for a reason. After the dough is shaped, it is left to ferment and develop bubbles, remaining unhandled. This, in addition to everything else mentioned above, is an important factor to achieving those gorgeous nooks and crannies. A dough that has not been left to proof long enough will not result in the same nooks and crannies as one left for longer. There is one catch, though. A dough left to proof too long will not have as much of a “spring” on the hot griddle (though it may or may not still result in beautiful nooks). It is important to let the dough relax and expand a good amount, but not flatten completely, in order to achieve the perfect English muffin.
Room Temperature Dough
A dough that is room temperature, or slightly warmer, will result in the best “spring” on the griddle, as well as the biggest air bubbles inside. I learned this lesson when working on baguettes, as I tried to mimic my standard country loaf and bake them from cold, only to discover a major lack of desired oven spring. This same concept applies to English muffins. The warmer dough temperature hitting a high heat on the griddle will cause the muffins to puff up rapidly and produce beautiful air bubbles inside.
Cooking Method: High Heat
Hear me out on the high heat. Maybe you have researched and are positive that English muffins are meant to be fried from start to finish: slowly at a lower temperature. And the truth is, you can do this and I will tell you how (more on this in FAQs). The pitfall to frying “low and slow” is the goal of the nooks and crannies. Room temperature (or slightly warmer) dough needs to hit high heat. This reaction will cause the muffins to puff up immediately, expand beautifully, and produce gorgeous air bubbles. By using a lower heat, the muffins will rise slower, and will still produce air bubbles as they expand (maybe even enough for you to be satisfied!), but not in the same way as a muffin cooked on a higher heat. Unfortunately, using the higher heat means the muffins would burn on the outside before they are cooked all the way through, which is why I combine this method with baking in the oven.
An Oven-Baked Finish
I finish these muffins by baking them in a 350 F oven for 15 minutes. The muffins received their “spring” and golden exterior on the stovetop, but now they must finish cooking through. A moderate heat is all that is necessary, since expansion and proper browning has already occurred. I prefer to place the muffins directly in the oven after they are finished on the stovetop, in order to keep the heat on them until they are finished cooking. To do this, I work in batches and use multiple timers on my phone to know when everything is ready. Alternatively, place the muffins on a baking sheet as they are finished on the stovetop and bake the muffins altogether for fifteen minutes.
Suggested Timelines
Suggested Timeline
DAY 1
8:00 a.m.
- Mix the dough.
8:30 a.m. – 10:00 a.m.
- Strengthen the dough through folds.
3:00 – 5:00 p.m.
- Refrigerate the dough.
DAY 2
8:00 a.m.
- Shape the dough.
12:00 – 3:00 p.m.
- Cook the muffins and enjoy!
All-In-One-Day Timeline
DAY 1
8:00 a.m.
- Mix the dough.
8:30 a.m. – 10:00 a.m.
- Strengthen the dough through folds.
3:00 p.m.
- Shape the dough.
6:00 p.m. – 8:00 p.m.
- Cook the muffins and enjoy!

📌 Quick Tip: Read the recipe in its entirety before you start cooking. This will help you understand the ingredients, steps, and timing involved, and allow you to prepare any necessary equipment or ingredients beforehand.
English Muffins
Ingredients
Wet
Dry
Other
Instructions
-
Mix all the ingredients together until no dry bits of flour remain. Cover the dough with a lid, damp towel, or plastic cling wrap and let it rest for thirty minutes.
-
Ferment and strengthen the dough:
Thirty minutes after mixing, begin four sets of folds, spaced thirty minutes (or up to an hour) apart. Use any kind of folds you like, though I think stretch-and-folds work best for this recipe.
To stretch-and-fold the dough: Pull the dough up as far as it will go without tearing and then fold it completely over to the other side. Perform one fold in each cardinal direction before covering the dough and allowing it to rest once more.
If you feel the dough is not strong enough after four folds, you can add two more OR you can choose to replace the first set of folds with a two to three minute knead on the next go-around. A dough that does not have enough strength may collapse during the final proof or will not puff up well on the stovetop. -
Bulk rise: After folds are complete, allow the dough to rest until it has increased in volume by 50-75% and is showing nice bubbles on top. Refrigerate the dough 12-24 hours to set the classic “sour” English muffin flavor. Alternatively, shape right away.
If you are fermenting your dough warmer than I do (70 F; 21 C), you may need to decrease the percentage rise. Refer to the guidelines in my post above for help. -
Prepare one or two 9X13 baking sheets with a heavy dusting of cornmeal. Coarse cornmeal is preferred, but any kind of cornmeal will work. I like to use two baking sheets to spread the English muffins out more (this prevents them from sticking to one another and makes it easier to transfer to the griddle for frying), but only one is necessary.
-
Shape: Divide the dough into twelve equal sections, about 80 g each. Shape each section into a round (3:18 in video). To do this, pull the dough toward you, using your pinkies to tuck the dough under itself and tighten the surface. Repeat until a nice, tight round is formed.
-
Final proof: Lather the top and bottom sections of each round in cornmeal from the baking sheet. Allow the muffins to rest, covered, 4-8 hours, until they are noticeably larger and more relaxed than they were when they were first shaped. I let them rest for a total of 7 hours at 70 F (21 C).
If you did not use the refrigerator, you do not have to let the muffins proof quite as long due to the dough already being warm. Only a 2-4 hour proof is necessary in this case -
Preheat an oven to 350 F with a baking stone inside. If you do not have a baking stone, it is fine to use a baking sheet (but don’t preheat it!). In addition, go ahead and preheat a cast iron skillet or a griddle to a medium-high heat.
-
Cook: Once the griddle/skillet and oven are preheated, spray the griddle/skillet with a high-heat oil (like avocado oil). Cook the muffins 2-3 minutes per side (until nicely browned). If they are not nicely brown in 2-3 minutes when you flip, your griddle is not hot enough. If they are burnt in 2-3 minutes, your griddle is too hot. I cooked mine for 2 minutes per side on my gas griddle set to heat 7.
Be sure not to overcrowd the pan. This will affect heat distribution. -
Immediately transfer the muffins to the hot, 350 F oven for 15 minutes to continue cooking. I like to keep heat on the muffins at all times until they are completely finished, so I use multiple timers (my phone allows me to do this) and work in batches. The internal temperature should be 190 F when they are done baking.
-
Cool for 15-20 minutes before diving in!

You might need...


Affiliate Disclosure: This post contains Amazon affiliate links. This means when you buy a product using one of my links, I may receive a small commission at no cost to you. Thank you, in advance, for supporting my work.
Nutrition Facts
Servings 12
- Amount Per Serving
- Calories 197.72kcal
- % Daily Value *
- Total Fat 3.52g6%
- Saturated Fat 0.4g2%
- Trans Fat 0.01g
- Cholesterol 0.41mg1%
- Sodium 189.91mg8%
- Potassium 56.94mg2%
- Total Carbohydrate 34.73g12%
- Dietary Fiber 1.18g5%
- Sugars 0.72g
- Protein 6.03g13%
- Vitamin A 1.91 IU
- Calcium 16.12 mg
- Iron 2.16 mg
- Vitamin D 0.05 IU
- Vitamin E 0.62 IU
- Vitamin K 1.97 mcg
- Thiamin 0.39 mg
- Riboflavin 0.25 mg
- Niacin 3.55 mg
- Vitamin B6 0.02 mg
- Folate 18.62 mcg
- Vitamin B12 0.01 mcg
- Phosphorus 52.66 mg
- Magnesium 13.75 mg
- Zinc 0.45 mg
* Nutrition values are auto-calculated and should be used as an approximation only.
Notes
- Storage: Store unsliced in a Ziploc or bread bag on the counter for three to five days, or slice and store in the freezer. Toast to warm.


User Reviews
This is the first English muffin recipe I tried and they were perfect & delicious. I have no want to try any other recipe. I’m actually getting some dough ready right now.
Yay! Such good feedback! So glad you’re enjoying this recipe 🙂
I’ve tried seven recipes for sourdough muffins and these are the best of the bunch. Started with KAB, so I’ve used reputable recipes. This one has the ‘nooks and crannies’. I’ve made it without the overnight proof and with it. I preferred without because I don’t want them too tangy.
I’ve been trying to make English muffins but every recipe has failed me. I gave up until I saw this one. I am so grateful I gave it a shot. It’s the best one, and I’ve tried a TON! My kids ate them all up and said we no longer have to buy English muffins! They’re SO good!
Yay! Thank you for the positive feedback!
The recipe was very delicious. I kept mine in the fridge longer to get more of a sour taste. My husband loved it.
Just don’t know how to keep the corneal from burning in the pan as I didn’t have a griddle and had to do it in batches
I love these muffins! I have tried a number of different recipes and these are the best! I have made them several times now and have been making them a little larger, weighing them at 100 gr. each. The frying and baking technique is perfect- they don’t burn and they are perfectly baked. I’m still having a bit of difficulty determining when they are ready to be baked. If you have any other tips for knowing when to cook them, I’d be grateful. Thanks for the wonderful recipe!
Definitely! Here’s what you’ll find:
-The dough will ferment faster
-The muffins will be more sour
-You may need to increase the hydration, I’d bump it to 80% to start
-The crumb will not be quite as open, due to the bran cutting through the network
Can you make these using half whole wheat, half bread flour? If so, should the hydration be increased?