About This Recipe
Bialy: The Most Versatile, Underrated Bread
I first discovered bialy in the sourdough cookbook “Wild Bread” by MaryJane Butters. Her book was my first introduction to sourdough, though I have long since diverted from her techniques. Still, I go back to her book for recipe inspiration and ‘bialy’ had been one on my list.
After intense research on the bread, I was so excited when I recreated it in my own kitchen. It had to be in my top ten list of favorite breads… but why was it so unheard of?
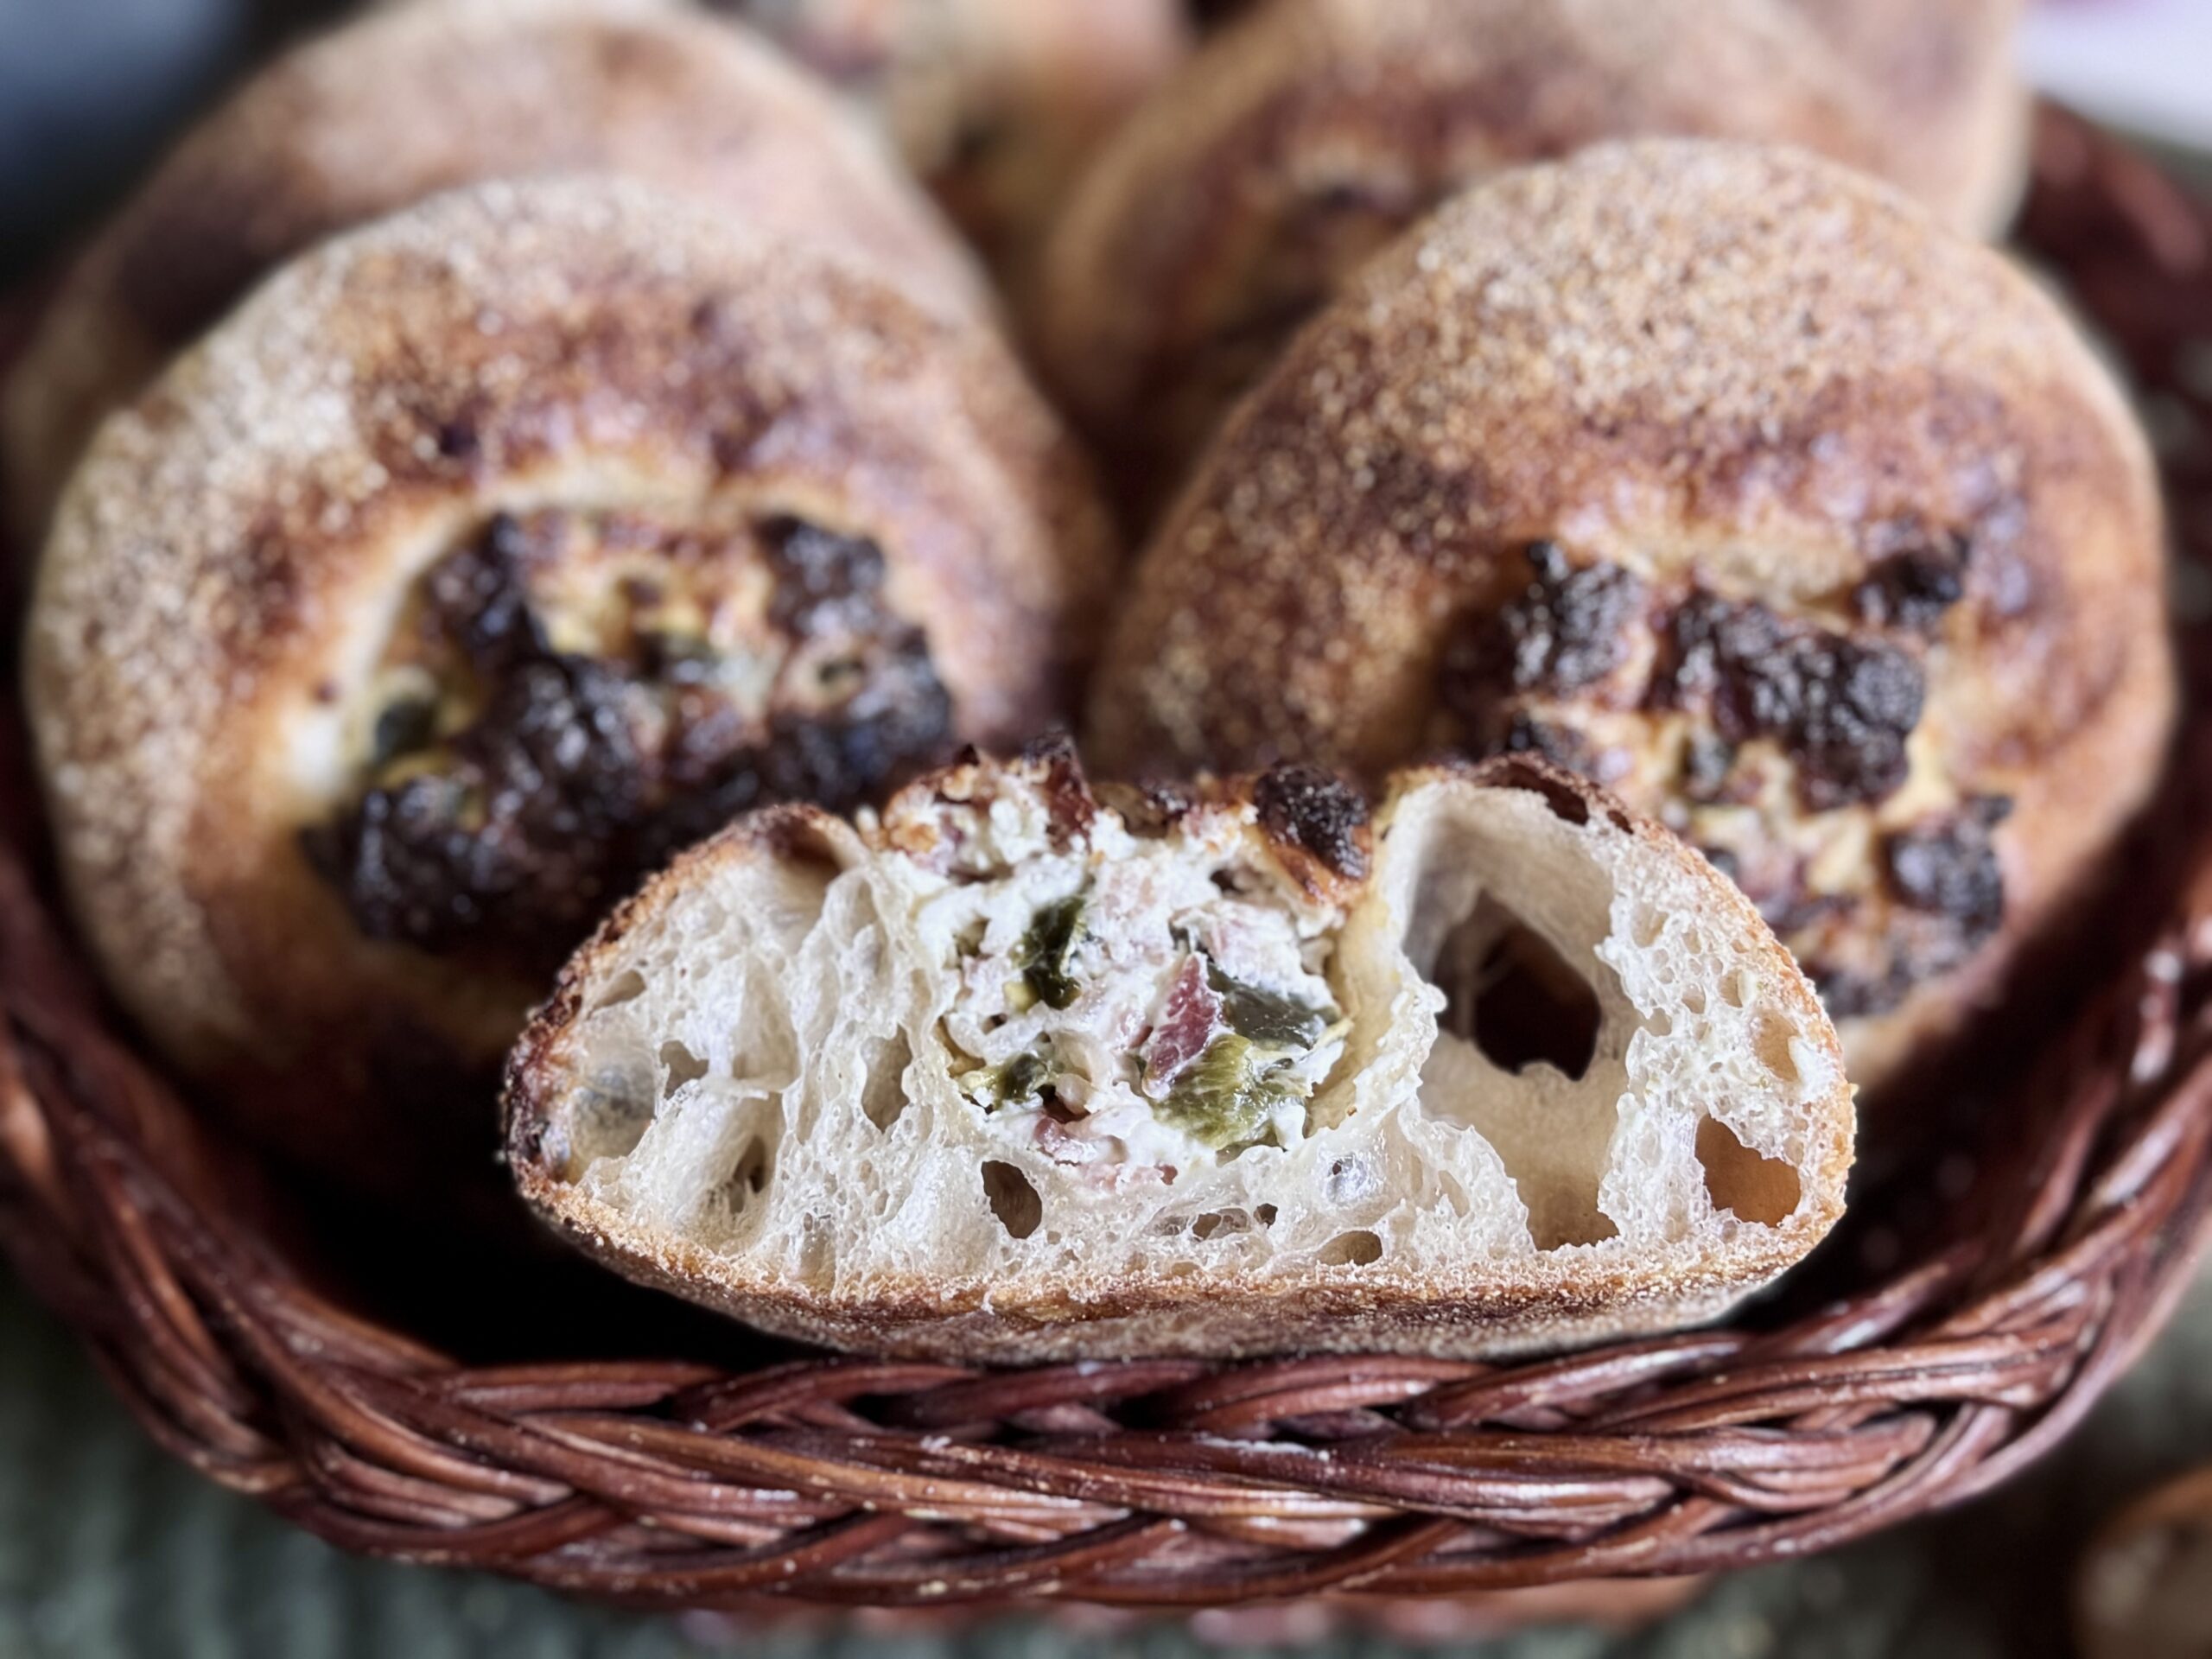
Bialy has a limited shelf life, due to the nature of the bread in combination with its filling. Fresh from the oven, it’s chewy, yet soft, with a subtly crisp crust and flavor blast in the middle. It really is best the first day, even the first couple of hours.
The bread was brought to the United States by Jews fleeing from Poland, yet ended up being forgotten in Poland (replaced with a similar bread called “cebularz”) and never made it outside of New York in the USA, leaving the bread unknown by many. It is traditionally stuffed with onions and topped with poppy seeds, though this recipe gives the filling a creative spin.
This bread has so much potential and can be incredibly versatile. I hope to give it a second life through my blog.
What Is Bialy?
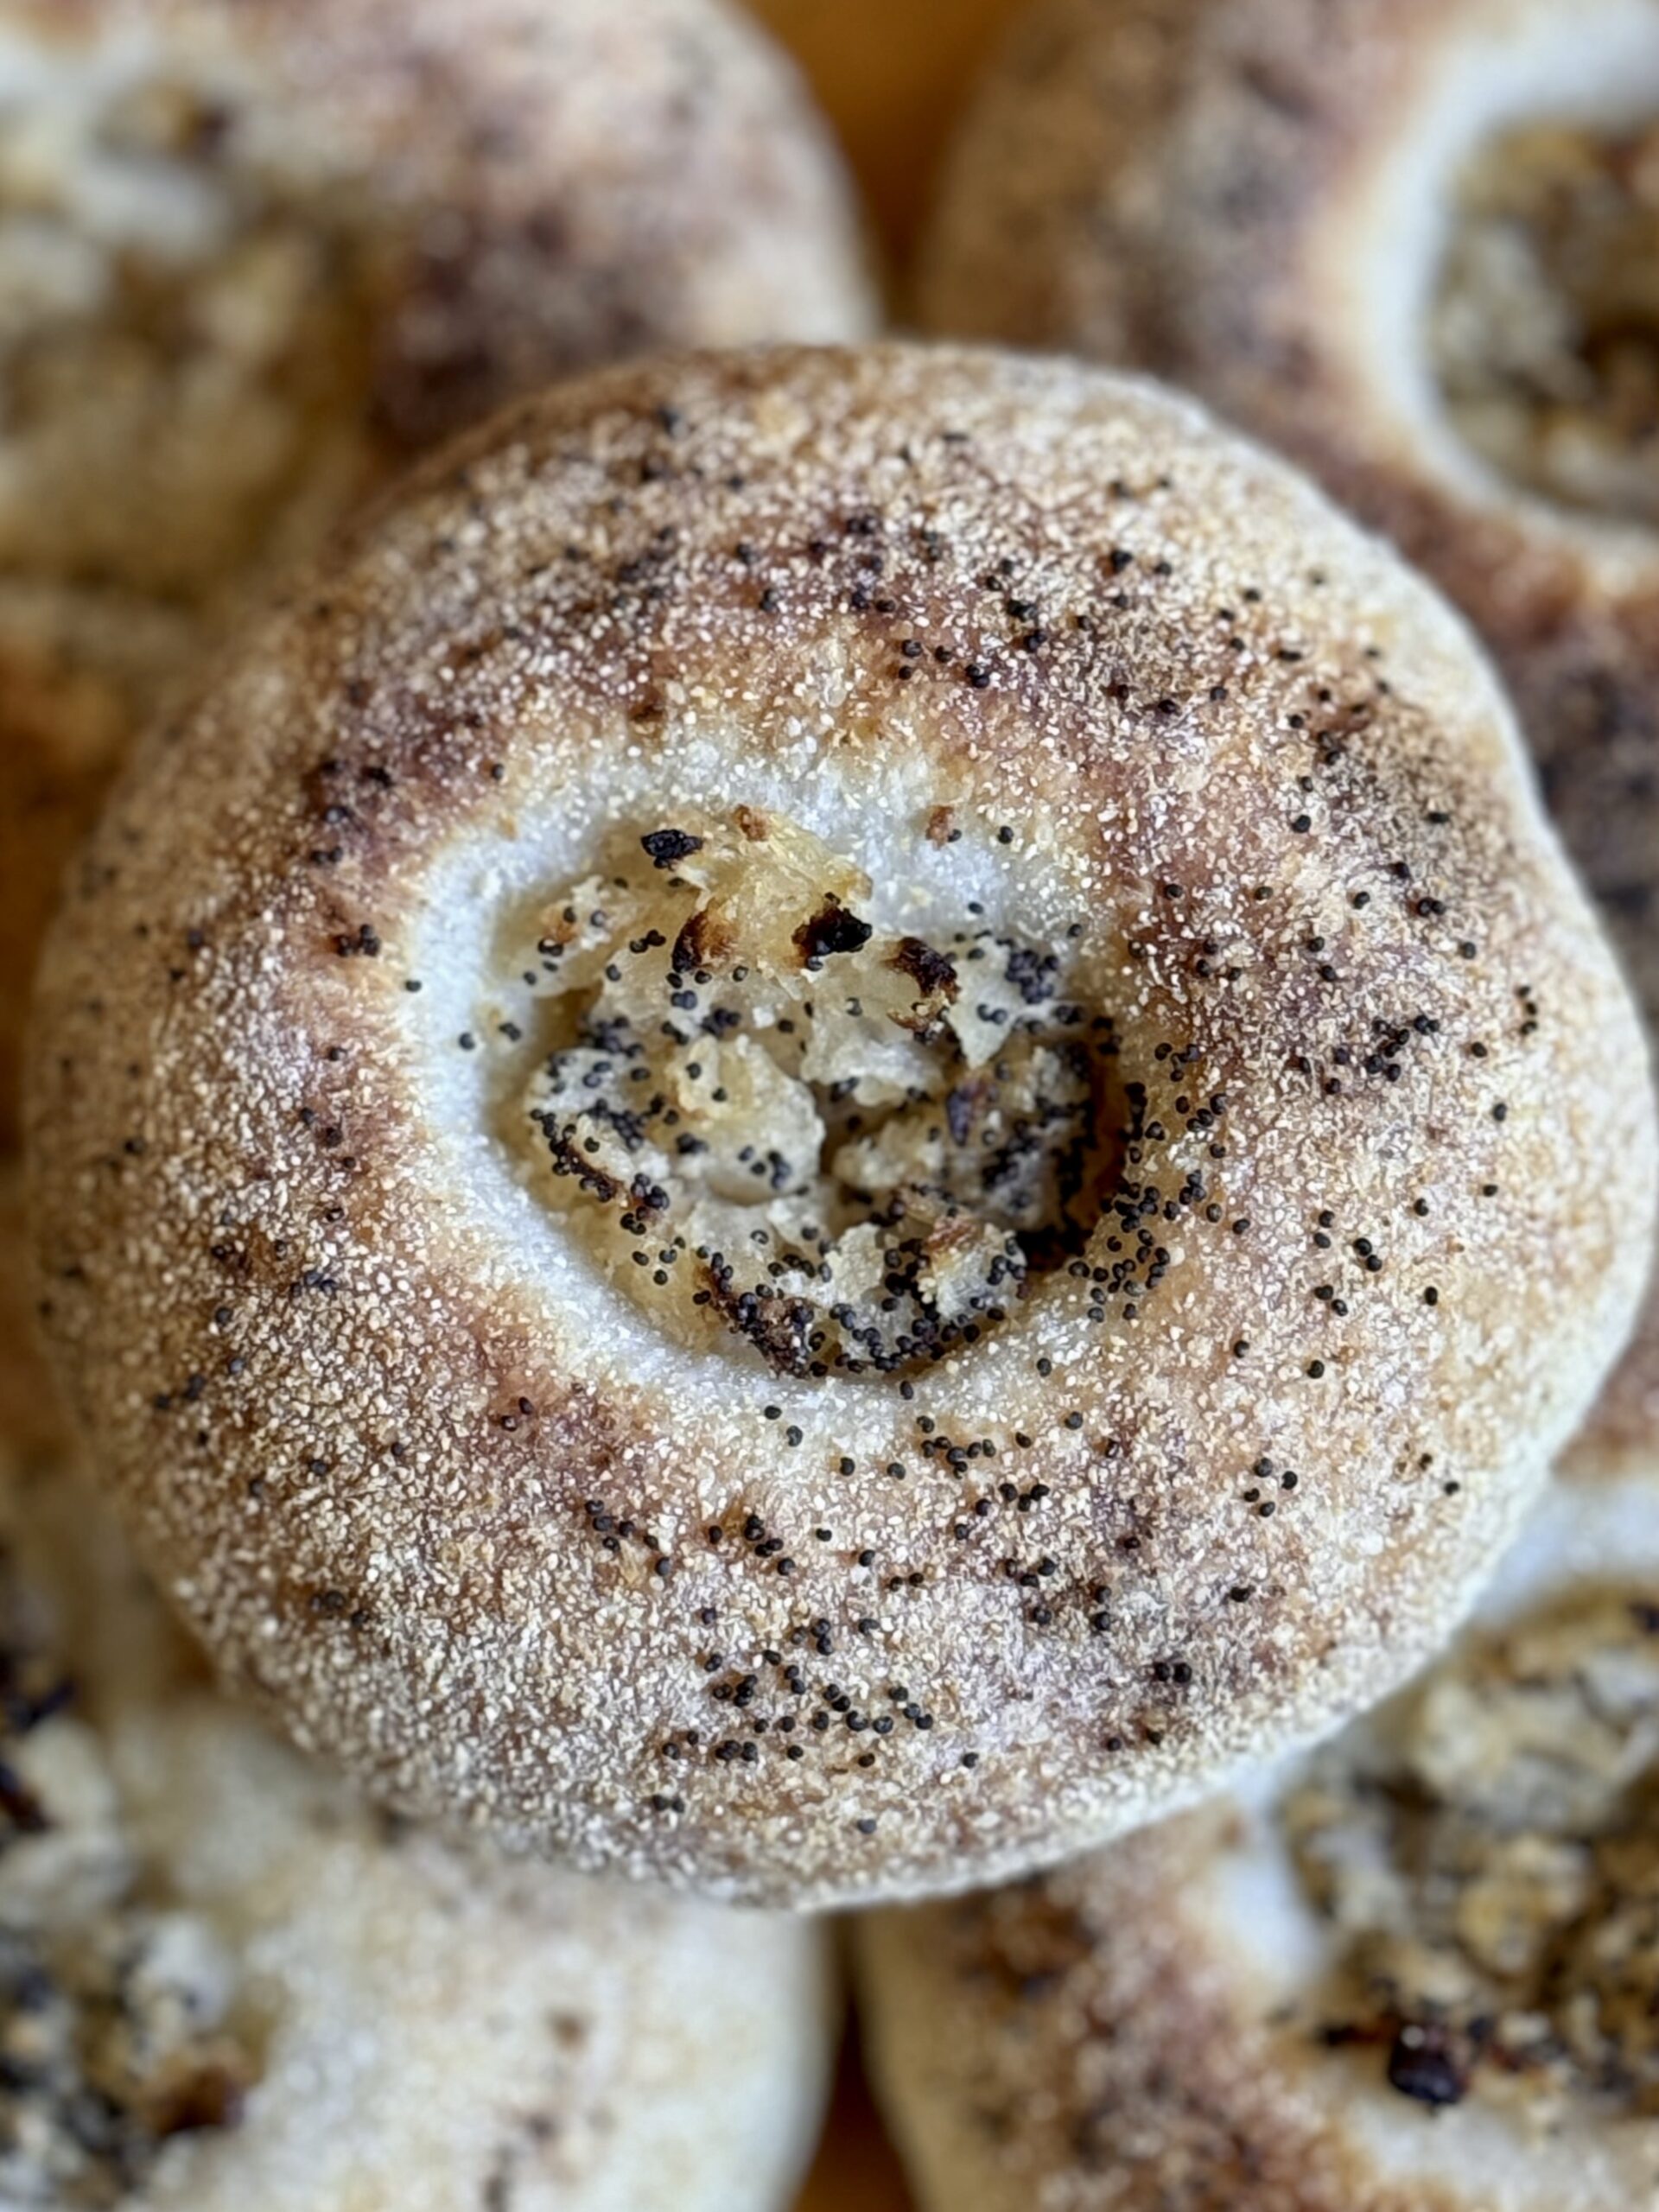
A bialy is a type of bread roll that originated in the Jewish communities of Białystok, Poland. It is round like a bagel, only with an indention (not a hole) in the center that is traditionally filled with onions and topped with poppy seeds. It is known as the “Jewish English Muffin” and, by some, considered a cross between a bagel and an English muffin. In the United States, it is well-known in New York, but not really elsewhere due to its limited shelf-life.
| Bagel | Bialy | English Muffin |
|---|---|---|
| Made from a stiff dough | Made from a loose dough | Made from a loose dough |
| Contains sugar | No sugar | No sugar |
| No coating | Coated in cornmeal | Coated in cornmeal |
| Boiled, then baked | Baked | Fried, then baked |
| Texture is soft and dense | Texture is light and airy | Texture is light and airy |
| Chewy, from boiling in a water bath before baking | Chewy, from dough type + baking method | Not chewy, due to baking method and addition of milk |
| Topped with a variety of toppings, especially seeds | Stuffed with onions and sprinkled with poppy seeds | Not typically topped or stuffed with anything |
| Shiny finish and golden color after baking | Matte finish and golden color after baking | Matte finish and golden color from frying |
| Used for sandwiches or spread with cream cheese | Used for sandwiches or spread with cream cheese | Used for breakfast sandwiches or spread with butter and jam |
What Makes A Jalapeño Popper?
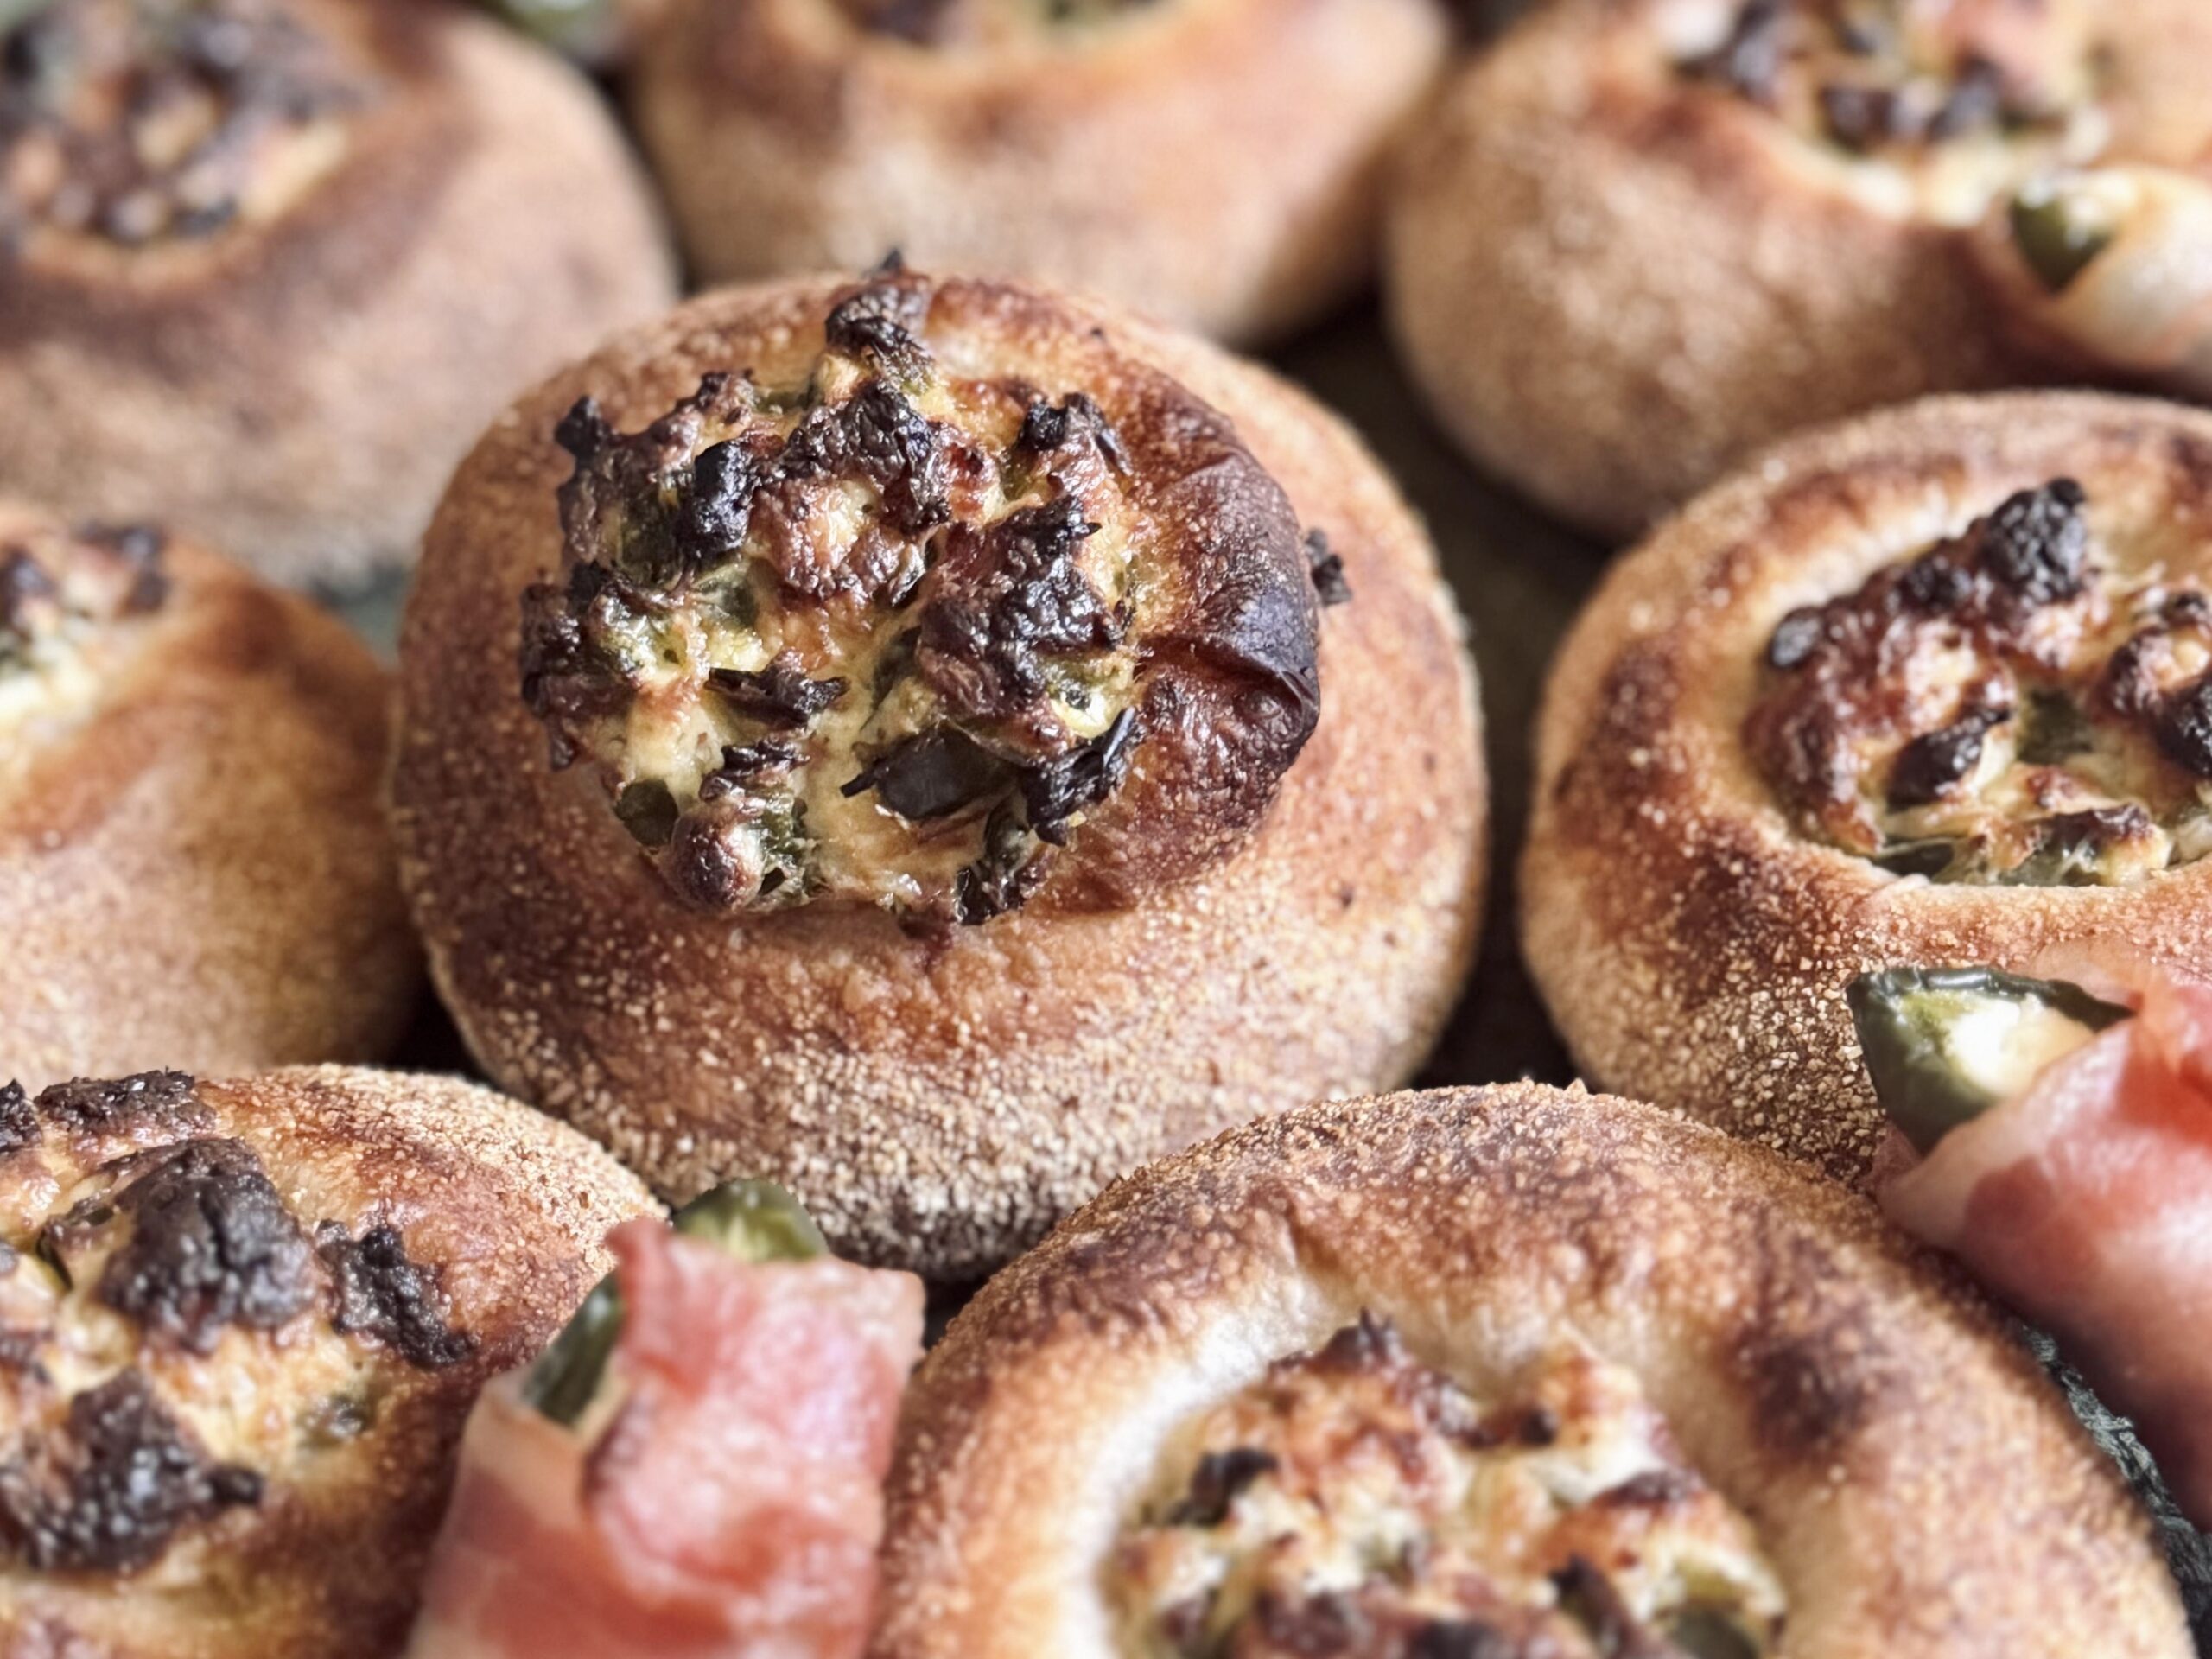
Jalapeño poppers are very popular where I am from. I did not even realize there were so many interpretations of a jalapeño popper until… the internet. As I know it, a “jalapeño popper” is simply a jalapeño with which the insides have been removed and replaced with cream cheese. Everything is wrapped in bacon and grilled outdoors until the bacon is cooked dark and the jalapeño is soft. This recipe takes inspiration from this version of a jalapeño popper, utilizing jalapeño, cream cheese, and bacon to create a delectable bialy filling.
All The “Why’s”
Bread Flour
Here’s the thing about artisan bread: most of the gluten is developed through time during the slow fermentation process. You see, as dough rests, gluten comes together naturally and fermentation provides strength. Bread flour contains more gluten binding proteins, which naturally create a stronger network that traps air and helps the loaf ferment more efficiently. I use King Arthur Bread Flour in most recipes that calls for “bread flour” because of its higher protein content (12.7%) and excellent ability to form gluten.
Salt
Salt helps bring out flavor (without salt, bread would taste almost like nothing), but also has notable effects on the dough. Salt is a tightening agent, meaning it helps create a more elastic (strong) dough. It does slow fermentation, as well as gluten development, but these are things we must account for in the recipe because we cannot have a recipe without salt. It is important to use just the right amount, enough to bring out the flavor, but not so much that the loaf cannot ferment or come together. I use the standard – 2% salt – in all my recipes, unless otherwise noted.
Hydration
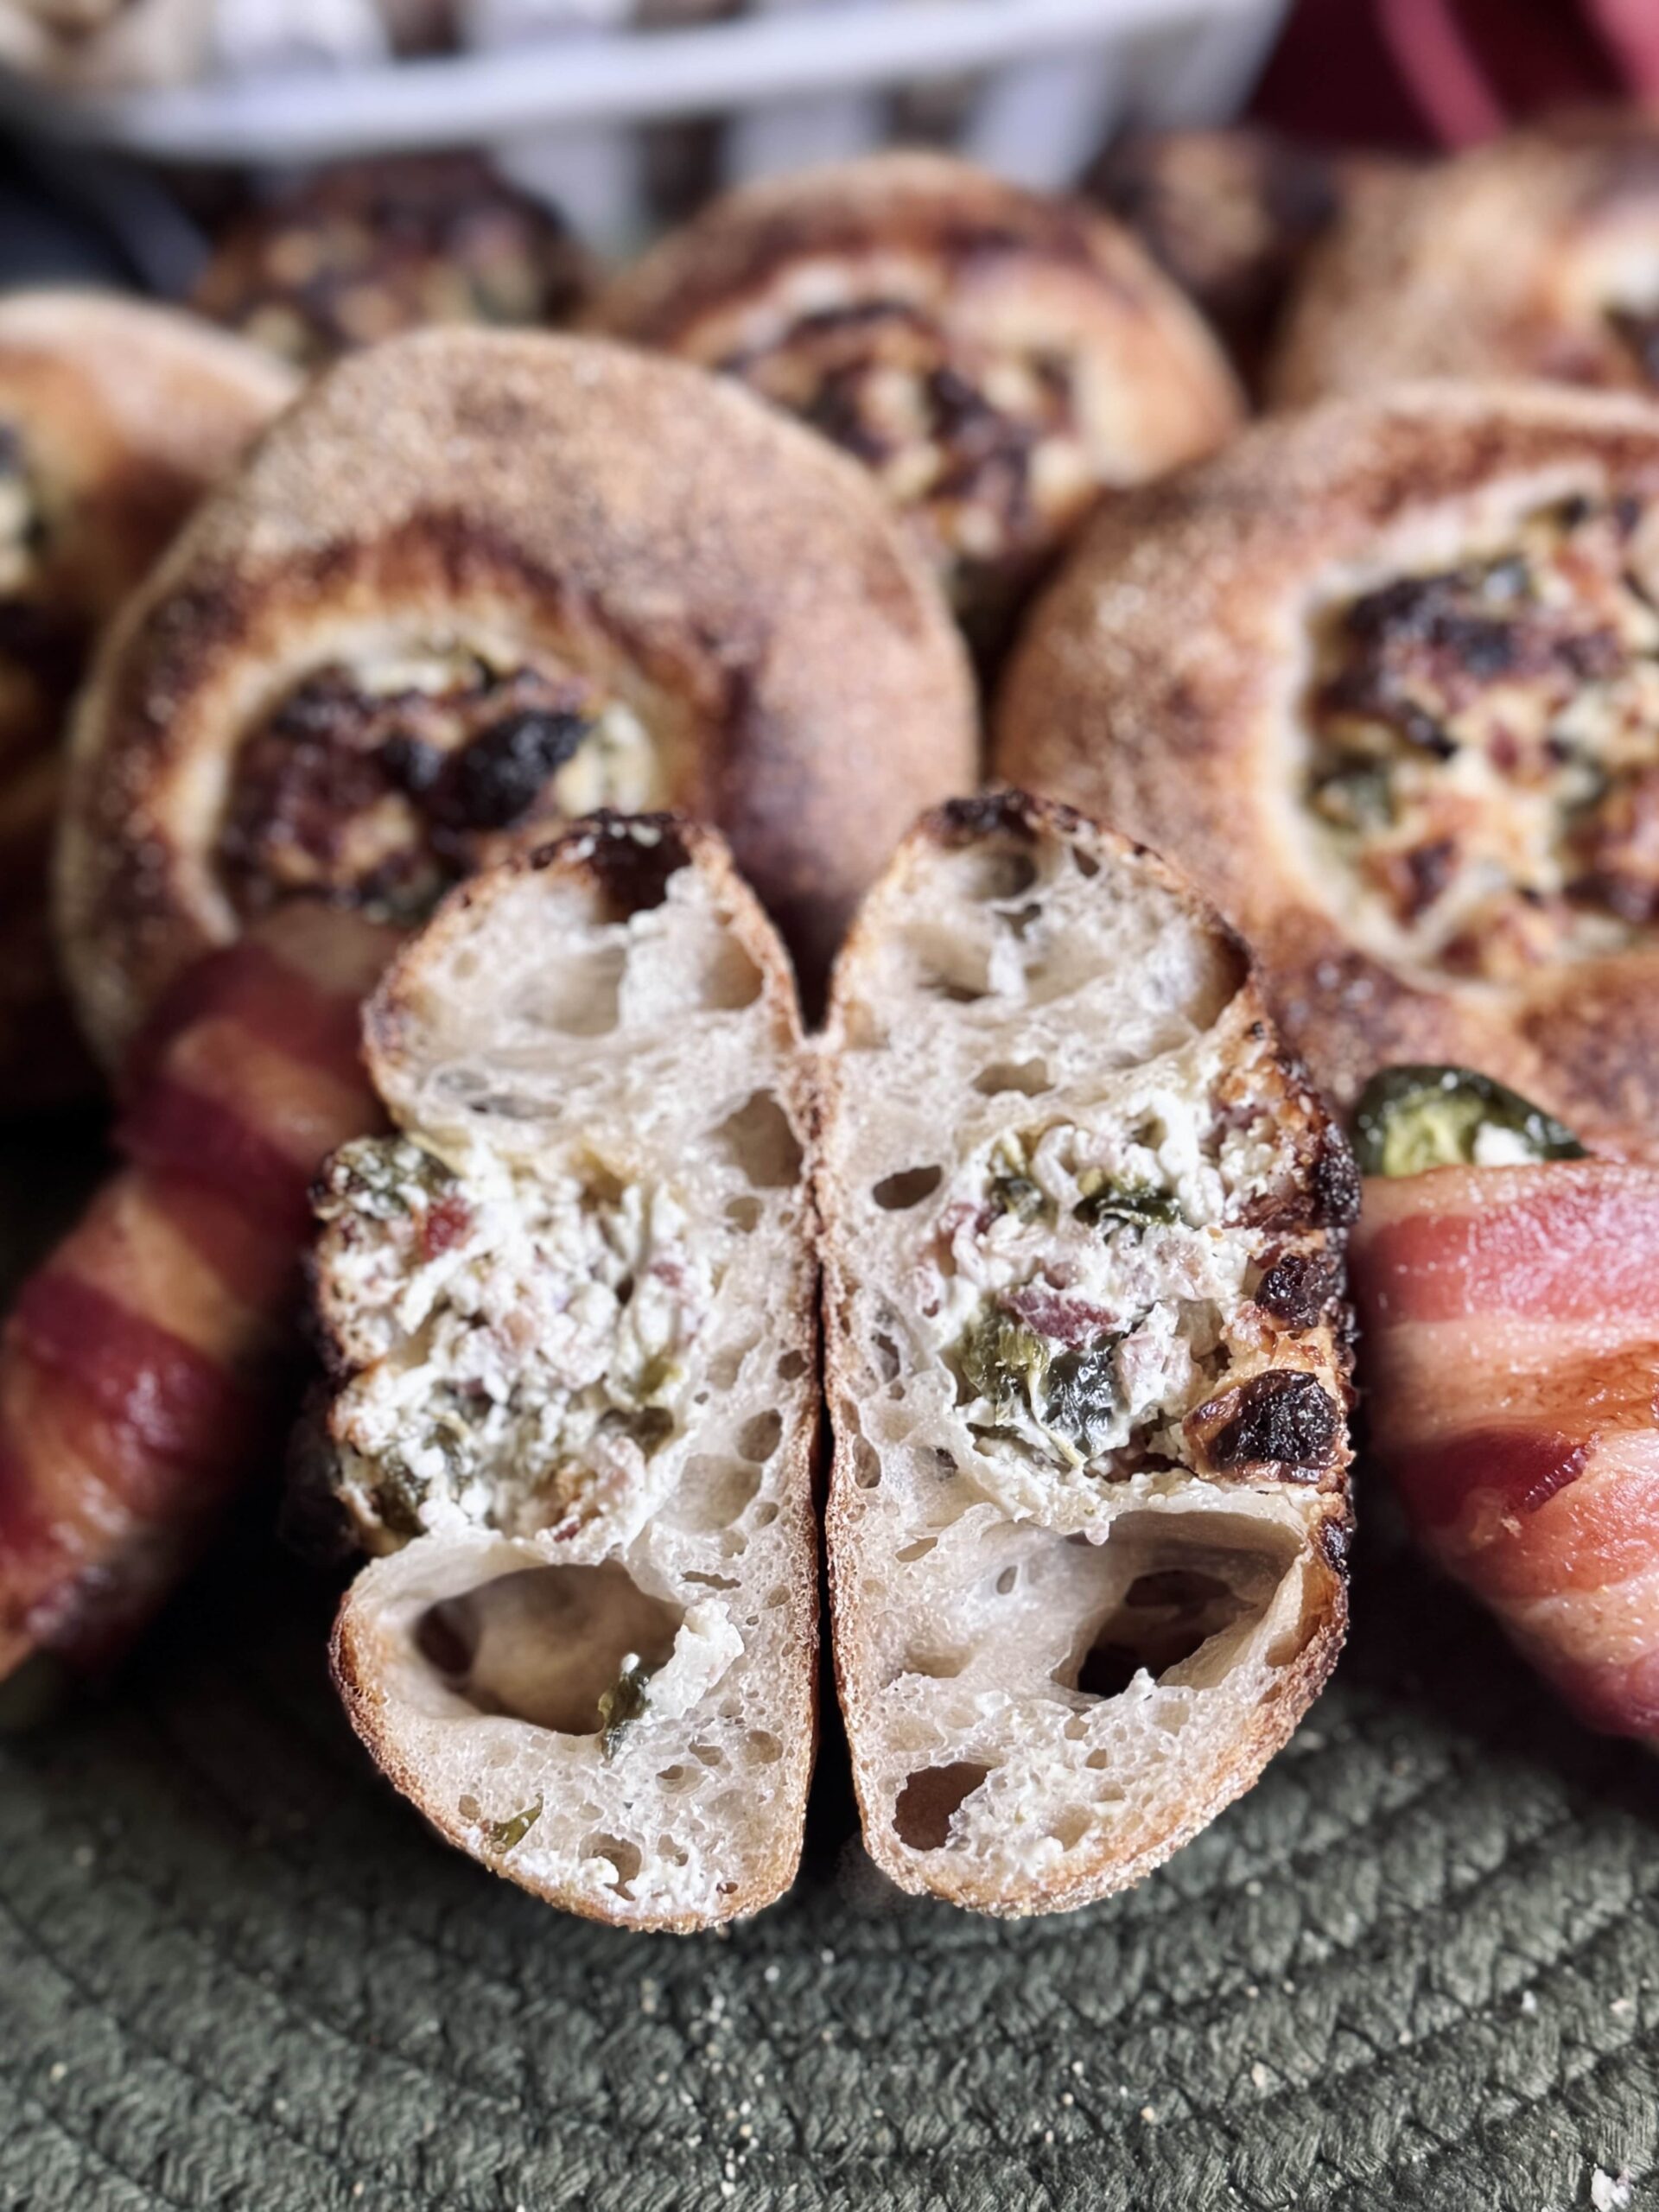
Hydration simply refers to the amount of water in a recipe. The hydration of my bialy recipe is average (moderate hydration), resting at about 70%. This means the process for developing this dough looks very much like your standard country loaf of sourdough, and is also identical to that of an English muffin. The hydration of this bread, in combination with the baking method, is responsible for the chewy outcome. Unlike a bagel, which is made from a stiff dough to create a dense and soft texture, this moderate hydration dough creates a lighter, airier texture and is also responsible for the bialy’s more open crumb and distinct chew.
Dough and Gluten Development
Because this dough is unenriched (no fat, sugar, etc.) and because our sourdough starter works slowly, gluten develops naturally over time. This means we can let fermentation do most of the strengthening of our bread, aerating it and building structure, while we take time to fold the dough, which helps fermentation do its best work.
I chose to develop this dough by hand through a hybrid of kneading and stretch-and-folds. Kneading this dough twice contributes to a more elastic dough, which just means it holds together better and rises tall in the oven. I’ve recently come to see the benefits of kneading bread dough in order to develop more of the gluten up front (which helps the loaf ferment better). In all actuality, if you know what you are looking for in regards to proper development of both extensibility and elasticity, you can develop this dough using any of your favorite methods.
Bulk Fermentation
It is important to note that fermentation varies significantly depending on temperature and climate. My home generally rests around 68-72 F (20-22 C), so my fermentation times are very extended from someone whose home rests around 75 F (24 C), or even warmer. Always watch the dough and read your baked loaf as best as possible to be able to determine necessary adjustments for your next attempt. The goal is to ferment the dough as long as possible, but not to overproof. The longer the dough ferments, the lighter and airier your bread will be.
Generally, loaves that ferment around 70 F (21 C; this is the temperature I ferment my dough) take about 12 hours to bulk ferment. Colder climates, say 65 F (18 C), take a very long time, a minimum of 16 hours, and sometimes longer. Increase the temperature to 73-75 F (23-24 C), and the bulk fermentation time is reduced to around 9 hours. Last, very warm temperatures, 78-80 F (25-27 C) generally take only 4 hours to complete fermentation. All in all, your dough is in your hands, and in your climate.
Shaping
The shaping method for a bialy is a bit different from other kinds of bread. The dough is divided and shaped into rounds, then coated in cornmeal (just like an English muffin) and left for the final proof. Just before baking, the dough is shaped again. The center of the round is indented and expanded in order to hold the classic onion filling. It is very important to make the center as thin as possible (without tearing) and press out most of the air in order to prevent it from popping up like pita bread in the oven.
The Filling
In place of the traditional onion filling, I use jalapeños, bacon, and cream cheese to mimic the flavors of a jalapeño popper. To make the filling, I fry diced bacon in a skillet until it starts to grease, then add diced jalapeños and cook until the bacon is crispy and the jalapeños are soft. I drain the grease from the mixture as much as possible, then mix with softened cream cheese until everything is smooth and well incorporated.
Feel free to play around with the cooking method to suit your taste and texture preferences. You do not have to cook the jalapeño if you do not want to. Or, you could roast the jalapeños in the oven with the bacon until everything is cooked to your liking before dicing and adding to the cream cheese.
If you are into appearances, this filling does still release some grease in the oven, which may affect the top of your bialy, depending on how much grease you were able to drain and how well you formed the center of the bialy (so it does not pop up in the oven and spill filling out of the center hole). Though this is a bit of a bummer, I tend to lean toward taste over appearance – and this jalapeño popper bialy is all about flavor.
Baking Method: Temperature
The best oven spring and crumb comes from baking the dough hot and fast. I chose a temperature of 500 F to give the dough the best “pop” in the oven, which lends a beautiful crumb and a perfect, matte crust.
Baking Method: Steam
Use steam for the first ten minutes of baking to help the dough expand properly. For this recipe, I leave the steam method open because I believe everyone has a preferred method for steaming their oven for bread that is right for their oven. You could bake these in a Challenger Bread Pan, or you could simply use boiling water or ice on the bottom of the oven to create the right amount of steam. The main goal: make sure the bialy has the ability to expand to its maximum potential before the crust begins to harden.
Suggested Timelines
Daytime Baking Timeline
DAY 1
8:00 a.m.
- Mix the dough.
8:30 a.m. – 11:00 a.m.
- Strengthen the dough.
- Bulk rise to double in size.
- Make the filling and refrigerate (option 1).
5:00 p.m.
- Divide and shape the dough into rounds.
7:00 p.m.
- Make the filling (option 2).
- Shape and stuff the bialy.
- Bake and enjoy!
Overnight Baking Timeline
DAY 1
7:00 p.m.
- Mix the dough.
7:30 p.m. – 10:00 p.m.
- Strengthen the dough.
- Bulk rise to double in size.
- Make the filling and refrigerate (option 1).
DAY 2
7:00 a.m. – 8:00 a.m.
- Divide and shape the dough into rounds.
10:00 a.m. – 12:00 p.m.
- Make the filling (option 2).
- Shape and stuff the bialy.
- Bake and enjoy!
Cold-Ferment Timeline
DAY 1
8:00 a.m.
- Mix the dough.
8:30 a.m. – 11:00 a.m.
- Strengthen the dough.
- Bulk rise to double in size.
- Make the filling and refrigerate (option 1).
5:00 p.m. – 8:00 p.m.
- Refrigerate the dough.
DAY 2
8:00 a.m.
- Divide and shape the dough into rounds.
1:00 p.m. – 3:00 p.m.
- Make the filling (option 2).
- Shape and stuff the bialy.
- Bake and enjoy!
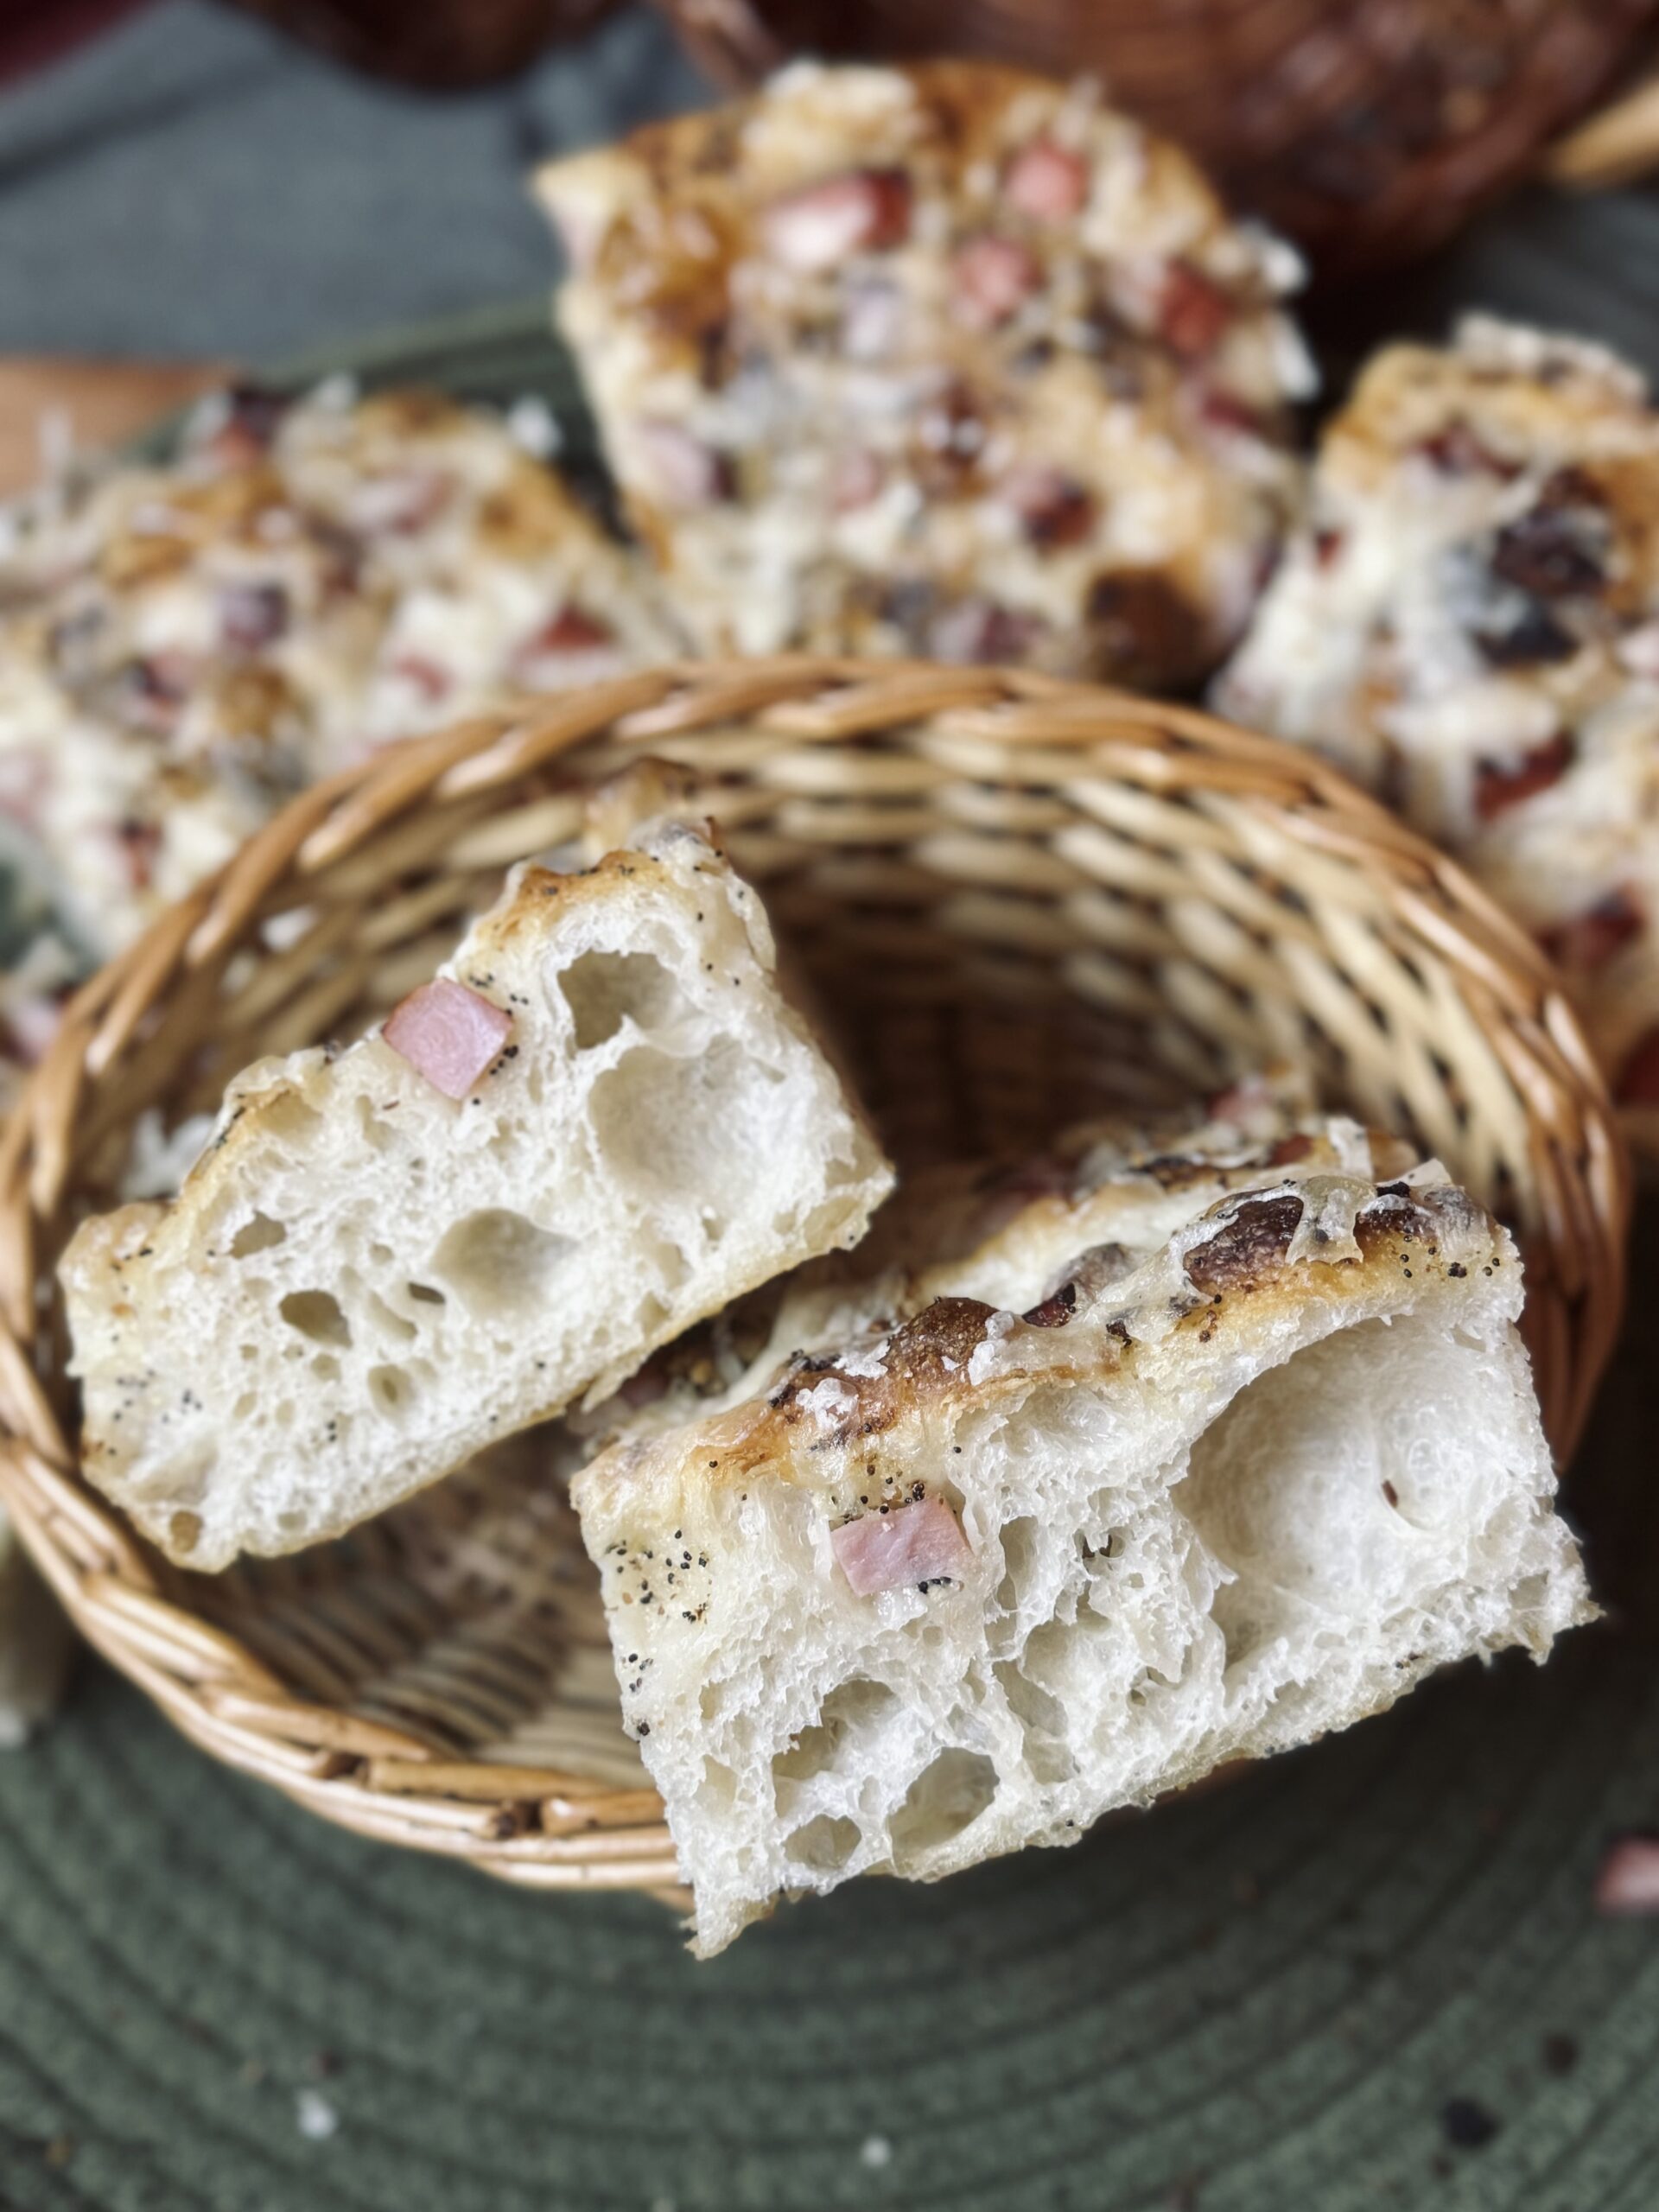
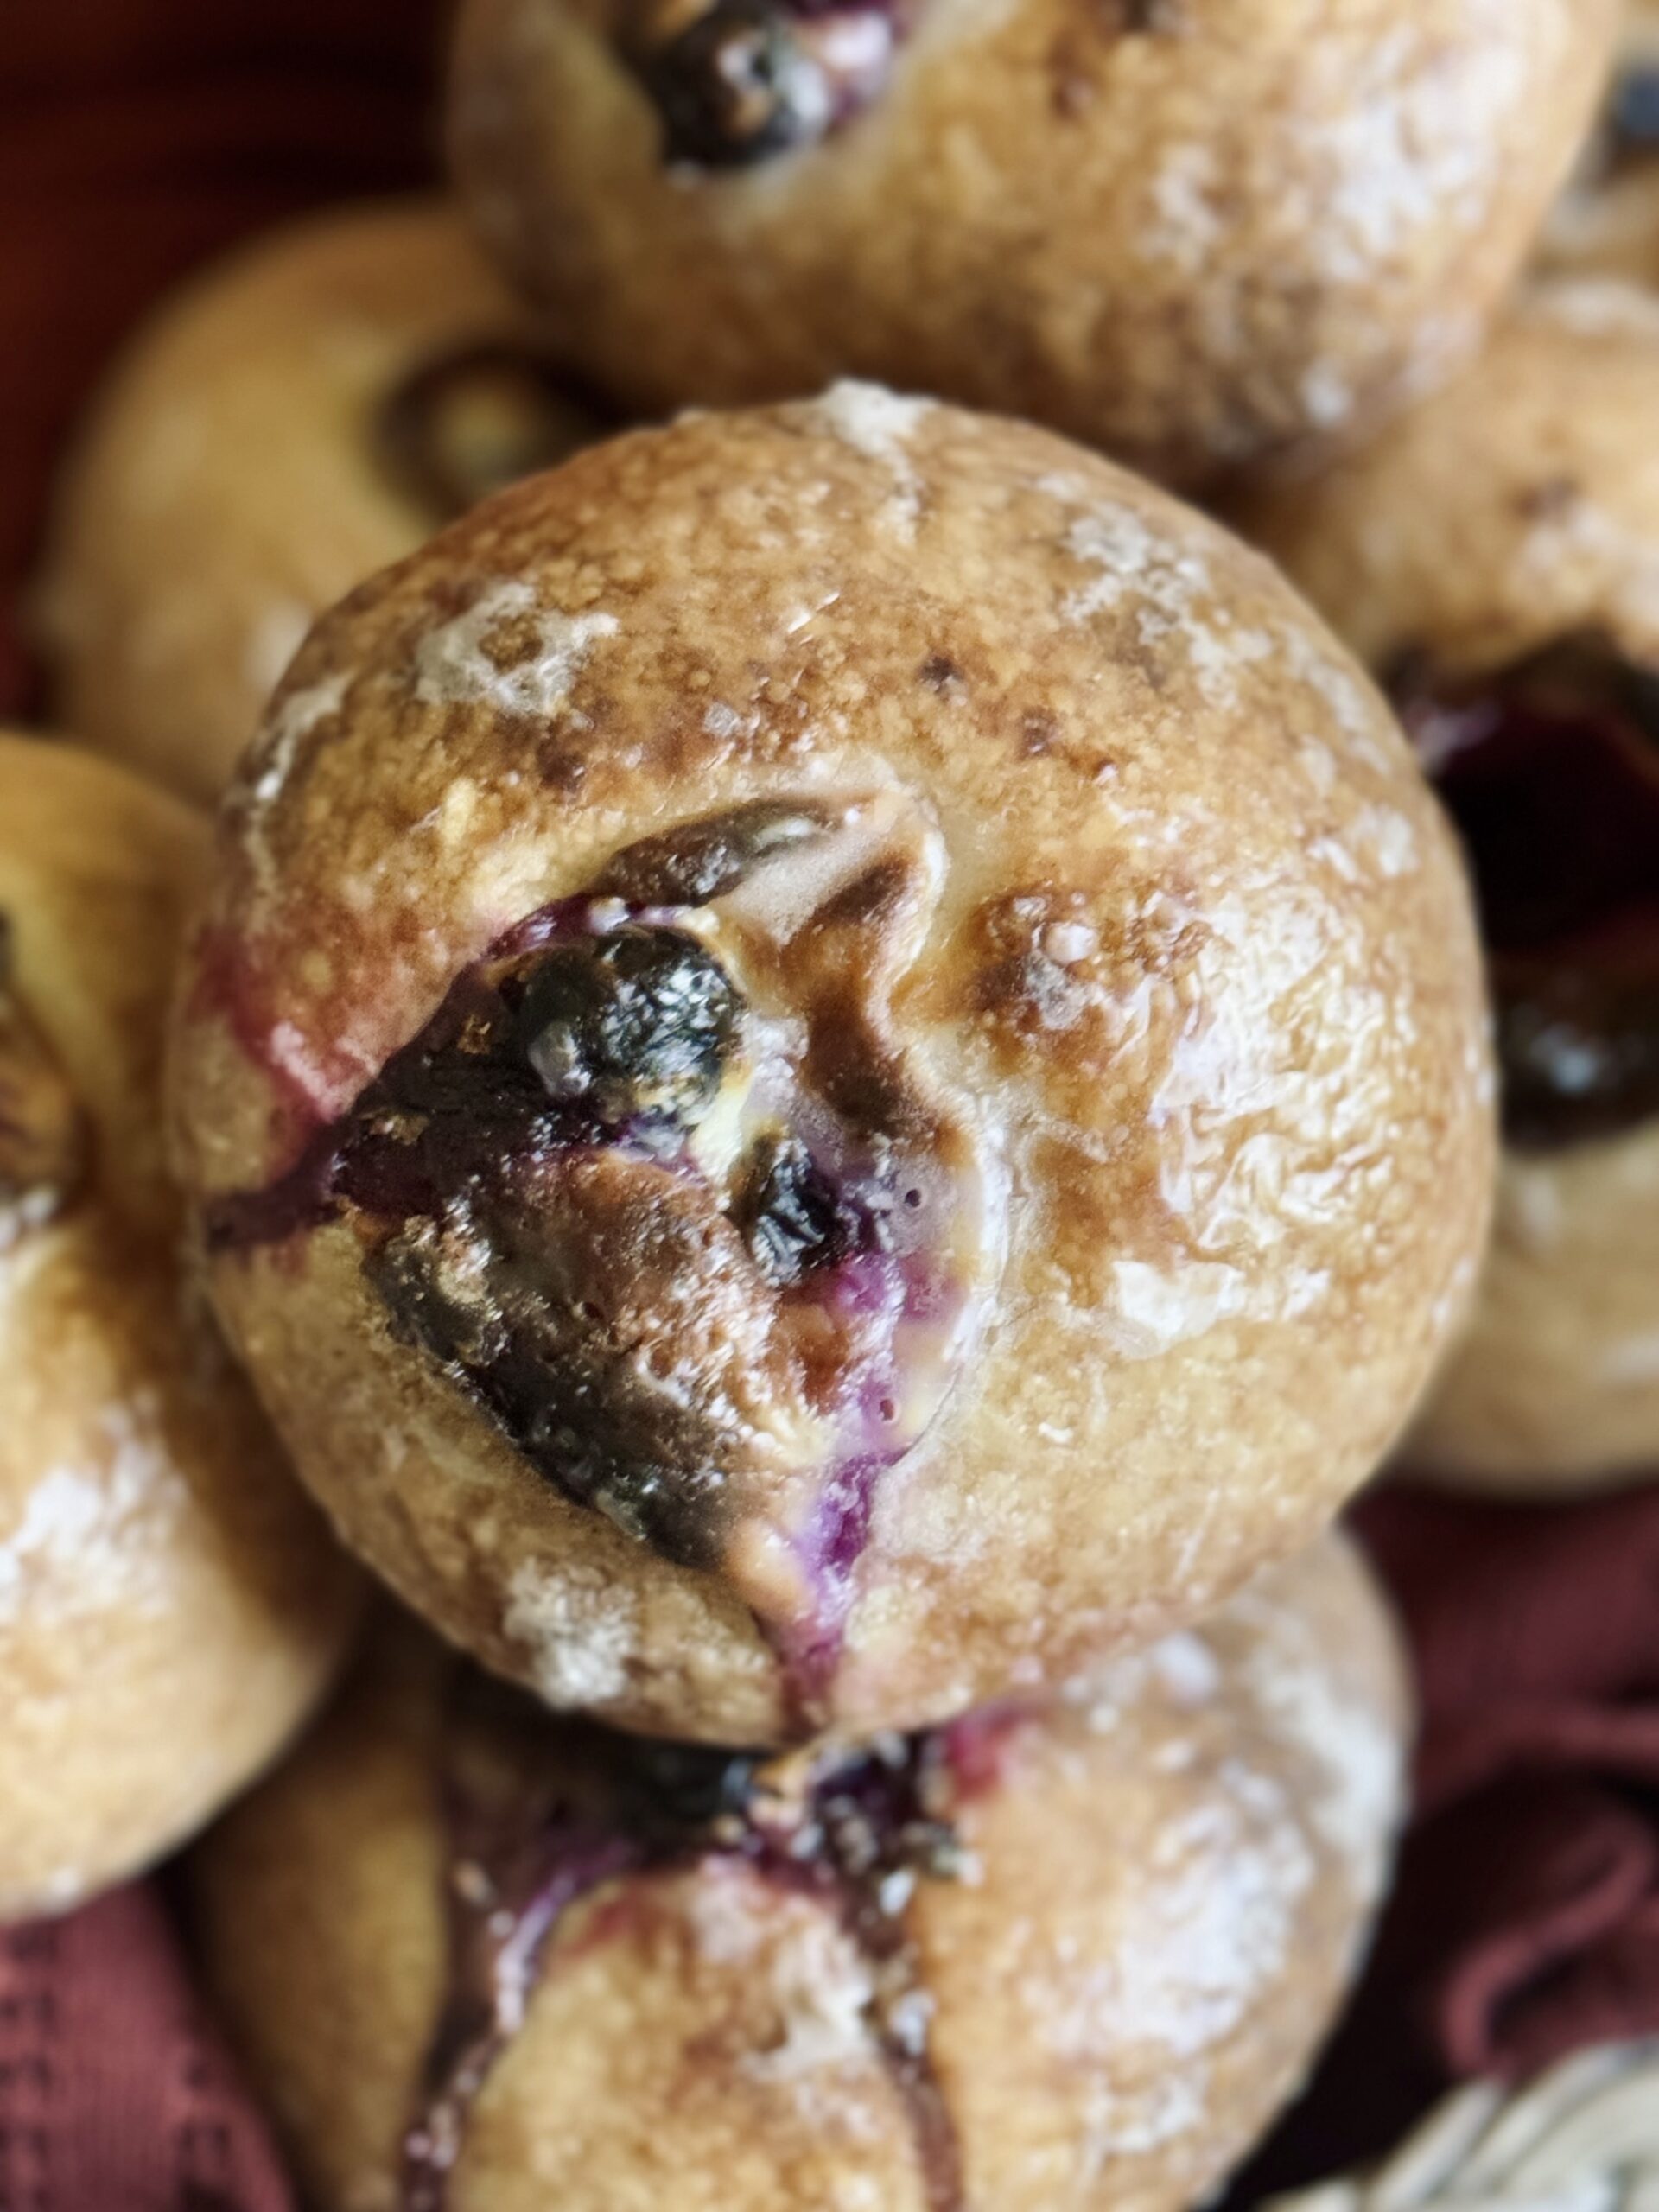
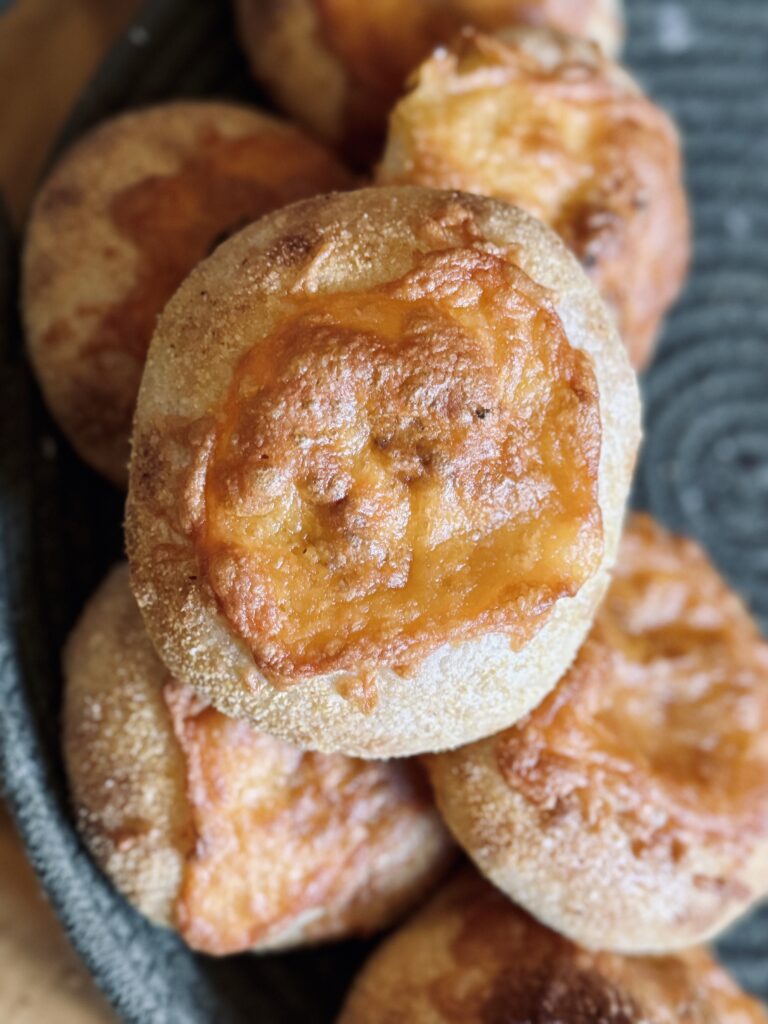
Other Bialy Variations
📌 Quick Tip: Read the recipe in its entirety before you start cooking. This will help you understand the ingredients, steps, and timing involved, and allow you to prepare any necessary equipment or ingredients beforehand.
Jalapeño Popper Bialy
Ingredients
For The Dough
For The Filling
Other Ingredients
Instructions
-
Mix and knead all ingredients for the dough (water, starter, flour, and salt) for 5 minutes. The flour should be completely incorporated and gluten development should be initiated. Cover the dough and rest for 30 minutes.
-
Strengthen the dough.
- Knead the dough for 3-5 minutes. Set a timer and stop kneading when the timer is up. It is not essential to develop the dough completely, as this recipe uses a hybrid method (kneading/folds) to develop the dough, meaning we will finish developing the dough through folds. You can use any method of kneading here that you feel comfortable with - bowl folds, bench kneading, slap-and-folds, or Rubaud mixing. Cover and let the dough rest for 30 minutes before beginning stretch-and-folds. The dough should have formed a windowpane after this rest period, before stretch-and-folds begin.
- Stretch-and-fold the dough (3-4 sets). Using two hands, stretch the dough up as far as it will go without tearing, then fold it all the way over to the other side. Repeat at least once in each cardinal direction, or until the dough will not stretch anymore (4-8 folds). Cover and let the dough rest for 30 minutes before doing another set of stretch and folds. Perform three to four sets of folds in total, until the dough does not stretch anymore.
-
Bulk ferment the dough according to your usual bulk fermentation timing (guidelines in the post above). I let this dough rest until it has doubled in size, 10-11 hours at 70 F (21 C).
-
Heavily dust a half-size sheet pan with cornmeal.
-
Shape the dough. Divide the dough into eight pieces, 80-85g each. Shape each piece into a round. To do this, pull the dough toward you, using your pinkies to tuck the dough under itself and tighten the surface. Repeat until a nice, tight round is formed.
-
Transfer each round onto the cornmeal-laden sheet pan, coating the entire outside (top, bottom, and sides) of the dough with cornmeal.
-
Final proof. Let the dough proof again until noticeably puffy and almost doubled once more, 2-4 hours at 70 F (21 C).
-
Preheat an oven to 500 F (260 C) for at least one hour before baking the bialy.
-
Make the jalapeño popper filling. Dice 4 slices of uncooked bacon and two jalapeños. Add the bacon to a skillet. Sauté over medium-high heat until the bacon begins to dispense grease. Add the jalapeños to the skillet, sautéing everything together until the jalapenos are soft (but not brown) and the bacon is crispy. Remove from heat.
-
Drain the grease from the bacon and jalapeños, blotting dry with a towel.
-
Combine the bacon, jalapeños, and softened cream cheese in a bowl, mixing with a fork until everything is evenly dispensed. Set aside.
-
Final shape. When the oven is finished preheating, the bialy are finished proofing, and the jalapeño popper filling has been made: prepare the bialy for the oven. Take each round and, working from the middle, rotate and stretch the dough to expand the round, allowing gravity to pull the dough downward. We want the outer edges to be like a bagel, but we want to keep a thin sheet of dough in the center (no hole). Transfer to parchment paper (to be transferred to a baking stone, or a baking sheet lined with parchment paper if you do not have a baking stone). Use your fingers to make an indentation defining the center of the bialy, then firmly press down in the center to remove any extra air. If the center is not thin enough, it will pop up in the hot oven (like pita bread) and will spill the filling everywhere.
-
Fill the center of each bialy with 1 tbsp of the jalapeño popper filling.
-
Optionally, spray the tops of the bialy with water (this helps them expand properly in my gas oven).
-
Bake at 500 F for 15-18 minutes, with steam for the first 10 minutes (as the dough is expanding). You can use any preferred method of steam that works for your home oven (boiling water, ice, lava rocks, etc.). Be sure to remove the steam after 10 minutes so the bialy can brown properly.
-
Cool for 15-20 minutes, then enjoy fresh.
Servings 8
- Amount Per Serving
- Calories 303.88kcal
- % Daily Value *
- Total Fat 11.15g18%
- Saturated Fat 4.7g24%
- Trans Fat 0.02g
- Cholesterol 23.8mg8%
- Sodium 274.4mg12%
- Potassium 104.72mg3%
- Total Carbohydrate 38.2g13%
- Dietary Fiber 1.38g6%
- Sugars 0.83g
- Protein 11.72g24%
- Vitamin A 51.92 IU
- Vitamin C 4.16 mg
- Calcium 115.92 mg
- Iron 2.43 mg
- Vitamin D 0.14 IU
- Vitamin E 0.48 IU
- Vitamin K 1.19 mcg
- Thiamin 0.47 mg
- Riboflavin 0.34 mg
- Niacin 4.48 mg
- Vitamin B6 0.08 mg
- Folate 24.92 mcg
- Vitamin B12 0.23 mcg
- Phosphorus 143.88 mg
- Magnesium 20.85 mg
- Zinc 1.17 mg
* Nutrition values are auto-calculated and should be used as an approximation only.
Notes
- Storage: These are best eaten fresh. If you must store, store in the fridge up to three days. Toast in an air fryer or reheat in your home oven until warmed through and crisped to your liking.
- If you want to use the refrigerator to expand the baking timeline, you can do so at the end of bulk fermentation (before the final proof). You will need to make the final proof longer if you choose to do this (6-8 hours at 70 F) to accommodate the cold dough.
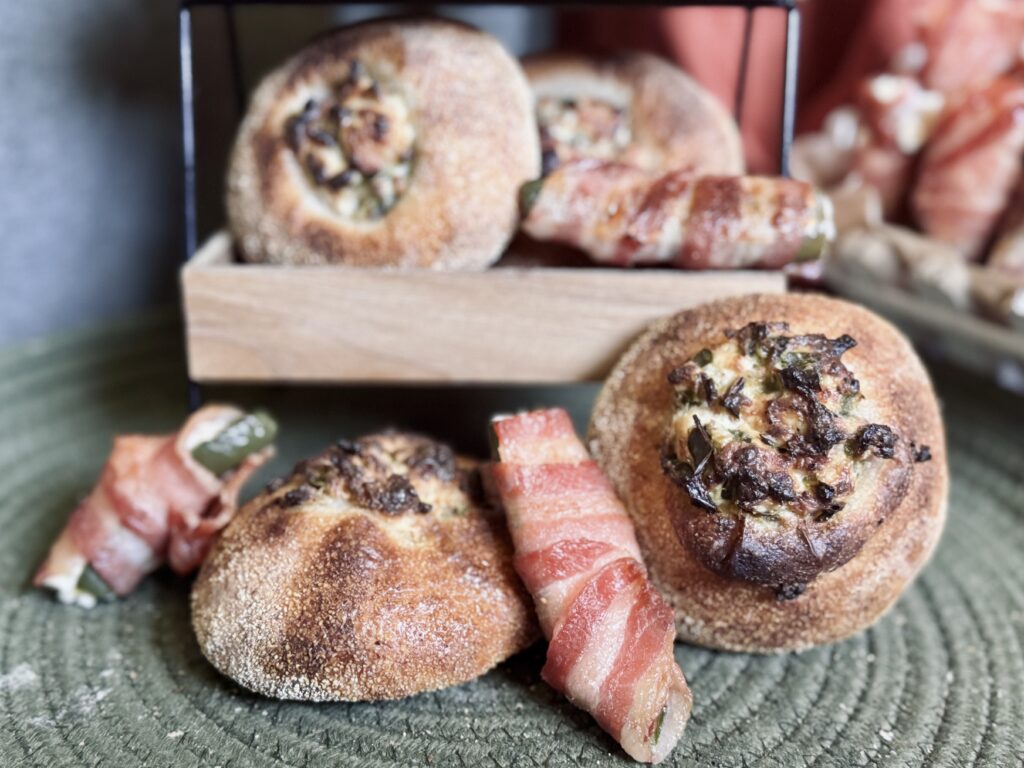
- You can fill bialy with anything your heart desires, it does not have to be this filling. Check out other variations in my blog post above!
