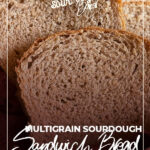
About This Recipe
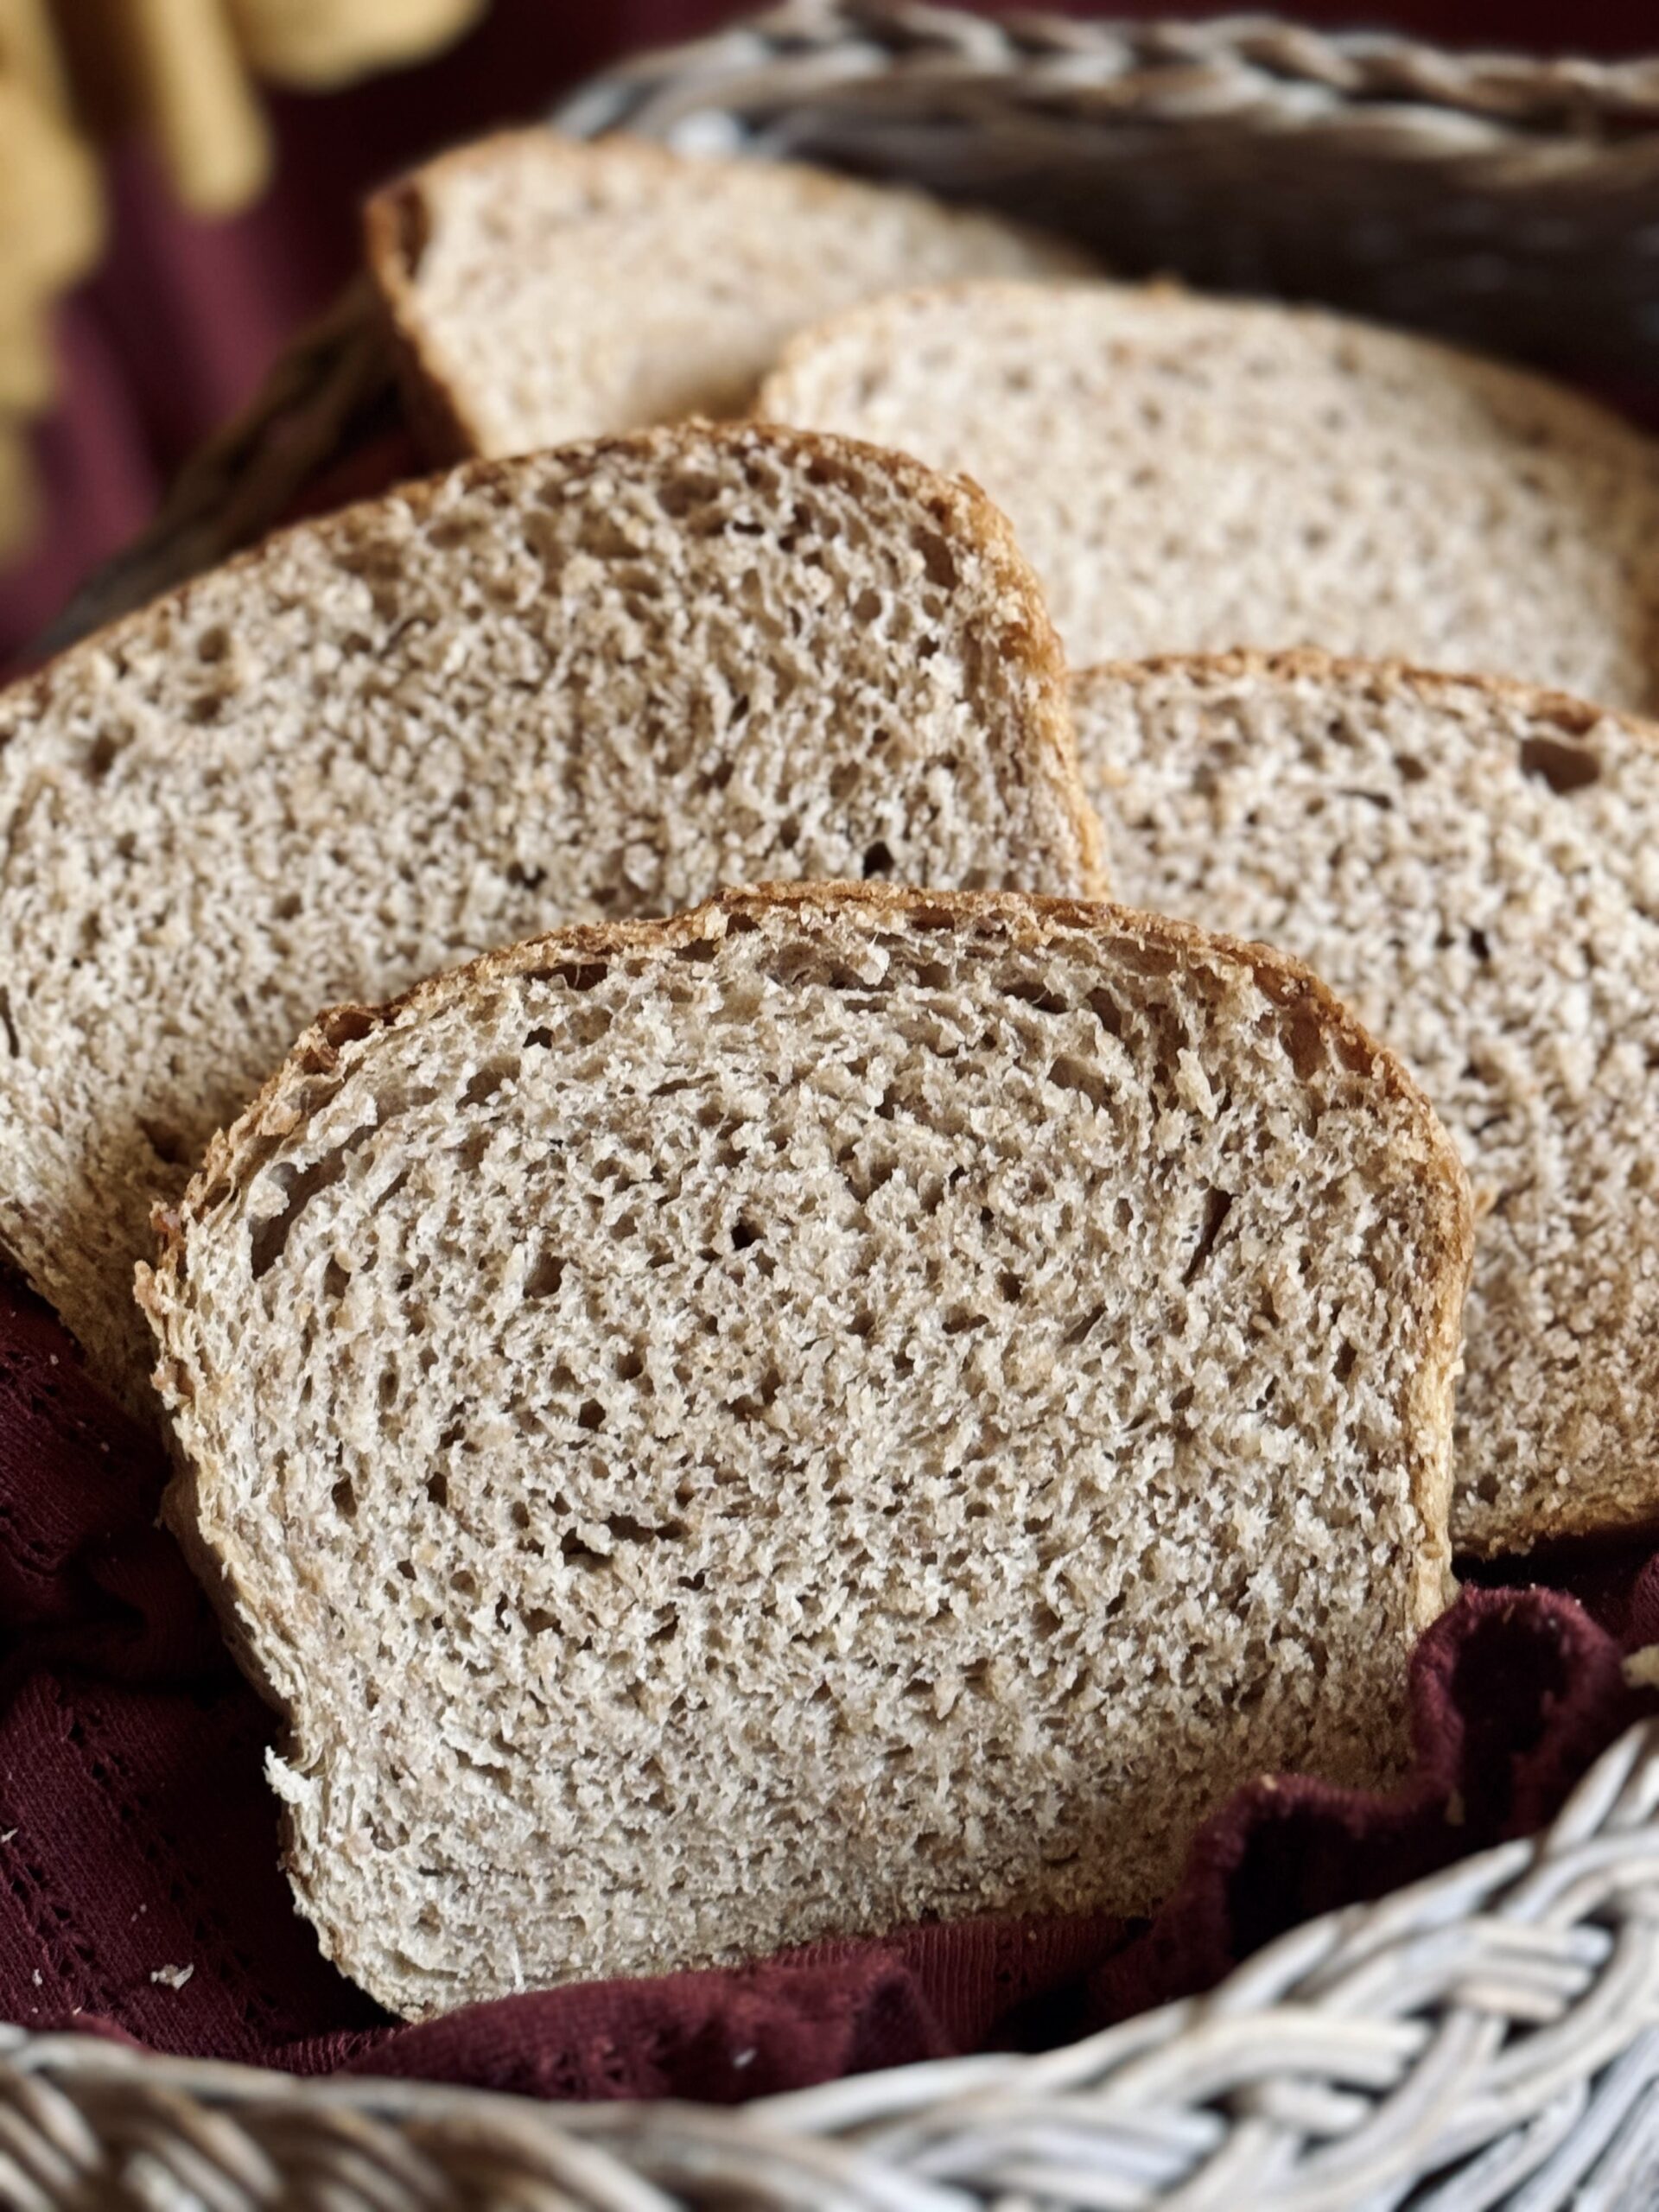
The bread of my dreams! This one has such a variety of grains which gives it so much flavor. Of all the sandwich bread recipes, this one has to be at the top. At least, at the moment. I make too many yummy breads around here to stick with just one.
What Is Sandwich Bread?
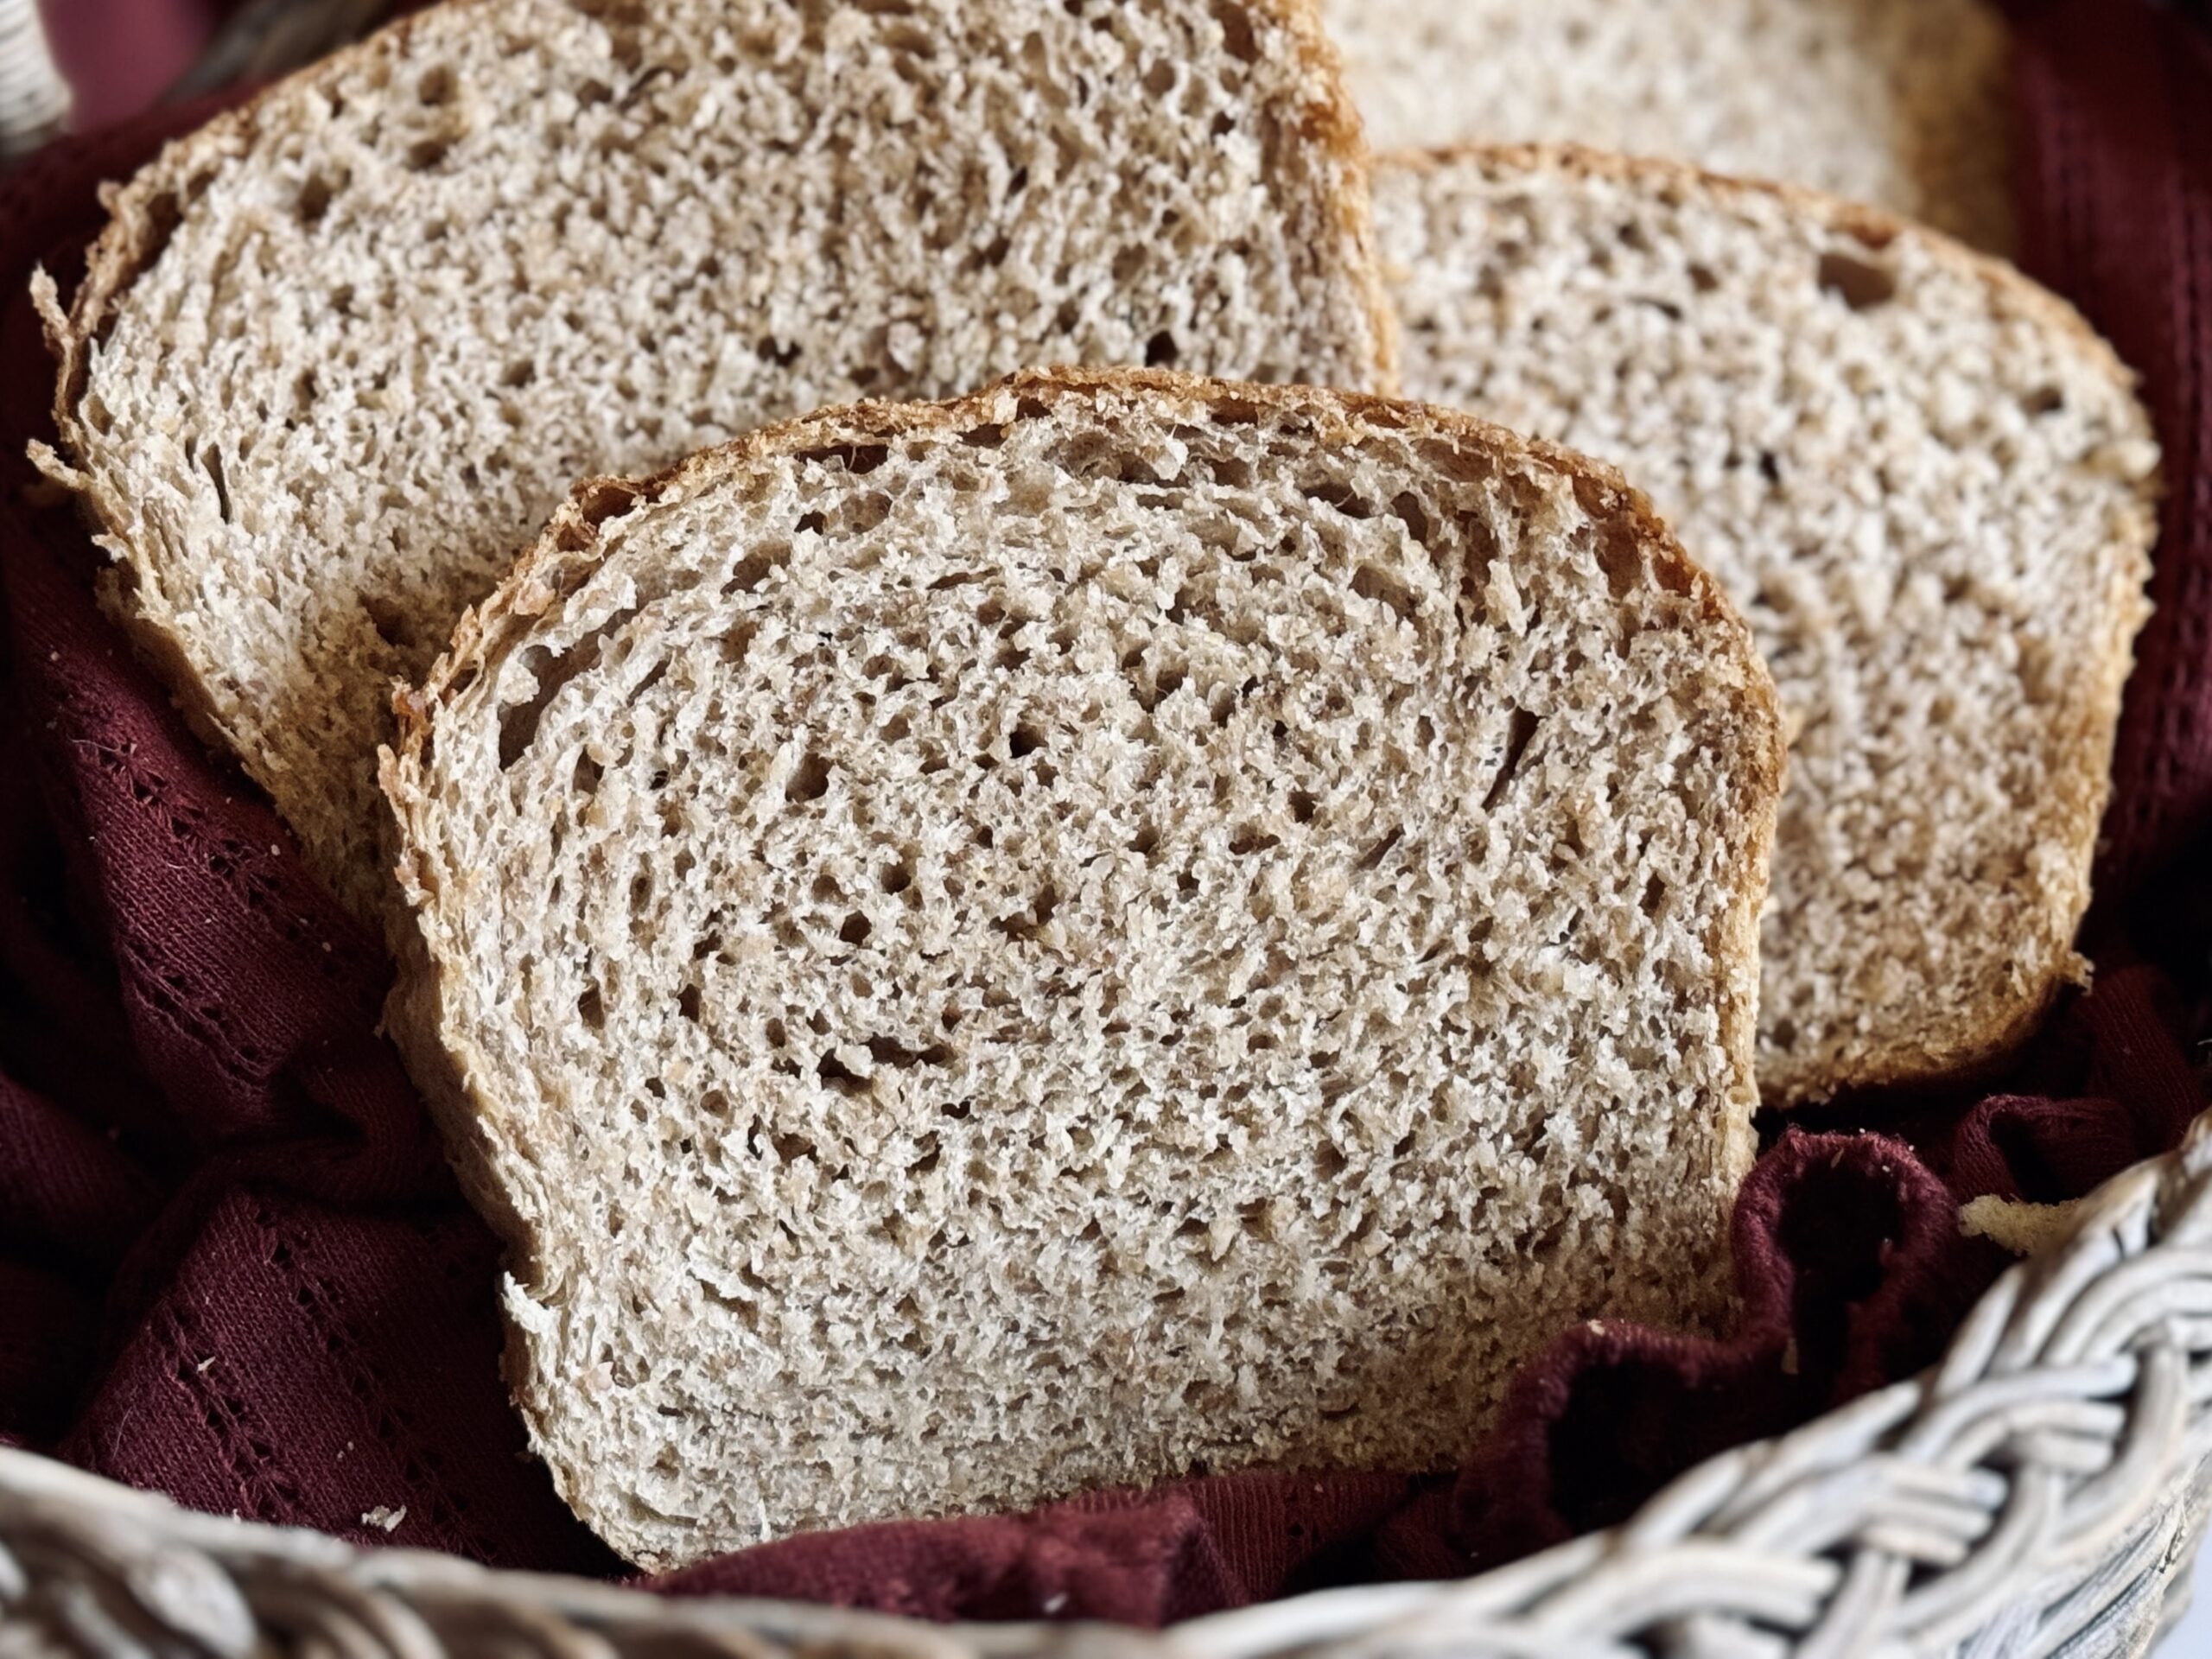
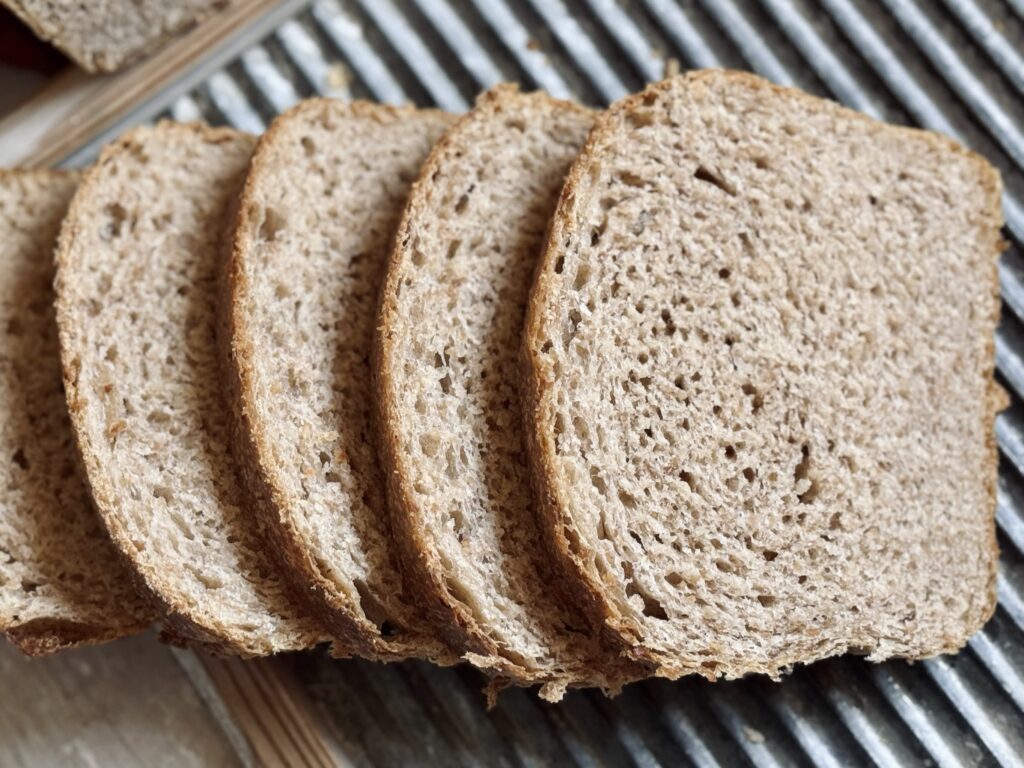
Sandwich bread is a type of bread made specifically for sandwiches. It is typically made in a loaf pan (though not always!). These breads are soft, yet sturdy, with a tight, even crumb (to make sure none of the sauce slips out!).
What I Love About This Recipe
Soft. Fluffy. Flavorful.


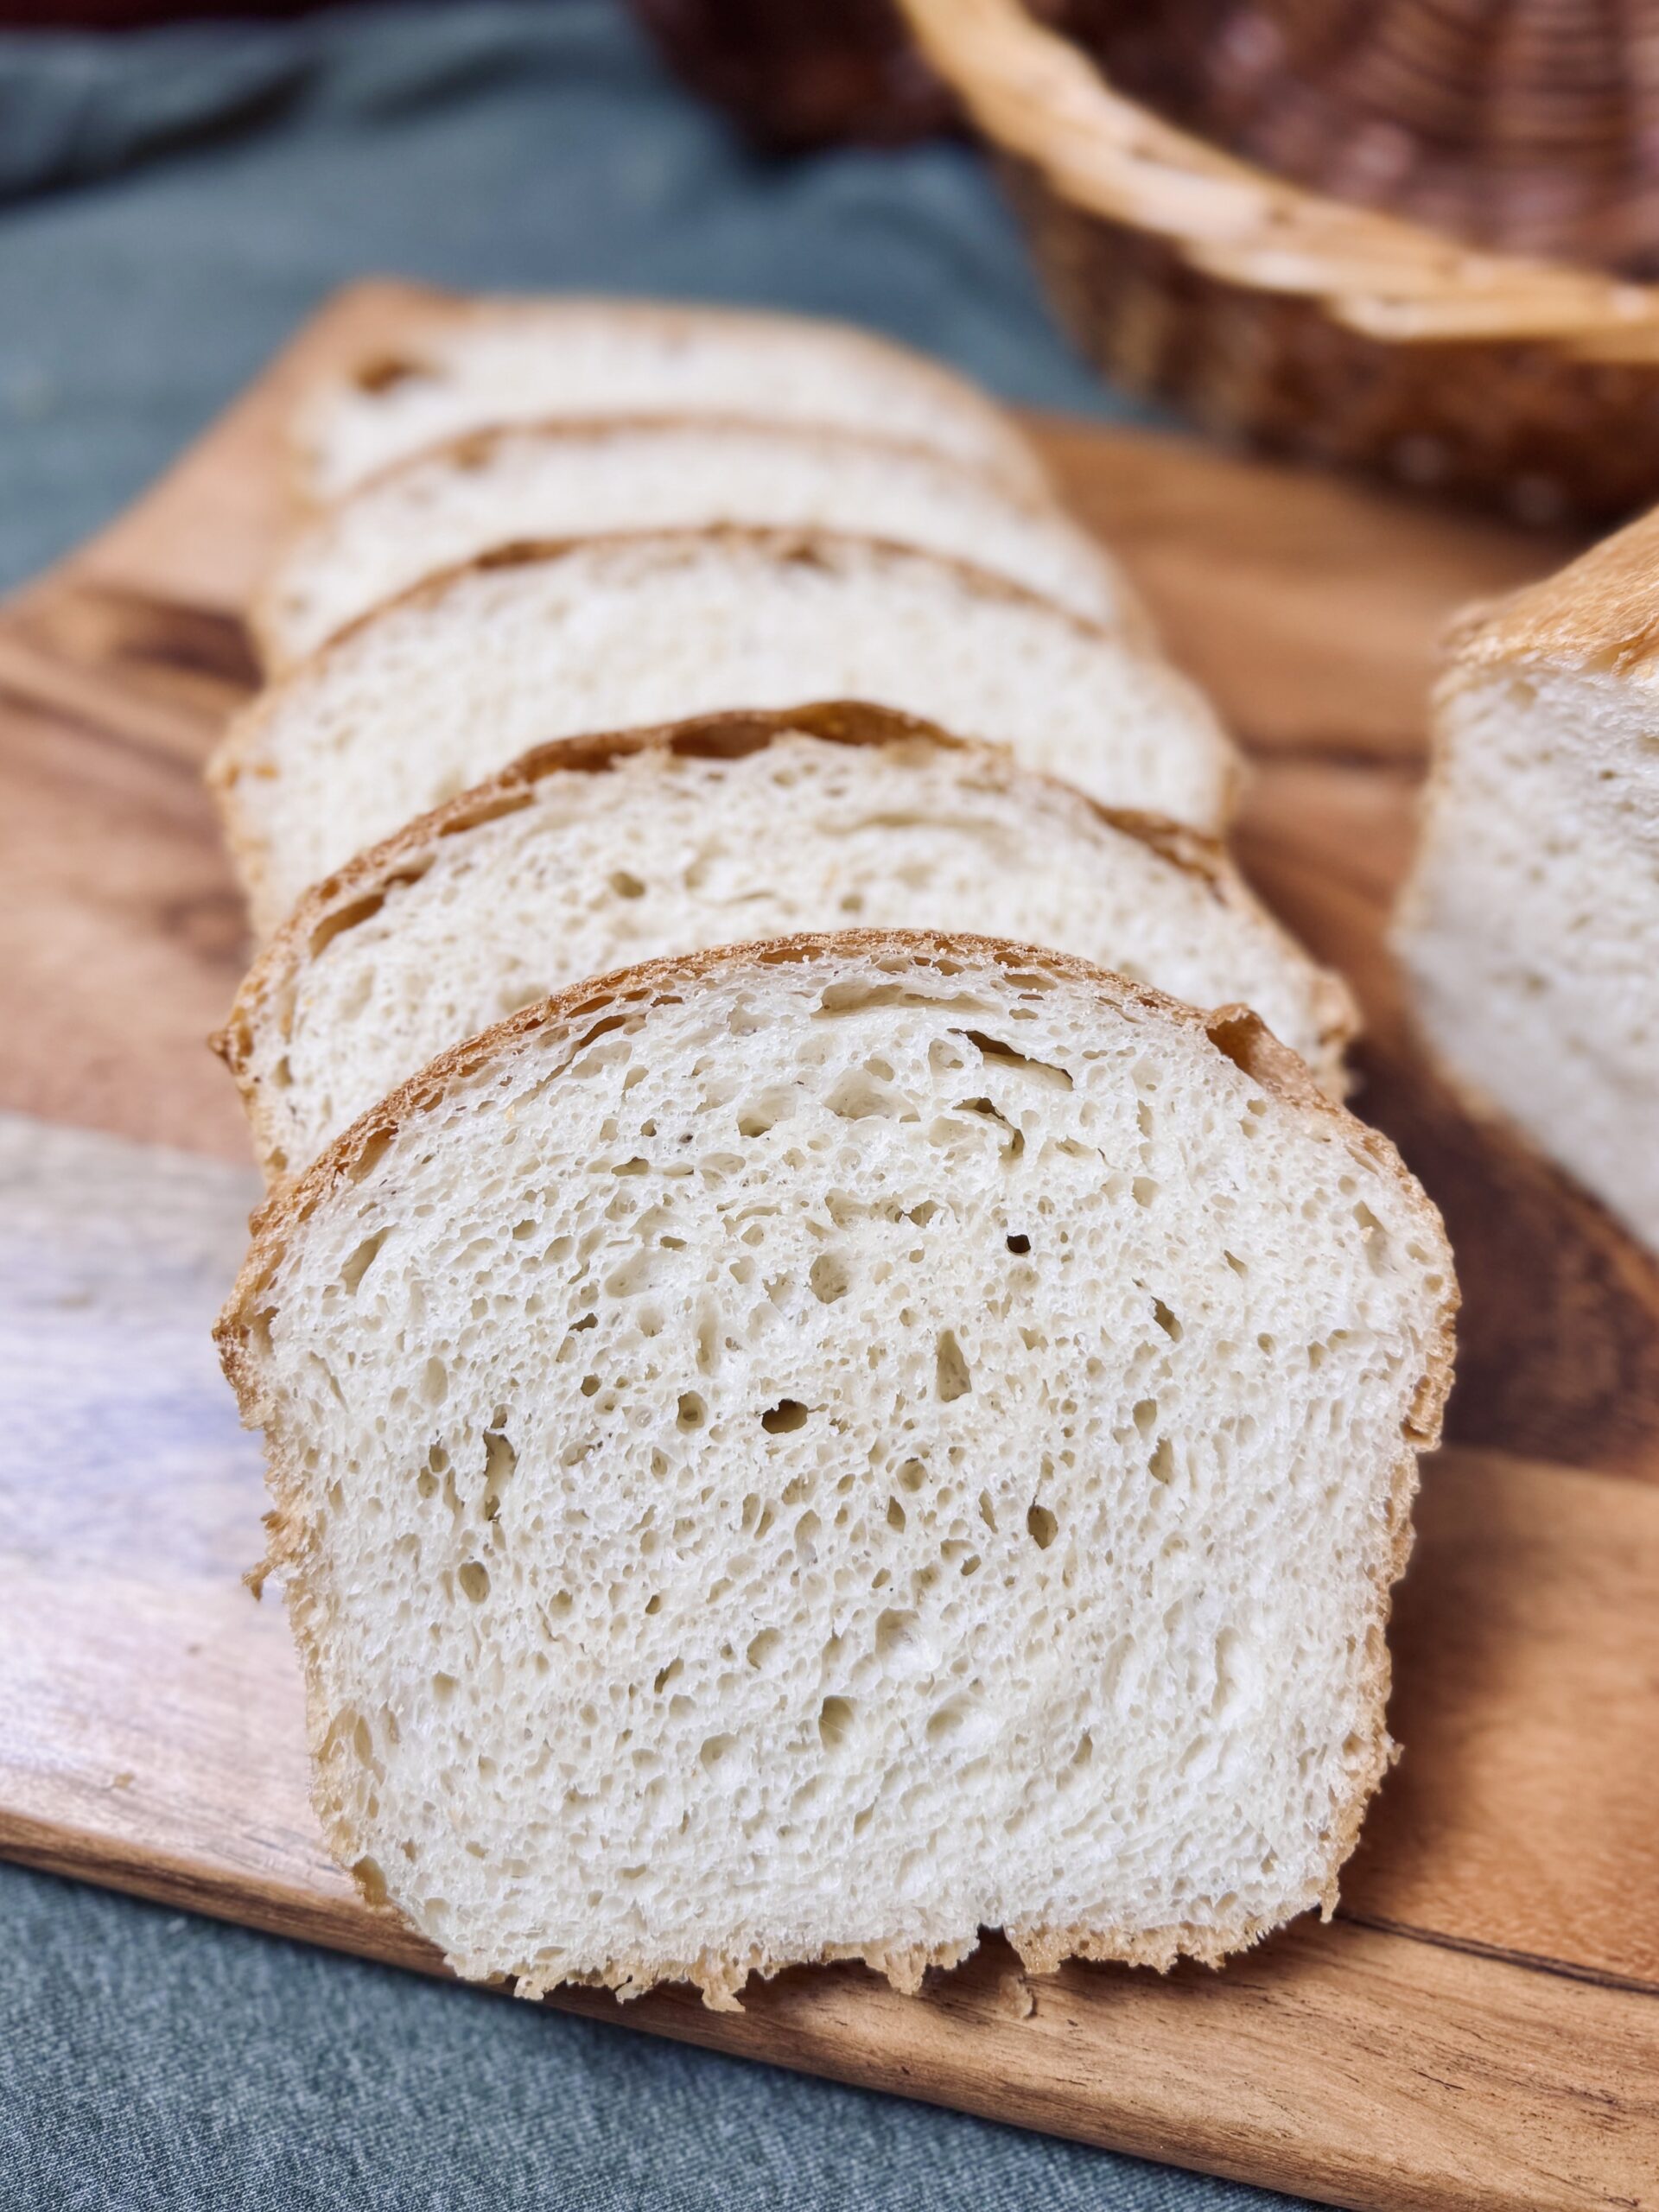

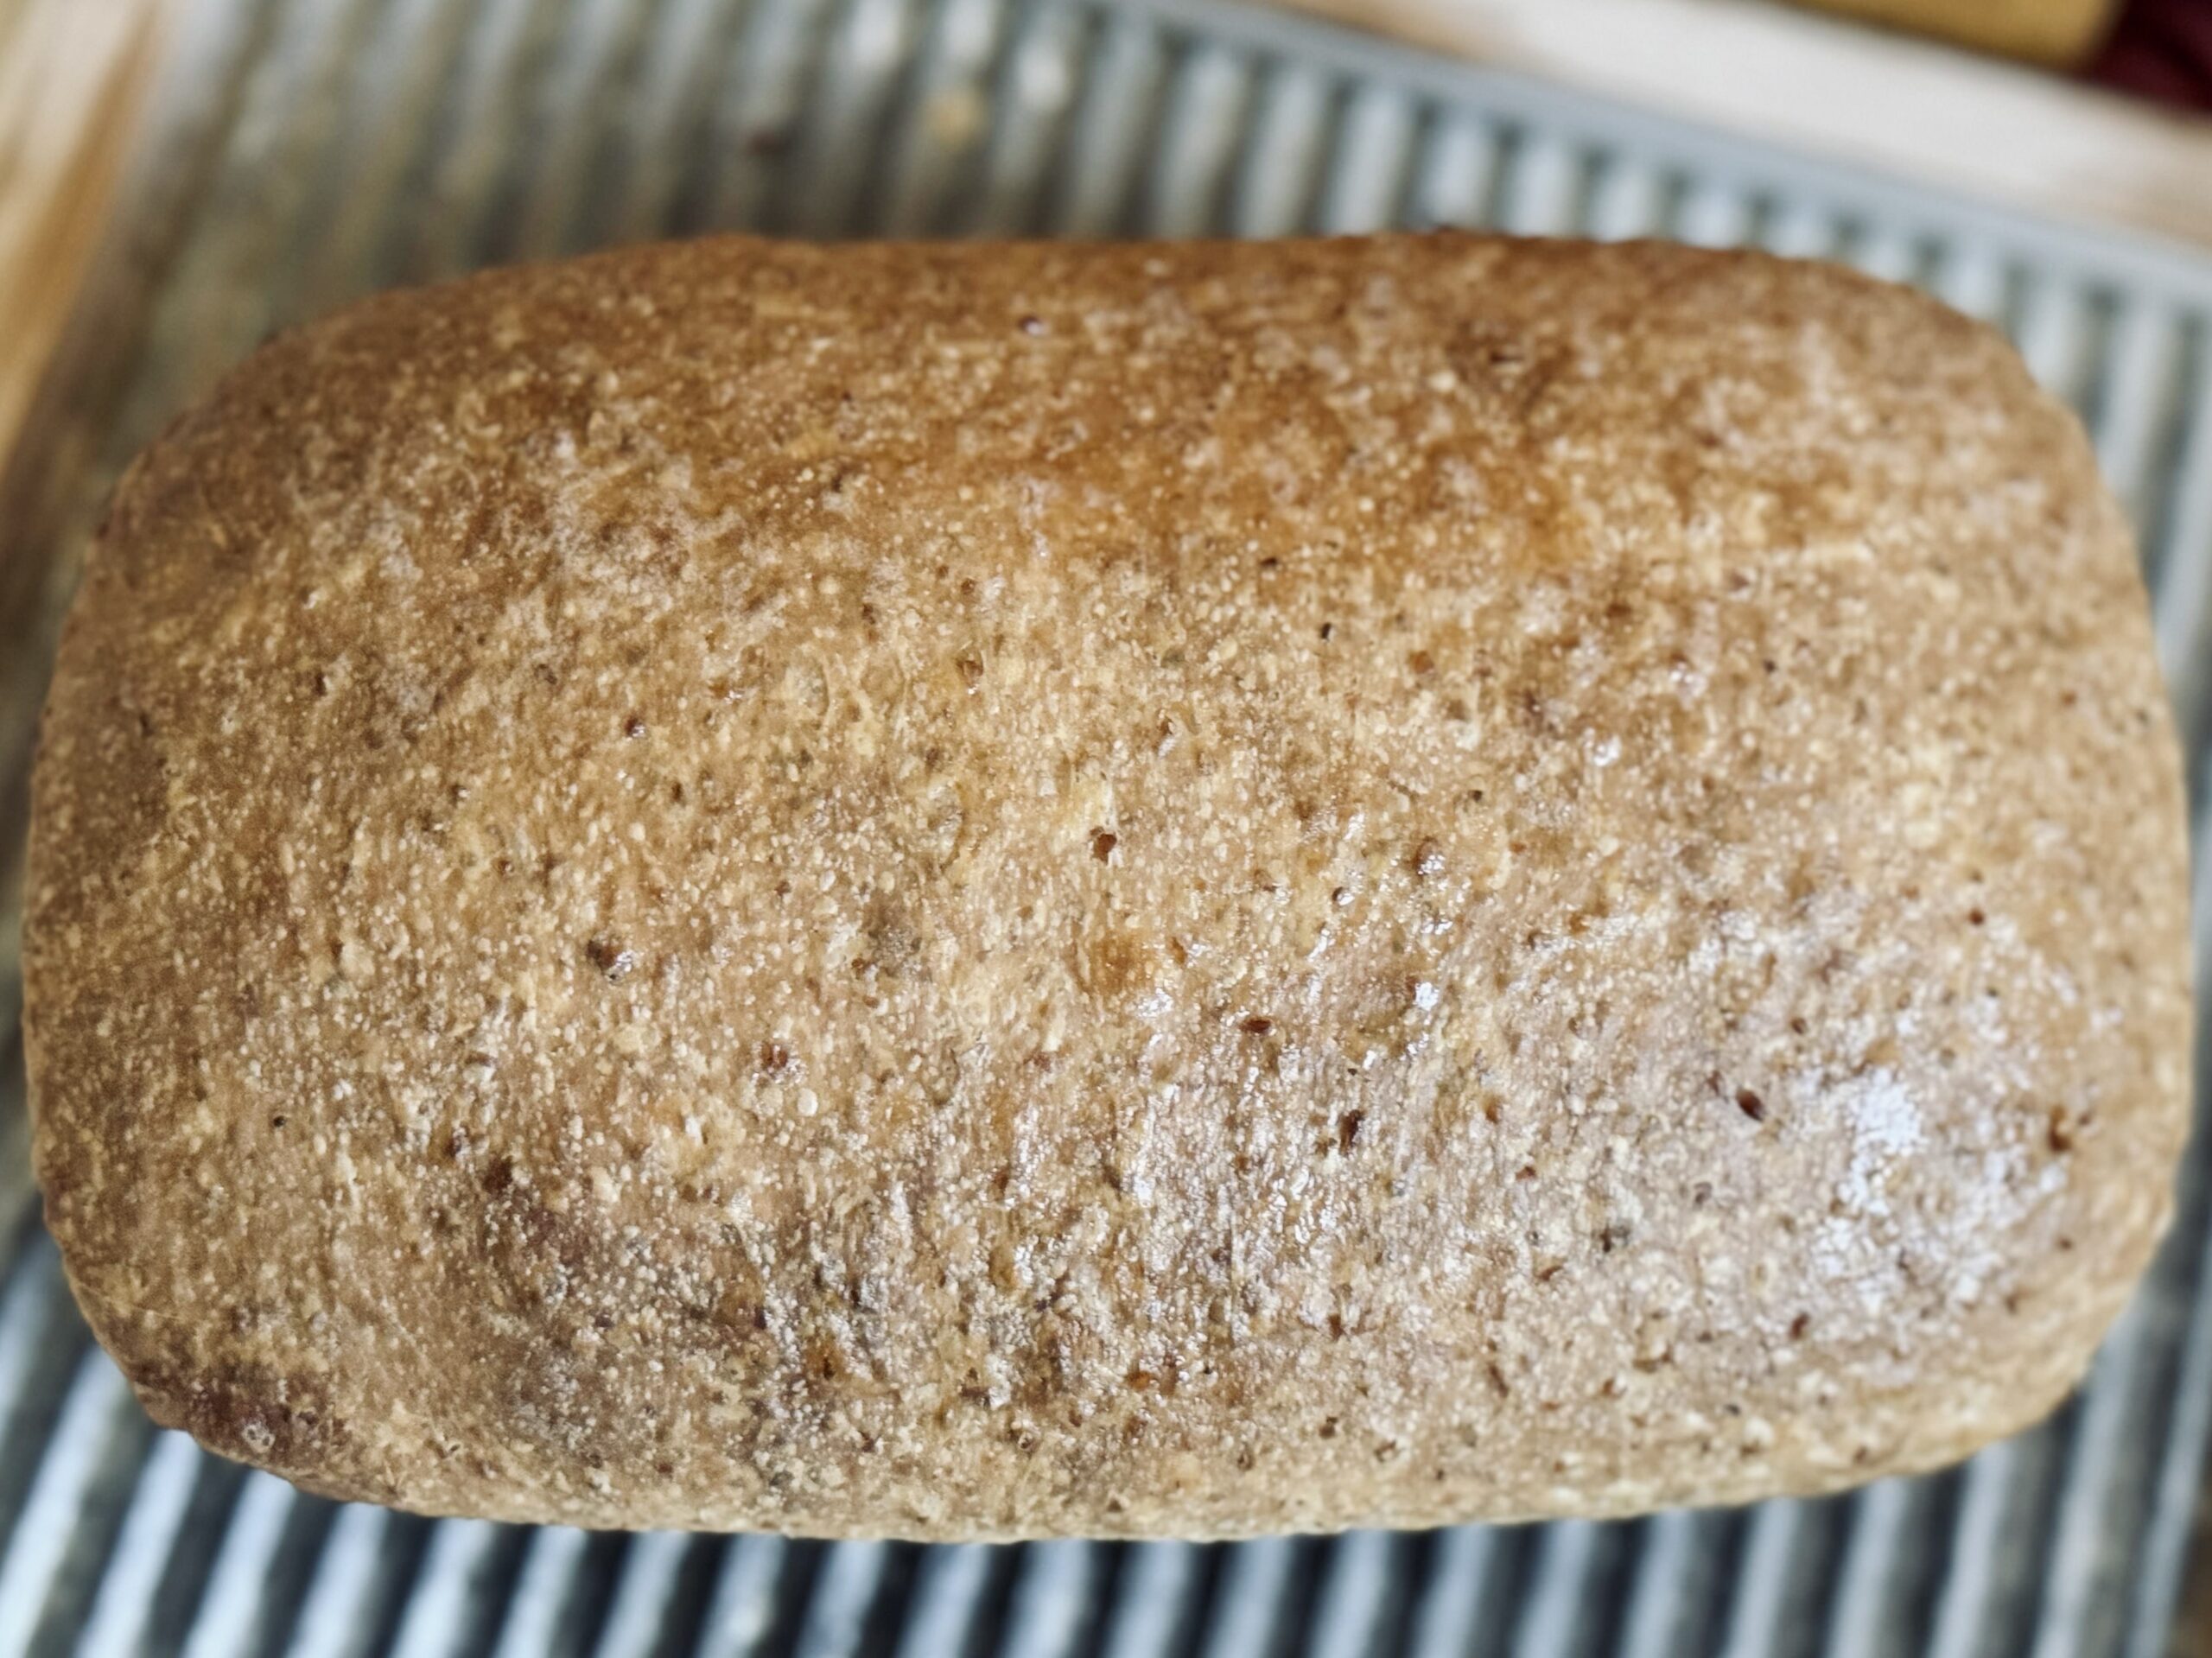
Though a basic white bread is good, I truly believe a good multigrain bread is better. I love the exquisite combination the grains bring, which simply adds an incredible depth of flavor. This recipe has a few secrets that make it simple, yet effective. Due to its higher hydration, it is a little more difficult to work with than my basic white bread. Despite this, I still use a stand mixer for simple ease, though stretch-and-folds would work as well. This is by far my family’s favorite sandwich recipe to date, and I hope it becomes a favorite in your home as well.
All The “Why’s”
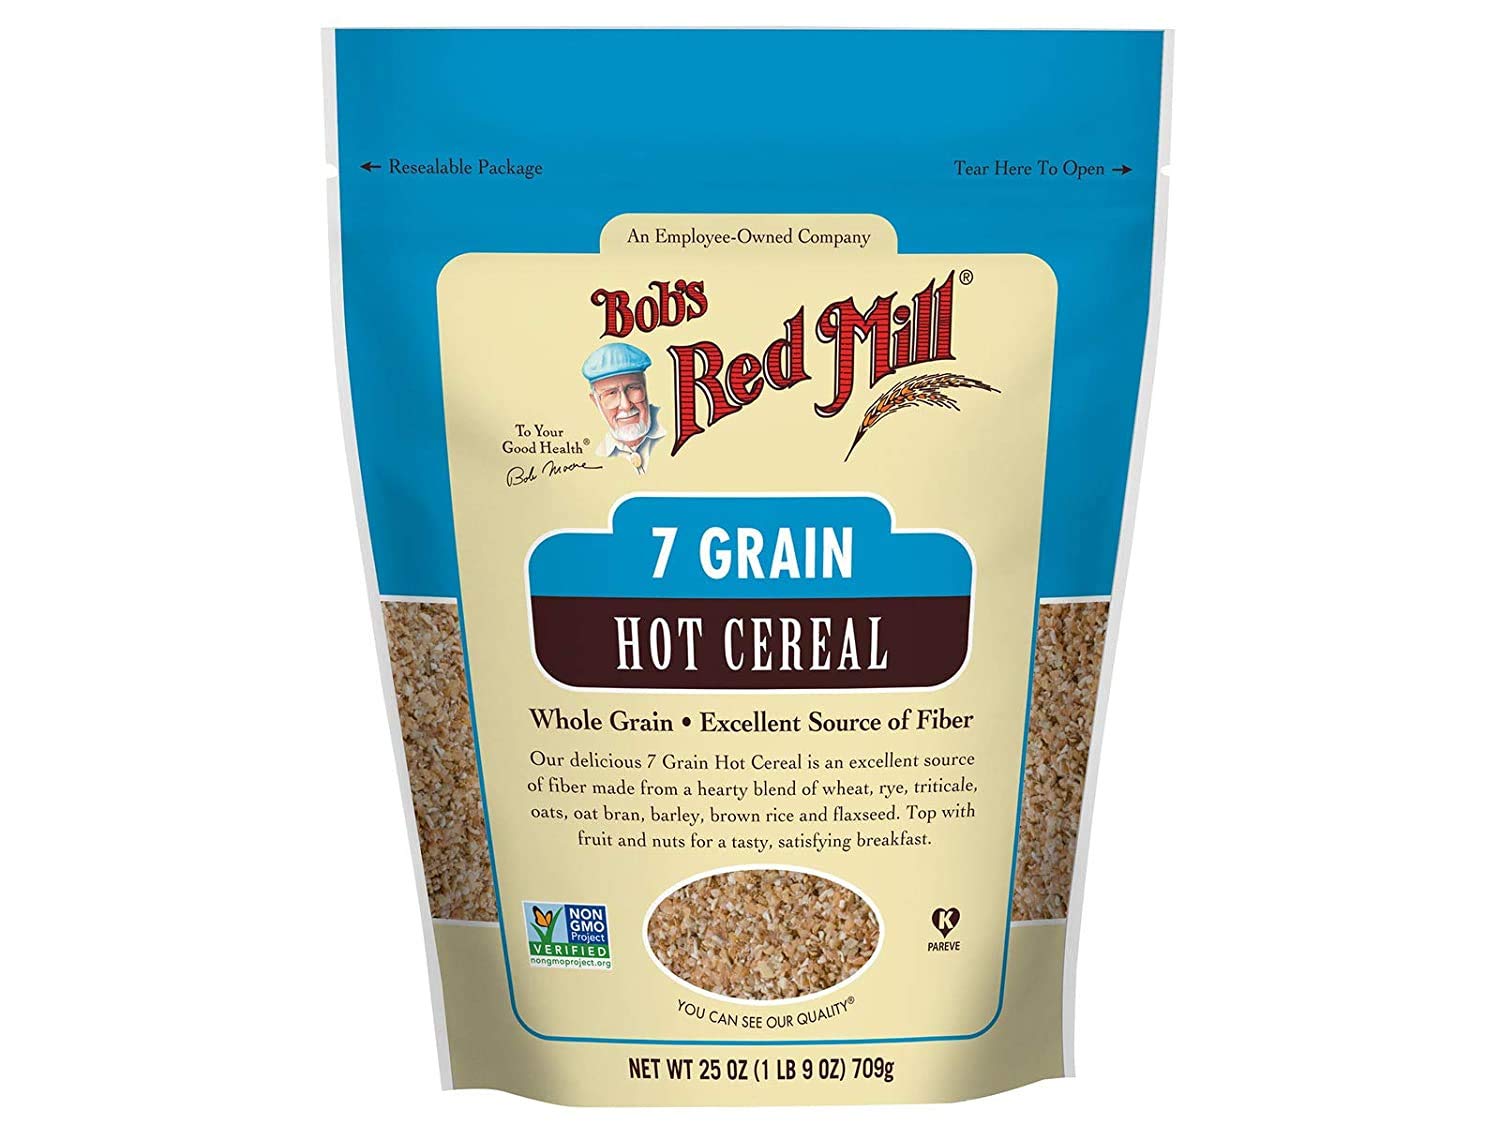
Hot Cereal
Hot cereal serves two purposes: simplicity and softness. Using a hot cereal blend means it is possible to include a larger variety of grains without having to source out each grain/flour individually. I use Bob’s Red Mill 7-grain hot cereal blend, but any multigrain cereal blend should work for this recipe, as long as you are sure to develop the dough correctly. In this recipe, the hot cereal is combined with boiling water and allowed to rest, cool, and absorb moisture before the bread dough is mixed. This step creates the perfect amount of softness in the final loaf. The heated grains function exactly like a yudane or tangzhong, gelatinizing the starches and allowing the grains to retain more moisture, the perfect pairing for a sandwich loaf.
Honey
Honey is used to help limit potential sourness (though it can still occur). This recipe contains about 11% honey, which is the perfect percentage to create osmotic stress. If you don’t know what osmotic stress is, it’s when the bacteria in your starter (they create sourness) are suffocated, in a sense, limiting their acid production. The honey also works to sweeten the bread, but only a bit. This is not a sweet bread.
Honey can be substituted with most other natural sweeteners – granulated sugar, molasses, maple syrup, brown sugar. I have not tested this recipe with sugar substitutes.
Butter
Butter (any kind of fat, really) is a tenderizer; it makes the dough fragile and soft. In this recipe, I only use a small amount, which is meant to keep the bread soft in the oven and after baking – so important for sandwich bread! My personal choice is butter, but you can use any kind of fat (olive oil, neutral oil, bacon fat, lard, tallow, etc.) as long as you like the flavor.
Flour Choice
I’ve used all-purpose and whole wheat flours in addition to the hot cereal blend to create this multigrain loaf. Though there are some differences between all-purpose and bread flour, specifically when it comes to gluten-binding proteins, I find the use of bread flour is not an absolute “must” in this recipe. In fact, all-purpose flour helps create extensibility, which can be helpful when paired with dense whole grains.
Salt
Salt helps bring out flavor (without salt, bread would taste almost like nothing), but also has notable effects on the dough. Salt is a tightening agent, meaning it helps create a more elastic (strong) dough. It does slow fermentation, as well as gluten development, but these are things we must account for in the recipe because we cannot have a recipe without salt. It is important to use just the right amount, enough to bring out the flavor, but not so much that the loaf cannot ferment or come together. I use the standard – 2% salt – in all my recipes, unless otherwise noted.
Hydration
This sandwich dough is fairly wet compared to some of my sandwich loaves, but not completely unmanageable. It contains enough water that the grains from the hot cereal and the whole wheat flour do not dry out the dough or create a dense loaf. The dough is slightly slack and sticky, due to the extra water. Using wet or lightly floured hands to work the dough during shaping is all that is required to make it compliant.
Mixing
For this recipe, I use a stand mixer to develop my dough. The main thing we want to look for when mixing/kneading any dough up front is a windowpane. This tells us that gluten has come together and that the dough will be able to hold in air. Using a lower speed on the mixer will create a more elastic (strong, tough, not stretchy) dough, while a higher speed will create extensibility (stretchy, loose). For a dough that is just right, aim for somewhere in the middle, speed 3-4 on a KitchenAid (if you think your mixer can handle it) or speed 3-4 o’clock on an Ankarsrum.
The other important thing to consider is your dough’s temperature. Try to make sure it doesn’t get above 78 F (26 C). If you notice the dough is taking too long in the mixer, give it a 10-15 minute rest and try again. Time will help it relax and finish developing.
Bulk Fermentation
Letting the dough rise as much as possible, but not too much, contributes to the airiest of loaves. In an attempt to favor the yeast and reduce sourness, I recommend keeping the dough temperature between 70-75 F (21-24 C). Watch the dough and ferment until it doubles in size (at least; eight to twelve hours). Then, you can shape it and let it double again. Though I favor an overnight method for this dough, use your knowledge of your environment to bulk ferment this dough appropriately.
Shaping
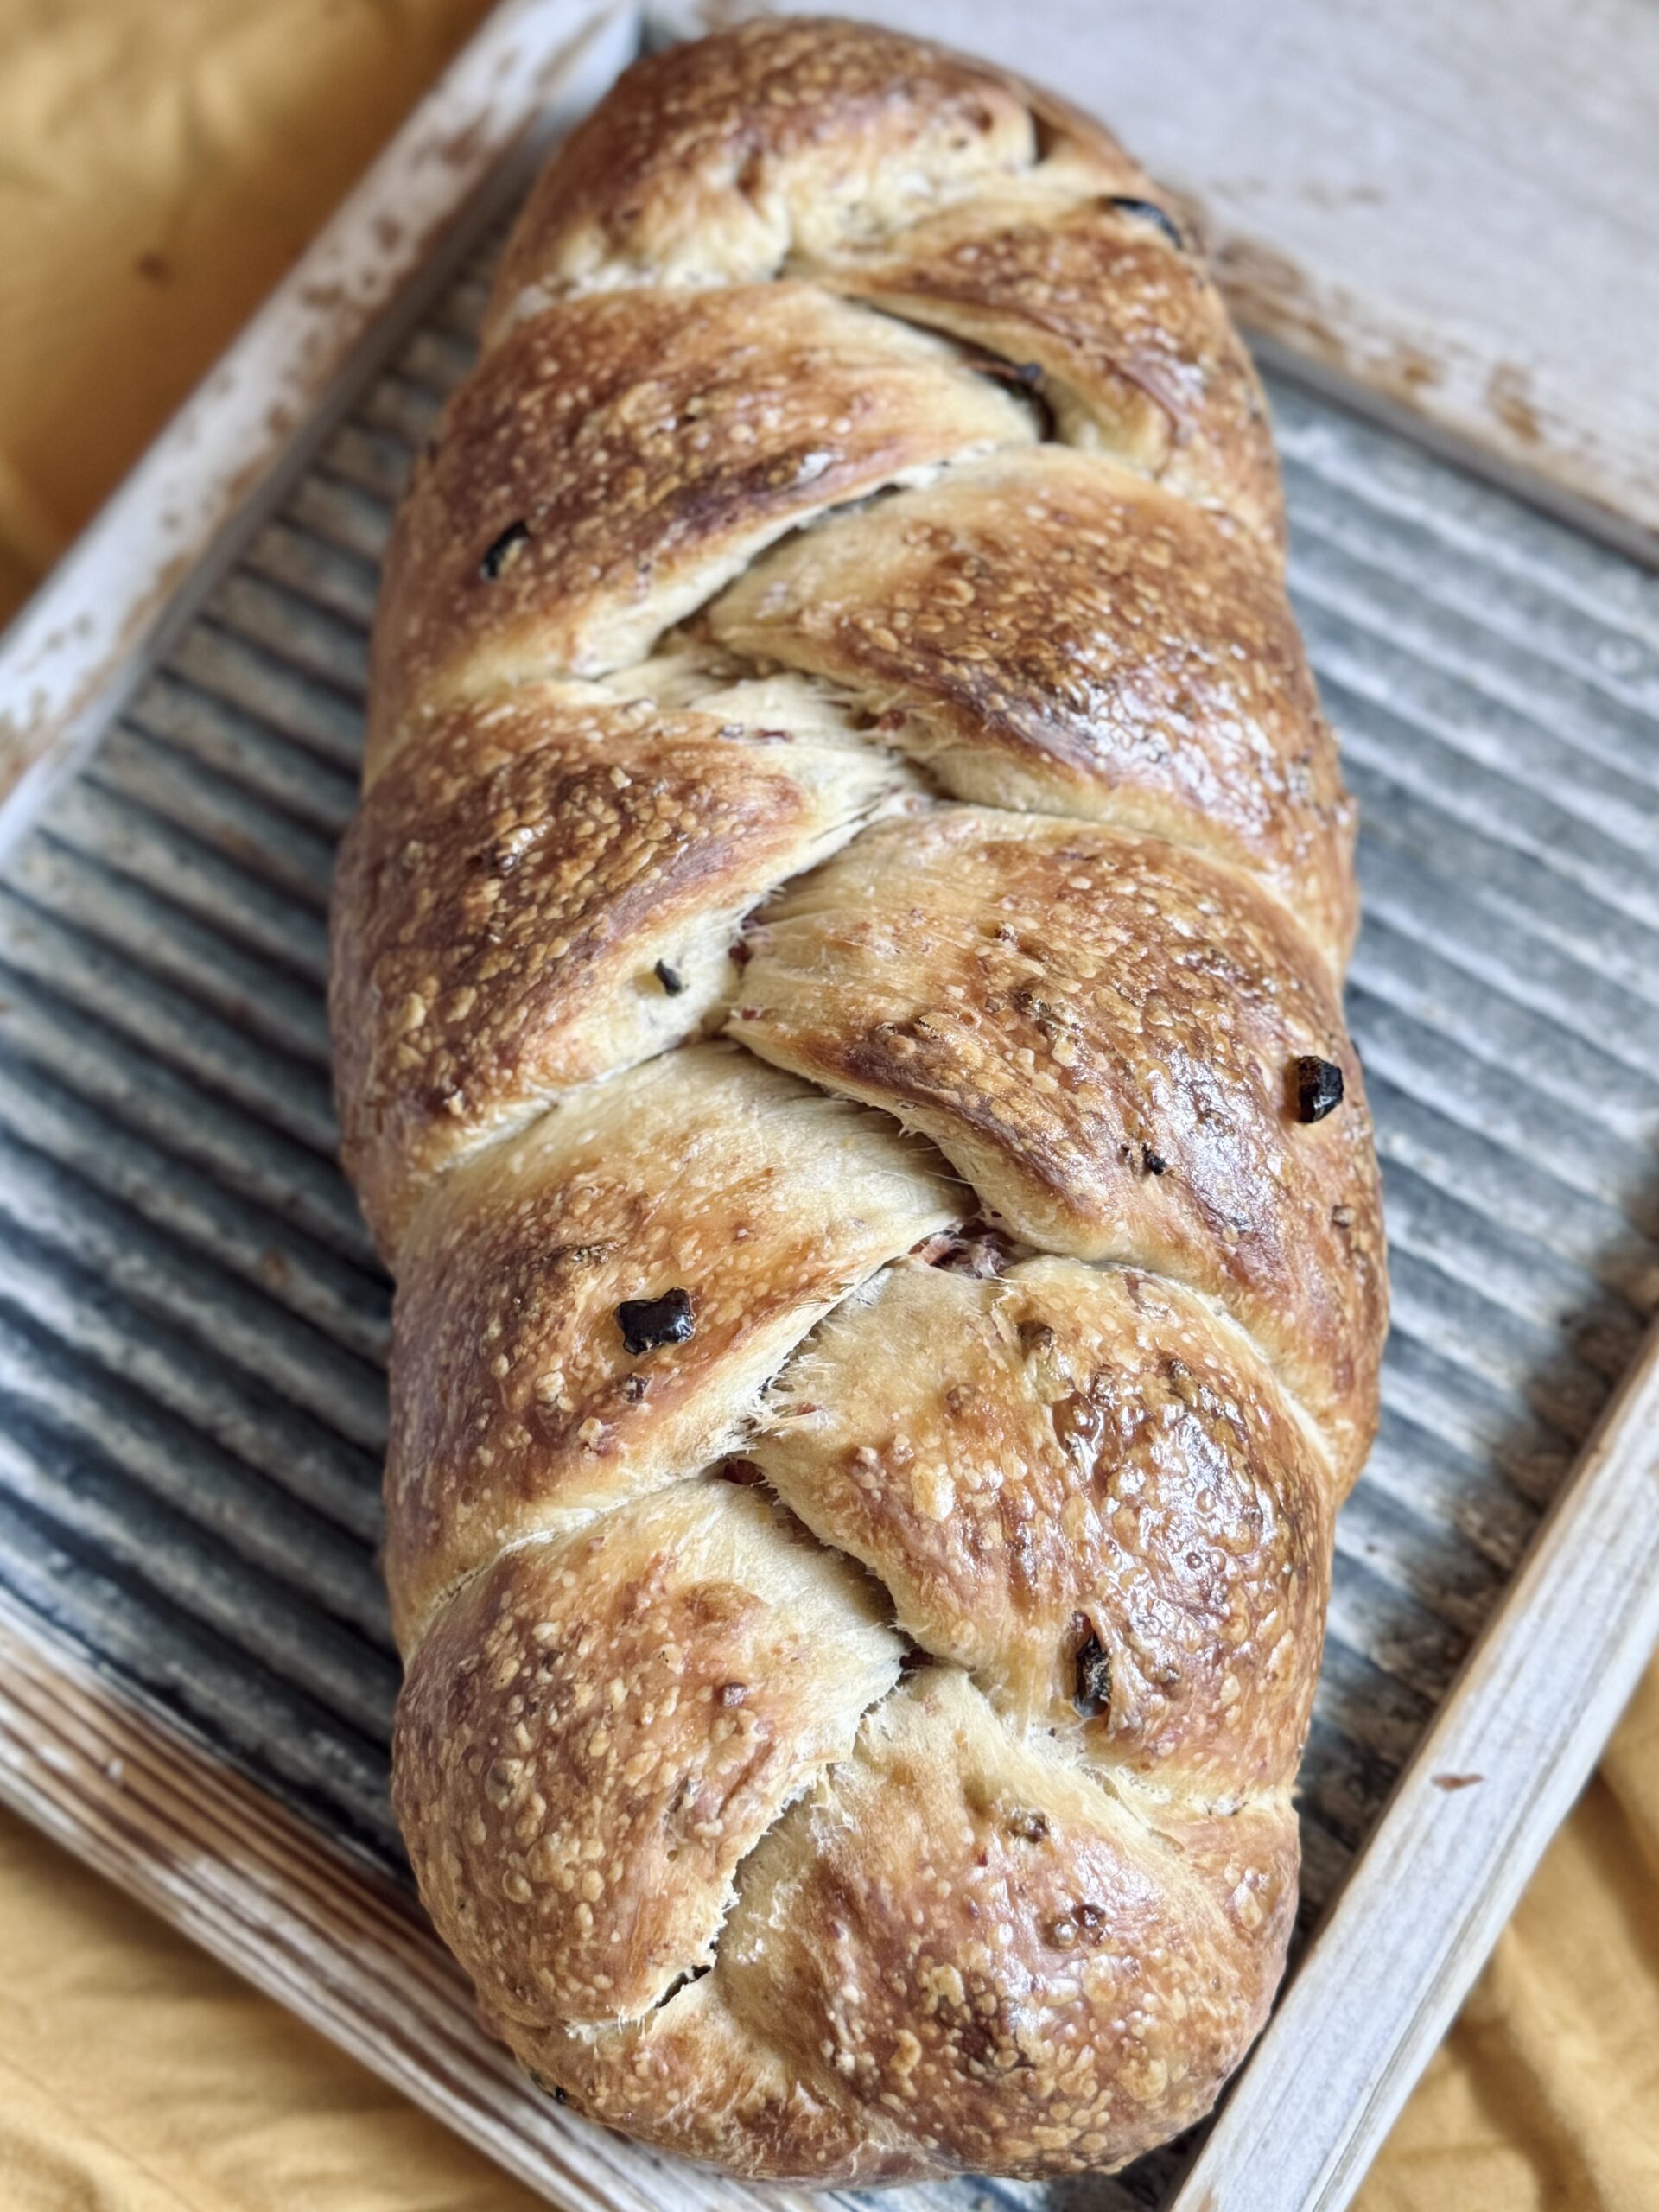
Shaping sandwich bread is so easy. You can really shape it however you want, as long as the top is smooth and the seams are sealed. Since this dough is a little looser, it requires a bit more consideration handling. Lightly watered or floured hands may be necessary to help prevent the dough from becoming a sticky mess. To shape the dough, I like to turn it out, pat it into a rectangle, fold the outer thirds inward, then roll it into a log.
Butter Wash
Washing your loaf with butter helps keep the crust soft during baking. I also like to brush my loaves with butter after baking, for the best flavor and softness.
Baking Method: Temperature
For breads with milk, a lower baking temperature is better. Because milk contributes to the Maillard reaction, the bread will still brown fine in the oven. Your dough will rise and bake slowly, contributing to an even crumb. The low-and-slow bake will also keep the dough soft, as it is able to retain more moisture this way.
Baking Method: Steam
Since this is a sandwich bread – which is purposefully soft – you don’t have to remove the steam from the oven like you would for a crusty bread. It helps the dough stay soft, which leads to better expansion and texture. I use a pan of boiling water next to my dough, but you can use any method you like.
Suggested Timeline
Suggested Timeline
DAY 1
7:30 p.m.
- Boil and soak the grains.
8:00 p.m.
- Mix the dough.
8:30 p.m.
- Begin bulk fermentation.
DAY 2
8:00 a.m.
- Shape the dough.
11:00 a.m.
- Bake and enjoy!
📌 Quick Tip: Read the recipe in its entirety before you start cooking. This will help you understand the ingredients, steps, and timing involved, and allow you to prepare any necessary equipment or ingredients beforehand.

Multigrain Sandwich Bread


Ingredients
For baking
Instructions
-
Bring some water to a boil in a tea kettle or over the stovetop. We will need 345 g, about 1 ½ cups, for this recipe - meaning you will want to boil a little more than this in order to account for any water that will boil off.
-
In a small bowl, weigh 100 g of seven-grain hot cereal mix. Pour 345 g of boiling water over the hot cereal mix, stir, cover, and let it rest for 30-60 minutes, until the grains soak up a good amount of water and the cereal is only slightly warm to the touch (about 90-100 degrees F [32-38 C]).
-
Add the butter and honey to the hot cereal and stir until well mixed and the butter is mostly melted. Set aside.
-
In the bowl of a stand mixer, combine the all-purpose flour, whole wheat flour, and salt. Whisk briefly to combine.
-
Add the hot cereal mix to the stand mixer. Stir to further cool the mixture before adding your starter.
-
Last, add your active starter. Give it one last rough mix, then transfer to your stand mixer.
-
Knead on a low speed to thoroughly mix, then increase to a medium-low speed, speed 4 on a KitchenAid, and knead for 8-10 minutes. The dough should completely pull away from the sides and bottom of the bowl by the end of kneading. If it is not, add flour, one to two tablespoons at a time, until it is able to do this.
- For an Ankarsrum mixer, use the dough roller and scraper attachment. Set the speed between 2-3 o'clock and the timer to “on.” Let the mixer work until the dough comes completely together, then set the timer to twelve minutes and allow the dough to knead until the timer is finished.
-
Using wet hands (this is a sticky dough), remove the dough from the stand mixer. Shape it into a round, then let the dough rest until the dough doubles in size. This generally takes between six to eight hours in my oven with the light on, or eight to twelve hours on my counter overnight.
-
After the dough has finished fermenting, turn it out onto a clean counter. Fold into thirds (4:21 in video) using wet or lightly floured hands and bench scraper to prevent a sticky mess. Then, roll the dough up into a log (4:50 in video).
-
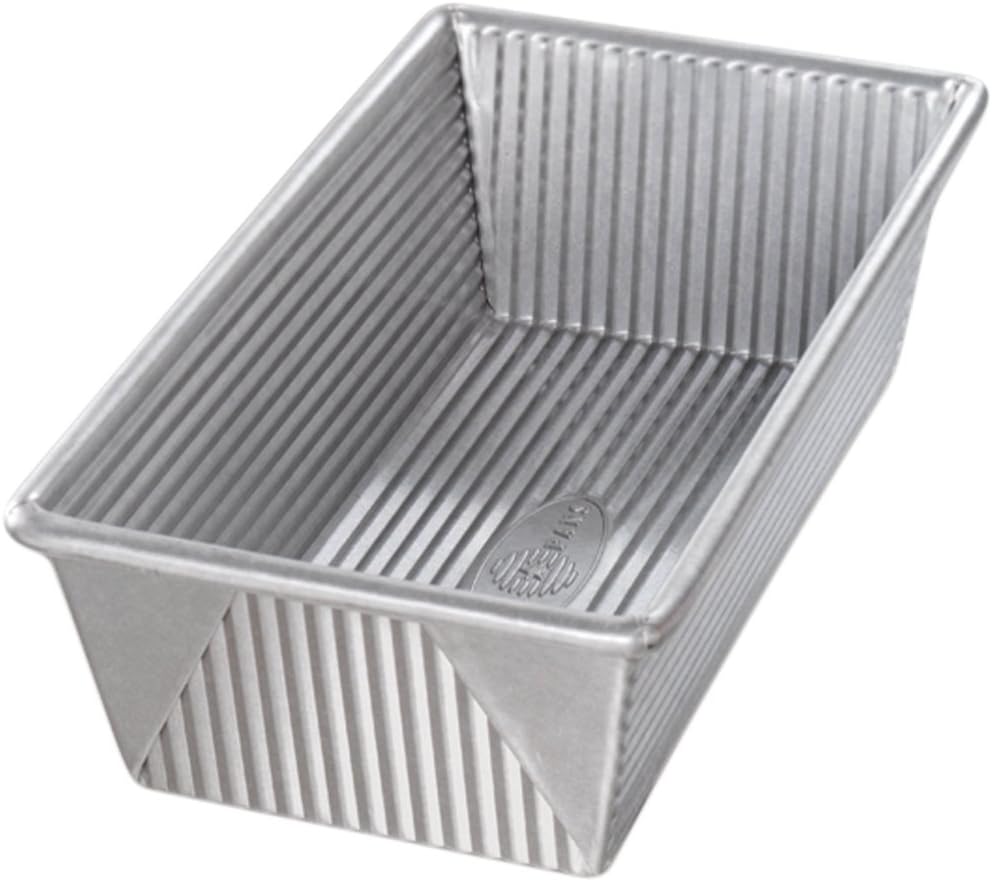
Transfer to a greased 9X5 loaf pan. Lightly oil the top of the dough (to prevent the cover from sticking), then cover once more.
-
Let the dough proof again until it has risen just above the rim of the pan (2-4 more hours).
-
When your dough is ready to bake, preheat your oven to 350 F (175 C) and boil some more water in a tea kettle or over the stovetop.
-
Remove the cover from your dough and brush all over with melted butter.
-
To your preheated oven, place an empty, water-safe loaf pan next to the loaf pan with your dough. Fill the empty loaf pan about halfway with boiling water.
-
Bake for 50-60 minutes, until the internal temperature reaches 190 F (88 C).
-
Brush the hot loaf with any extra melted butter.
-
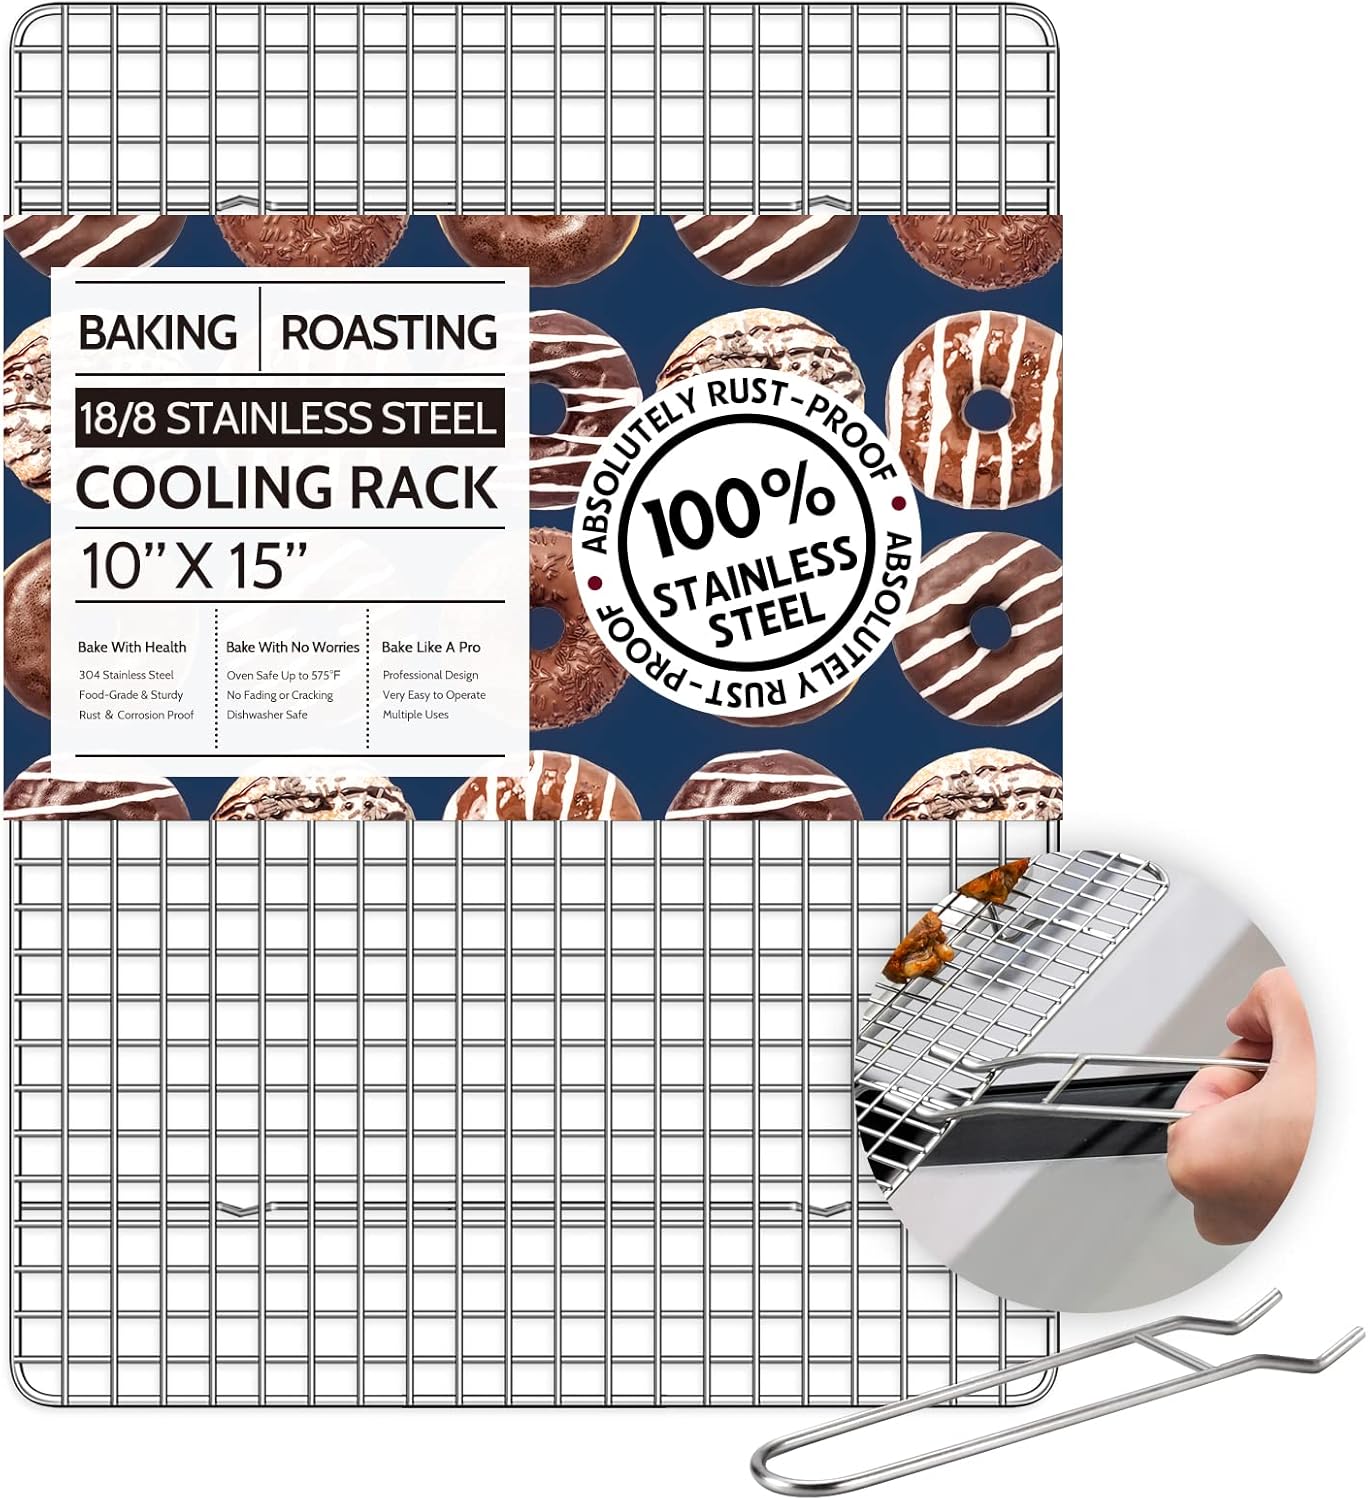
Transfer to a cooling rack, waiting at least 30 minutes before slicing.
You might need...


Affiliate Disclosure: This post contains Amazon affiliate links. This means when you buy a product using one of my links, I may receive a small commission at no cost to you. Thank you, in advance, for supporting my work.
Nutrition Facts
Servings 12
- Amount Per Serving
- Calories 213.08kcal
- % Daily Value *
- Total Fat 3.86g6%
- Saturated Fat 2.04g11%
- Cholesterol 8.06mg3%
- Sodium 204.44mg9%
- Potassium 97.45mg3%
- Total Carbohydrate 40.51g14%
- Dietary Fiber 2.95g12%
- Sugars 5.54g
- Protein 5.65g12%
- Vitamin A 25.8 IU
- Vitamin C 0.02 mg
- Calcium 16.01 mg
- Iron 2.04 mg
- Vitamin E 0.28 IU
- Vitamin K 0.59 mcg
- Thiamin 0.31 mg
- Riboflavin 0.17 mg
- Niacin 2.64 mg
- Vitamin B6 0.08 mg
- Folate 16.37 mcg
- Phosphorus 87.77 mg
- Magnesium 29.26 mg
- Zinc 0.67 mg
* Nutrition values are auto-calculated and should be used as an approximation only.
Notes
- Storage: Store in a Ziploc or bread bag on the counter for three to five days, or slice and store in the freezer. Toast to warm.
