About This Recipe
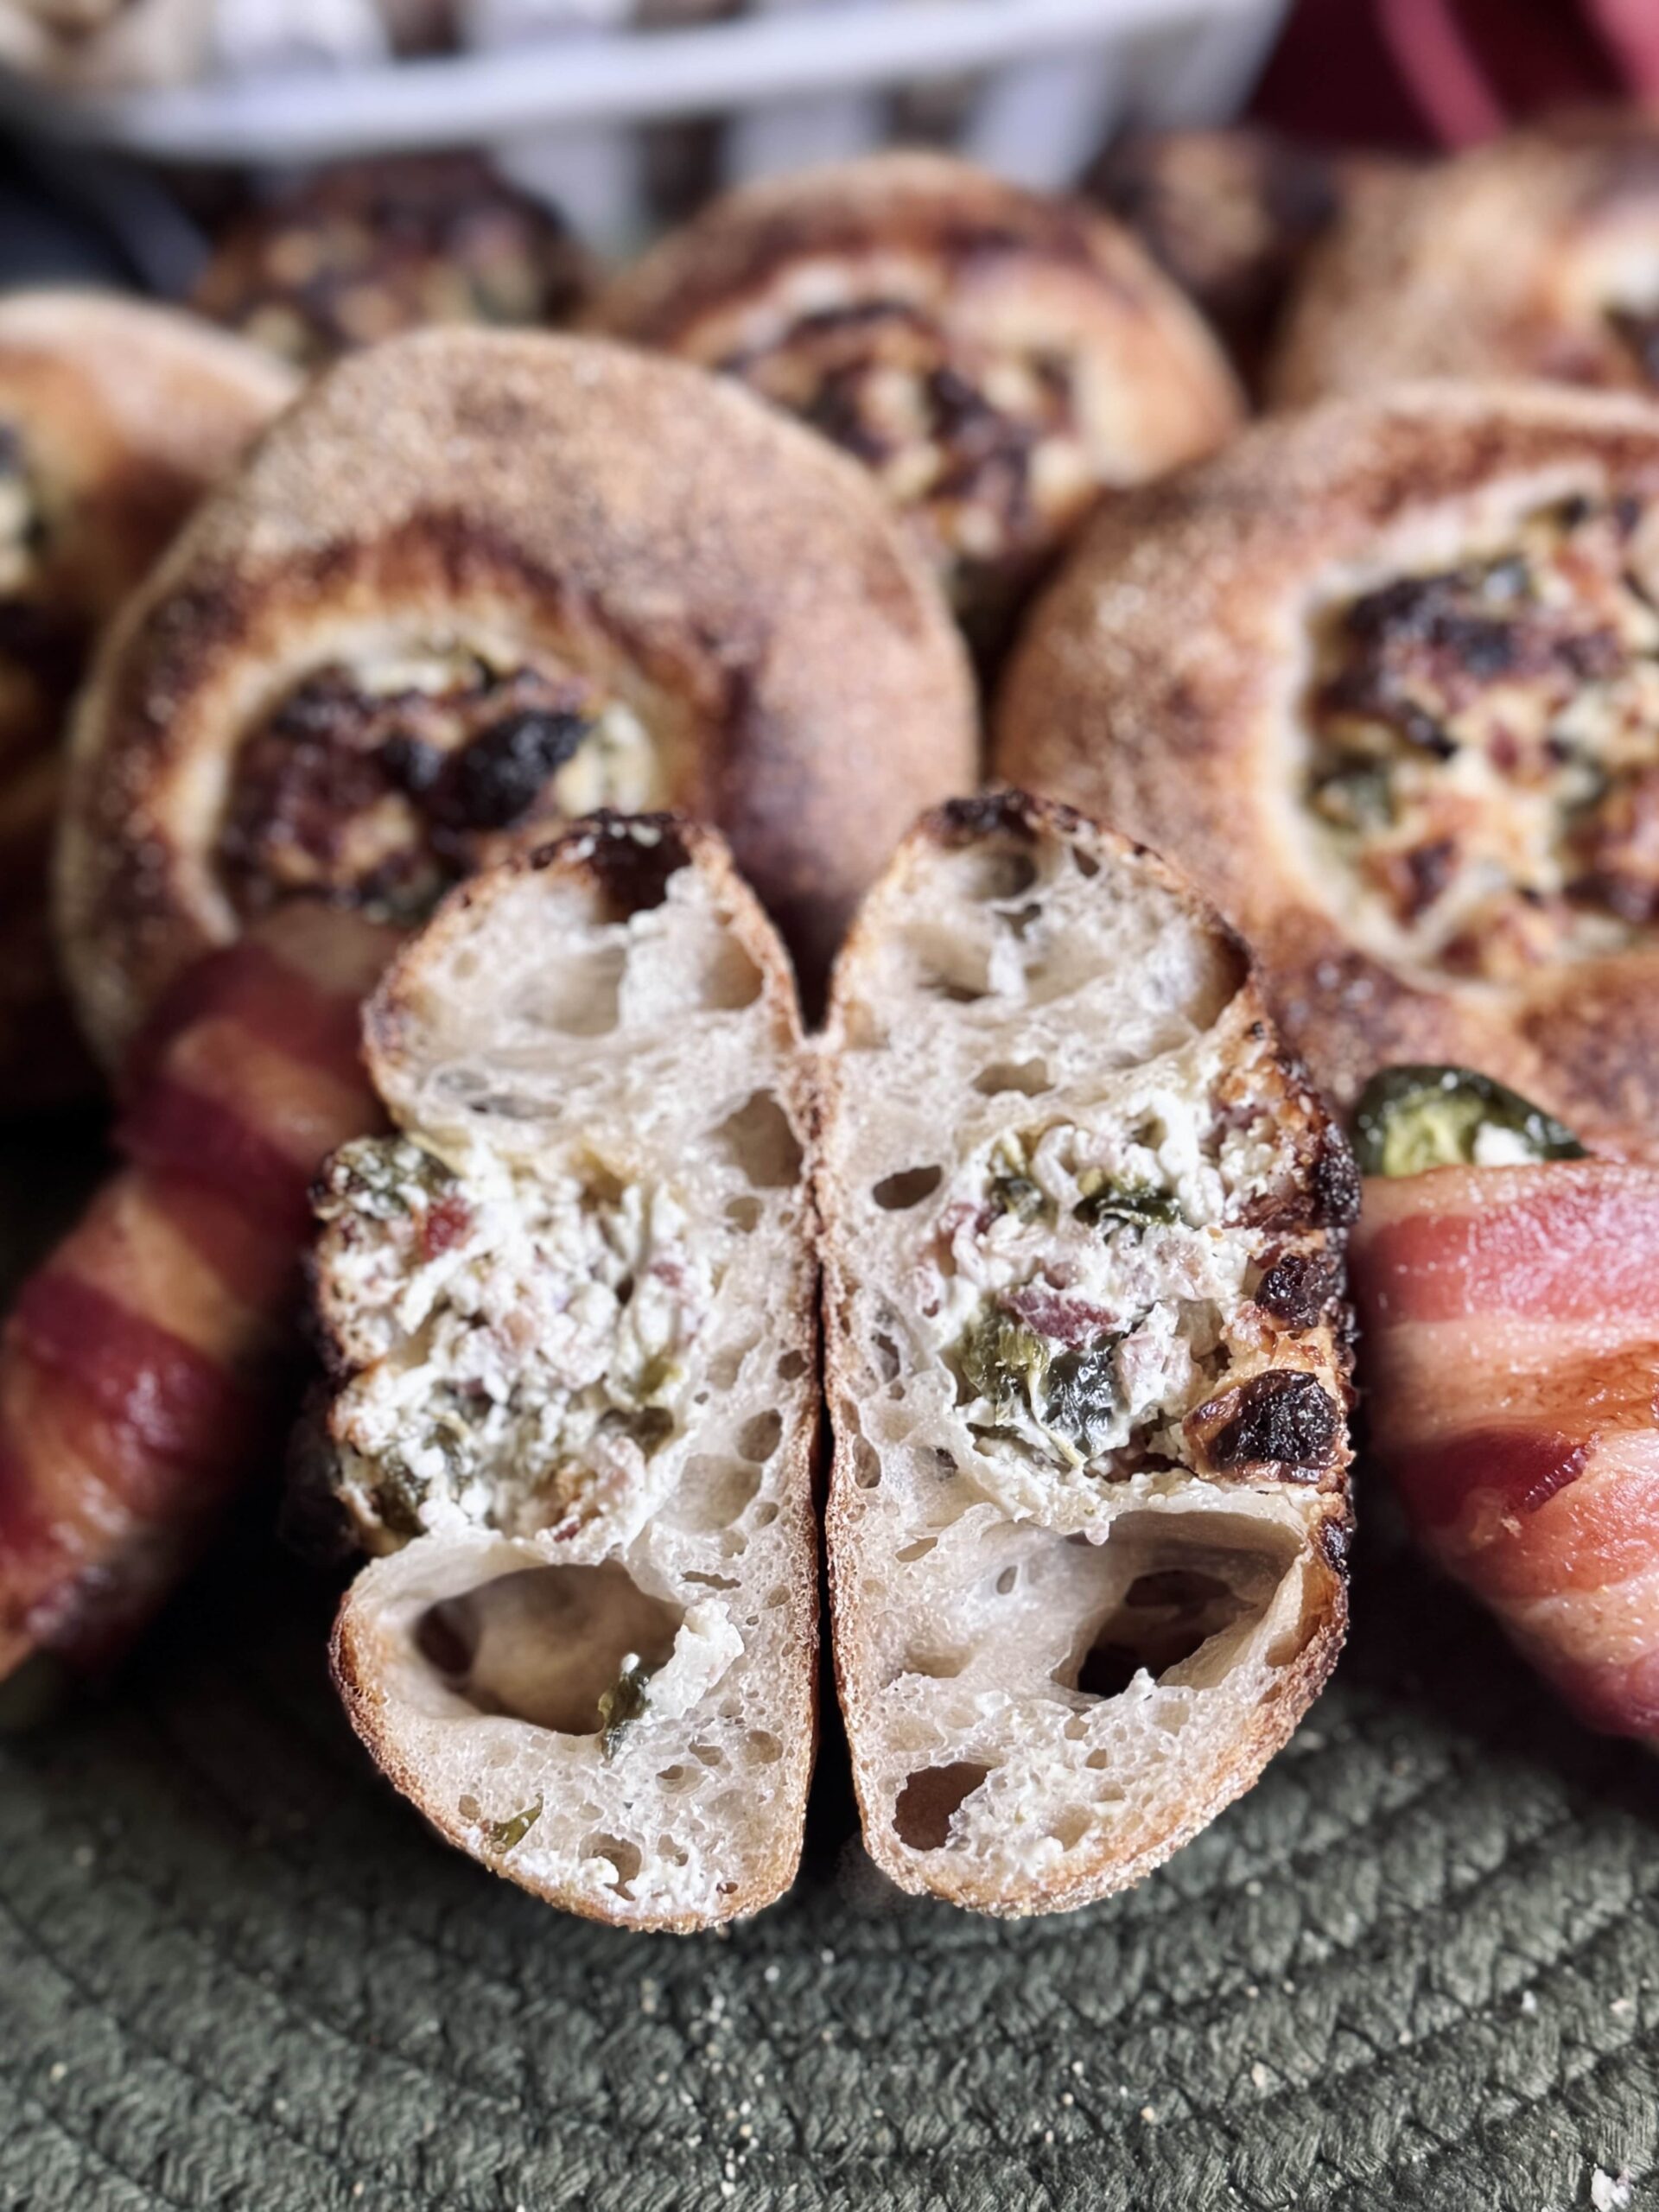
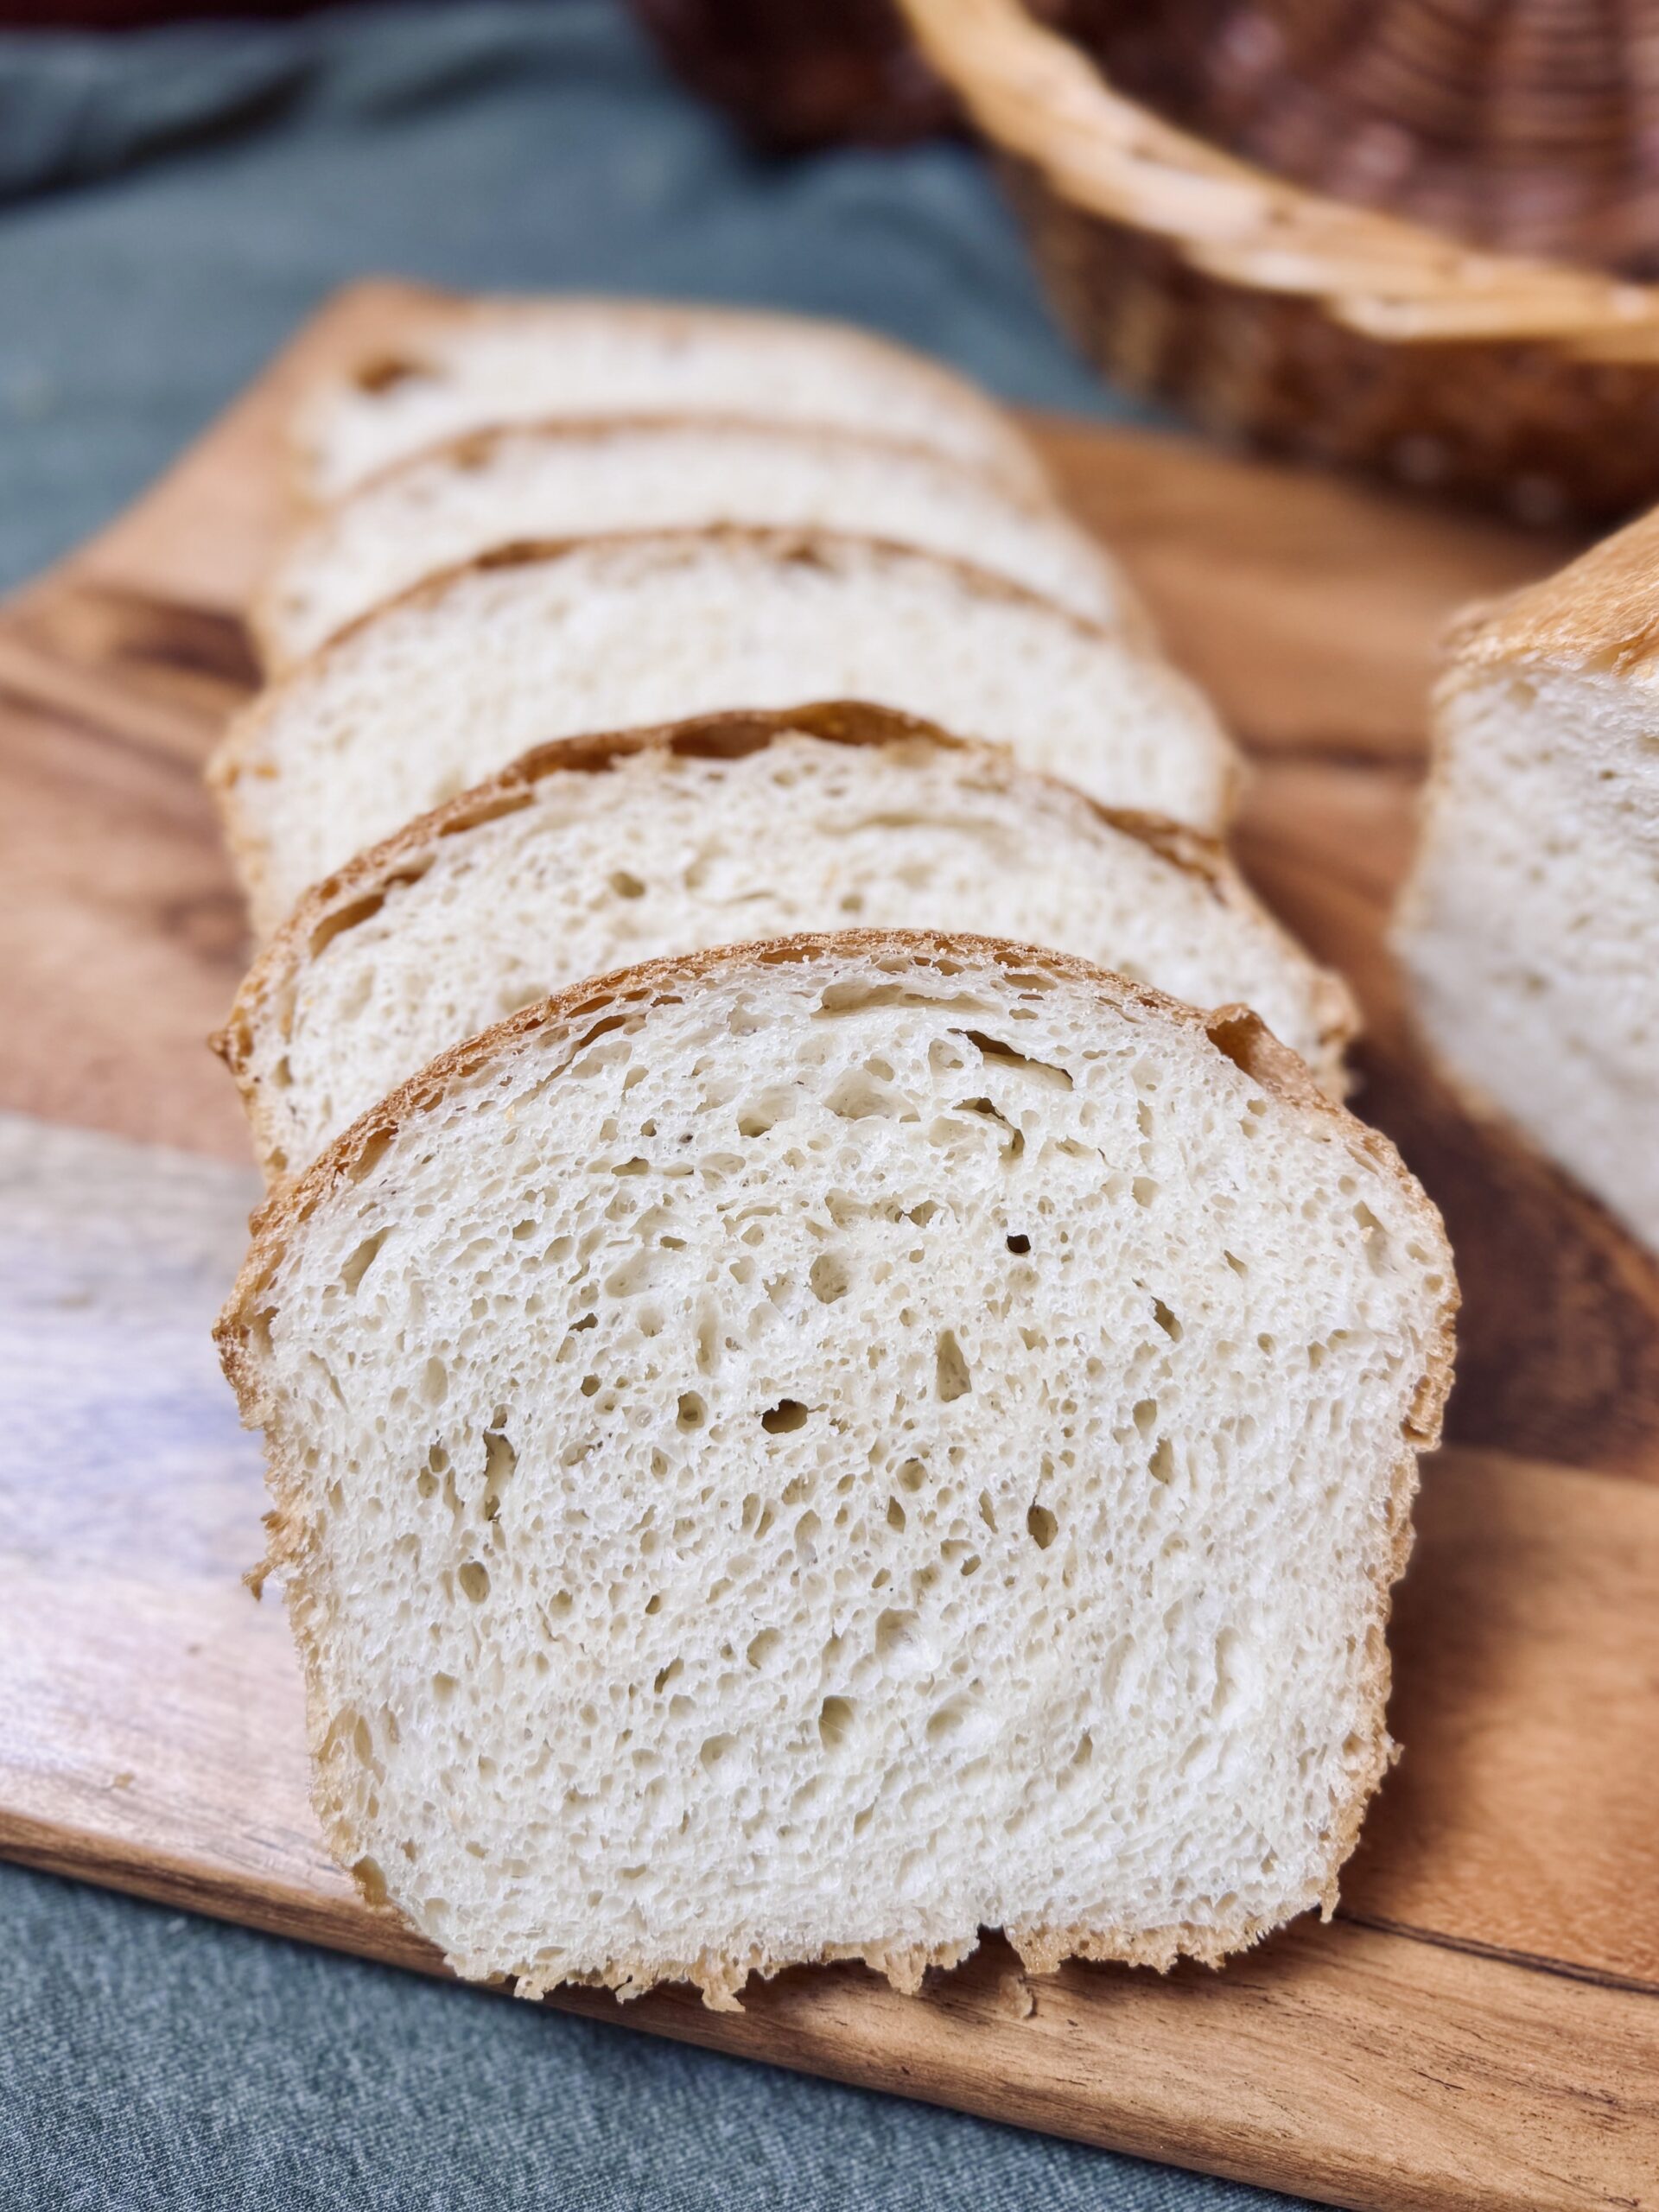
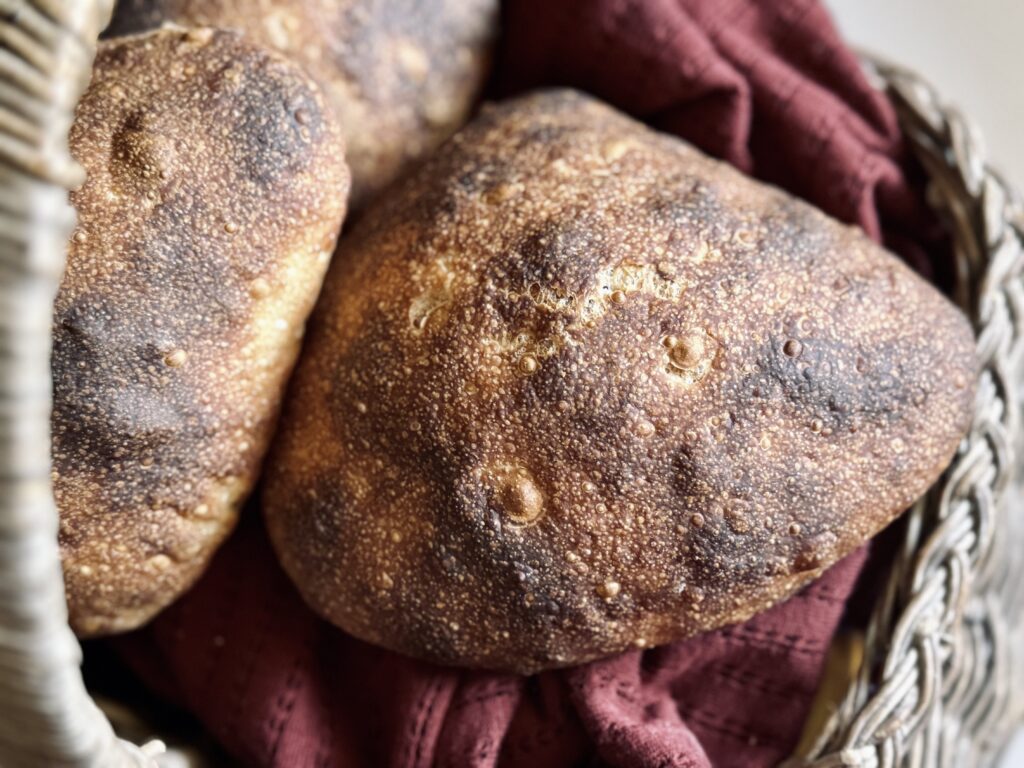
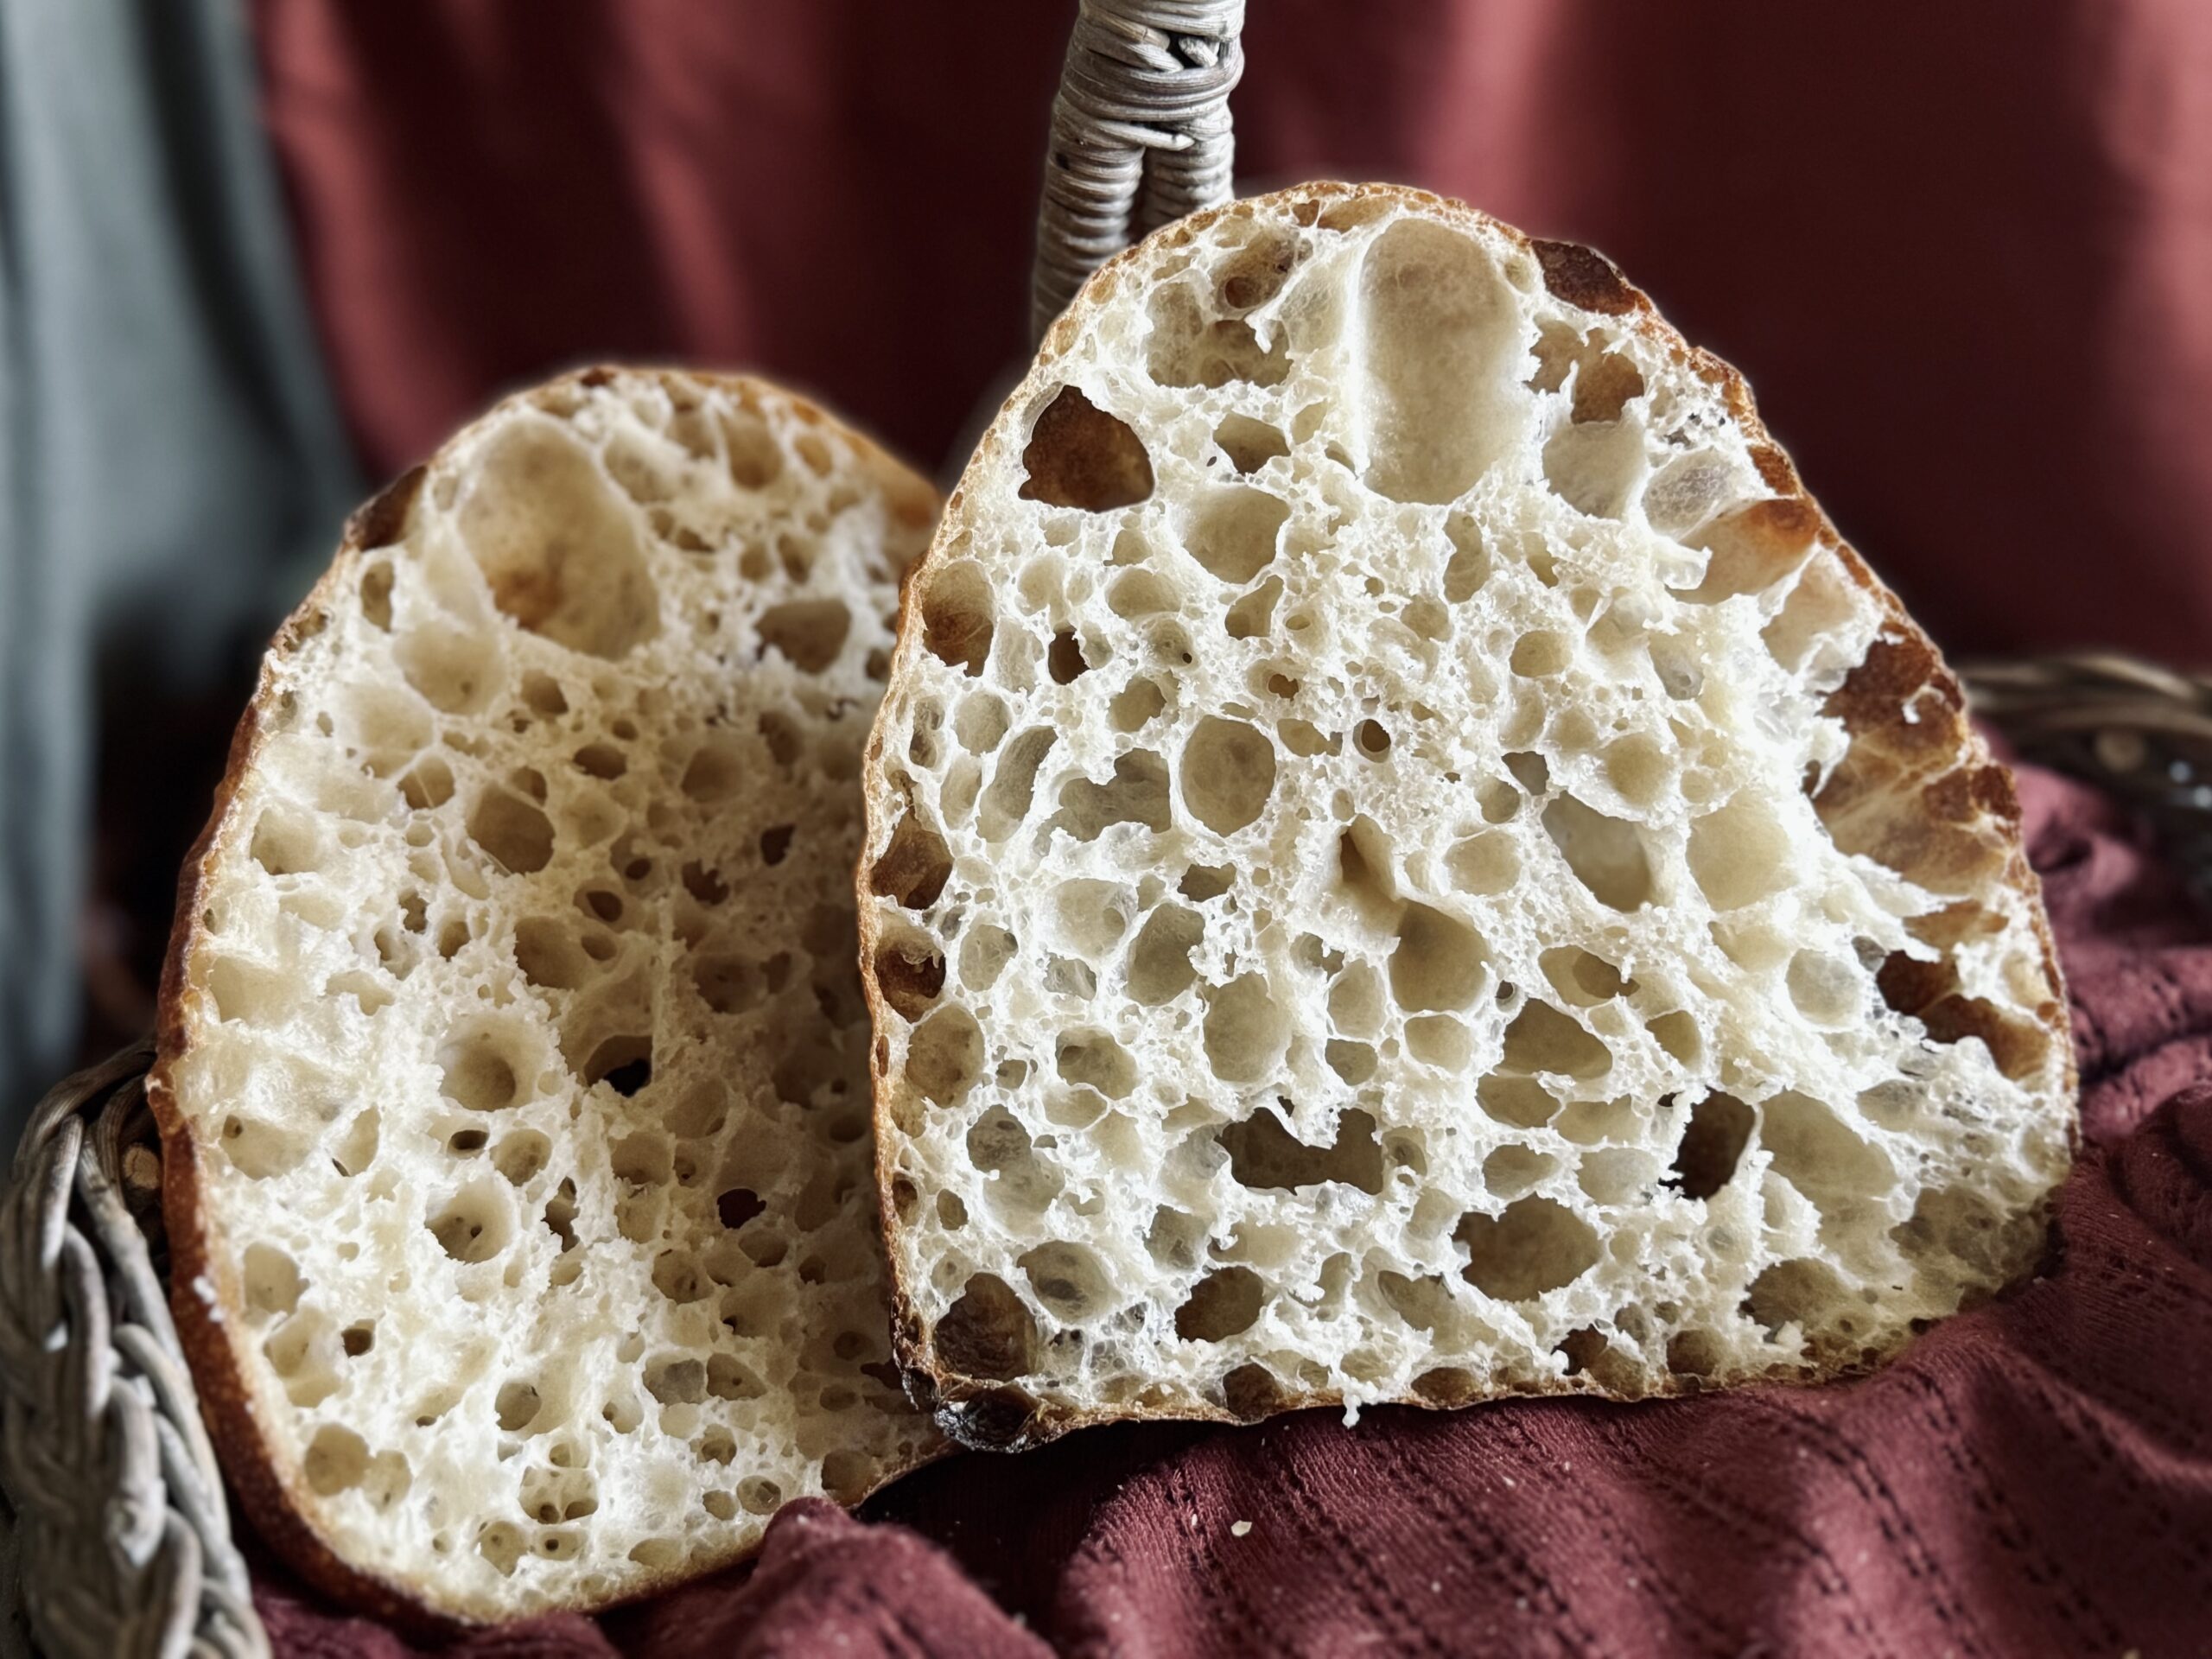
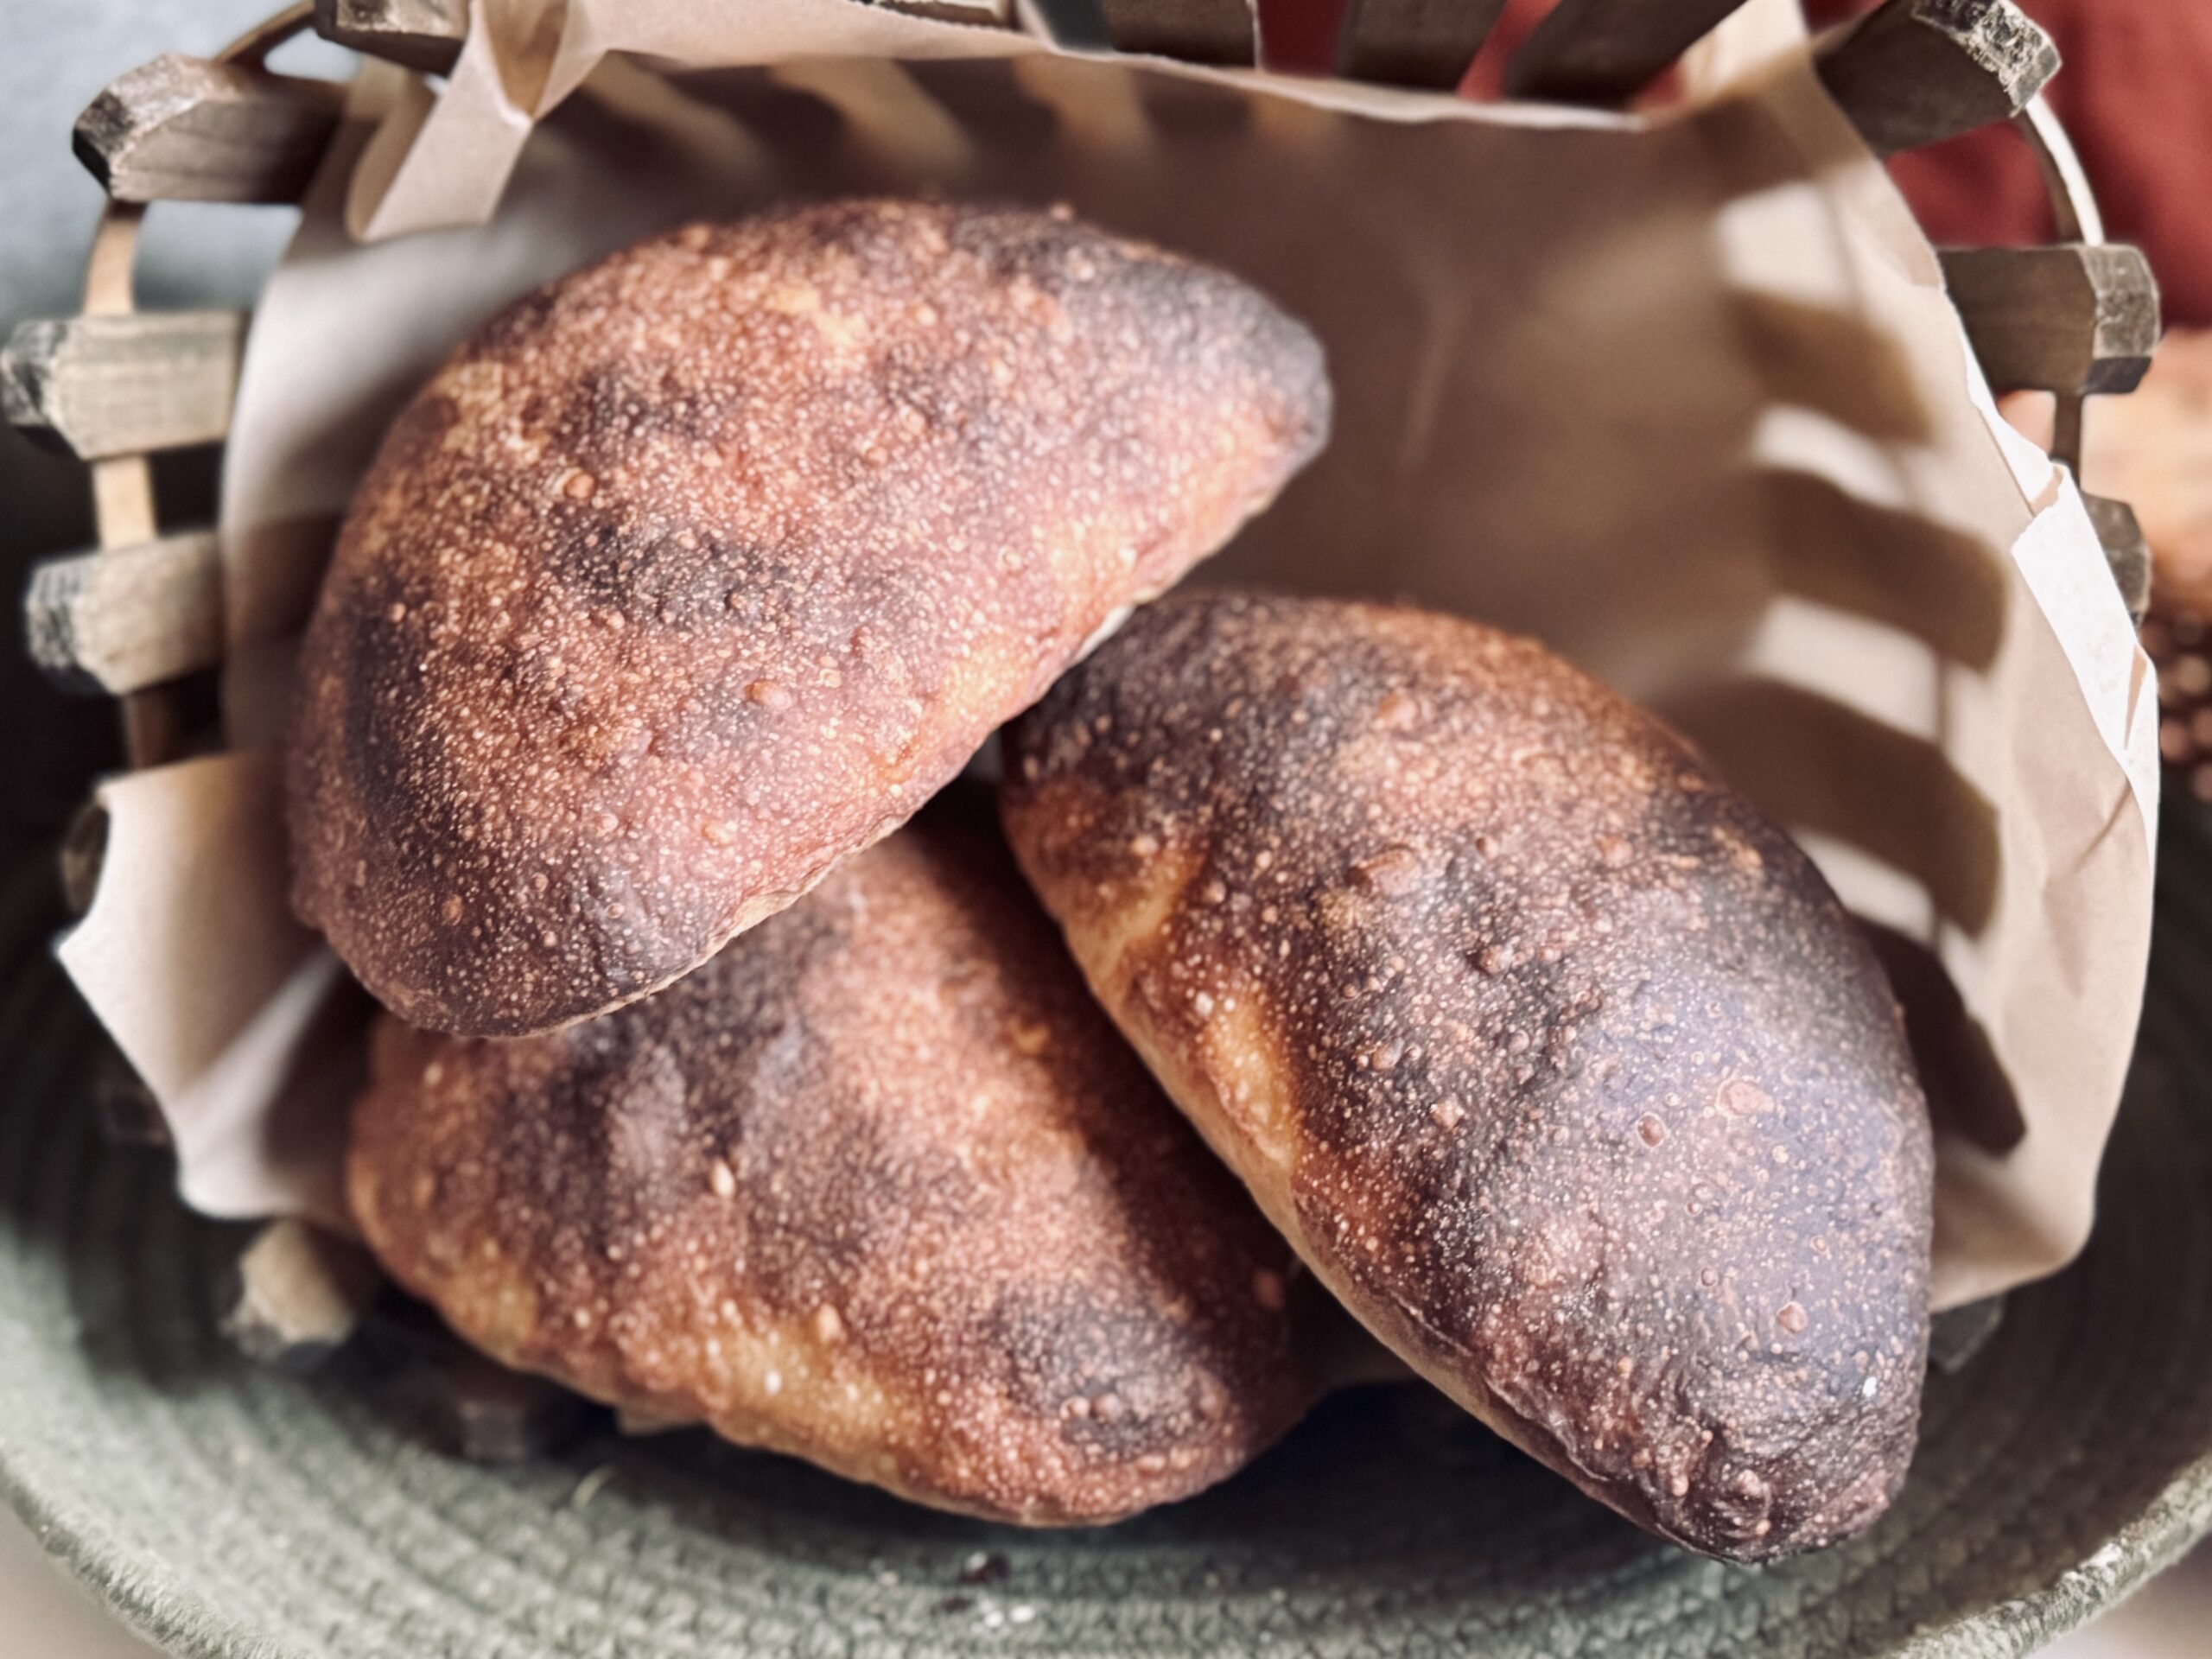
Crust that shatters like glass, with an airy, open interior. That’s what this is: glass bread. This bread is similar to ciabatta, but with a completely different origin. Isn’t it interesting how two places can come up with a near-similar style of bread?
I want to preface this recipe with a disclaimer: I feel that I can do better. It has been over a year since I originally published this recipe, and I have grown a lot as a baker since then. I have had so many compliments on how simple this recipe is, and how even novice bakers can get fabulous results from it. Yet, I still feel I haven’t done this bread its proper duty. My hope is that I can revisit this recipe in the future and give it the modifications it deserves.
What Is Pan De Cristal?
Pan de Cristal, also known as “Glass Bread” is a type of bread made from a very wet dough that is baked at a high temperature. This creates its signature features: open crumb, soft and chewy interior, thin and firm crust that shatters like glass (literally, you do not want to drop these when removing from the oven). It is excellent for soups or just for topping with olive oil and tomatoes. I love to lightly toast this bread and use it to make the best open-faced sandwiches.
What I Love About This Recipe
This recipe is simple yet advanced, all at the same time. Just four ingredients come together to create this crusty, chewy bread. Because of this dough’s incredibly high hydration (105%), it is essential to develop the dough using coil folds, which makes dough handling options limited, but also very hands-on: a process I find extremely satisfying. The final crumb reveal is the most exciting part of making this recipe – the pressure! That’s when you know if you really made it.
All The “Why’s”
Strong Bread Flour
Here’s the thing about artisan bread: most of the gluten is developed through time during the slow fermentation process. You see, as dough rests, gluten comes together naturally and fermentation provides strength. Bread flour contains more gluten binding proteins, which naturally create a stronger network that traps air and helps the loaf ferment more efficiently.
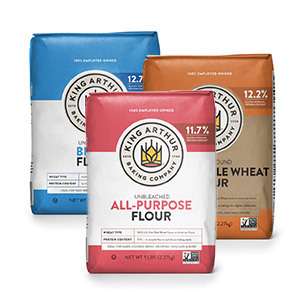
Bread flour is an incredibly important element to achieving success in this recipe. Without a strong bread flour, the dough will not come together through the folding process. It will remain very wet, and will break and fall apart easily. You see, because this recipe is so highly hydrated (contains a lot of water), gluten will have a more difficult time forming, especially if the flour is not capable of absorbing all the water. For best results, use a bread flour with a protein percentage above 12%. The stronger the better. I use King Arthur Bread Flour in most recipes that calls for “bread flour” because of its higher protein content (12.7%) and excellent ability to form gluten.
If you absolutely cannot access a good quality bread flour, it is possible to still make this recipe by reducing the amount of water to match what your flour can handle and adding a couple of tablespoons of vital wheat gluten to the dough. While these two things will make this recipe possible for you, they will not lend quite the same results.
Salt
Salt helps bring out flavor (without salt, bread would taste almost like nothing), but also has notable effects on the dough. Salt is a tightening agent, meaning it helps create a more elastic (strong) dough. It does slow fermentation, as well as gluten development, but these are things we must account for in the recipe because we cannot have a recipe without salt. It is important to use just the right amount, enough to bring out the flavor, but not so much that the loaf cannot ferment or come together. I use the standard – 2% salt – in all my recipes, unless otherwise noted.
Hydration
This recipe has a very high hydration of approximately 105%. This is a lot of water, which contributes to the final texture and openness of the bread. More water means more extensibility, which helps this dough to open up more in the oven if handled correctly (too many folds can counter the extensibility from the extra water, creating elasticity, which can close the crumb). Very high hydration doughs, like this one, tend to be harder to handle, but with this recipe I do my best to keep things as simple as possible, using time and coil folds to structure the dough.
Dough and Gluten Development
Because this dough is unenriched (no fat, sugar, etc.) and because our sourdough starter works slowly, gluten develops naturally over time. As long as the flour you use in this recipe can handle the amount of water we are adding to is, gluten will come together by the second fold. In this recipe, folds help structure the gluten, as well as the fermenting dough. We need to stretch the dough to help the dough gain form, and not just remain a sloppy mess.
Folding the dough has many benefits, and time you fold it in relation to its stage in fermentation can also change the outcome of your bread completely. More folds up front (sometimes, I also pair this with increased mixing time) creates a more elastic loaf, which just means the end result will be taller with a more defined shape. Less folds, or folds that are more spaced out, can mean a flatter loaf, but with a more “wild” and open crumb. We want to find the perfect balance for the best result.
For this recipe, I aim for four folds, spaced about fourty-five minutes apart. This balance seems to be perfect paired with fermentation at room temperature (70 F; 21 C). You could do them even farther apart at this temperature, but since we are not doing an autolyse, it is better to do a few sets closer together in the beginning to get gluten development going.
I have had several ask me about doing this recipe at a higher temperature (75-80 F; 24-26 C). For this, you must consider a couple of important factors. First, this recipe does not include an autolyse, nor does it use a stand mixer to develop gluten. That means gluten must develop through time while fermentation is also present. The longer the dough ferments without gluten, the more air that is lost and the more closed the crumb. Since dough ferments faster at warmer temperatures, if gluten does not come together quickly, much air will be lost. Second, you will want to do your folds closer together at warmer temperatures. The point you fold your dough in relation to its stage of fermentation makes a difference! Since the dough will be fermenting quicker, folding the dough in shorter intervals is helpful.
Bulk Fermentation
It is important to note that fermentation varies significantly depending on temperature and climate. My home generally rests around 68-72 F (20-22 C), so my fermentation times are very extended from someone whose home rests around 75 F (24 C), or even warmer. Always watch the dough and read your baked loaf as best as possible to be able to determine necessary adjustments for your next attempt. The goal is to ferment the dough as long as possible, but not to overproof. The longer the dough ferments, the lighter and airier your bread will be.
If you choose to cold ferment your dough, as I do in this recipe, the temperature of your bulk fermentation is very important. A warm dough will continue to rise significantly in the fridge, while a cooler dough will not. I keep this dough around 70 F, and bulk ferment it until it reaches double in size after folds are complete. If you live in a climate like mine, or even cooler, this method will work fine. But, if your environment is warmer, you will need to consider decreasing the percentage of rise you give the dough before you shape it. I can give you some guidelines, but ultimately you will need to experiment and find your own way for your own environment.
Generally, loaves that ferment around 70 F (21 C; this is the temperature I ferment my dough) take about 12 hours to bulk ferment. Colder climates, say 65 F (18 C) take a very long time, a minimum of 16 hours, and sometimes longer. Increase the temperature to 73-75 F (23-24 C), and the bulk fermentation time is reduced to around 9 hours. Last, very warm temperatures, 78-80 F (25-27 C) generally take only 4 hours to complete fermentation. All in all, your dough is in your hands, and in your climate.
Cold Bulk Fermentation
The refrigeration step of this recipe is optional, but it does several things to help the dough. First, as with refrigeration in any recipe, it sets the flavors, creating more complex flavors, and then eventually sour flavor. This is because cool temperatures slow yeast, but bacteria (which produce complex/sour flavor) continue to multiply. If you do not prefer any hint of sour in your bread, do not cold ferment your dough, or be sure to keep the cold fermentation short (under twelve hours).
Aside from flavor development, the reason I love refrigeration is that it extends the baking timeline, allowing me to bake my bread whenever I am ready. This means more flexibility – no baking of the dough too late in the evening and waiting for it to cool before going to bed.
Last, for this dough specifically, I find that it creates a more even crumb. A warm, room temperature dough popped into a hot oven will spring up like pita bread, and, at this hydration, you may end up with a huge hole on the top of the bread. Usually, I find my dough gets a better crumb when baked from warm, but for this dough I’d rather bake from cold.
Shaping
This dough is so easy to shape – just cut it into sections and separate them. It really isn’t even a shape at all, just a division of dough.
Scoring
This bread does not get a score. The dough is so wet, and it expands just fine on its own. You can always skip the score on any bread, as its only purpose is to control where the bread expands. Otherwise, the bread will crack wherever it desires.
Baking Method: Temperature
I played around with a lot of temperatures when baking this bread, and finally settled on a combination of two. 475 F, combined with the addition of steam, helps promote the best oven spring. It’s hot, but not too hot, so the dough rises well. You can watch these loaves literally pop up in the oven in the first ten minutes of baking! After that, 425 F for the remainder of the time perfectly cooks the loaves through without over-browning.
Baking Method: Steam
Steam is crucial to the first few minutes of baking these loaves. Steam delays the formation of crust, allowing the Pan de Cristal to expand to its full potential before the outside forms.
Because I have a gas oven, it is hard to open bake. I find smaller loaves are better than bigger ones when I have to use this method. Recently, I purchased a Challenger Bread Pan and, though it does not fit all the loaves at once, it does help with steam retention. Still, cutting these smaller and open baking with a light spray of water on top and boiling water below my stone seems to work great as well.
In reality, you can open bake this bread using any method of steaming that works best for your oven. Boiling water, lava rocks, etc. all work great. The main goal: make sure your bread has the ability to expand to its maximum potential before the crust begins to harden.
Suggested Timelines
Suggested Timeline
DAY 1
8:00 a.m.
- Mix the dough.
8:30 a.m. – 11:00 a.m.
- Strengthen the dough through folds.
5:00 – 9:00 p.m.
- Refrigerate the dough.
DAY 2
8:00 a.m.
- Preheat oven.
- Boil water.
8:30 a.m.
- Bake and enjoy!
Work Day Timeline
DAY 1
7:00 p.m.
- Mix the dough.
7:30 p.m. – 10:00 p.m.
- Strengthen the dough through folds.
DAY 2
6:00 – 8:00 a.m.
- Refrigerate the dough.
After Work
- Preheat oven.
- Boil water.
- Bake and enjoy!

📌 Quick Tip: Read the recipe in its entirety before you start cooking. This will help you understand the ingredients, steps, and timing involved, and allow you to prepare any necessary equipment or ingredients beforehand.


Pan De Cristal
Ingredients
Instructions
-
Mix together all ingredients (any order you choose). Let the dough rest for about 45 minutes, then begin the strengthening process.
-
Ferment and strengthen the dough: Perform four sets of coil folds, spaced about 45 minutes apart.
- To coil fold the dough: lift the dough up from the middle, and allow it to fall over itself. Repeat this motion at least once in each cardinal direction, folding the dough in this manner until the dough will not stretch any longer. This is one set.
-
Bulk rise: Let the dough rest until it has doubled in size (6-9 more hours at 70 F [21 C]).
NOTE: If you ferment your dough at warmer temperatures, your fermentation time will be less and the percentage rise will be smaller, especially if you are choosing to cold ferment the dough. Refer to the "Bulk Fermentation" section of this post for tips.
-
Shape and bake the dough right away, or refrigerate 8-16 hours.
-
Preheat your oven to 475 F (245 C).
-
Shape: Dump the dough out onto a floured counter and divide into four to six equal sections. Transfer the dough to parchment paper
-
Boil some water in a tea kettle or on the stovetop.
-
Transfer the boiling water to a water-safe loaf pan, and place on the bottom rack of your preheated oven.
-
Transfer your loaves to a baking stone or the back side of a 9X13 baking sheet. You may not be able to fit all of the loaves in the oven at once. If this is the case, keep the other two loaves in the refrigerator until ready to bake them.
-
Bake at 475 for 10 minutes.
-
After 10 minutes, remove the steam and reduce the oven temperature to 425 F (220 C). Bake until the loaves are darkened to your liking.
-
Cool on a cooling rack for at least 15 minutes before slicing.
You might need...


Affiliate Disclosure: This post contains Amazon affiliate links. This means when you buy a product using one of my links, I may receive a small commission at no cost to you. Thank you, in advance, for supporting my work.
Nutrition Facts
Servings 12
- Amount Per Serving
- Calories 173.08kcal
- % Daily Value *
- Total Fat 0.89g2%
- Saturated Fat 0.14g1%
- Sodium 218.01mg10%
- Potassium 51.45mg2%
- Total Carbohydrate 34.53g12%
- Dietary Fiber 1.18g5%
- Sugars 0.51g
- Protein 5.9g12%
- Calcium 11.99 mg
- Iron 2.16 mg
- Vitamin E 0.18 IU
- Vitamin K 0.18 mcg
- Thiamin 0.39 mg
- Riboflavin 0.24 mg
- Niacin 3.54 mg
- Vitamin B6 0.02 mg
- Folate 18.41 mcg
- Phosphorus 49.16 mg
- Magnesium 13.52 mg
- Zinc 0.44 mg
* Nutrition values are auto-calculated and should be used as an approximation only.
Notes
- Storage: Store in a Ziploc or bread bag on the counter for three to five days, or slice and store in the freezer. Toast to warm. Do NOT microwave.
- This dough is typically heavily floured, due to its high hydration. I do not find this necessary. I simply wet my hands and bench scraper. You can do as you like for this step.
