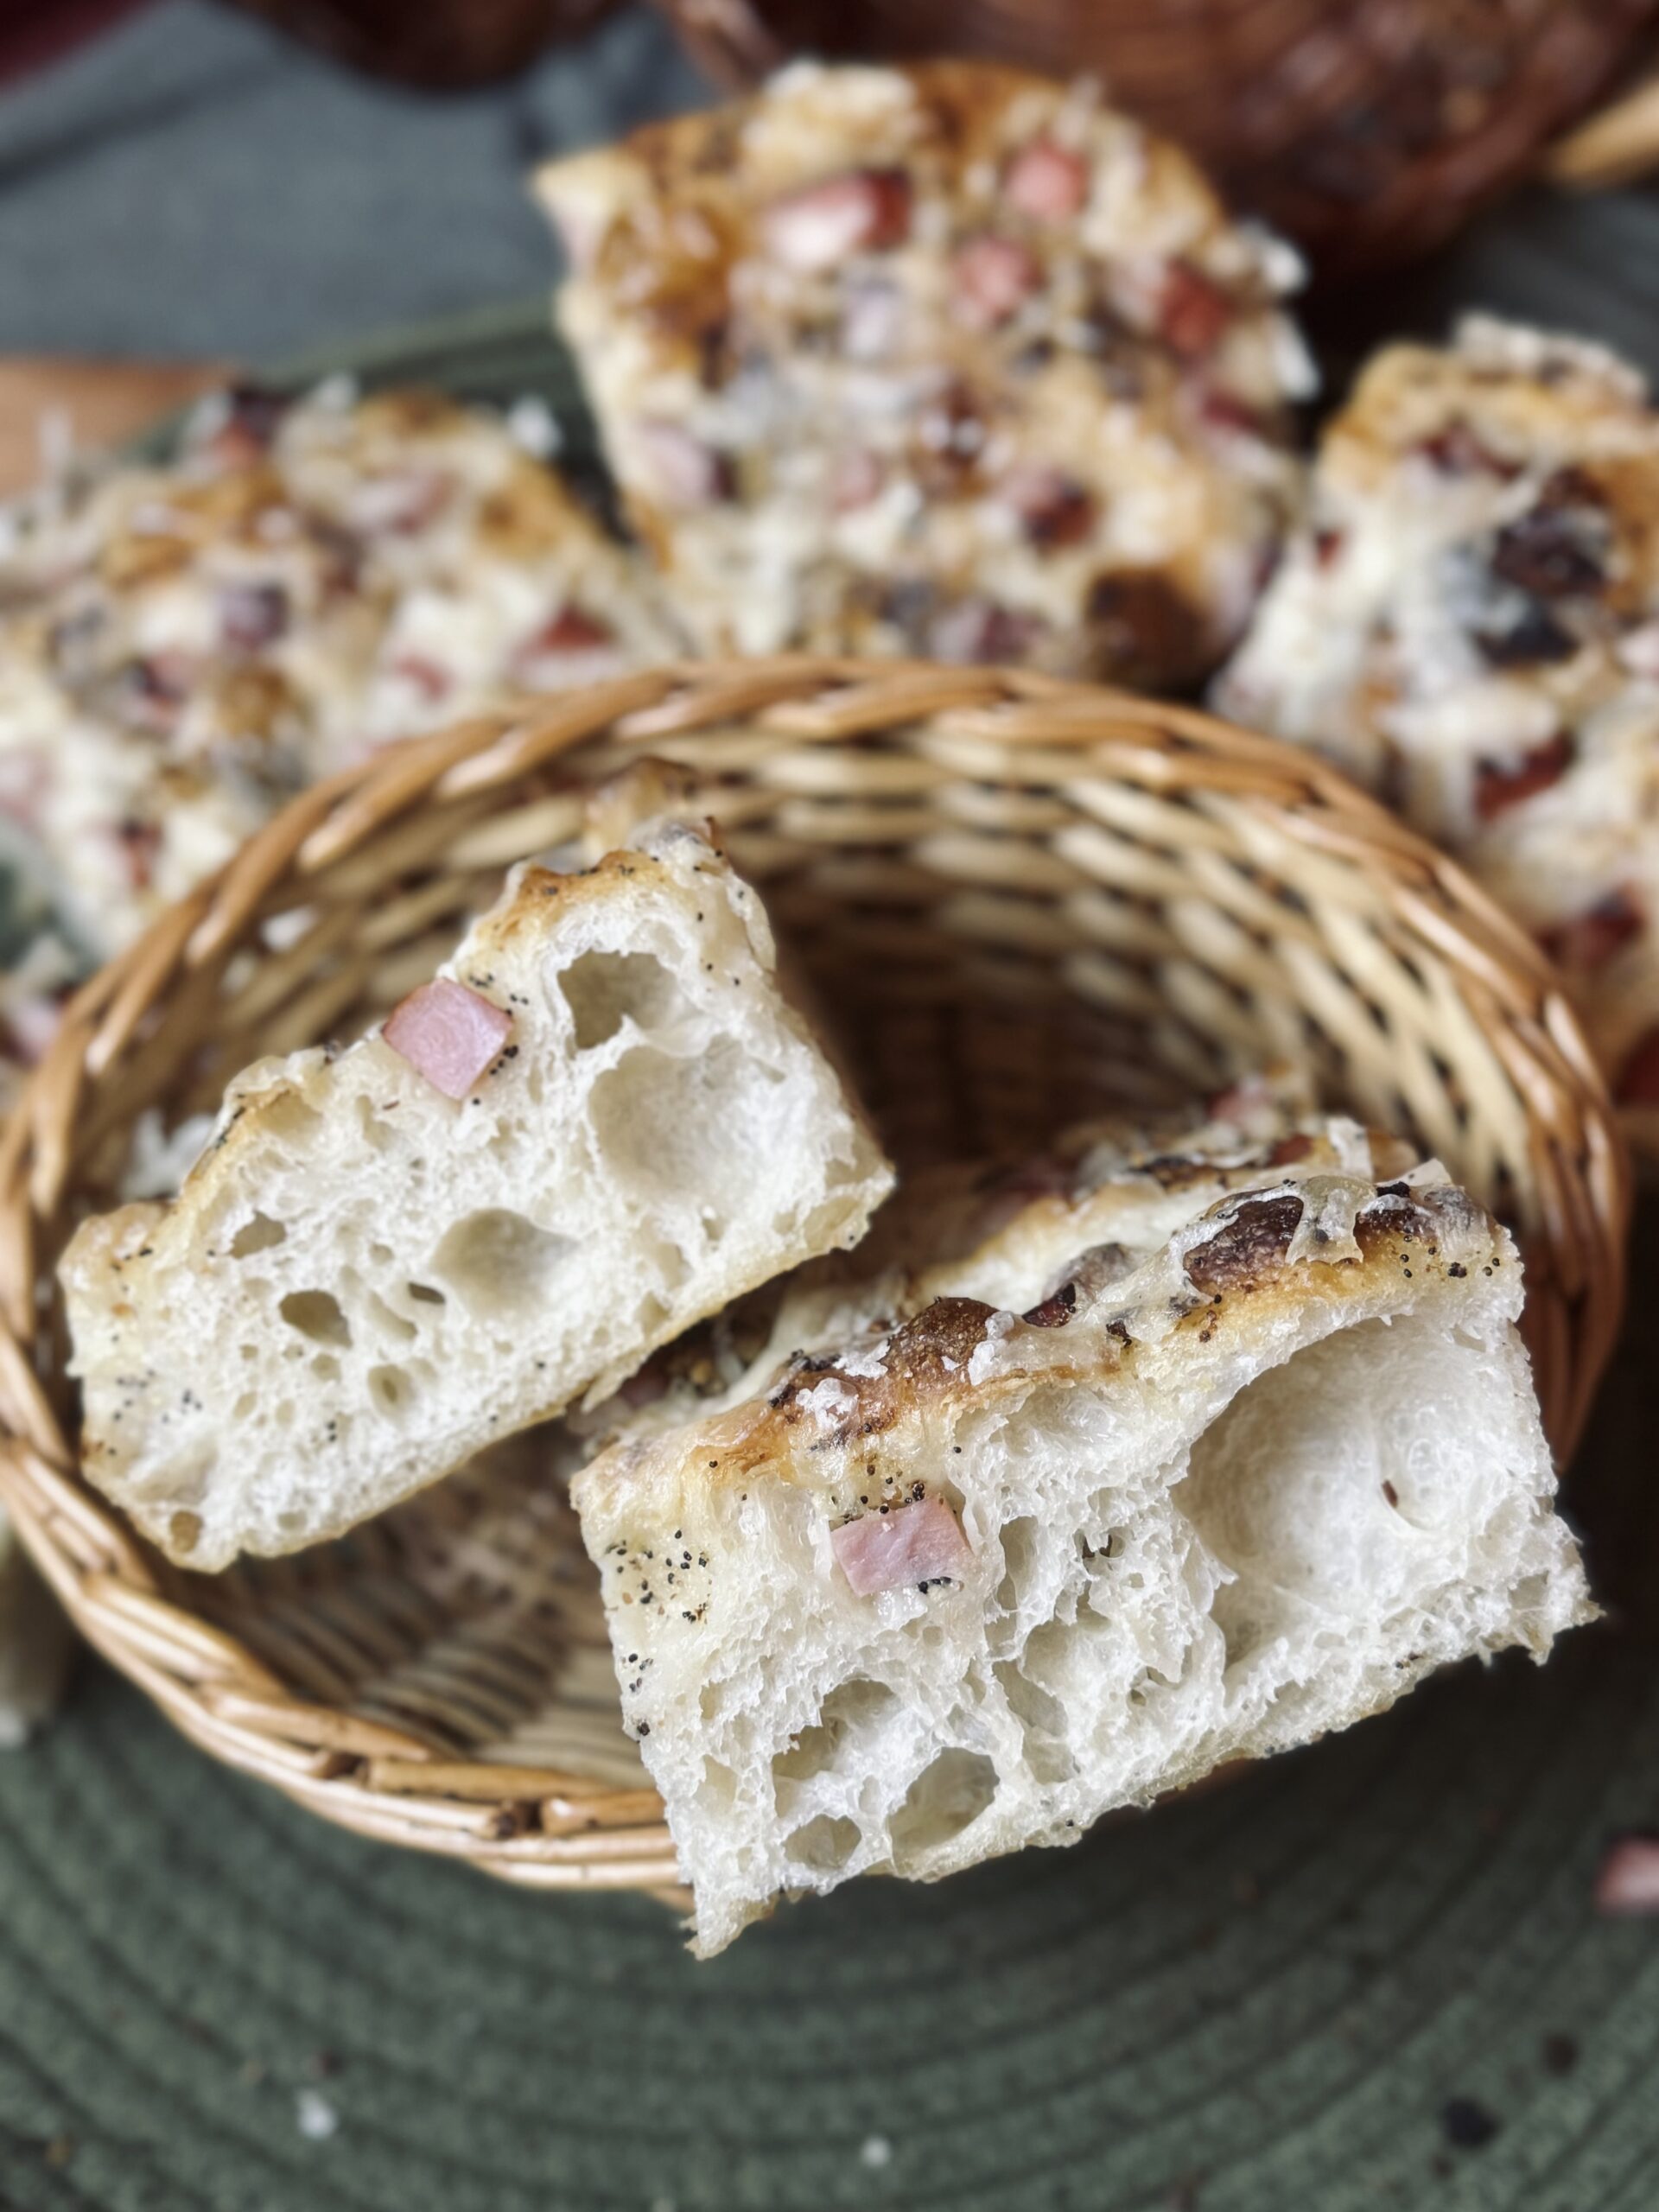
About This Recipe
It may just be me, but I don’t think you can do anything wrong with a potato. To whoever first decided to add a potato to bread, thank you. Potatoes contain extra starch, which aids in fermentation, and they retain moisture incredibly well. If you know the benefits of tangzhong, a tool I often use in my dinner rolls, you can only begin to imagine the benefits of potato. Not only does a potato make the rolls softer and increase their shelf life, it adds an incredible lightness and airiness to the rolls. Here’s to a basic dinner roll recipe… with a potato.
What Are Potato Rolls?
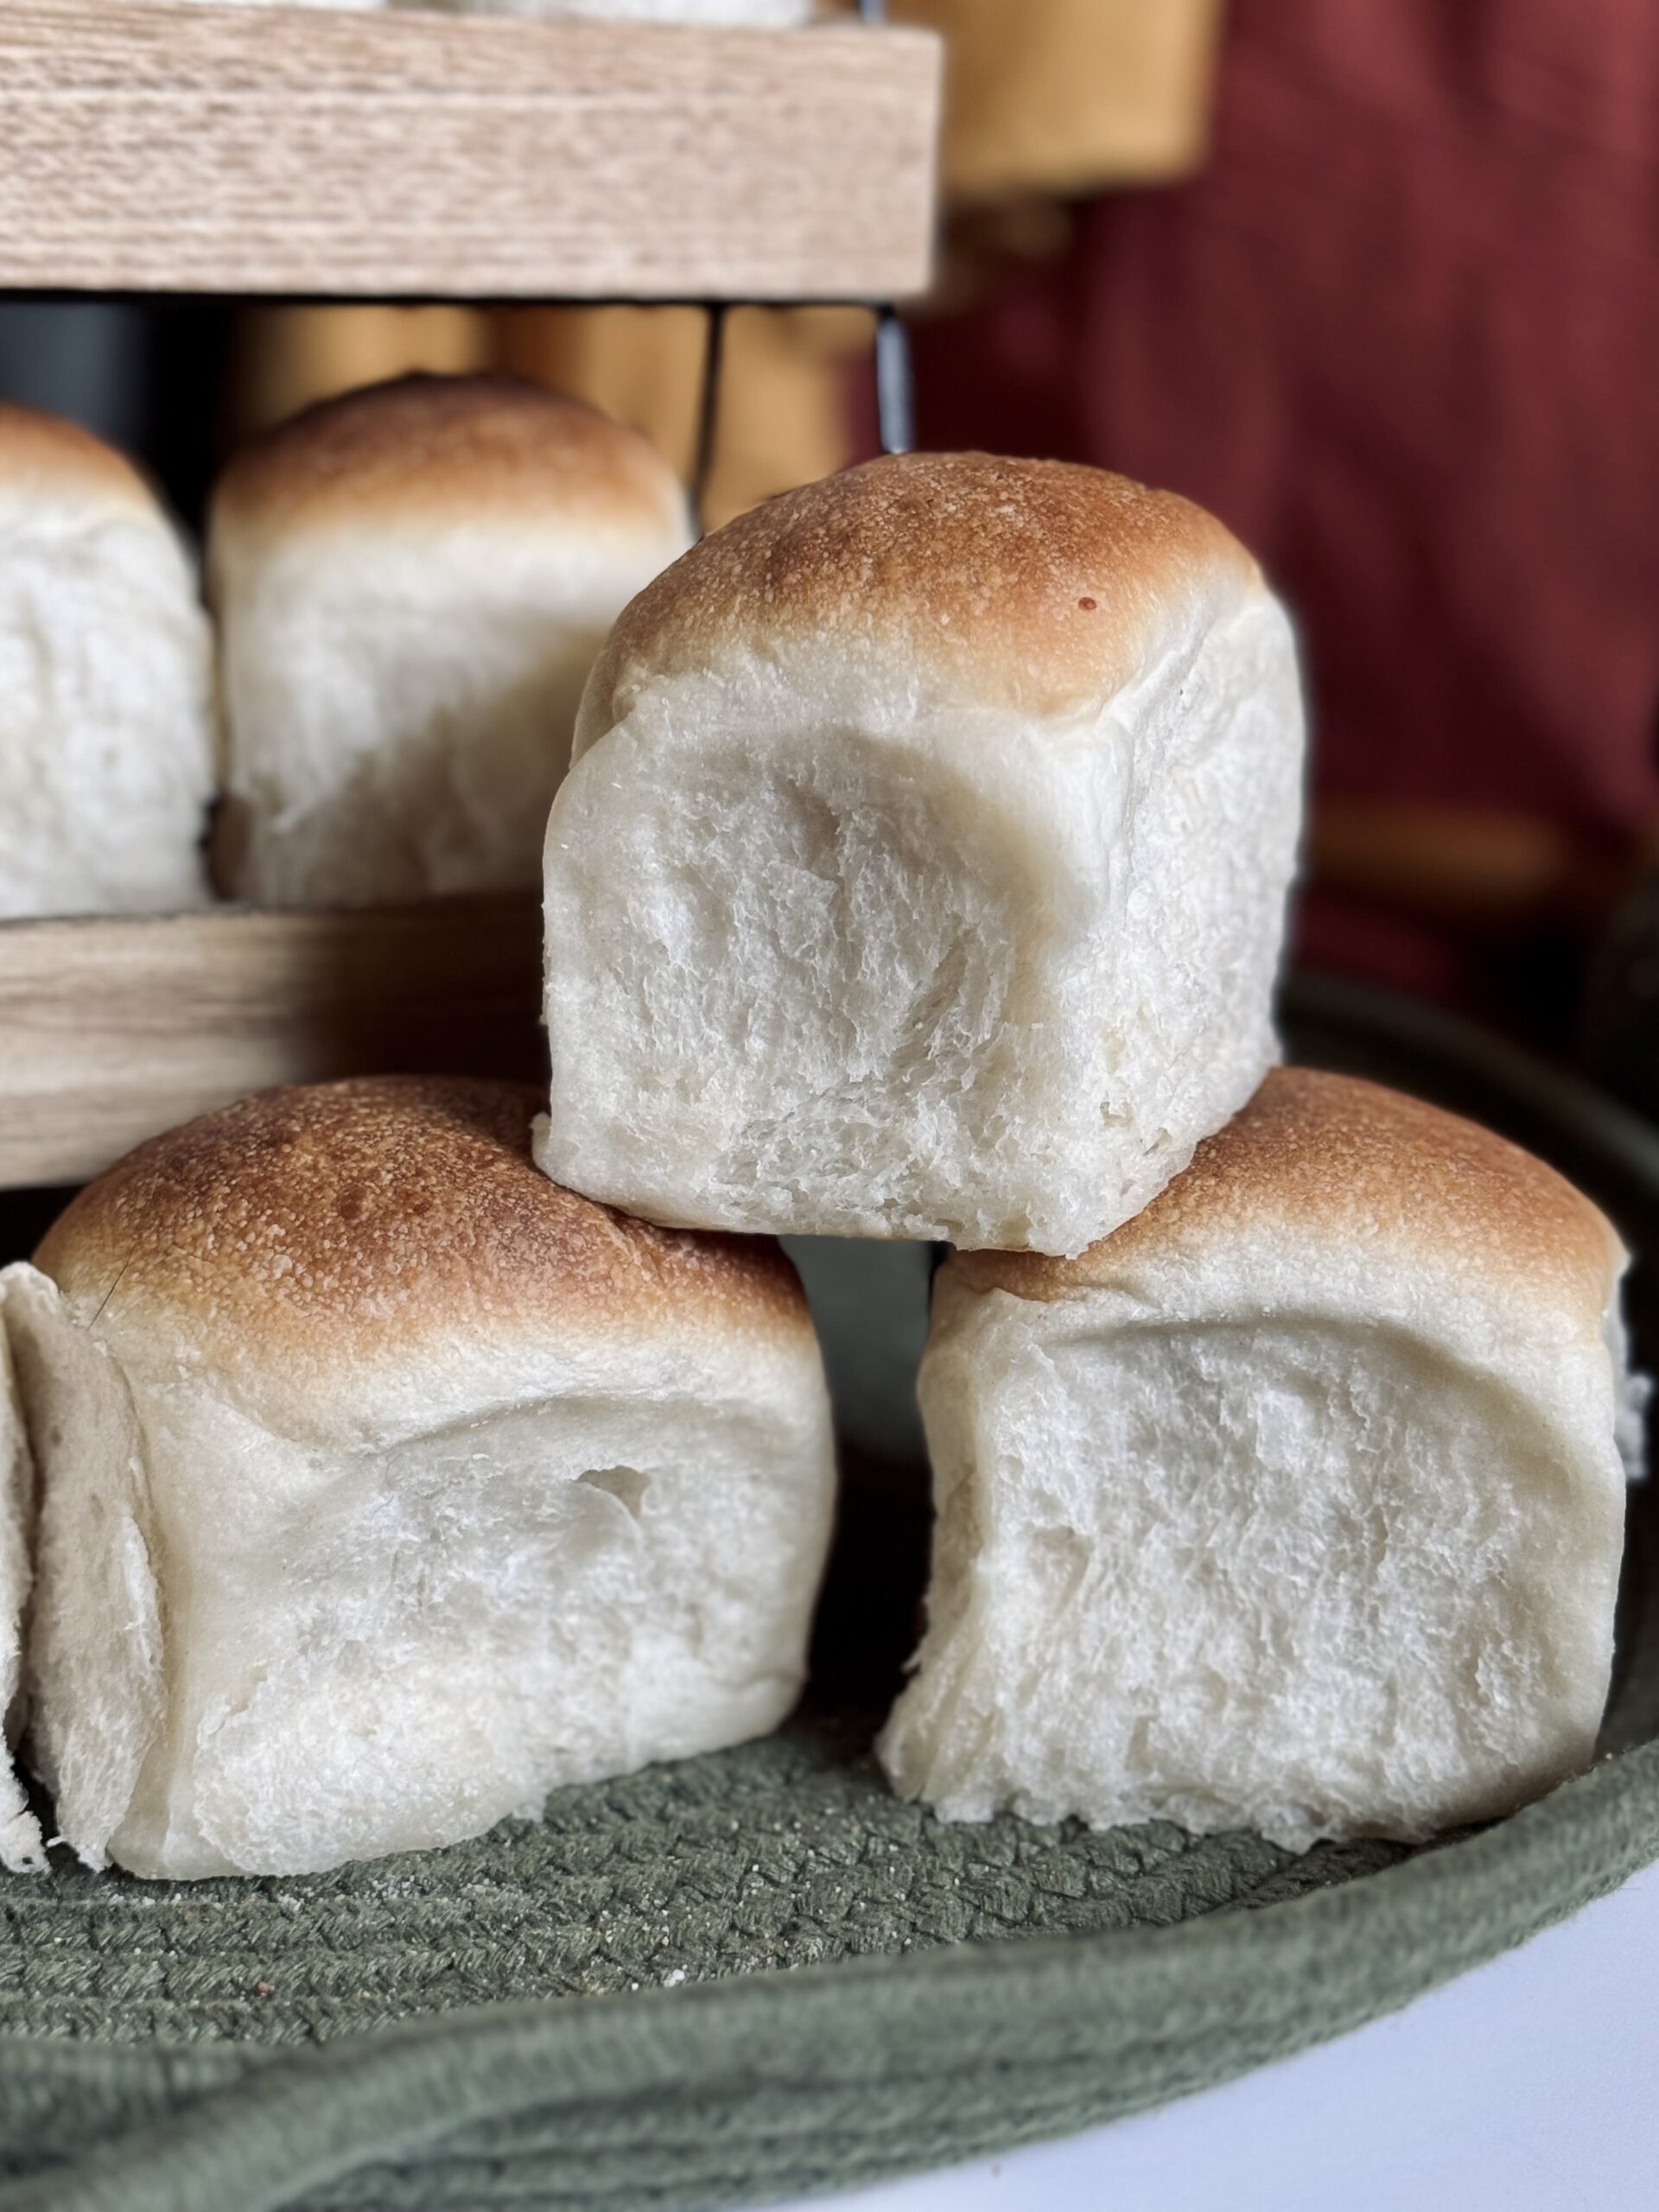
Potato rolls are just a modified version of a dinner roll. You won’t notice much of a difference in taste; however, the starch from the potato helps the dough trap and retain air, leading to a roll that is extra light and fluffy.
Considerations For Enriched Doughs
Enriched doughs, like potato rolls, contain ingredients that can make it difficult for gluten to come together. Fats (usually butter) and sugars in medium to large amounts mean it is necessary to develop the dough to a windowpane up front, in order to have the best fermentation experience. Without gluten, the dough simply cannot hold in air the same way. A dough that is not developed properly may taste flaky, like a biscuit, instead of tender or airy (as is the goal).
On a scale of 1-10, one being unenriched (like country bread) and 10 being heavily enriched (like panettone), this bread is about a “4” – it contains a medium amount of sugar and a little bit of butter, but not enough butter to interfere with the gluten network too much. With any enriched dough, though, I always resort to my stand mixer for the best experience. You’ll find this dough needs 15-20 minutes of kneading to achieve a windowpane. I always find this process simpler and more efficient using my stand mixer.
Some home mixers are not built for kneading bread efficiently. Check the manual for your mixer, and be sure it is safe to endure mixing times of up to thirty minutes, just to be on the safe side. The most complicated bread in the bread-making world is panettone, which requires mixing times of up to sixty minutes. It is so very important not to overwork the dough or the motor on your mixer. I love my Ankarsrum stand mixer, which is more than capable of living up to the task of kneading even the toughest of doughs. If you do not own a mixer, it is possible to knead by hand, as long as you are willing to endure the task of kneading to a windowpane up front. You can use any preferred method, or find ideas in my video on methods of gluten development, here.
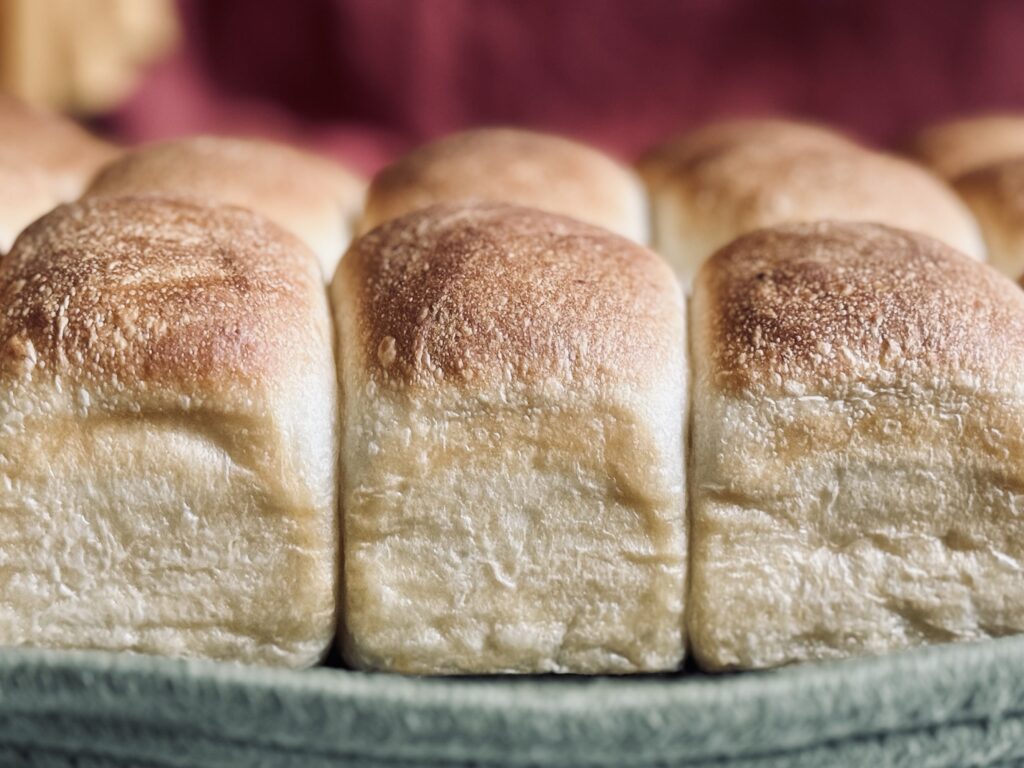
The “Why” Behind The Starter Build
Why Build A Starter (Levain) For This Recipe?
A “sour” flavor is not generally preferred for rolls. By building a levain, we can use a formula that helps to reduce overall sourness in the starter and in the bread. To do this, it is important to understand the starter, which consists of yeast and bacteria, and how the formula works to reduce sourness.
Sourness comes when bacteria are overpopulating in your sourdough starter, meaning they are out of balance with the yeast. This happens naturally, as bacteria reproduce faster than yeast do, especially in ideal climates. To limit sourness, it is important to favor the yeast in starter care. In this levain formula, I do just this in order to limit acidity and reduce overall sour flavor.
Stiff Starter
By giving the yeast more food (this means they can continue to eat, multiply, and produce CO2) and reducing the amount of water (bacteria favor wet climates), we can effectively reduce the amount of acidity in our starter at the same percentage of rise as a starter made with equal amounts of flour and water.
Sugar
This is one of the most important components of this levain – do not skip it! Sugar is a powerful tool. Added in low amounts, it feeds the yeast and speeds up fermentation. Added in high amounts, it dehydrates yeast cells and potentially stops fermentation altogether. Added in just the right amount, the yeast still thrive, but the bacteria suffer. 10-15% sugar in a recipe or levain creates something called “osmotic stress.” This stress to the bacteria limits their ability to reproduce, which limits acid buildup, thereby limiting overall sourness coming from the starter.
Temperature
In order to favor the yeast, I aim to keep this levain between 70-75 F (21-24 C) and use it when it has approximately doubled in size. Yeast produce most abundantly in these temperatures, while the bacteria in your starter (there are two types – lactic and acetic) favor temperatures both higher and lower than this. This specific temperature helps provide balance to the starter, which translates to how efficiently the starter ferments the bread and how mild the overall sour flavor is.
Optional Kneading
Have you ever heard of developing gluten in your starter? While it is not essential, kneading this starter for just a few minutes will help trap air, introducing oxygen and stimulating yeast growth. It also provides structure (by creating a slightly more elastic gluten network), which helps the levain rise and maintain peak more efficiently.
The “Why” Behind The Dough and Process
Potato
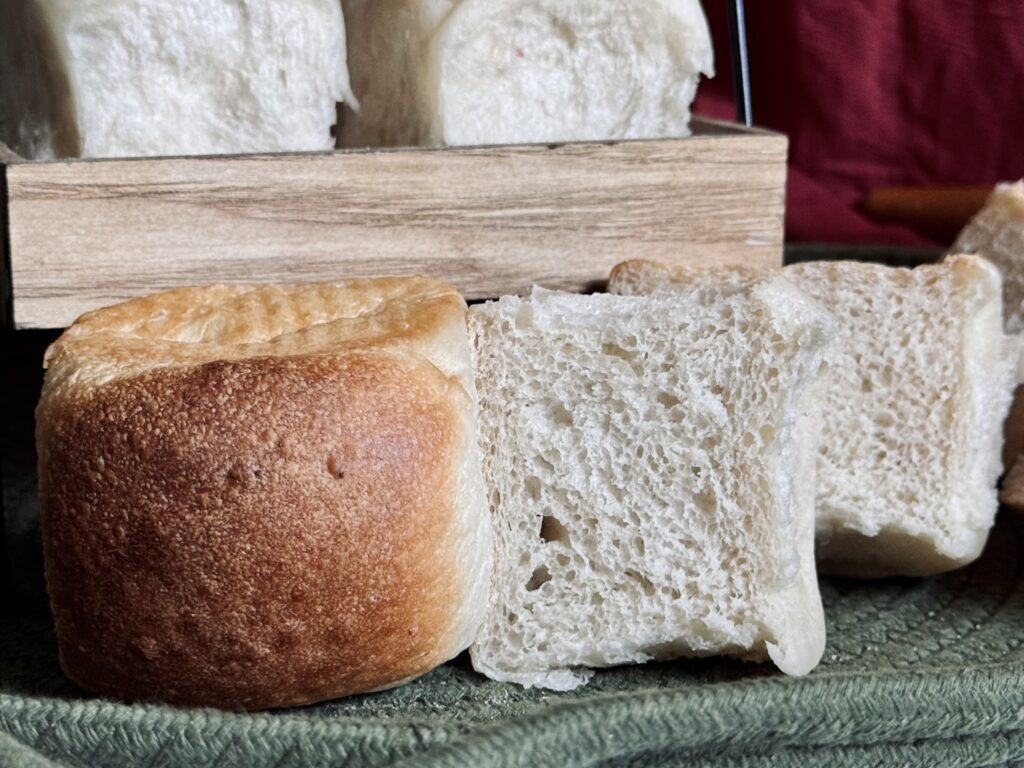
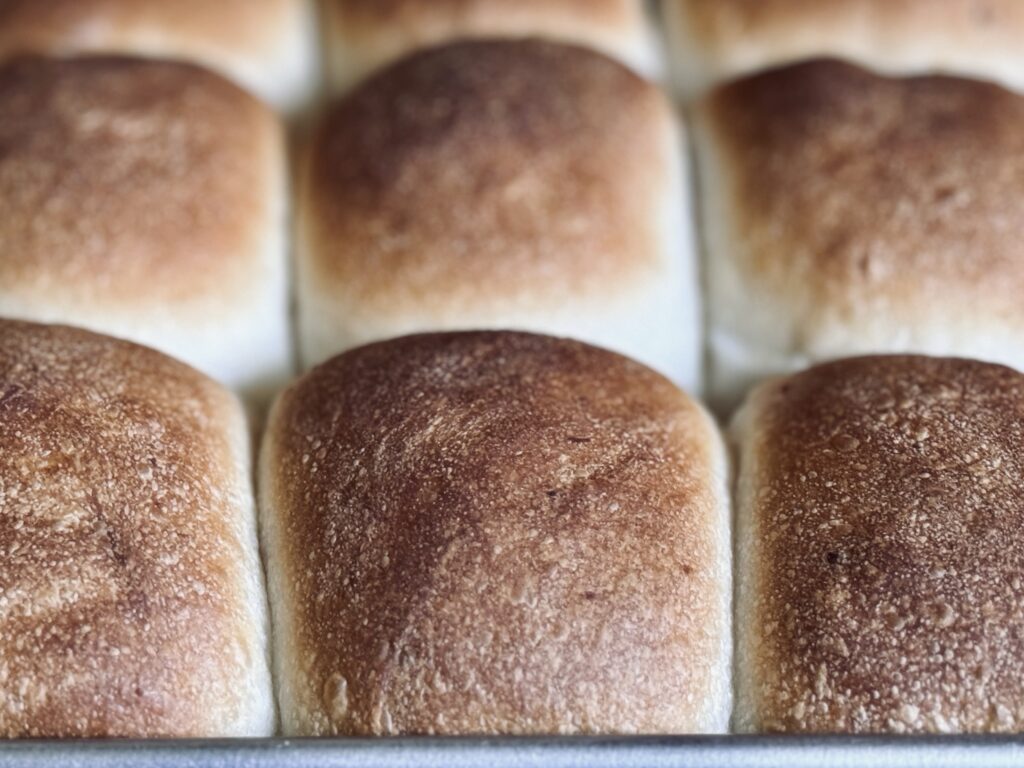
Adding a cooked, mashed potato to bread dough is like adding an exemplified version of tangzhong. The potato’s moisture helps delay staling and prolongs shelf life, while its starches capture air, and its natural sugars promote browning. These combined effects create rolls that are darker in color, exceptionally light and airy, and slower to dry out.
During my testing, I discovered that different potatoes affect fermentation differently, due to differences in starch and sugar content. This recipe uses a russet potato, which I’ve found to be my preferred choice due to its neutral flavor and its positive impact on fermentation speed.
Potato Water
If starches from potatoes help trap air during fermentation, why not also reserve some of its water for even more air retention? That’s exactly what I chose to do in this recipe. The starch in the water helps the dough hold together better and stay fluffy. It also makes the rolls softer, more moist, and helps them bake to a beautiful golden brown—just like the potatoes themselves. By using potato water, we can amplify all the benefits of the potatoes and make the most of our effort.
Enrichments
I mix in a few enrichments with the potato water as it is cooling. These enrichments include:
Sugar
This recipe contains a medium amount of sugar, roughly 24%. This amount of sugar works to sweeten; however, it also has other effects – creating osmotic stress, which helps to reduce sourness, and pulling necessary moisture from the dough (which I have also accounted for in this recipe).
By adding the sugar to the potato water, we can ensure it is fully dissolved before moving forward with the recipe.
Butter
Butter is a tenderizer; it makes the dough fragile and soft. The amount of butter here is about 11% of the total weight of the flour, small enough to not interfere with the gluten network (too much), but large enough to help keep the bread soft during baking.
Cold Milk
Originally, I hoped to use only potato water in this recipe to lend the lightest, airiest result. Unfortunately, the excess of starches from using so much potato water created a dough that was difficult to handle. Milk helps to balance this out.
Milk is a tightening agent in bread, meaning it makes the gluten network stiffer and stronger, often increasing the time the dough ferments. This is because it takes twice the air to blow up a stiff balloon (our gluten network). However, it also adds a really good flavor and texture to dinner rolls like these potato rolls. It makes the bread denser, softer, and creamier. It also helps the bread darken in the oven.
Cold milk works perfectly here because it helps to cool down the potato water so that it is ready to be added to the dough.
Bread Flour
Bread flour increases the strength (elasticity) of the gluten network, which is helpful for enriched doughs containing butter and sugar (ingredients that can interfere with gluten). Bread flour also helps the dough come together more efficiently when kneading, reducing the total amount of necessary mixing time. While I used to make this recipe with a blend of all-purpose flour and bread flour, I now use bread flour only, just for the incredible way it holds the dough together. I use King Arthur Bread Flour, protein content about 12.7%, in any recipe that calls for bread flour (unless otherwise noted).
Salt
Salt helps bring out flavor (without salt, bread would taste almost like nothing), but also has notable effects on the dough. Salt is a tightening agent, meaning it, in addition to milk, helps create a more elastic (strong) dough. It does slow fermentation, as well as gluten development, but these are things we must account for in the recipe because we cannot have a recipe without salt. It is important to use just the right amount, enough to bring out the flavor, but not so much that the loaf cannot ferment or come together. I use the standard – 2% salt – in all my recipes, unless otherwise noted.
Mixing
Butter, sugar, potatoes – there are several additions to this recipe that can interfere with gluten’s natural ability to come together over time. Therefore, it is preferable to knead this dough to complete development up front. That’s why I choose to use a stand mixer – because the process for this can be kind of enduring by hand (though it is possible). Using a stand mixer ensures a perfectly and effectively built dough with minimum effort on the baker’s part. Watch this video for all the ways to develop gluten in your bread.
I want to be more specific in this updated post about how to develop the dough properly in the stand mixer than I was when I originally published this recipe. This way, you can be successful mixing this dough using any stand mixer, or even by hand.
The ultimate goal: to knead this dough to a windowpane. When you pull up on a section of dough, it should not tear. You should be able to stretch the dough to a point where you can see through it before it breaks. The dough will show other signs of being ready, too, such as clinging to itself or forming a ball around the dough hook. If you have a KitchenAid or similar mixer, the stand mixer may start to “jump” when the dough builds sufficient strength.
The first step to achieving this is to mix the dough on a low to medium-low speed until the ingredients are fully combined and the mixture forms one cohesive mass of dough. This step simply brings our dough together and hydrates the proteins in the flour before the speed is increased and the focus shifts from combining ingredients to forming gluten. Too fast a speed during this initial mix can start to organize gluten that is barely created, negatively impacting the development of the dough.
Next, we increase the speed and knead the dough until it forms a windowpane. The speed you choose is up to you and what your mixer (and dough) can handle. The basic guidelines are this:
- A lower speed will take longer, while a higher speed will knead the dough much faster.
- A lower speed will keep the dough elastic (strong, not stretchy), while a higher speed will create extensibility (stretchiness).
- The dough temperature should not exceed 78 F (26 C).
- Use the guidelines from your mixer to determine what it is able to handle.
Bulk Fermentation
Letting the dough rise as much as possible, but not too much, contributes to the airiest of loaves. In an attempt to favor the yeast and reduce sourness, I recommend keeping the dough temperature between 70-75 F (21-24 C). Watch the dough and ferment until it doubles in size (at least; about eight to ten hours). If you developed the dough well in the stand mixer, you can let it triple in size before shaping. Though I favor an overnight method for this dough, use your knowledge of your environment to bulk ferment this dough appropriately.
Refrigeration
While you do not have to place this dough in the fridge, I find this optional step helps to make the dough even more manageable during shaping, as well as helps increase flexibility in the baking timeline.
Shaping
Rolls are one of the easiest to shape – just divide them and shape them into rounds by tucking all the ends underneath, then cupping your hand over the top and moving it in a circular motion really fast to smooth out the top.
The key to working with this dough is swift and smooth motions. It’s a delicate dough that can occasionally be sticky, so a small amount of flour or water can help as needed. Minimize handling as much as possible, and once you’ve placed the dough in the pan, try to avoid repositioning it.
The Wash
Because of the combination of potato, milk, and sugar (which all help with browning of the rolls), these rolls do not need a wash that will help them darken. Instead, brush the tops with butter to help keep them soft as they bake. You can add even more butter after they are done, if you choose.
Baking
400 F (205 C) helps to give these rolls a nice oven spring, as well as bakes them to a beautiful golden brown color. For this recipe, steam is not necessary, as the dough contains enough moisture and the butter (inside and on top of the dough) works to keep everything soft.
Suggested Timelines
Overnight Timeline
DAY 1
9:00 a.m.
- Make the sweet stiff starter.
8:30 p.m.
- Prepare the potato and the potato water.
9:00 p.m.
- Mix and knead the dough.
9:30 p.m.
- Begin bulk fermentation.
10:30 p.m.
- Give the dough one set of coil folds.
- Continue bulk fermentation until the dough has doubled in size.
DAY 2
8:00 a.m.
- Shape the dough.
12:00 p.m.
- Wash, bake, and enjoy!
Refrigeration Timeline
DAY 1
9:00 p.m.
- Make the sweet stiff starter.
DAY 2
8:30 a.m.
- Prepare the potato and the potato water.
9:00 a.m.
- Mix and knead the dough.
9:30 a.m.
- Begin bulk fermentation.
11:00 a.m.
- Give the dough one set of coil folds.
- Continue bulk fermentation until the dough has doubled in size.
7:00 p.m.
- Transfer dough to the refrigerator overnight.
DAY 3
9:00 a.m.
- Shape the dough.
3:00 p.m.
- Wash, bake, and enjoy!
Daytime Timeline
DAY 1
8:00 p.m.
- Make the sweet stiff starter.
DAY 2
7:30 a.m.
- Prepare the potato and the potato water.
8:00 a.m.
- Mix and knead the dough.
8:30 a.m.
- Begin bulk fermentation.
10:00 a.m.
- Give the dough one set of coil folds.
- Continue bulk fermentation until the dough has doubled in size.
4:00 p.m.
- Shape the dough.
7:00 p.m.
- Wash, bake, and enjoy!
📌 Quick Tip: Read the recipe in its entirety before you start cooking. This will help you understand the ingredients, steps, and timing involved, and allow you to prepare any necessary equipment or ingredients beforehand.
Potato Rolls
Ingredients
Sweet Stiff Starter
Dough
Other Ingredients
Instructions
-
Make a sweet stiff starter.
Mix together all ingredients for the sweet stiff starter 8-12 hours before you plan to make the dough. Cover and rest at room temperature. -
Prepare the potato and potato water.
Add the peeled and diced russet potato to a 2 qt saucepan. Pour just enough water into the saucepan to cover the potato (at least 360 g/1 ½ cups, to account for what will evaporate while boiling).
-
Bring to a boil over the stovetop and continue to cook until the potato is fork tender, 10-15 minutes.
-
Make the potato water mixture.
Reserve 240 g (1 cup) of potato water for the recipe. Combine this with the sugar (stirring to dissolve), butter, and cold milk. Set aside to cool until the mixture is only slightly warm to the touch, about 100 F (38 C).
-
Mash the potato.
Reserve ½ cup (120 g) potato for the recipe. While the potato is still warm, mash it so that no lumps remain. As the potato is worked, it will release starches that change the texture: making it stringy and gummy. For mashed potatoes, this is undesirable, but for these potato rolls, this does not matter. You can use a food processor to make things easy and smooth, or simply mash with a fork (adding some of the potato water mixture as necessary) until no lumps remain.
-
Mix and knead the dough.
To the bowl of a stand mixer, add the bread flour and salt. Whisk to combine, then add all of the potato water mixture, mashed potato, and sweet stiff starter. Transfer to your stand mixer to knead the dough.
- KitchenAid: Using the dough hook attachment, knead the dough on a medium speed (speed 5-6) until the dough begins to “slap” the sides of the bowl and passes a windowpane test, about 15 minutes. Take care that the mixer does not “jump” off the counter as the dough gets stronger.
- Ankarsrum: Using the dough roller and scraper attachments, knead the dough on a medium speed (speed 4-5 o'clock) until the dough comes together into a smooth ball and passes a windowpane test. This should take about 15 minutes if the roller is positioned correctly, about one inch from the side of the bowl. The roller should be close enough to the side of the bowl that it is able to work the dough up against it, but far enough away that the dough is not pushed upward, or that the dough does not push the roller too far inward.
-
Once the dough has finished kneading, bring it together using the coil fold technique. Then, transfer to a 3.75 qt bowl for bulk fermentation.
-
This dough needs one set of folds before resting for the remainder of bulk fermentation/doubling in size. Fold the dough once at least twenty minutes, but no longer than one hour, into bulk fermentation.
Use the shorter time if fermenting temperatures are higher and the longer time if fermenting temperatures are cooler. -
Bulk ferment the dough.
Let the dough rest until it has doubled in size, or until it reaches the top of a 3.75 qt bowl. If you are fermenting in a warm environment and plan on utilizing the refrigerator, you can stop fermentation right at double in size, as the dough will continue to ferment in the refrigerator.
-
At this point, you can refrigerate the dough until the next day, or shape it right away. This is a sticky dough, meaning it is easier to shape from cold.
-
Divide and shape the dough.
Butter or grease a 9X13 baking dish. Divide the dough into fifteen sections, about 80-85g each. Shape each section into a round by tucking all ends underneath each section, then using your bench scraper (or your pinkies) and the counter to pull the round toward you to tighten the outer skin. Place the shaped rolls, seam side down, in your baking dish.
-
Final proof.
Cover and rest until very puffy and almost touching the covering, about six hours at 70 F (21 C).
-
Preheat an oven to 400 F (205 C).
-
Wash the rolls.
Gently brush the rolls all over with the melted butter.
-
Bake the rolls.
Bake the rolls for 30 minutes, or until the internal temperature reaches 190 F (88 C).
Servings 15
- Amount Per Serving
- Calories 255.68kcal
- % Daily Value *
- Total Fat 7.43g12%
- Saturated Fat 4.29g22%
- Cholesterol 18mg6%
- Sodium 197.65mg9%
- Potassium 122.94mg4%
- Total Carbohydrate 41.63g14%
- Dietary Fiber 1.21g5%
- Sugars 9.4g
- Protein 5.5g11%
- Vitamin A 58.4 IU
- Vitamin C 0.93 mg
- Calcium 20.54 mg
- Iron 1.97 mg
- Vitamin D 0.1 IU
- Vitamin E 0.34 IU
- Vitamin K 1.01 mcg
- Thiamin 0.34 mg
- Riboflavin 0.23 mg
- Niacin 3.14 mg
- Vitamin B6 0.07 mg
- Folate 16.96 mcg
- Vitamin B12 0.04 mcg
- Phosphorus 58.51 mg
- Magnesium 15.1 mg
- Zinc 0.43 mg
* Nutrition values are auto-calculated and should be used as an approximation only.
Notes
- Storage: Store on the counter three to five days, or in the freezer. Microwave to warm.
- You can save the extra potato water and potato in the fridge for another batch. To work with cold ingredients, heat the potato water on the stovetop with the milk, butter, and sugar until the mixture reaches 90-100 F (32-38 C). Warm the potato in the microwave until slightly warm to the touch, 30-60 seconds.
- Alternatives for the potato: (note that each alternative will have a slightly different flavor and texture)
- 1) Use 25 g (⅓ cup) potato flakes stirred into 120 g (½ cup) hot water in place of the potato.
- 2) Use ½ cup leftover, prepared mashed potatoes in place of the potato.
- 3) Use 180 g (¾ cup) milk + 180 g (¾ cup) water in place of the potato water + milk in the recipe.


