About This Recipe
I made this to be the ultimate beginner loaf of bread. It is simple, yet still yields a great bread that is naturally leavened with sourdough starter. This one is for those who need some relief from the complexities of sourdough, and are looking for something they can win. If this is you, you’re in the right place.
What Is Batter Bread?
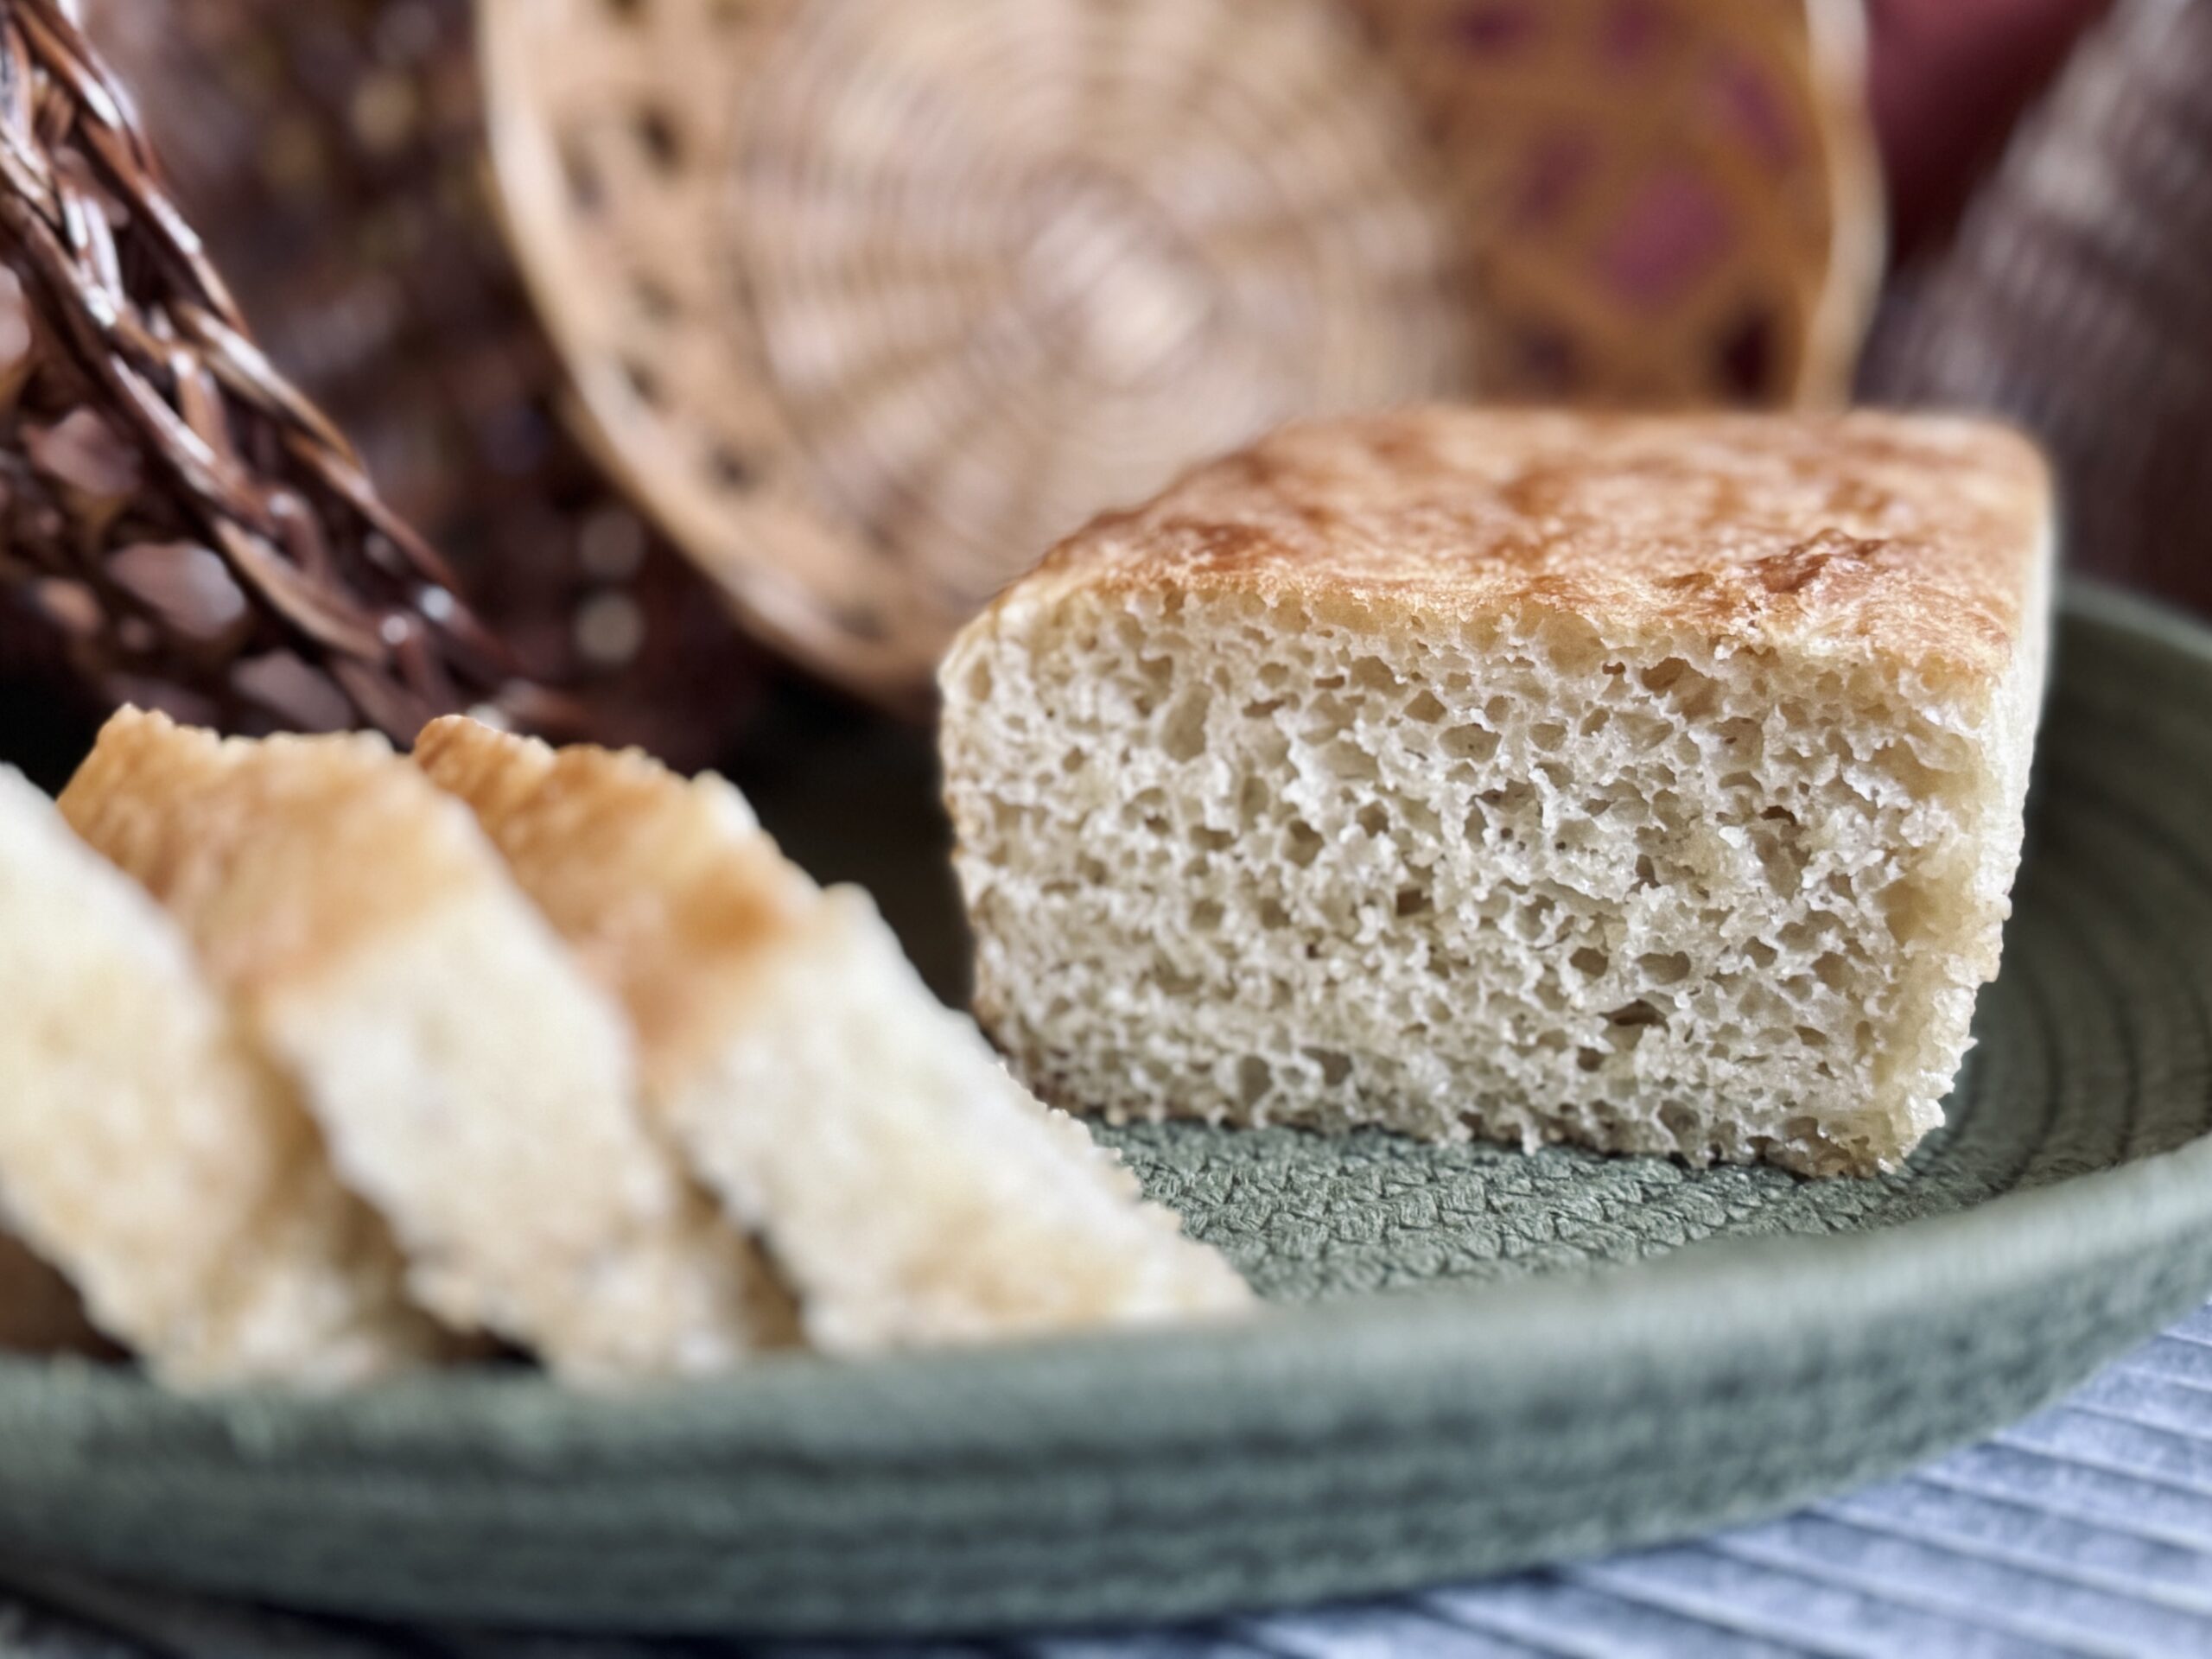
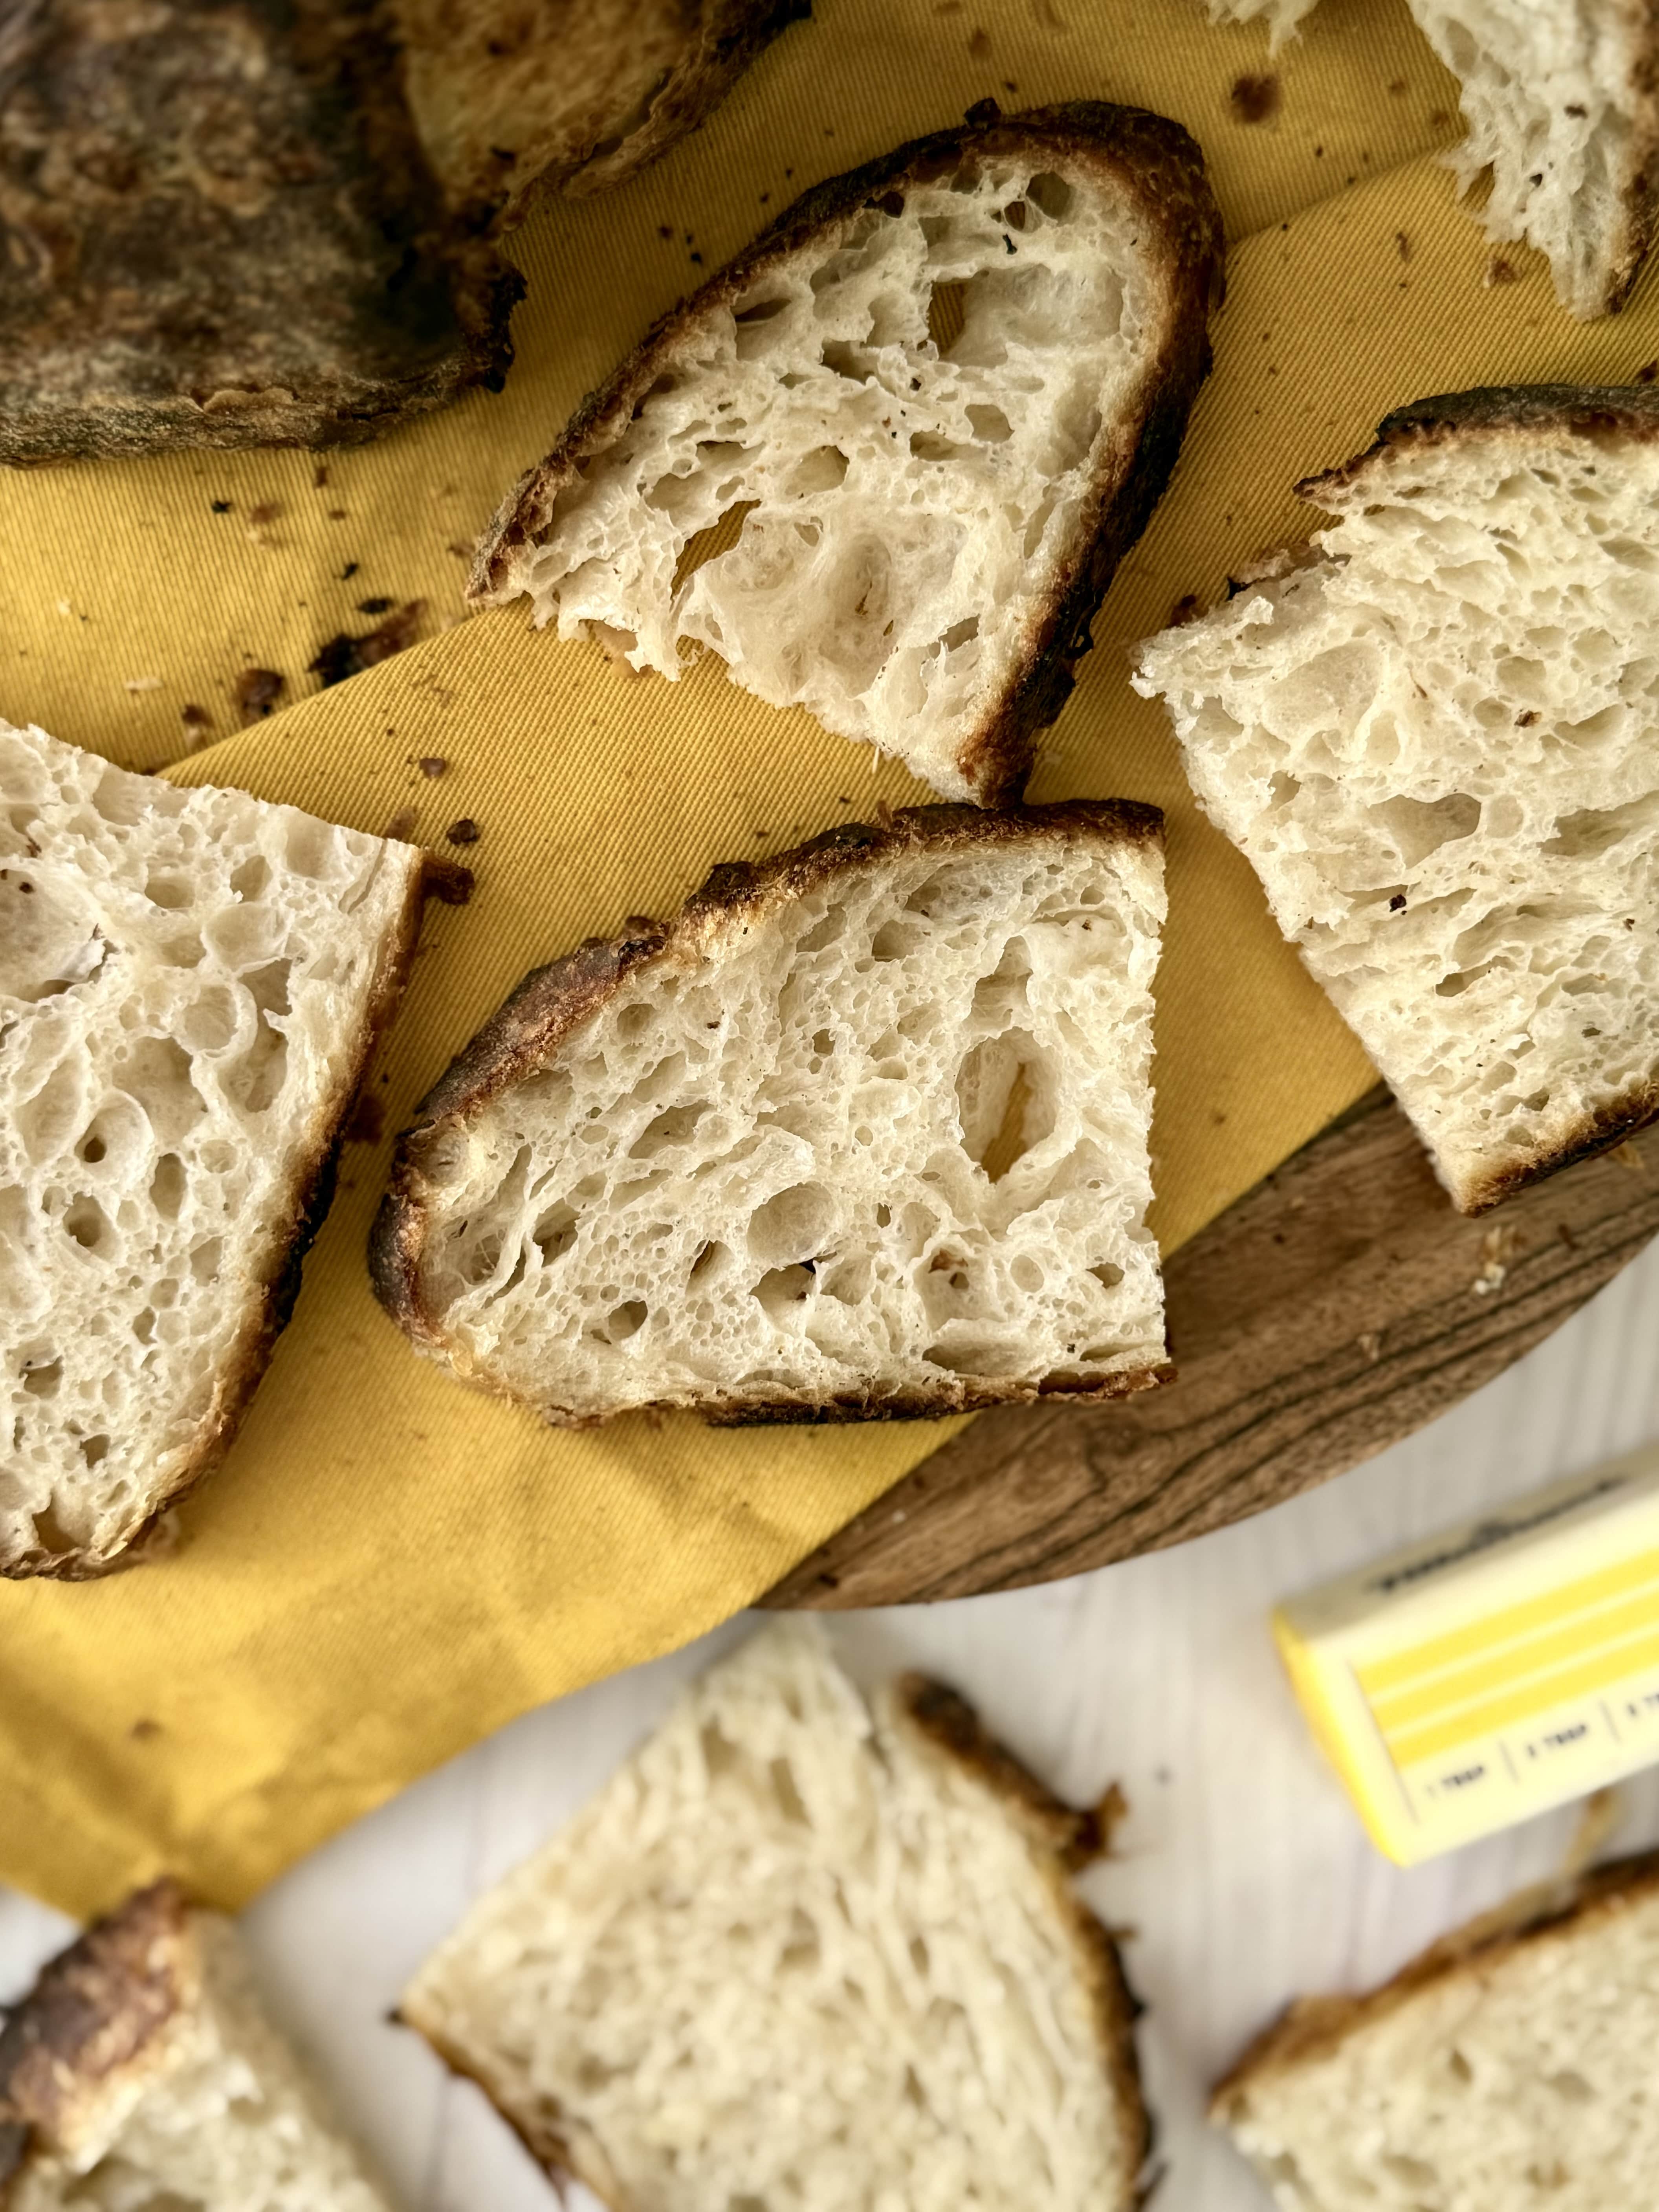
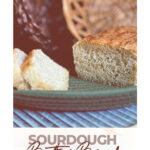
I have found “batter bread” can mean something different to every person. For the purposes of this recipe, batter bread is a type of bread made of simple ingredients through a simple, no-knead process. A batter is mixed, left to rise, and then baked. Extensive kneading or folds are not required because gluten development is not prioritized for the crumb and texture of the final baked product. The end result is a moist and rustic loaf of bread, great for sandwiches or eating on its own!
What I Love About This Recipe
This bread is much easier to make than traditional sourdough. It requires three steps: mix, ferment, bake. This recipe results in a loaf that is incredibly moist and slightly sour (depending on the state of your starter), which means if you are someone looking for a true sourdough flavor in their bread, this will provide it for you! Best of all, this recipe is fail-safe. It’s the perfect recipe for testing out a new starter, to see if it is ready for more advanced projects. Beginner and experienced sourdough bakers alike will enjoy this loaf!
All The “Why’s”
A Butter-Laiden Loaf
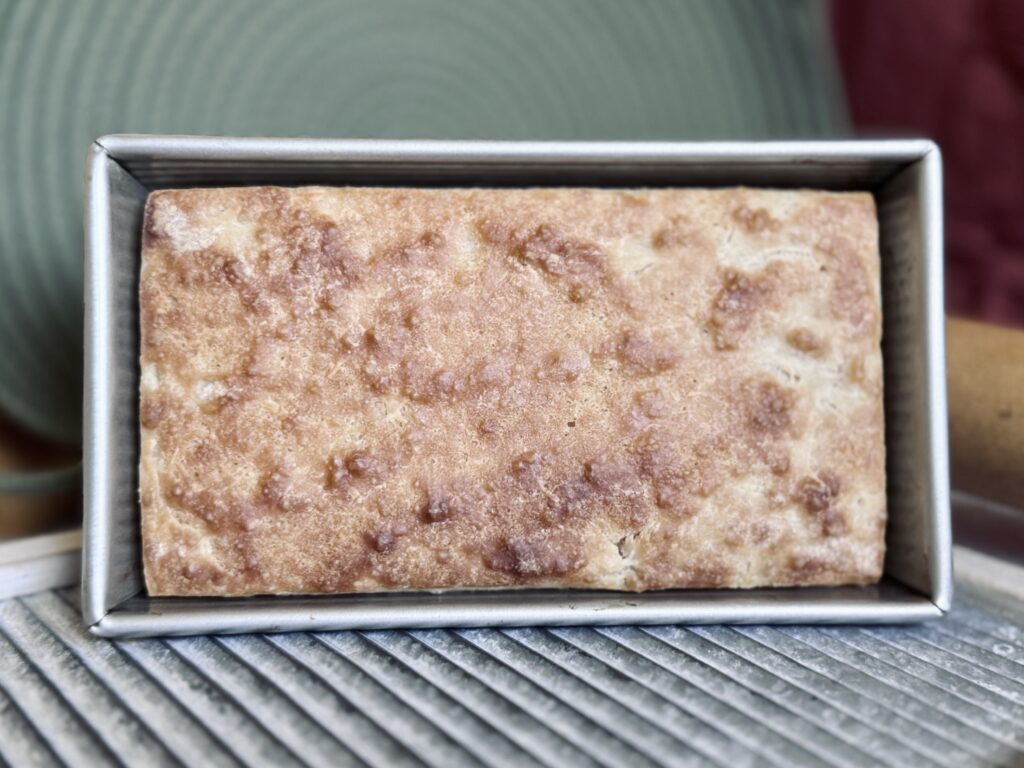
I cover my pan and the top of my loaf with butter. The butter not only makes my pan incredibly non-stick, but it adds a rich, decadent flavor to the bread.
Bread Flour
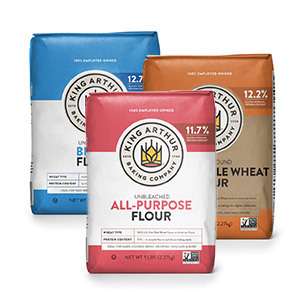
The purpose of this recipe is to be incredibly simple, yet still yield a delicious end result. For the best results possible, choose a bread flour with a protein content of at least 12%. The higher protein content in the flour will help the gluten come together better, which is important in this recipe because we do not take measures to develop the dough at all. The naturally-developing gluten from the high-quality flour will help prevent the loaf from collapsing before it fully doubles in size. I use King Arthur Bread Flour (protein content 12.7%) in this recipe.
Salt
Salt helps bring out flavor (without salt, bread would taste almost like nothing), but also has notable effects on the dough. Salt does slow fermentation, as well as gluten development, but this is something we must account for in the recipe because we cannot have a recipe without salt. It is important to use just the right amount, enough to bring out the flavor, but not so much that the loaf cannot ferment or come together. I use the standard – 2% salt – in all my recipes, unless otherwise noted.
Honey
The small amount of honey acts as food for the yeast in your starter, speeding up fermentation slightly, which I think can be helpful in a beginner recipe like this one. It does not sweeten the loaf, and can be eliminated if desired.
Starter To Flour Ratio
This recipe includes a large percentage of starter – 50% of the total flour in the recipe! (For comparison, a normal sourdough bread recipe includes only 20% starter.) The large amount of starter means your bread will ferment faster than other recipes, so it is not necessary to ferment the dough for near as long as you normally would. This percentage of starter can also contribute to a slightly sour flavor in this bread, depending on your sourdough starter care and maintenance routine.
Hydration
This recipe has a moderately high hydration, resting at approximately 87%. This amount of water in this recipe is a good amount – not too high, but not too low – for helping gluten come together with ease. It also contributes to the final light and moist texture of the baked bread.
Mixing Time
Since we do not take the time to develop structure through folds, mixing is an important step that will help the dough rise to its fullest potential. While not essential, a longer mix means more elasticity, which means the dough can more readily hold in air bubbles and rise to double in size without worry of collapsing. After all of the flour is incorporated into the batter, try to mix the dough for a solid three to five minutes for best results. This small consideration, in addition to the right flour, will develop the dough just enough for success.
Fermentation
This dough is easy to ferment. Simply watch the dough until it reaches the top of the container, which should be exactly double in size. There are no folds and there is no refrigeration step, which means it is even easier than ever to tell when this bread is ready to bake.
It is important to note that fermentation times vary significantly depending on temperature and climate. My home generally rests around 68-72 F (20-22 C), so my fermentation times are very extended from someone whose home rests around 75 F (24 C), or even warmer.
Here are some general guidelines to help you with approximate timing for this recipe:
Generally, loaves that ferment around 70 F (21 C; this is the temperature I ferment my dough) take about 6 hours to bulk ferment. Colder climates, say 65 F (18 C) take much longer, a minimum of 8 hours, and sometimes more. Increase the temperature to 73-75 F (23-24 C), and the bulk fermentation time is reduced to around 4 hours. Last, very warm temperatures, 78-80 F (25-27 C) generally take only 2-3 hours to complete fermentation.
(Lack Of) Dough Development
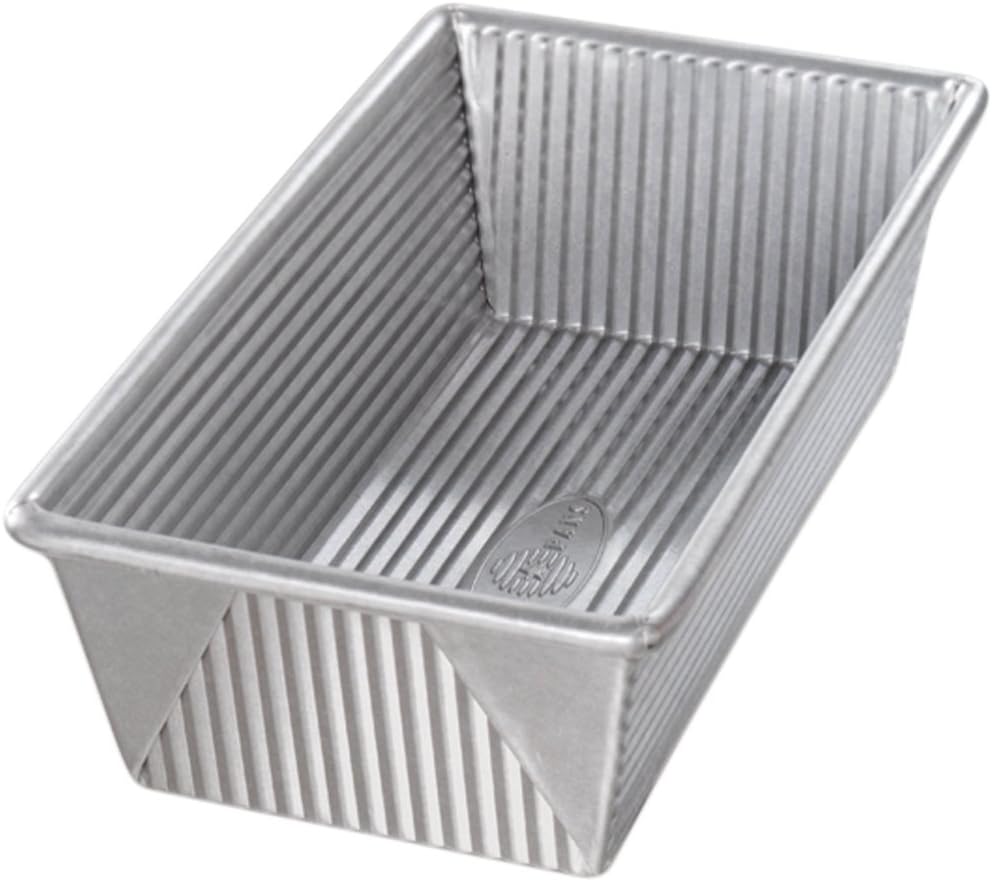
Due to the lack of dough development (folds, kneading), the dough is weaker. It will not hold in large air bubbles, will not have the ability to hold its own shape, and will not have an oven spring. In fact, you will notice bubbles popping through the surface (air escaping) due to the weak dough. This bread takes the shape of the pan it is placed in and rises to the top, but cannot hold any more fermentation than this since strength is not present to keep the loaf from collapsing. This is why the proper sized pan is essential, as the batter (before fermenting) should fill the pan exactly halfway.
Baking Method
This loaf can simply be baked in an open oven without steam or any special equipment, such as a Dutch oven. The loaf itself contains a fairly high percentage of water, which keeps it moist enough to rise appropriately, though it does not have a large oven spring due to the lack of development.
Suggested Timeline
DAY 1
10:00 a.m.
- Butter the loaf pan.
- Mix the ingredients.
- Begin fermentation.
4:00 p.m.
- Bake and enjoy! (Just in time for supper!)
📌 Quick Tip: Read the recipe in its entirety before you start cooking. This will help you understand the ingredients, steps, and timing involved, and allow you to prepare any necessary equipment or ingredients beforehand.
Batter Bread
Ingredients
Instructions
-
Butter a 1.5 qt (9X5) loaf pan with 1-2 tbsp softened butter.
-
Mix all the ingredients, except butter, together in a mixing bowl. Mix for three to five minutes for best results.
-
Pour batter into the loaf pan and smooth out with a spatula. It should fill the loaf pan exactly halfway.
-
Top with 1 tbsp melted butter; cover.
-
Ferment: Let the mixture rise until it reaches the top of the loaf pan (approx 3-6 hours at room temperature, depending on your environment).
-
Bake at 425 F for 25-30 minutes, until internal temperature reaches 200 F (94 C).
-
Cool at least twenty minutes before slicing.
Nutrition Facts
Servings 8
- Amount Per Serving
- Calories 232.4kcal
- % Daily Value *
- Total Fat 5.63g9%
- Saturated Fat 3.03g16%
- Cholesterol 12.09mg5%
- Sodium 220.92mg10%
- Potassium 61.78mg2%
- Total Carbohydrate 38.46g13%
- Dietary Fiber 1.31g6%
- Sugars 2.52g
- Protein 6.57g14%
- Vitamin A 38.47 IU
- Calcium 17.84 mg
- Iron 2.39 mg
- Vitamin E 0.31 IU
- Vitamin K 0.63 mcg
- Thiamin 0.43 mg
- Riboflavin 0.27 mg
- Niacin 3.73 mg
- Vitamin B6 0.03 mg
- Folate 23.08 mcg
- Phosphorus 57.48 mg
- Magnesium 15.84 mg
- Zinc 0.52 mg
* Nutrition values are auto-calculated and should be used as an approximation only.
Notes
- Storage: Store in a Ziploc or bread bag on the counter for three to five days, or slice and store in the freezer. Toast to warm.
- Since there’s not much development, the dough won’t hold in air bubbles well. Be sure not to underestimate the power of a good mix before the loaf goes into the pan. You may notice some bubbles pop out the top of the loaf as it’s rising. That’s normal! Let the dough rise to double in size anyway.
- The pan it’s placed in is its shape holder. You could do this in any pan, as long as the dough is halfway to the top.
- If your starter is very new (maybe this is your first bread recipe!), you may notice even slower rise times. If this loaf doesn't rise much at all for you, your starter is not ready. Bake the loaf anyway, let it cool, chop it up into cubes, coat in olive oil; salt; and your favorite seasonings, and bake again at 375 F for 15-20 minutes. Enjoy your new favorite sourdough croutons!






User Reviews
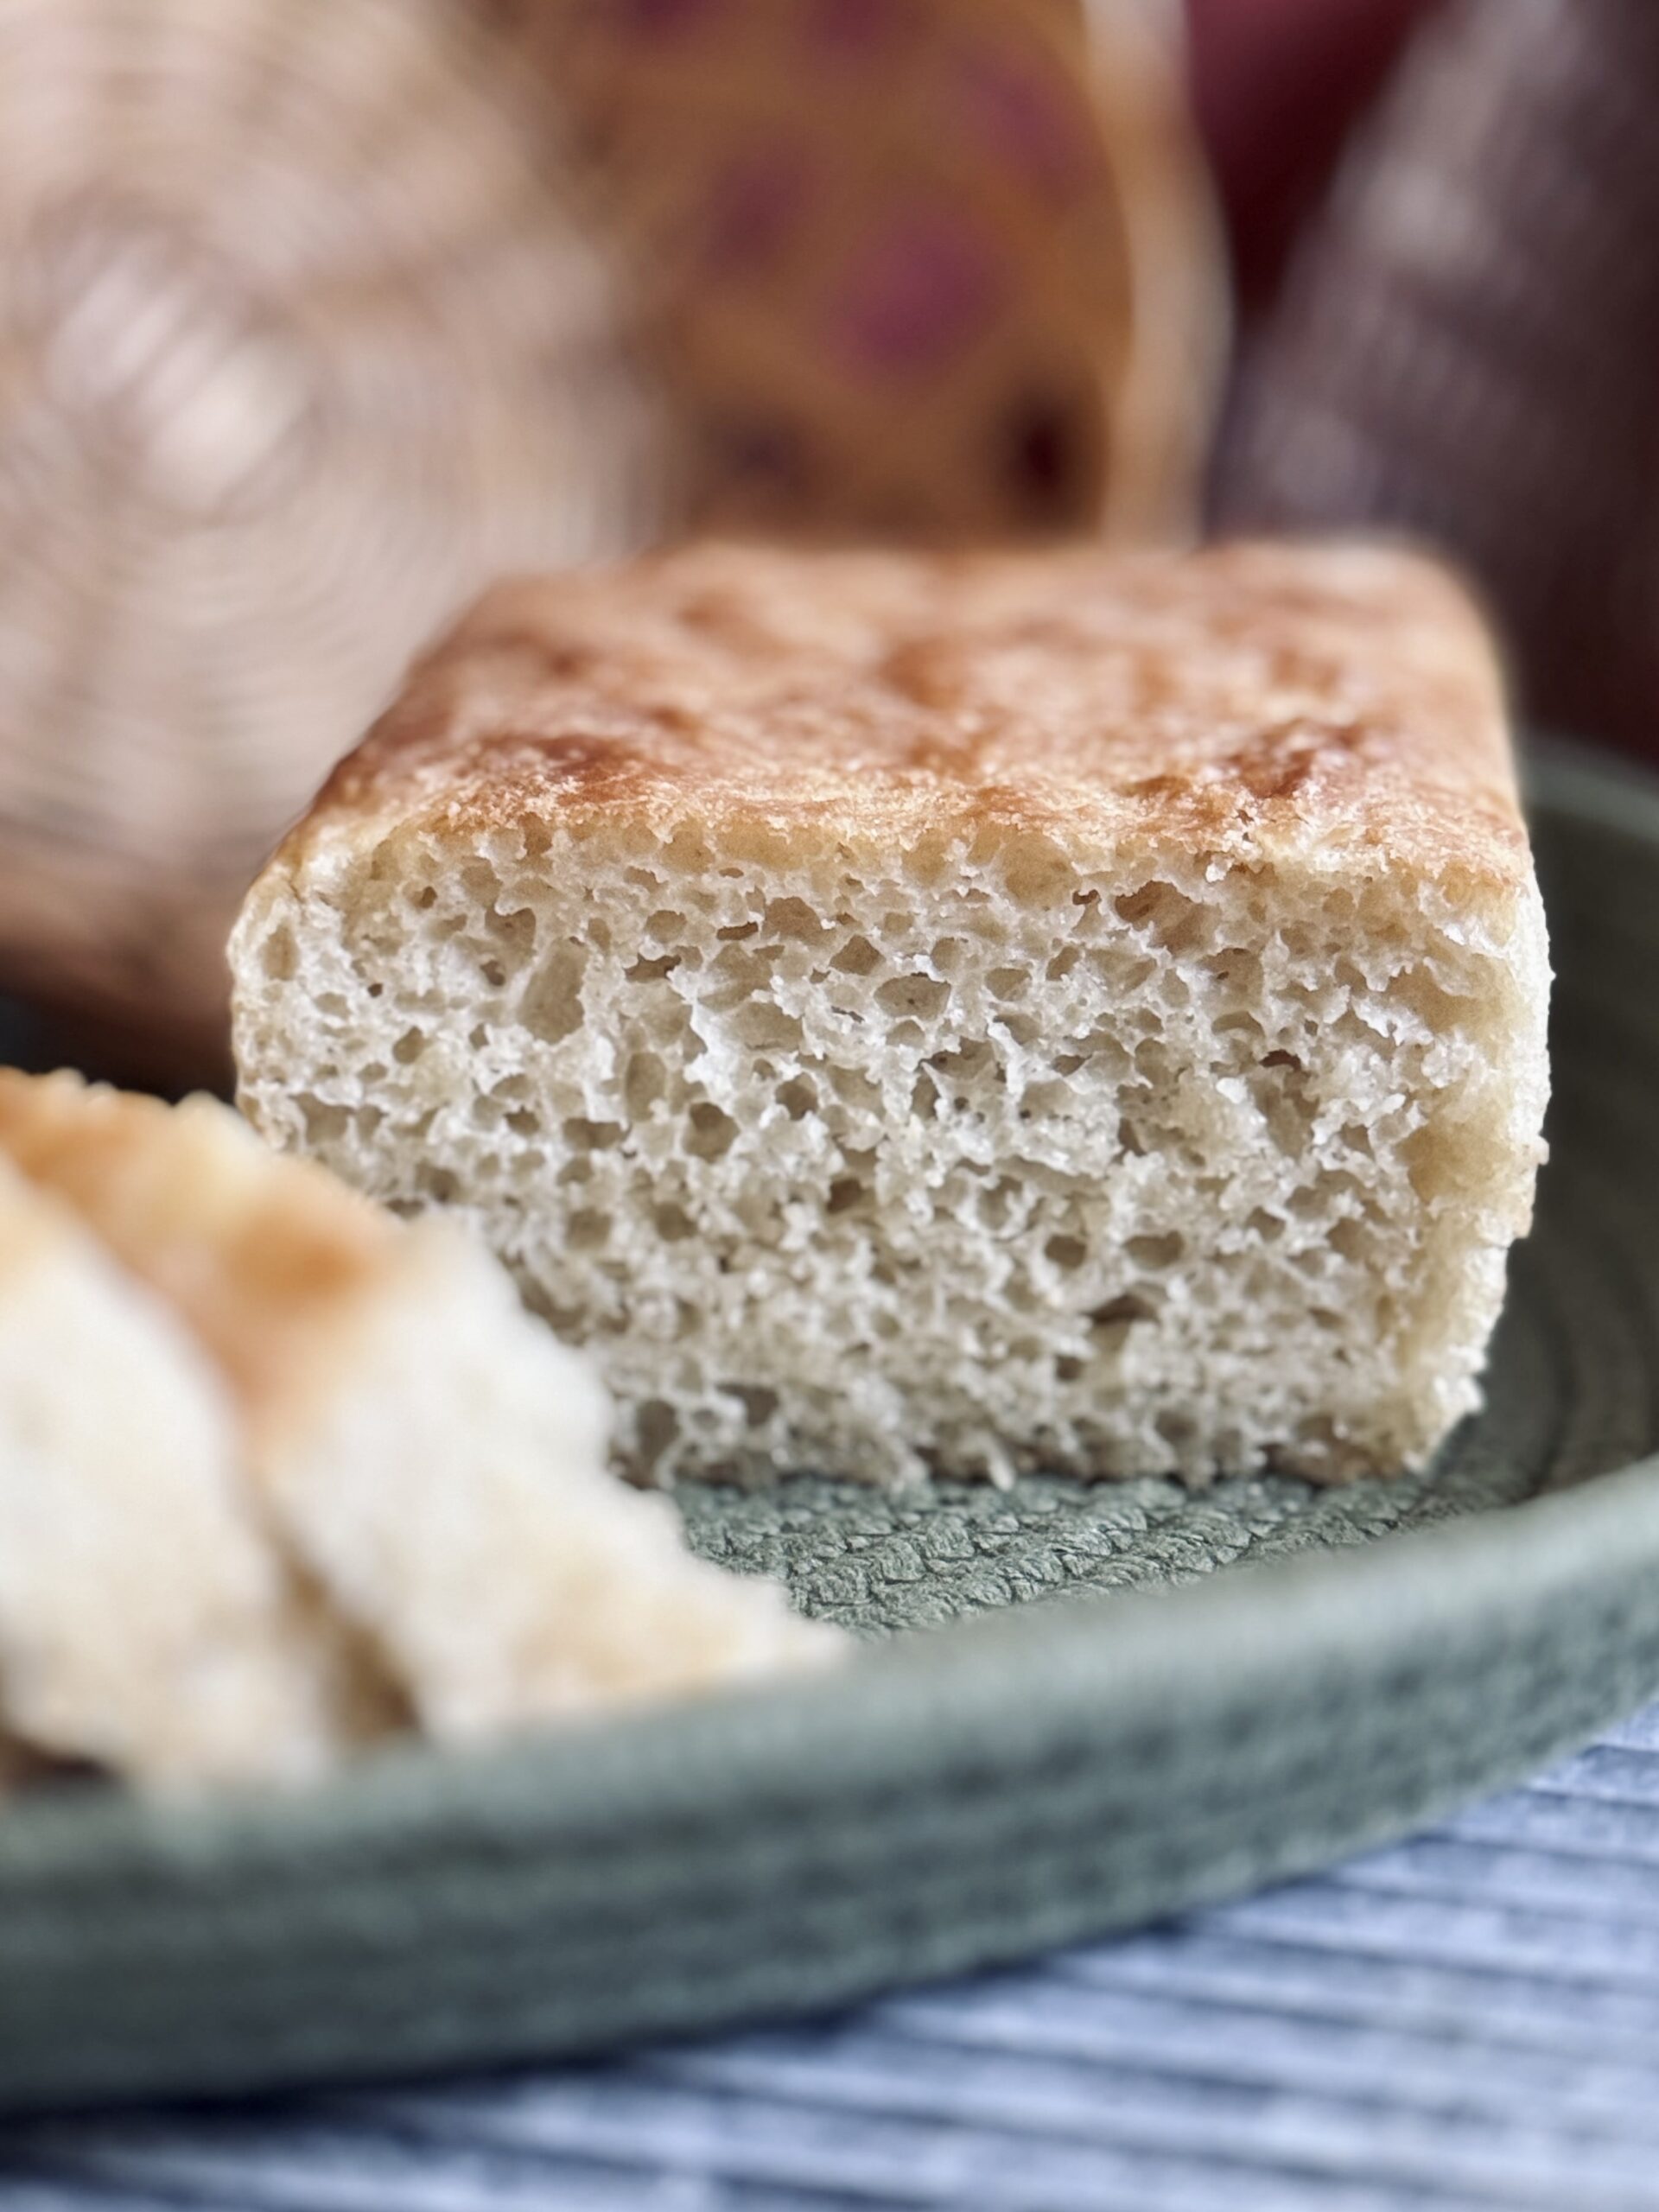
This is my go-to favorite bread! I can make it in a day and the flavor is great; I think the texture resembles crumpets..so delish! I lightly sprinkle salt on top of the raised loaf before I bake it! Thanks for sharing it!