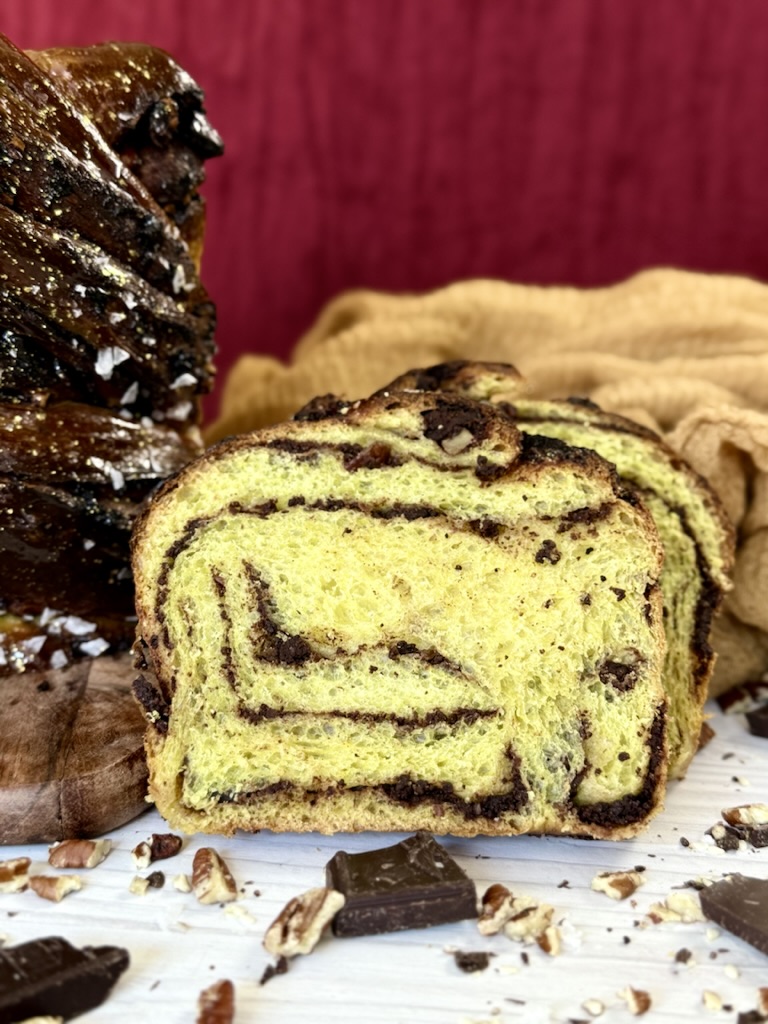
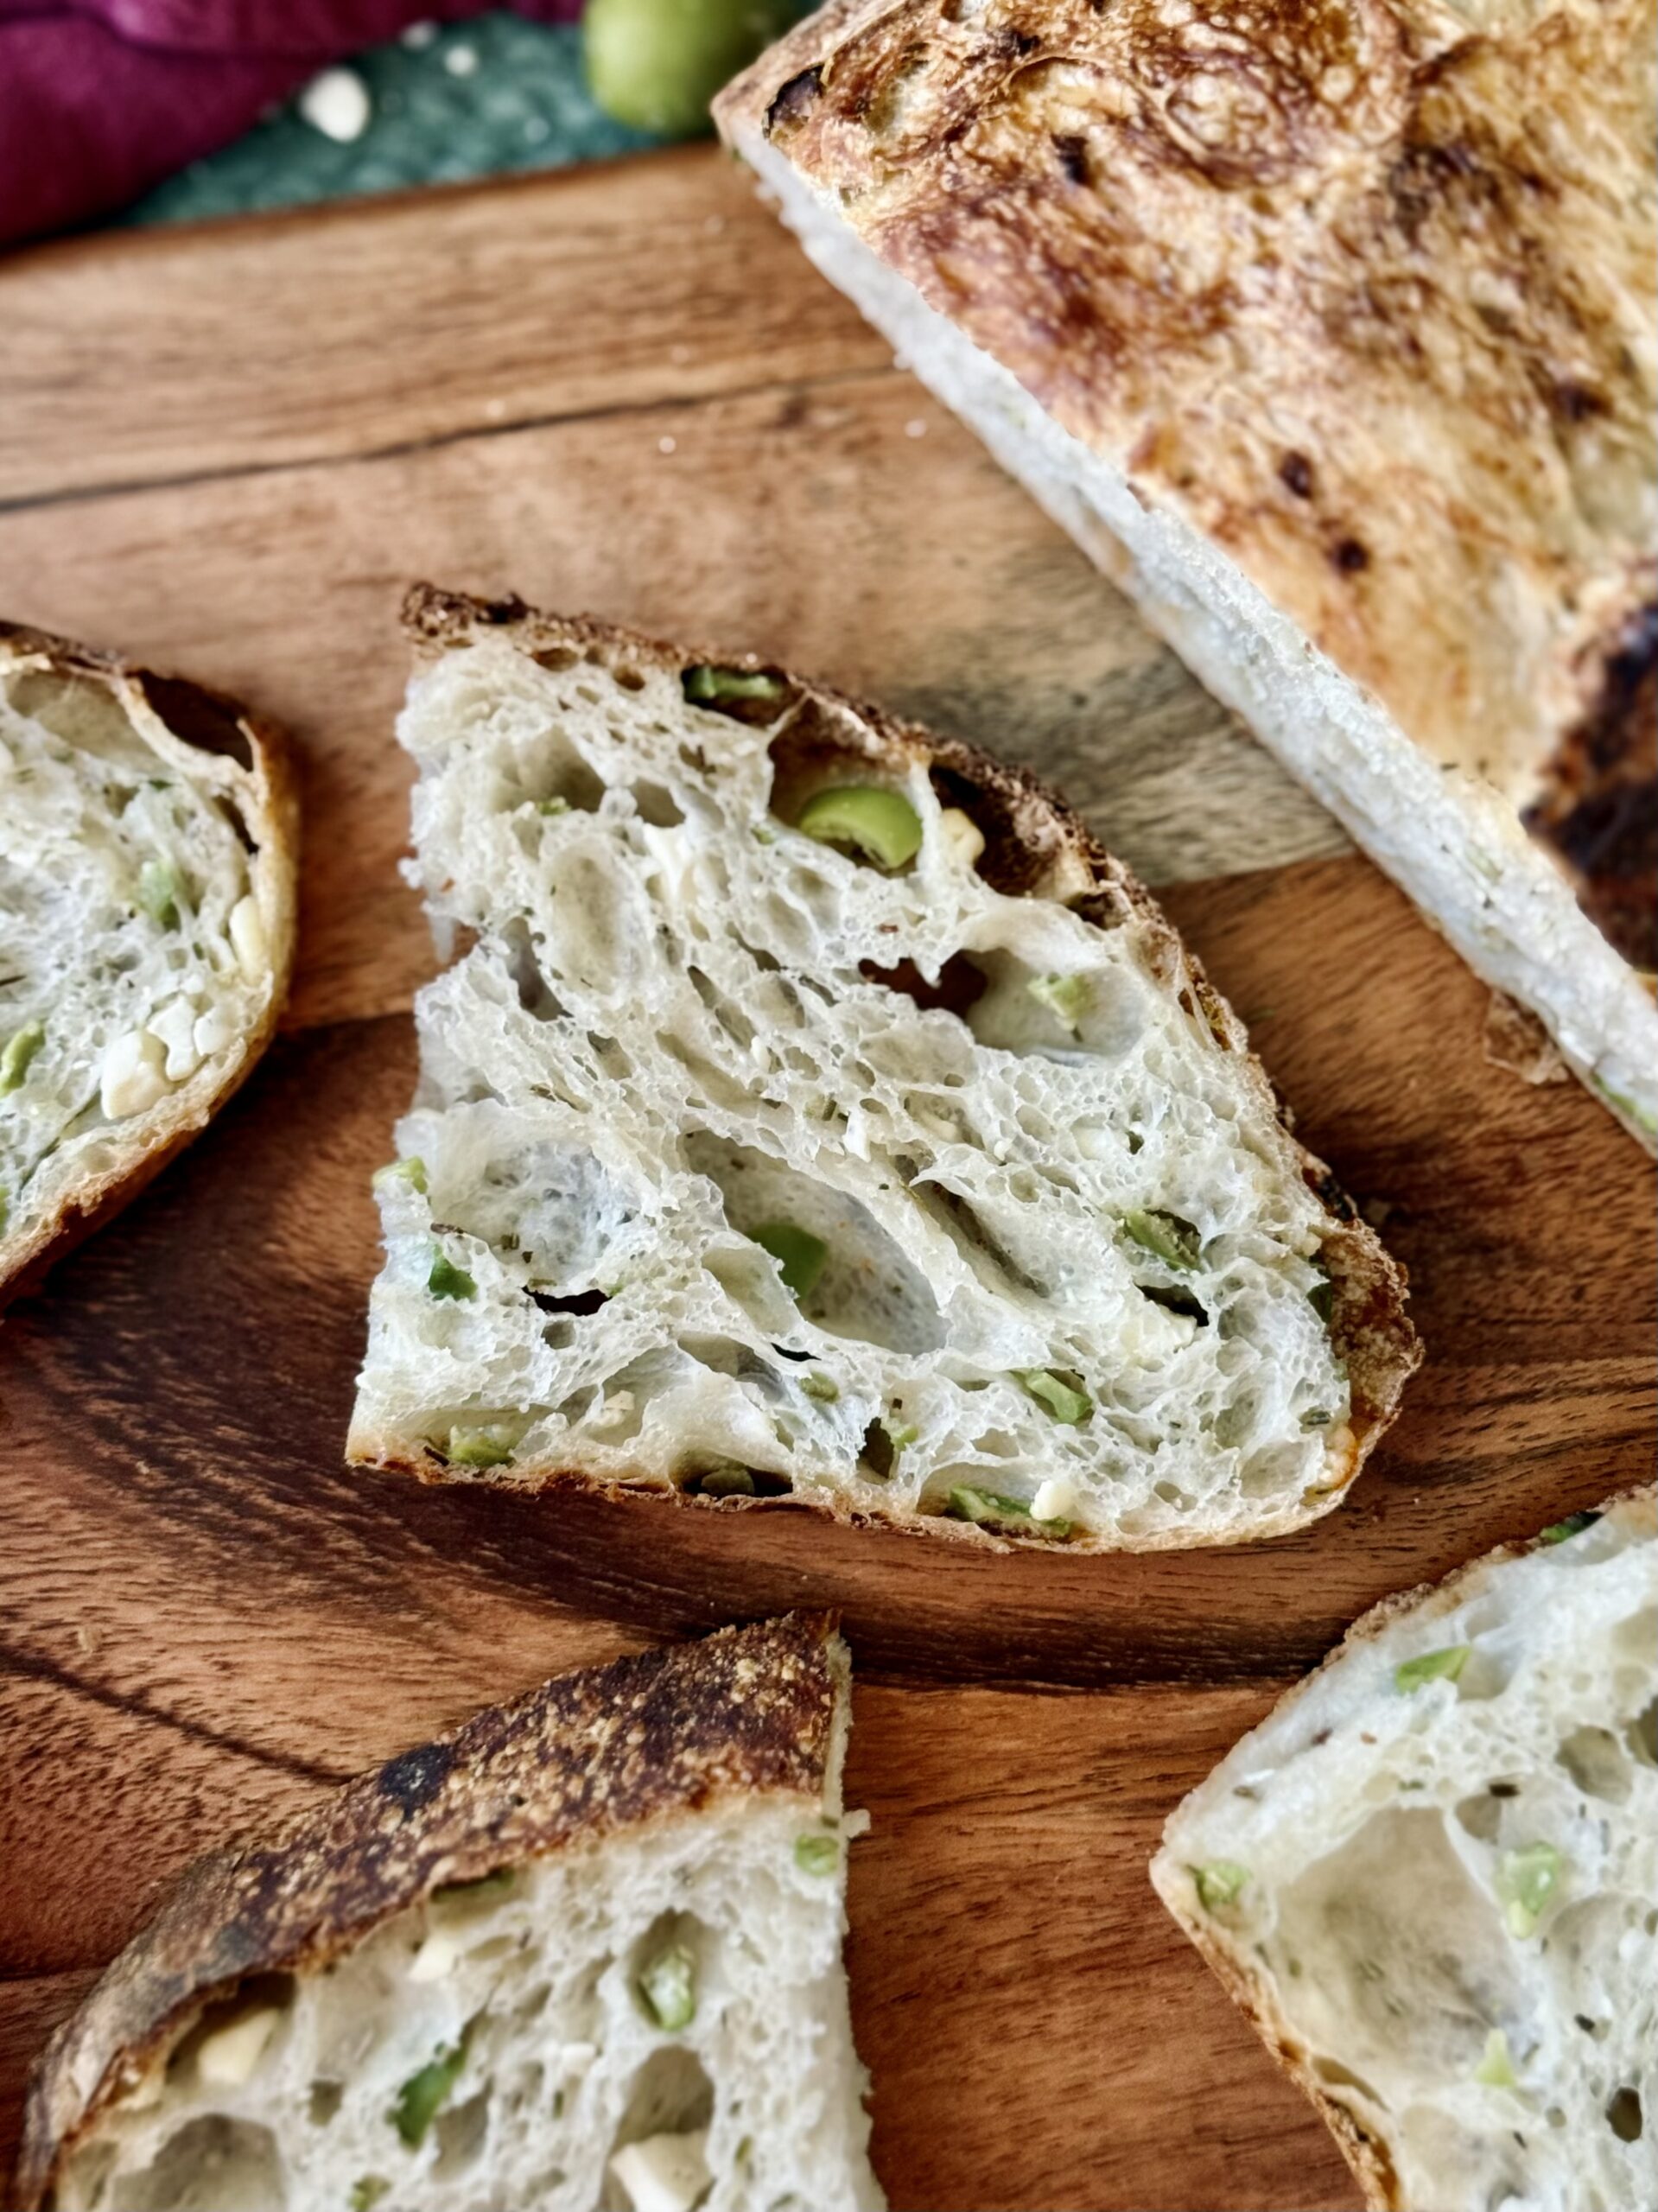
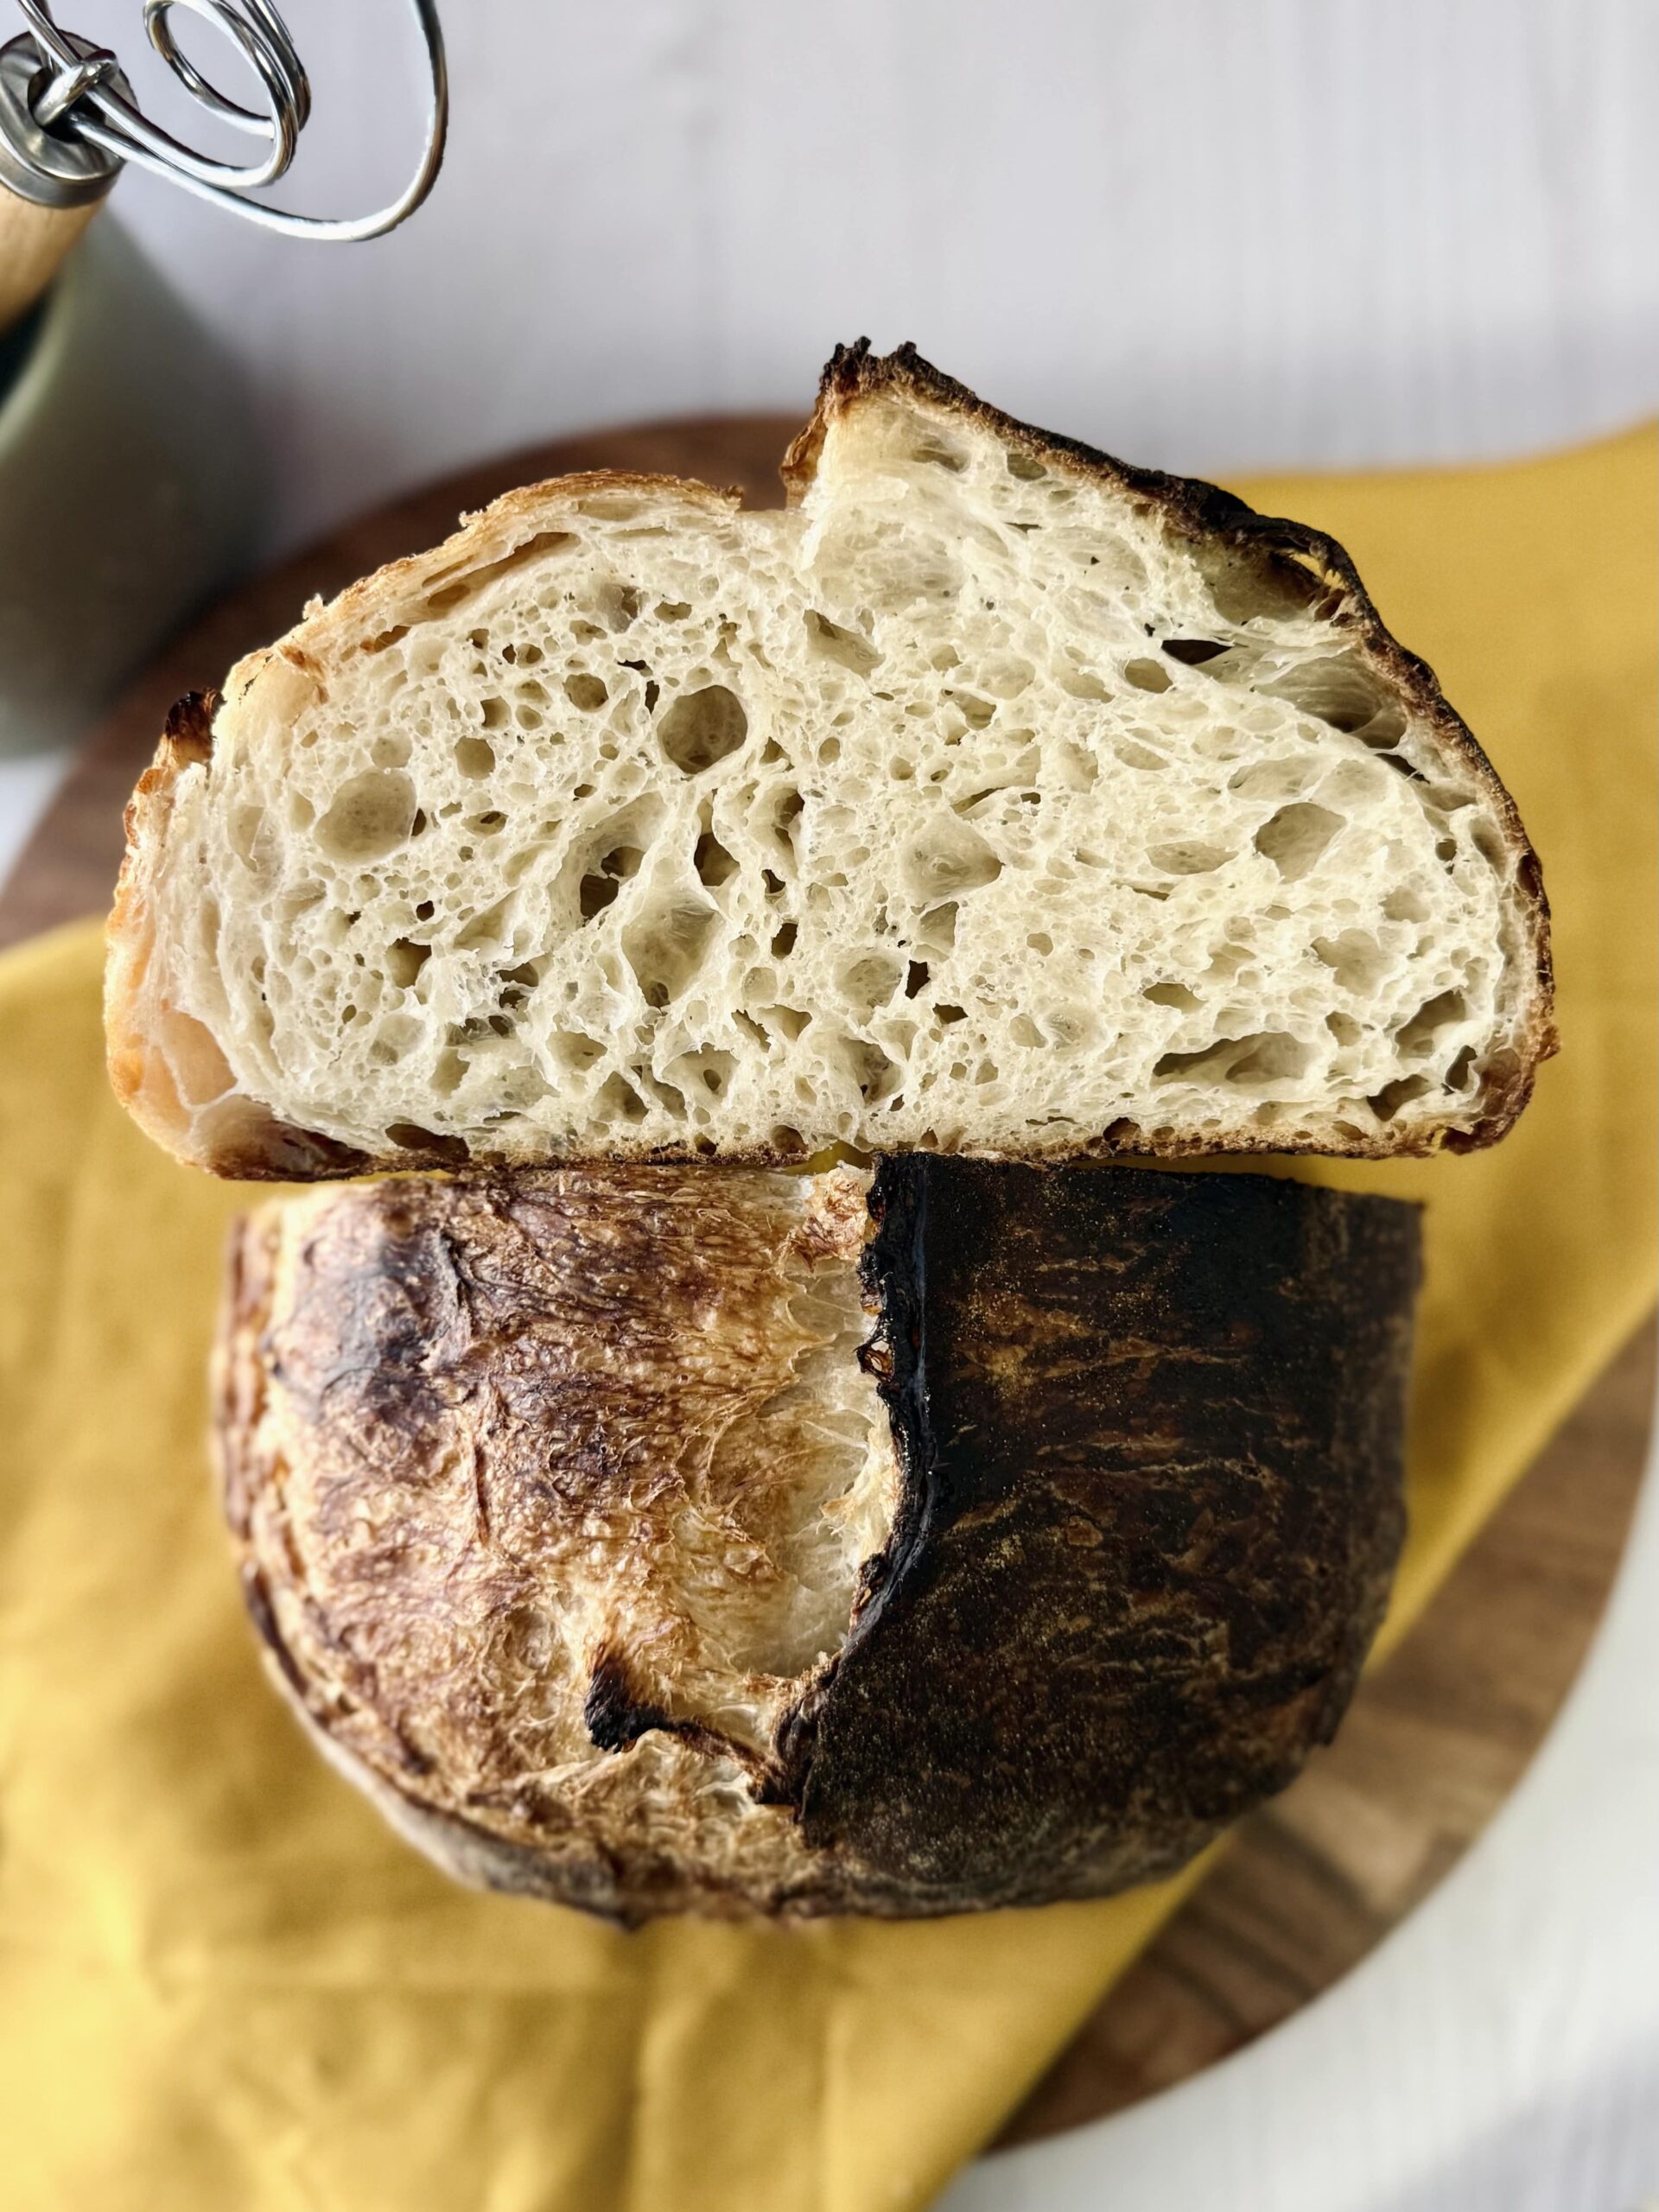
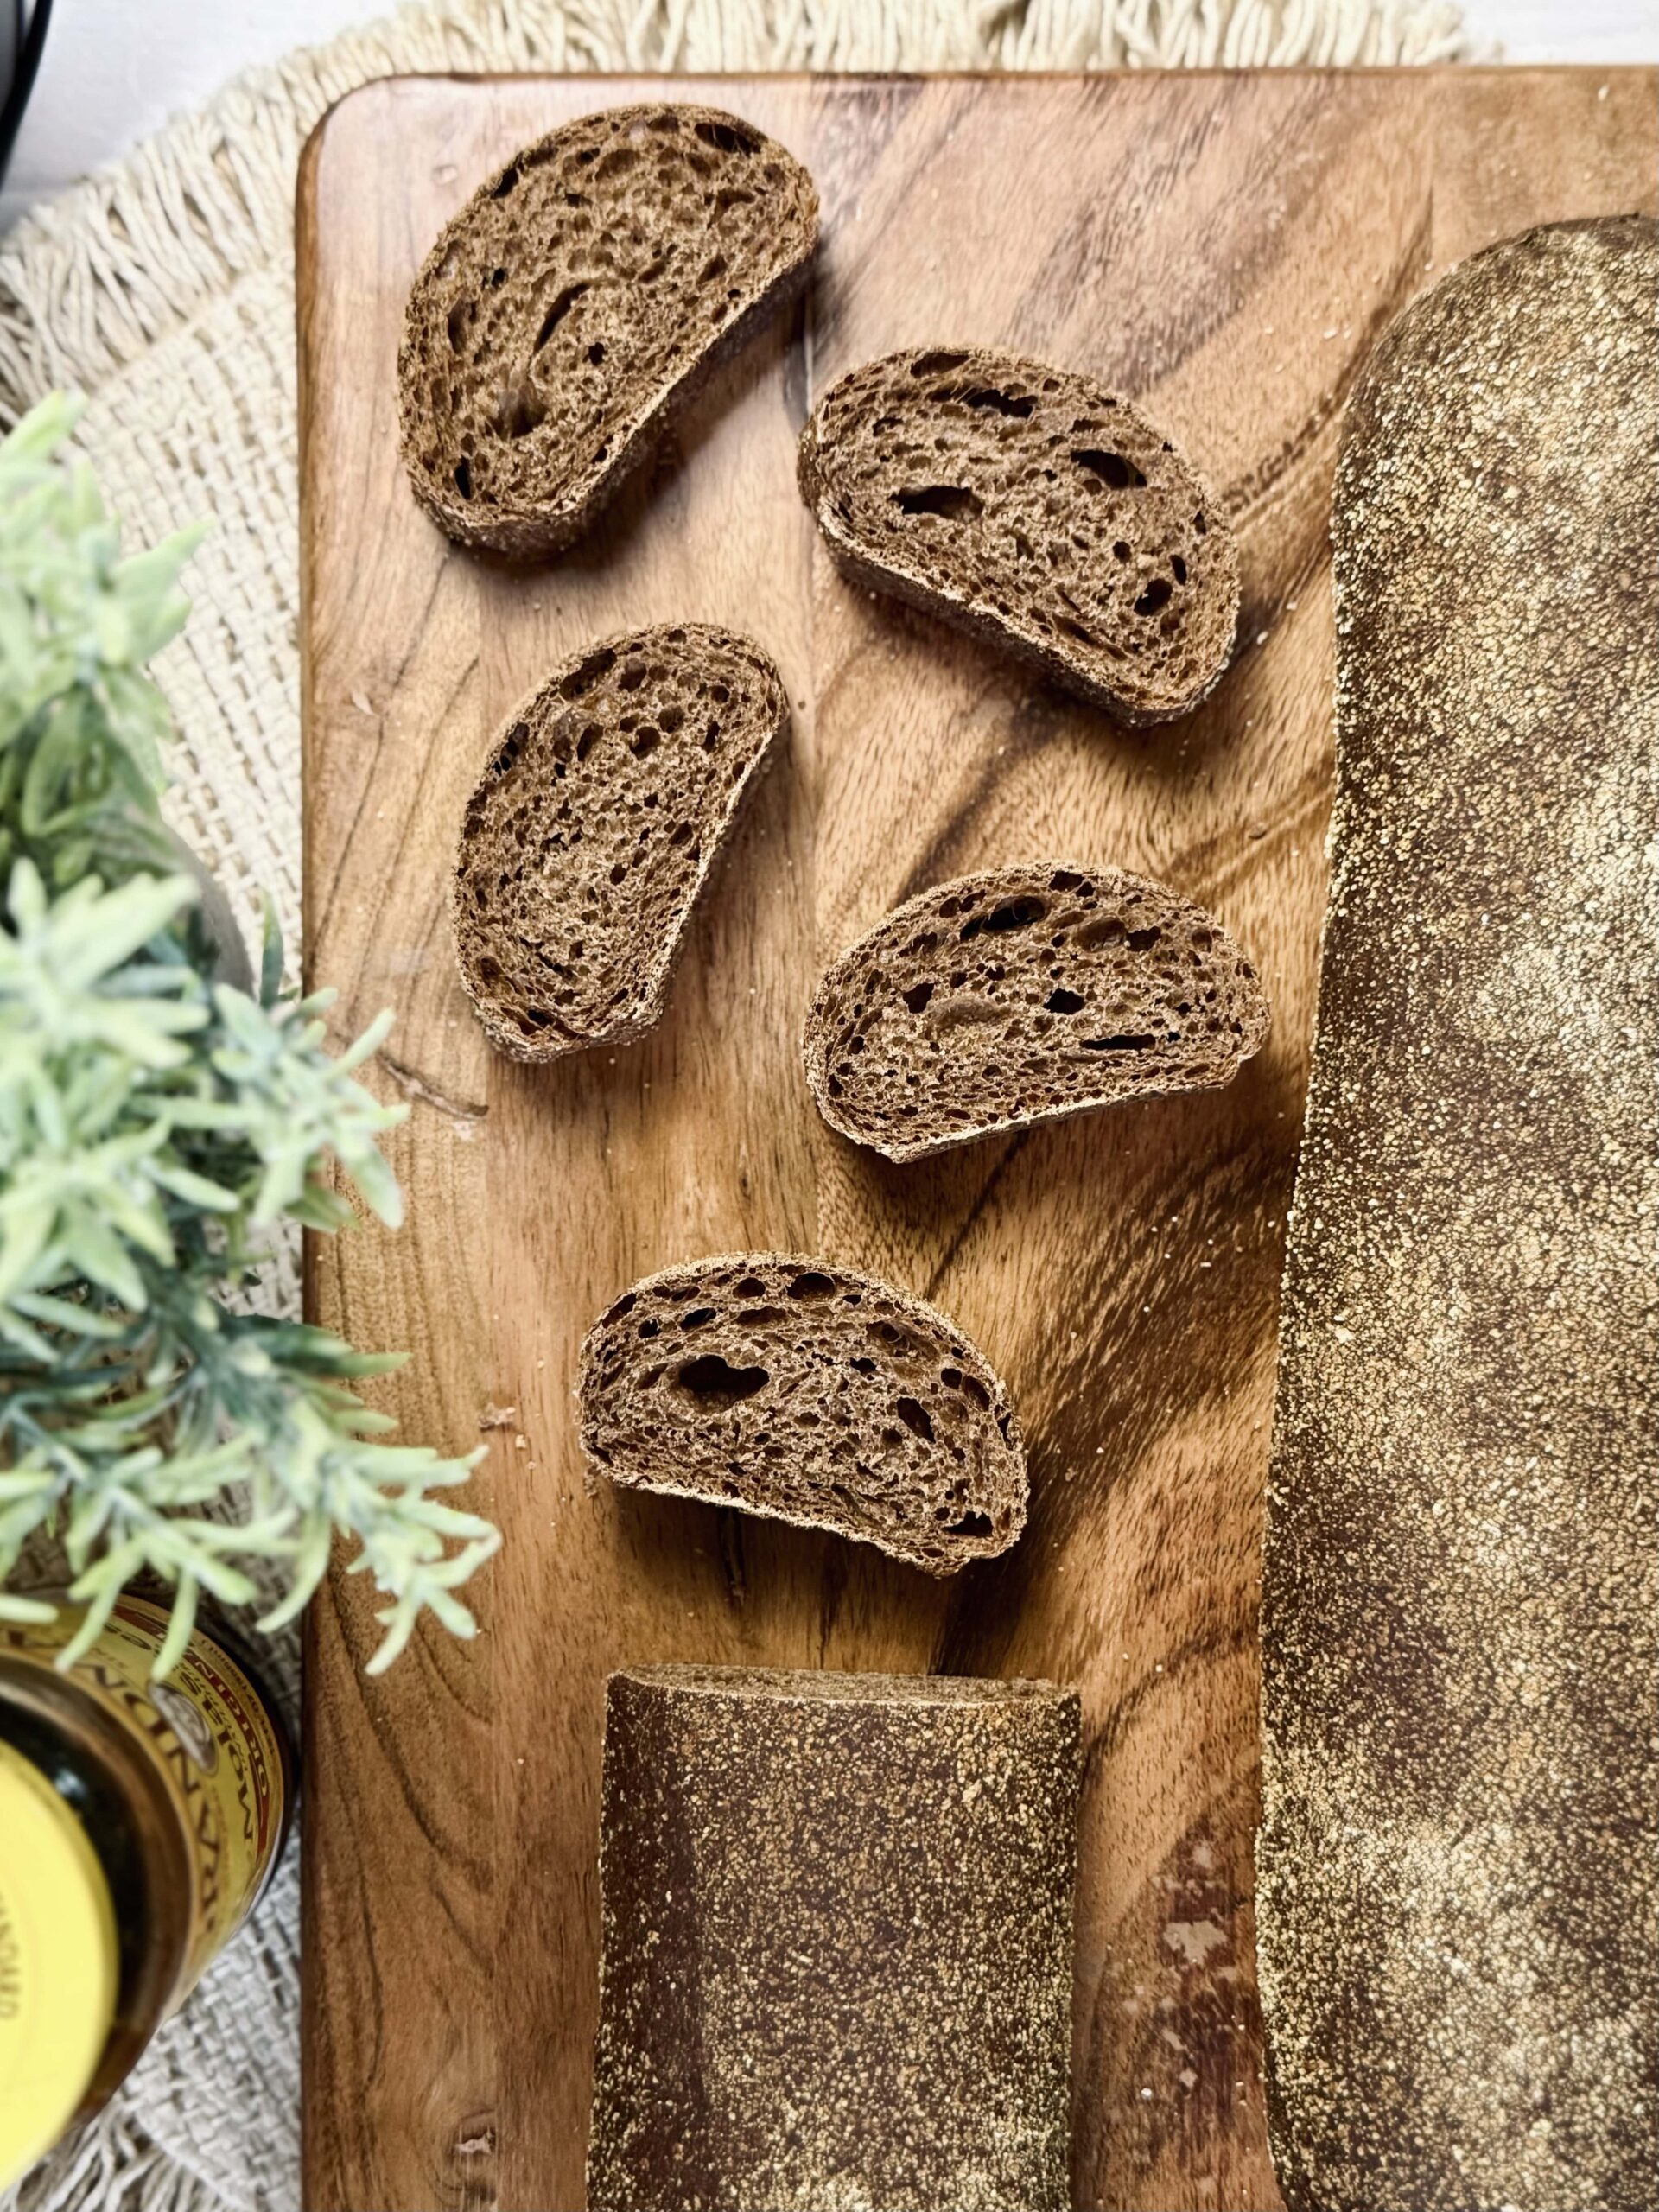
About This Recipe
Butter makes everything better – right? Well, at least that’s what the inventor of brioche must have believed. Brioche could be considered the butter-lover’s bread for the amount of butter that is inside of it. Brioche makes the ultimate French toast bread, sandwich bread, dinner roll bread, and sweet bread base. Once you’ve mastered it, you will have unlocked a whole new world of bread.
What Is Brioche?
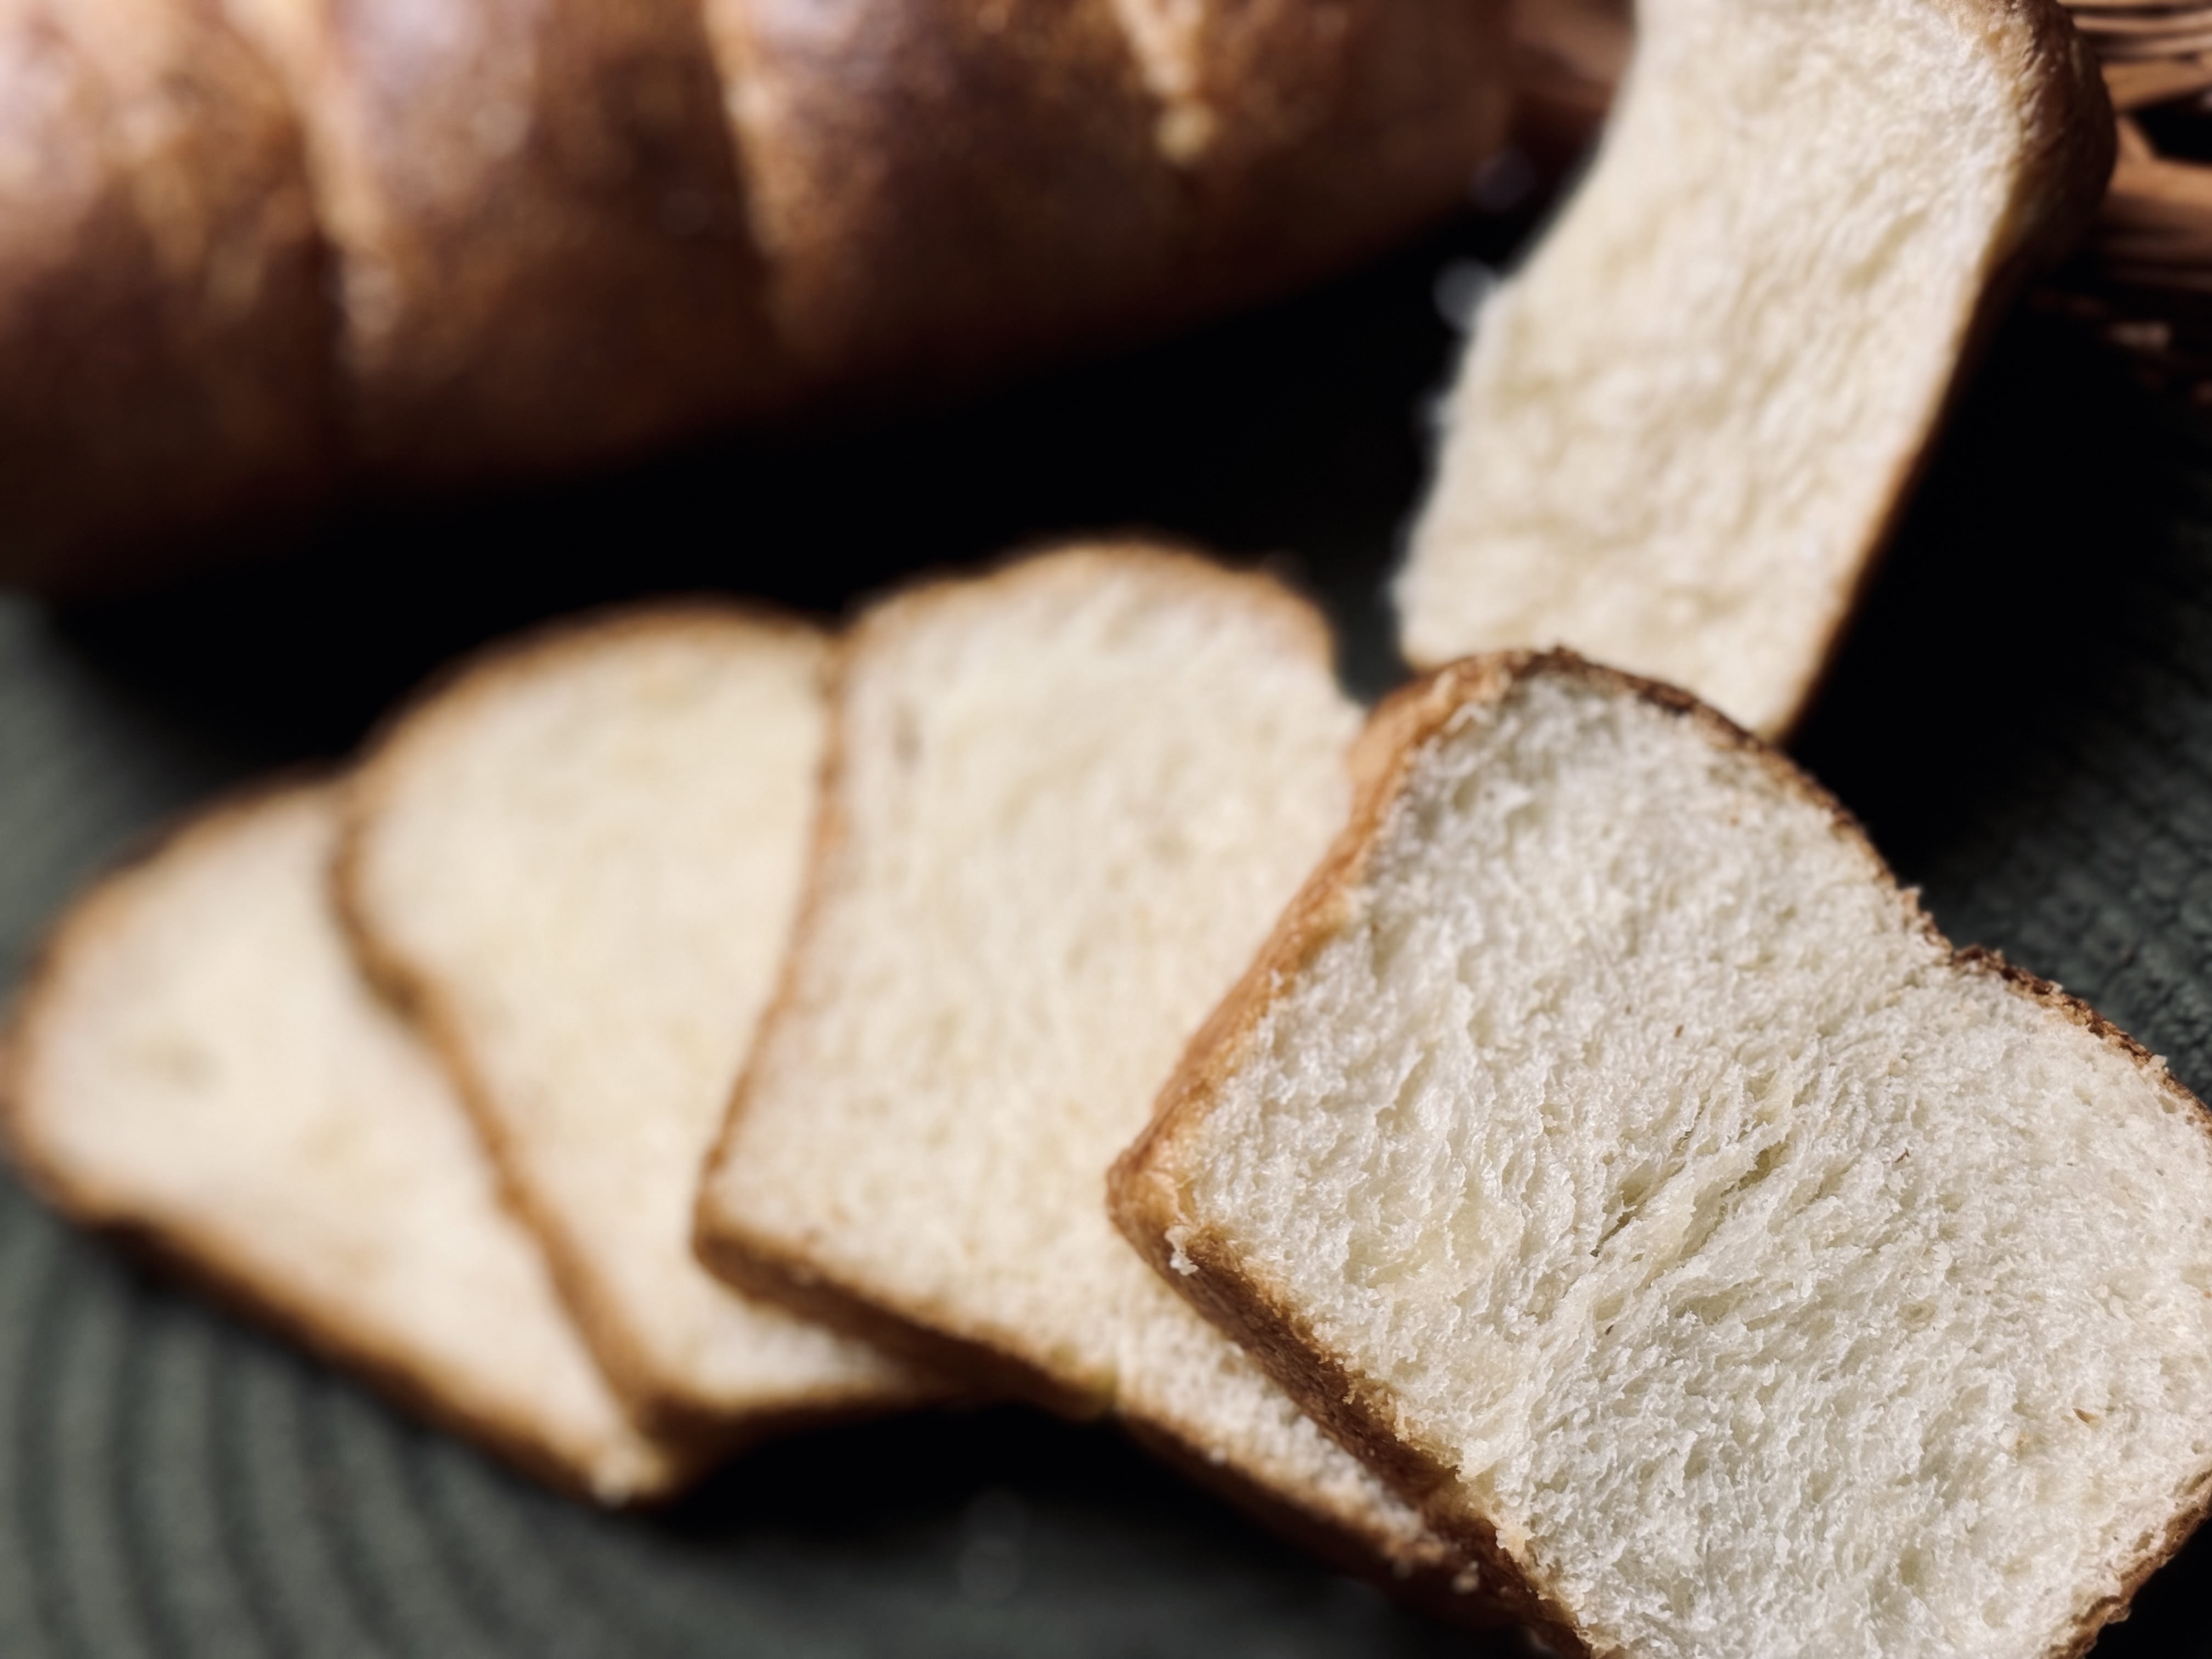
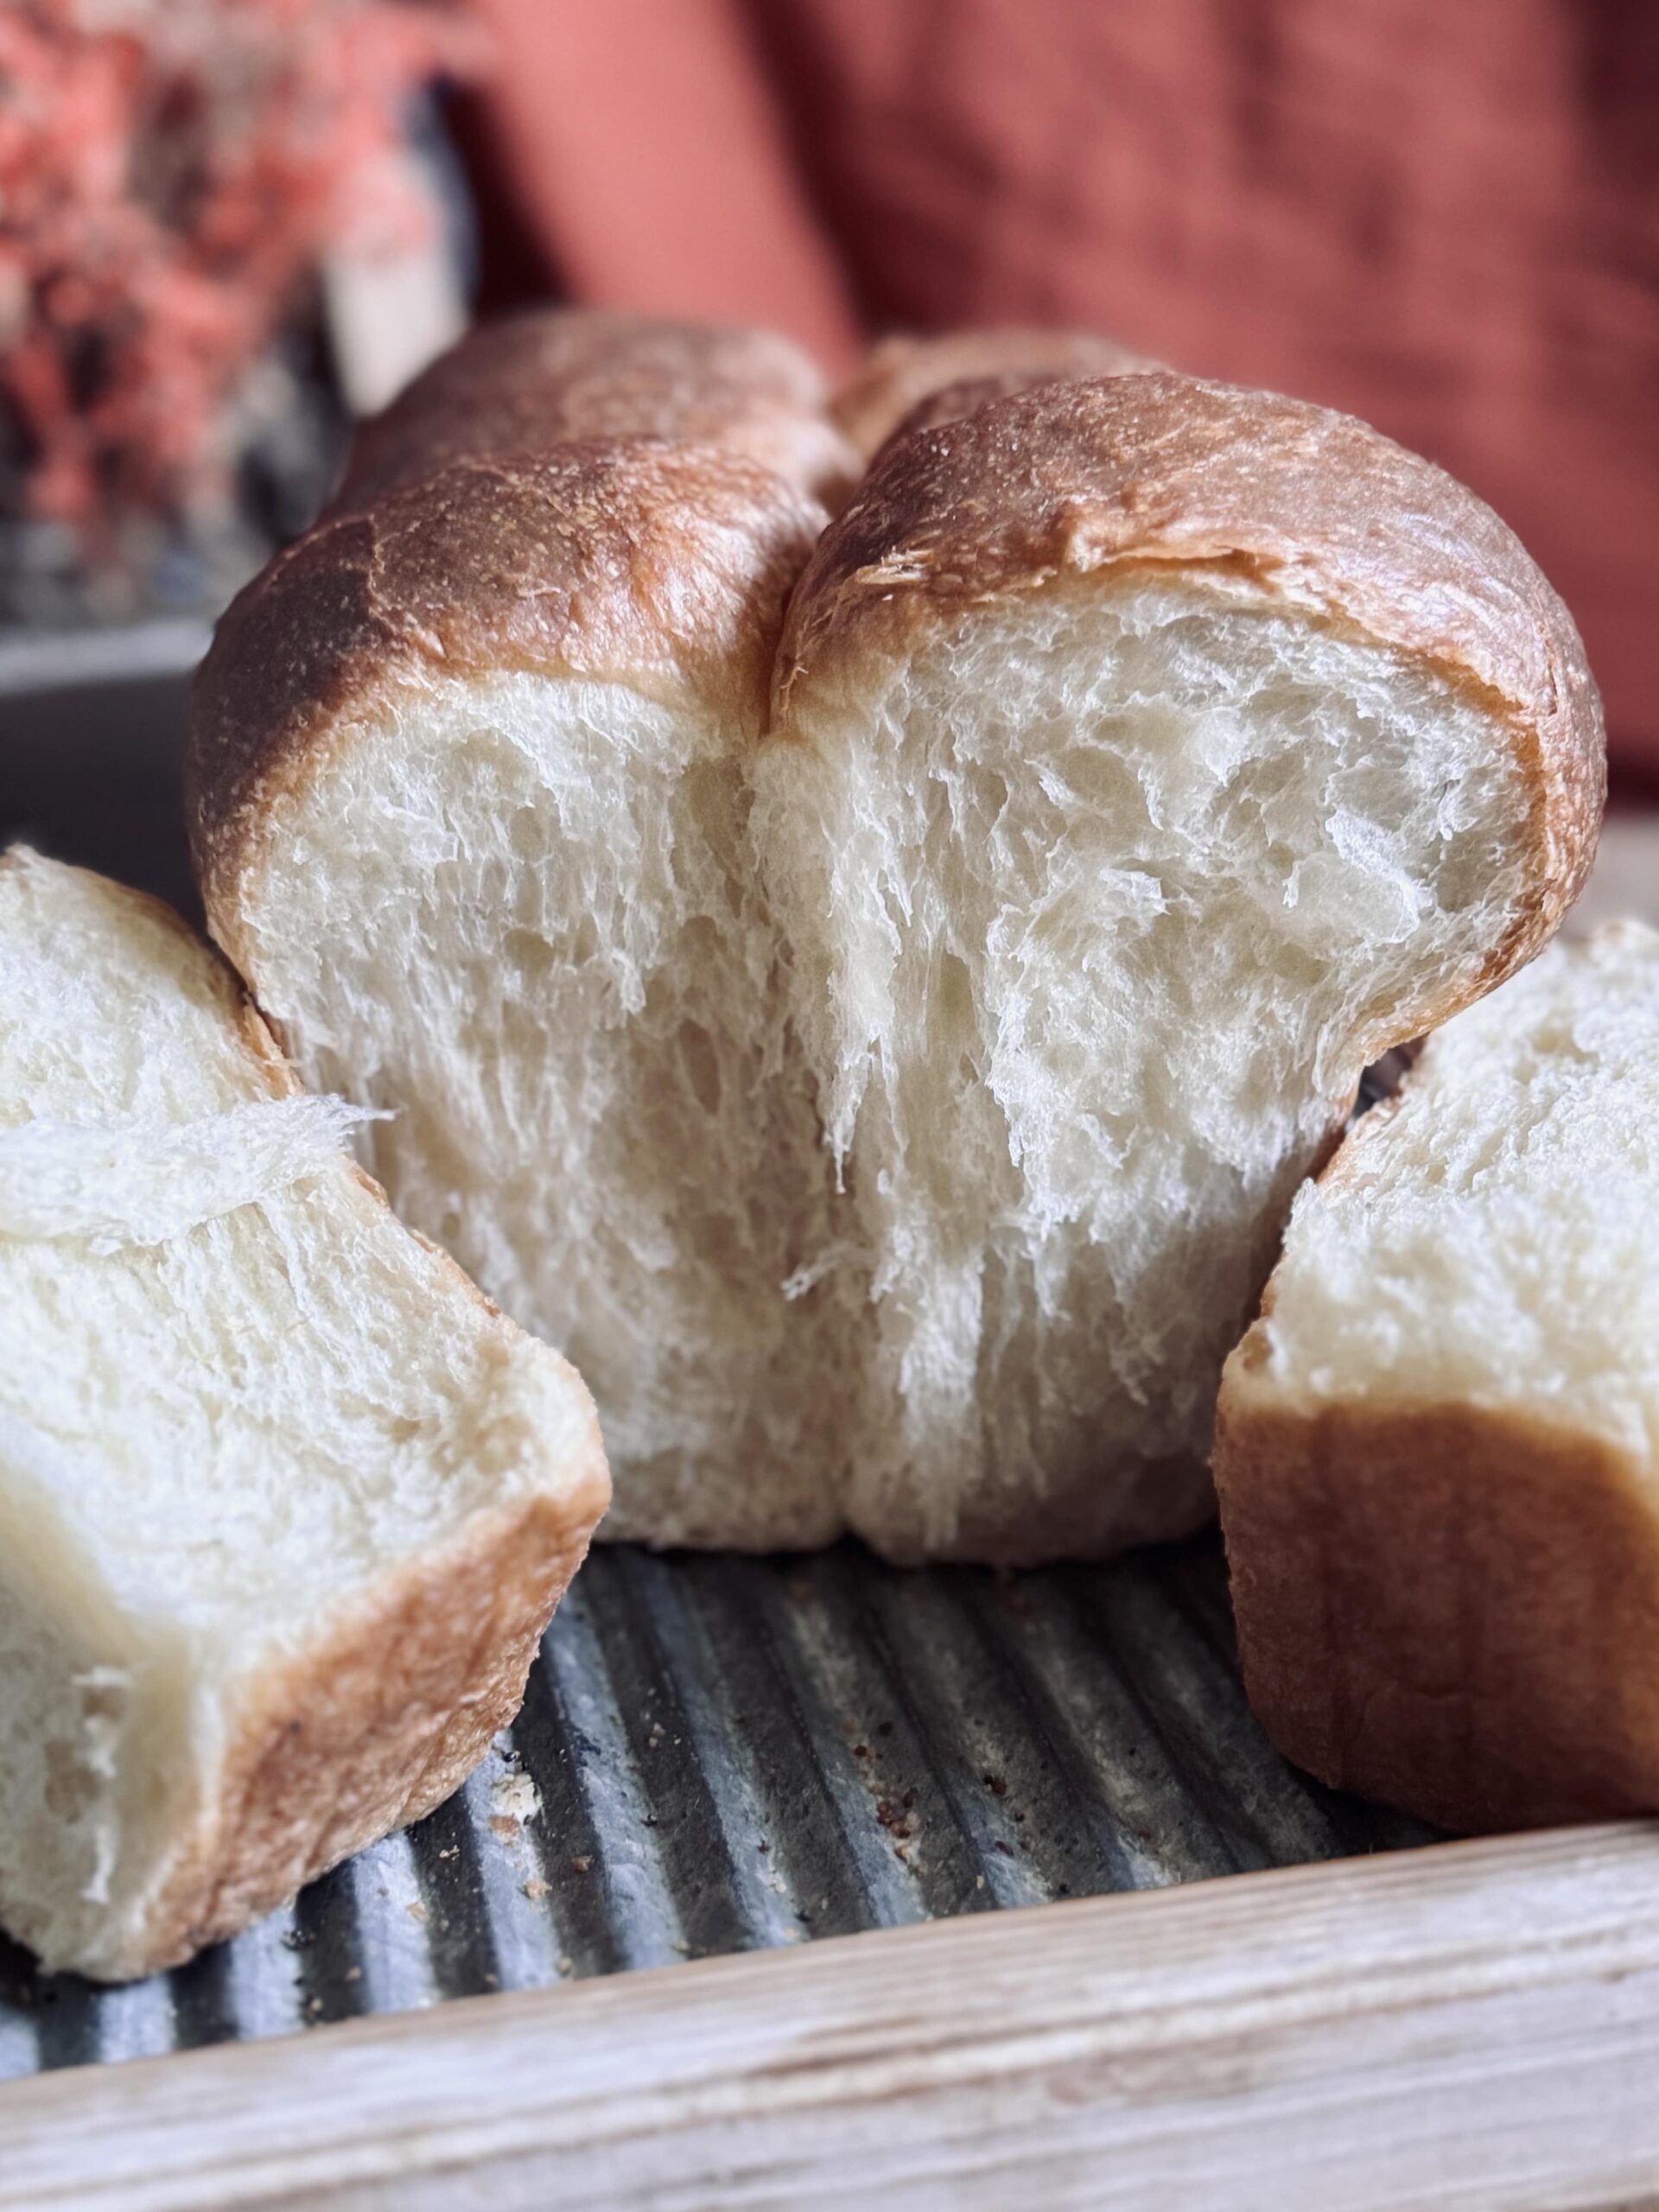
Brioche is a type of French bread made with a high percentage of fat and eggs. These ingredients contribute to a rich flavor, soft and airy texture, golden color, and tender crumb. It is enjoyed in many forms and is used as a base for all kinds of meals, both sweet and savory. Examples include: loaves, rolls, pastries, and desserts. It is perfect for sandwiches and is the number one choice for making French toast.
What Makes Brioche Difficult?
Brioche contains a high percentage – 45% – of added fat (butter, in this recipe), not including the additional added fat from eggs and milk. This extreme amount of fat creates an amazing bread, but a dough that is more difficult to work with. Fat coats gluten proteins, which prevents them from bonding properly to form a strong network. This means gluten will struggle to properly develop naturally, and careful consideration to mixing is extremely important.
But, why is the gluten so important? Without gluten, the dough will not rise properly, both during bulk fermentation and during baking. The dough may be extremely sticky and difficult to shape, and the end result may taste flaky, like a biscuit, instead of tender. In worst case scenarios, the bread may actually deflate after removing from the oven, due to the high percentage of fat and lack of gluten.
Not only is gluten more difficult to develop, the high percentage of added fat can also make the dough greasy and difficult to handle. Special consideration to fermentation, handling, and dough temperature is required to keep the dough from pooling in its own grease, and to keep it manageable during shaping.
Why Is A Good Mixer Important For This Recipe?
This dough must be kneaded to a windowpane up front. While an unenriched dough may only take eight to ten minutes of kneading to achieve a windowpane, an enriched dough like this one can take thirty to forty minutes. By hand, this is an extremely long and treacherous journey, made more difficult by the (again) high percentage of fat, which can be extremely messy.
Some home mixers are not built for this task either. Check the manual for your mixer, and be sure it is safe to endure this long and hard amount of kneading, without overworking the dough or the motor on the mixer.
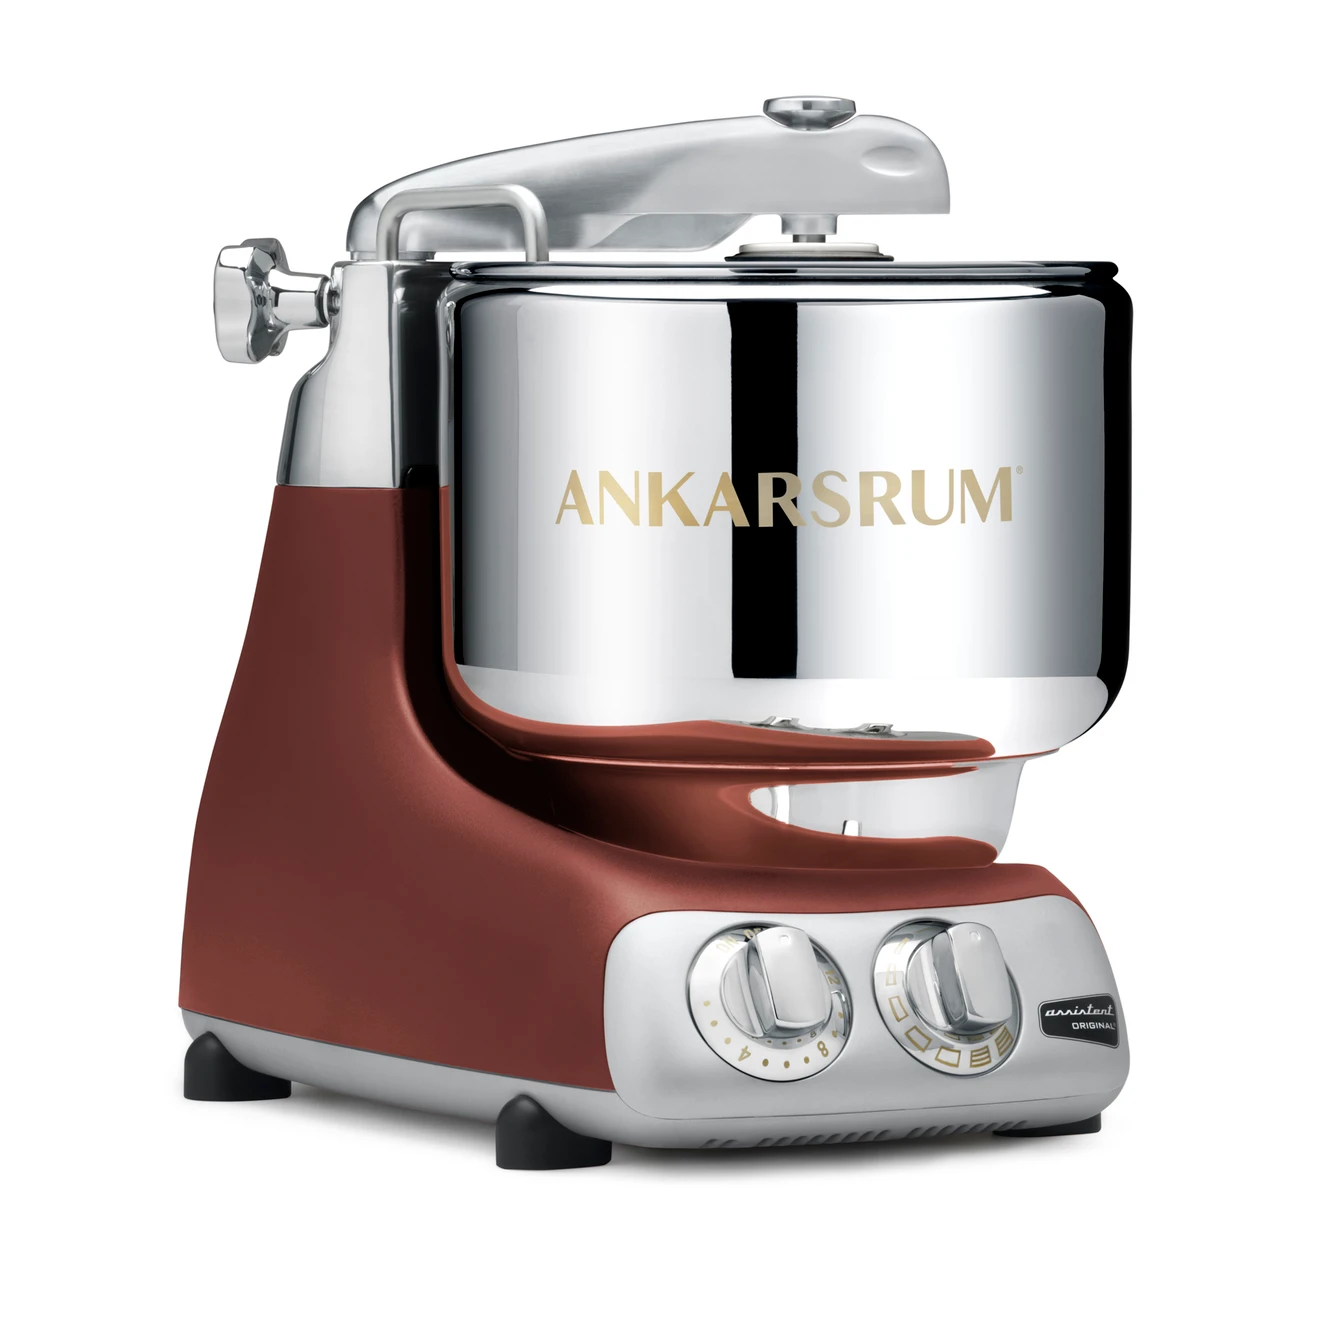
For this recipe, I’ll be using my Ankarsrum stand mixer, which is more than capable of living up to the task. This mixer is designed to knead with efficiency, and is barely phased by even the toughest of doughs (like this one).
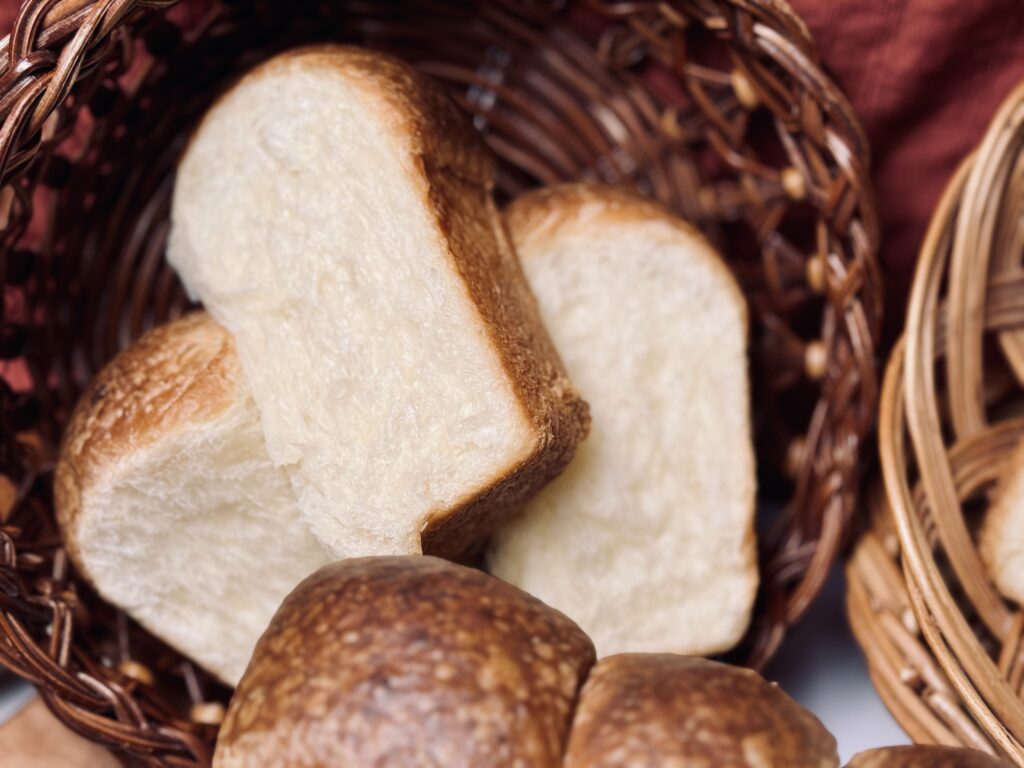
The “Why” Behind The Starter Build
Why Build A Starter (Levain) For This Recipe?
A “sour” flavor is not generally preferred for brioche bread, especially in its use as a base for sweet bread recipes. By building a levain, we can use a formula that helps to reduce overall sourness in the starter and in the bread. To do this, it is important to understand the starter, which consists of yeast and bacteria, and how the formula works to reduce sourness.
Sourness comes when bacteria are favored in the care of a sourdough starter, and when those bacteria are out of balance with the yeast. To limit sourness, it is important to favor the yeast in starter care, which helps create balance in the starter. In this levain formula, I do just this, plus a few additional measures, to limit acidity and reduce overall sourness.
A Small Amount Of Seed
By feeding a small amount of starter with a large proportion of flour and water, any bacteria build-up from the “mother” is diluted. This means that if we leave the levain in the right conditions (i.e. favor the yeast), we already have a head start to less sour bread.
Milk
I use milk, rather than water, to hydrate the starter, giving the bacteria and yeast freedom to move around as they feast on flour and sugar. The specific reason that I chose milk is actually not at all scientific. I wanted the starter/levain to mimic the bread dough itself. This brioche recipe contains milk and eggs as a means of hydration over water, so naturally I chose to hydrate the starter with milk as well.
The good bacteria in your sourdough starter will keep the milk from going bad. This means that you do not have to worry about this levain spoiling before it is added to your dough. If this worries you, it is an option to use water instead.
Egg Yolk
Egg yolks absorb acidity, making them the perfect addition to a sweet starter (where the goal is to get acidity, i.e. sourness, under control). Just like with milk, there is no fear in the egg yolk spoiling, as the good bacteria keep it from doing so.
Normally, I use a sweet stiff starter when I want to reduce overall sour flavor. Instead of creating a stiff starter to help favor the yeast, I keep this starter at 100% hydration and use an egg yolk to reduce acidity instead. It works wonderfully, and there is no hint of sour in my final, baked bread.
If you do not have an egg yolk on hand or, again, this freaks you out, it is an option to replace the egg yolk with additional milk (or water). You could also eliminate the egg yolk altogether to create a stiffer starter.
Sugar
This is one of the most important components of this levain – do not skip it! Sugar is a powerful tool. Added in low amounts, it feeds the yeast and speeds up fermentation. Added in high amounts, it dehydrates yeast cells and potentially stops fermentation altogether. Added in just the right amount, the yeast still thrive, but the bacteria suffer. 10-15% sugar in a recipe or levain creates something called “osmotic stress.” This stress to the bacteria limits their ability to reproduce, which limits acid buildup, thereby limiting overall sourness coming from the starter.
Temperature
In order to favor the yeast, I aim to keep this levain between 73-75 F (22-24 C). Yeast produce most abundantly in these temperatures, while the bacteria in your starter (there are two types – lactic and acetic) favor temperatures both higher and lower than this. This specific temperature helps provide balance to the starter, which translates to how efficiently the starter ferments the bread and how mild the overall sour flavor is.
Optional Folds
Have you ever heard of developing gluten in your starter? While it is not essential, folding this levain one or two times helps to aerate it, which introduces oxygen and stimulates yeast growth. It also provides structure, which helps the levain rise and maintain peak more efficiently.
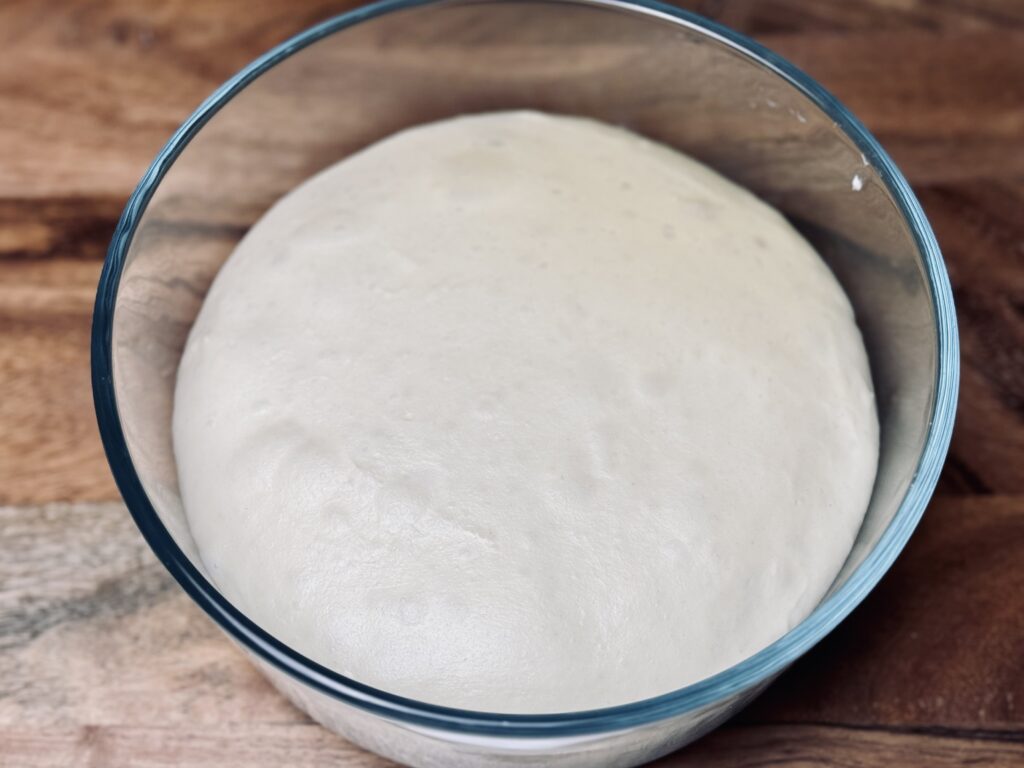
The “Why” Behind The Dough
High Protein Bread Flour
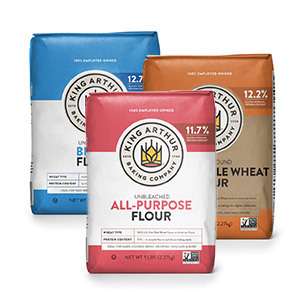
In order to be able to withstand the large amount of fat in this recipe, it is essential to use a high protein bread flour. The protein content should be at least 12.5% or higher. I use King Arthur Bread Flour (protein content 12.7%) for this recipe, which holds the bread together perfectly. Though I have not tested this, it may work to add vital wheat gluten to your dough if you do not have access to a high protein bread flour.
Sugar
Again with the sugar – the purpose it not to sweeten! If we wanted to sweeten the dough, we would need to add more than just 12%. The purpose of the sugar in this dough is the same as the purpose of the sugar in the starter: it provides acidity control. The sugar here works to create osmotic stress, which limits the bacteria’s ability to reproduce and create acid, i.e. sourness.
Eggs
Eggs are the primary source of hydration in brioche. Eggs have a unique effect on bread dough that is simply mesmerizing: they contribute to an extremely light and airy loaf of bread. That’s because proteins in the eggs trap air during the mixing process, which expands during baking. In addition to their affect on the texture of the baked product, eggs also contain proteins that help create structure in the dough, which helps it maintain strength and endurance through fermentation and contributes to the dough’s ability to support all of the added fat.
Milk
Milk also contributes to the hydration of this dough. Milk (as opposed to water) adds a subtle sweetness and enhanced richness to the dough. It also acts as a tenderizer, which is perfect for a soft bread like this one, and encourages browning in the final baked product.
Cold Ingredients
Cold ingredients (namely the milk and eggs) are necessary to helping control dough temperature during mixing. Because this dough has a long mixing time, friction factor plays a role in heating up the dough a considerable amount. Starting with cold ingredients helps keep the dough from getting too warm during mixing.
Butter
Butter is the main source of fat and flavor in classic brioche. Using a high quality butter will enhance the flavor of this bread significantly.
It is important that the butter is at room temperature during mixing (not too soft, not too firm). Neither a butter that is too cold or a butter that is too warm will incorporate into the dough correctly. The butter needs to be warm enough that is can dissolve into the dough without issue, but cool enough that it does not melt and cause a greasy mess during mixing.
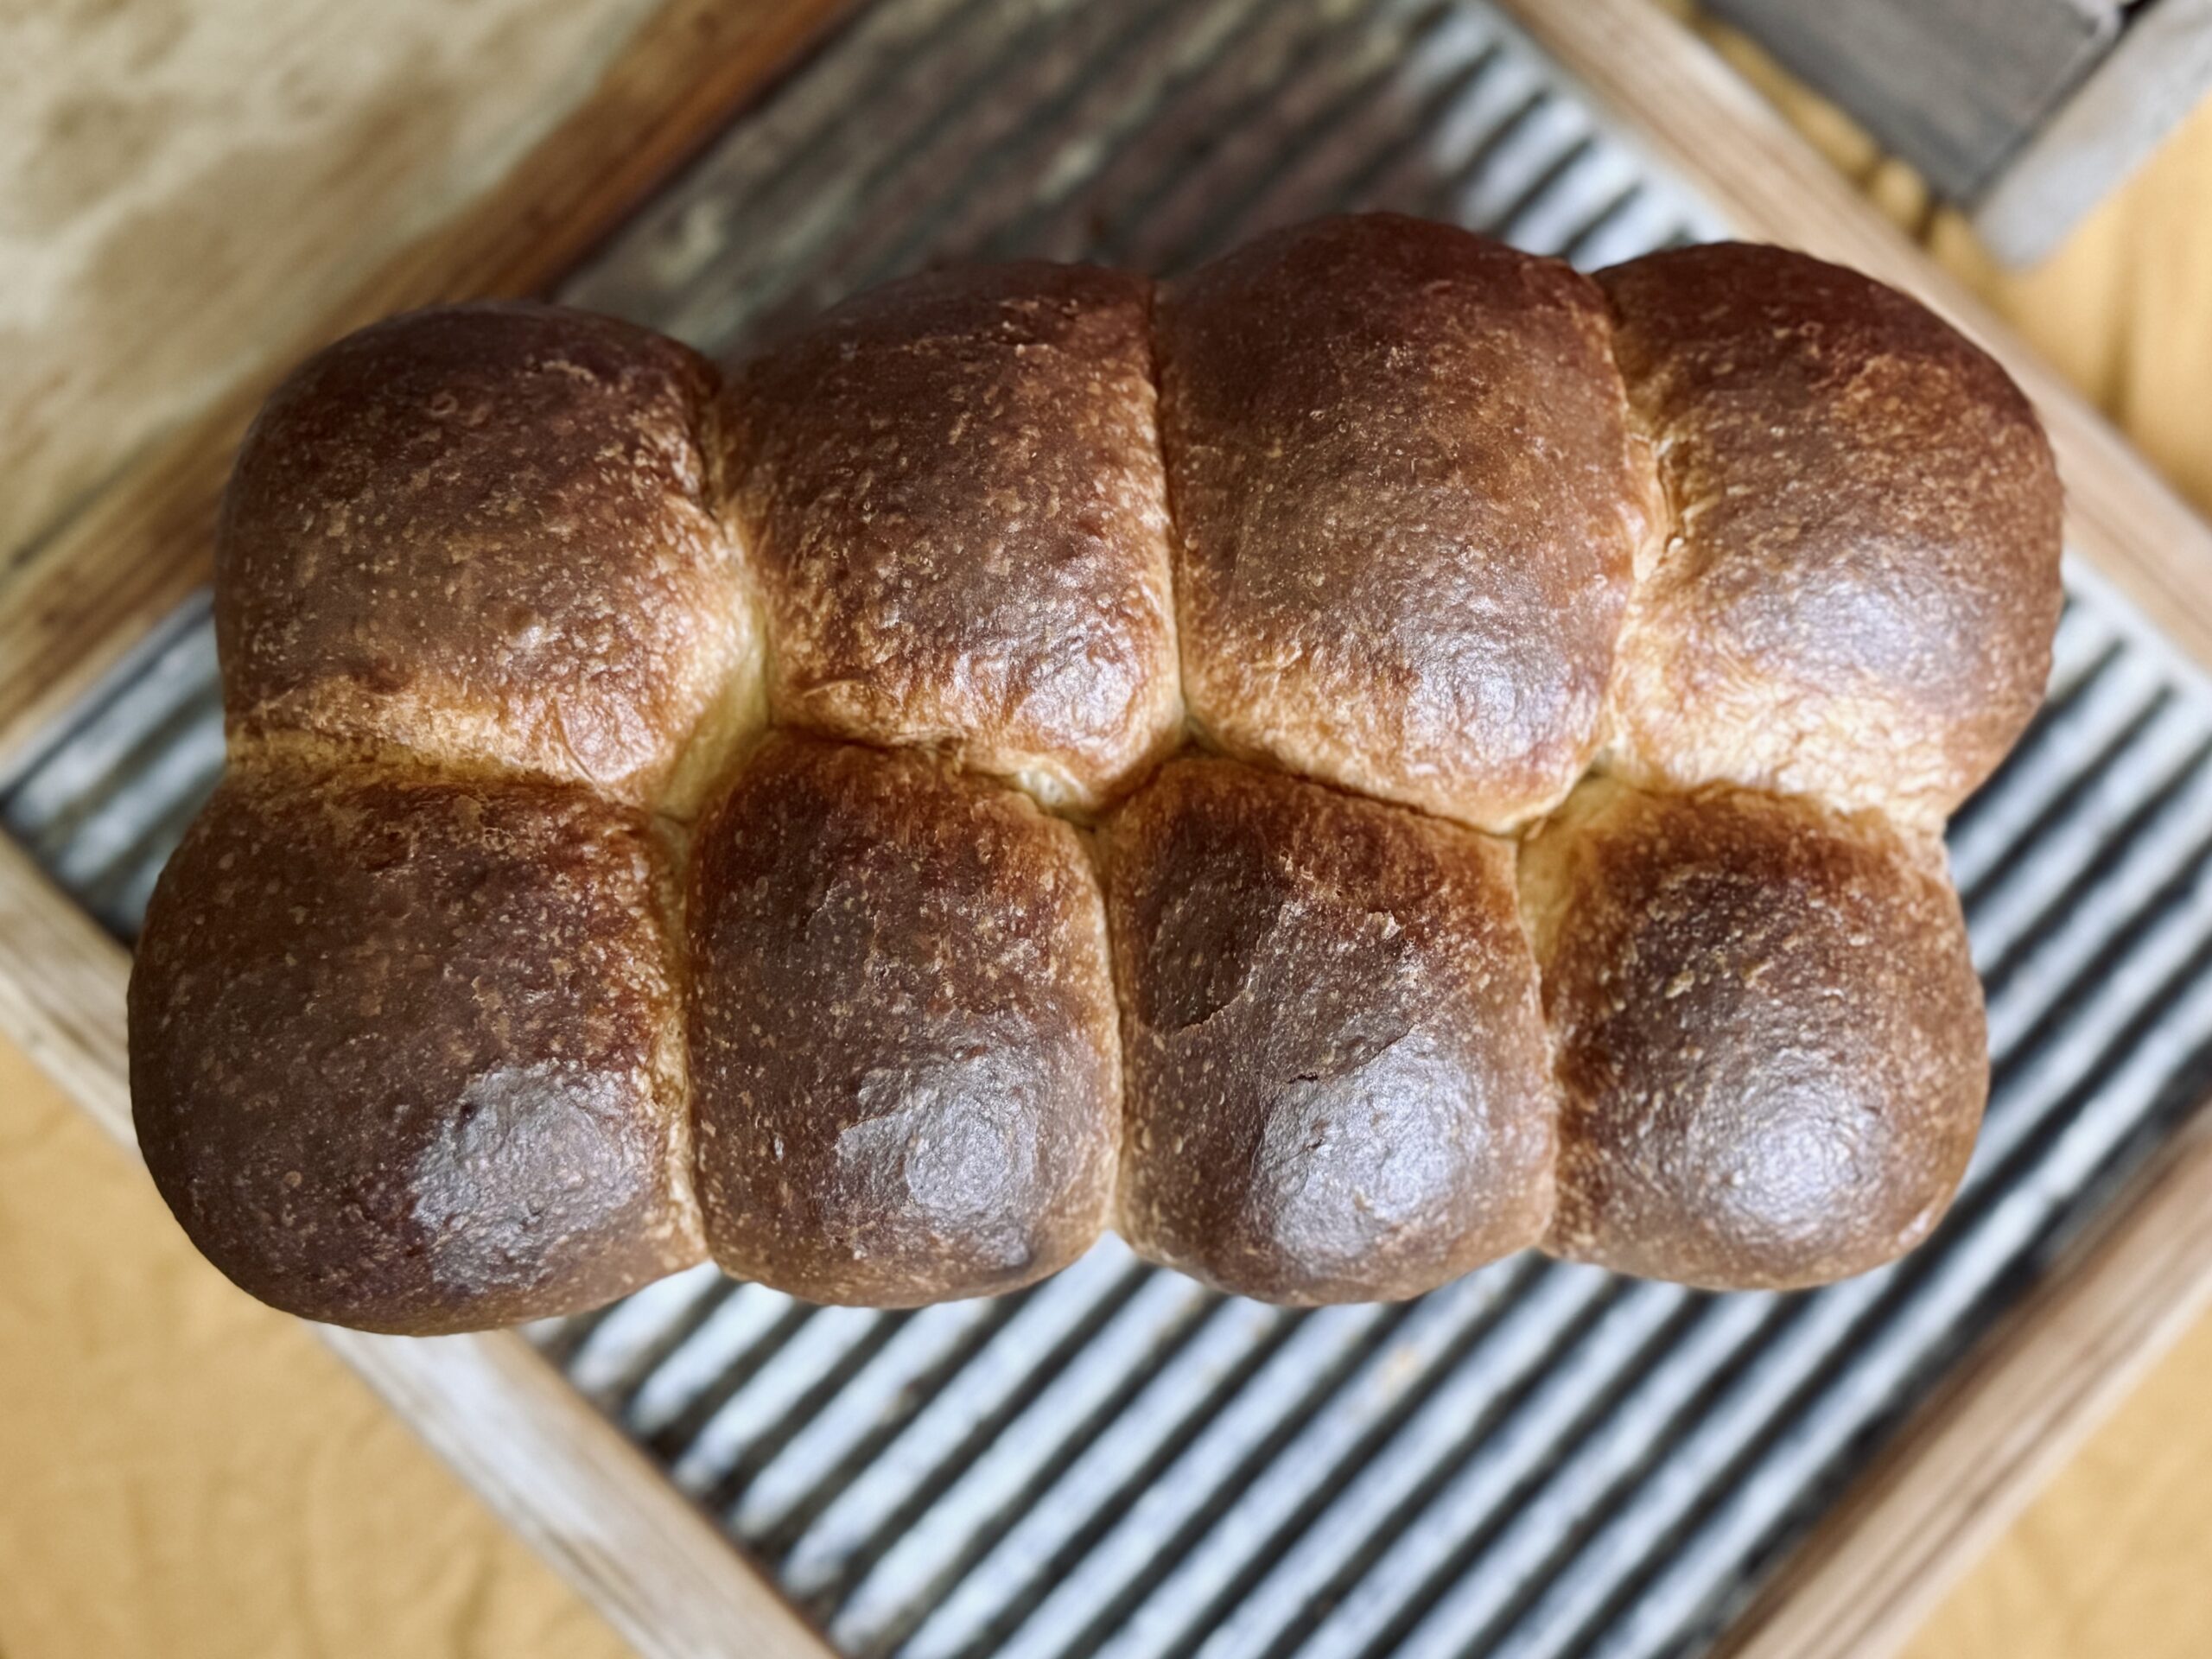
The “Why” Behind The Process
Mixing
The technique behind mixing is incredibly important in this recipe. First, we start mixing on a low to medium-low speed until the ingredients are fully combined and the mixture forms one cohesive mass of dough. This step simply brings our dough together and hydrates the proteins in the flour before the speed is increased and the focus shifts from combining ingredients to forming gluten. Too fast a speed during this initial mix can start to organize gluten that is barely created, negatively impacting the development of the dough.
In order to ensure gluten is developed without over-working or over-mixing the dough, we work to create a strong (but not a fully developed) dough through the next stage of mixing (before copious amounts of fat are added). This stage of mixing can also be referenced as “kneading” the dough. For this step, we can increase the speed on the mixer to medium and work the dough until it comes together and builds some strength, but is not fully developed. Working the dough on a higher speed will contribute to a more extensible dough, which helps the dough expand during fermentation and have a more pronounced oven spring. We can use the “pull test” to see if our dough is gaining strength. If we can pull up on the dough without it falling apart, it is ready to take on fat.
Next, we reduce the speed again in order to incorporate butter. The butter is added, one pat at a time, and mixed until fully dissolved. It can take twenty to twenty-five minutes to incorporate all the butter, which is another reason why having a quality stand mixer is important for this recipe.
The dough may be at a complete windowpane once the butter has been fully incorporated, and if that is the case, we can stop mixing, gather up the dough, and proceed with bulk fermentation. But, if a windowpane still is not present, we can increase the mixing speed again, checking the dough every one to two minutes, until a windowpane is formed. Because of the high percentage of fat in brioche, it is essential to obtain a complete windowpane by the end of mixing for the best fermentation experience.
Ankarsrum Assistent Original Stand Mixer
Though I have not tried every home mixer, I have tried a few and my Ankarsrum remains at the top of the list. Home mixers are meant to be versatile and affordable, able to whip meringues, mix cookies and cakes, knead bread dough, and more. The problem is that while many home mixers can knead bread dough, they are not truly cut out for the task. By design, many home mixers fail to hold up to the task of working doughs that contain more liquid or require longer mixing times. My Ankarsrum mixer can do both of these things with ease, without risking the mixer’s life (i.e. burning the motor or breaking the machine) or overheating bread dough (which degrades fermentation quality). This is why I highly recommend an Ankarsrum stand mixer for this recipe: it is sturdy, gentle on the dough, and holds up to the task. You can find a list of authorized Ankarsrum retailers here.
Fermentation
Bulk fermentation for brioche requires special consideration to dough temperature. Dough temperature is important for two reasons: 1) the high percentage of fat (butter) and 2) our attempt to favor yeast (over bacteria) production for reduced sourness. If the butter melts, the dough becomes greasy and difficult to manage. We want to keep the butter soft and pliable (room temperature, 70-75 F or 21-24 C), rather than melted and messy. This same temperature (70-75 F or 21-24 C) is also ideal for favoring yeast production, which contributes to a reduced sour flavor.
This dough can be fermented to triple in size during bulk and double in size again during the final proof. Fermenting to this extent will contribute to the lightest, airiest brioche, which is full of gas and air from yeast production.
Refrigeration
This dough must be refrigerated for a minimum of two hours, or up to twelve hours, before handling for shaping. Handling this buttery dough can be messy, as your hands transfer warmth to the dough. A cold dough makes shaping much more manageable and a lot less messy.
I do not recommend refrigerating the dough for more than twelve hours. A longer refrigeration time leads to more complex, and eventually sour, notes in the baked bread. The temperatures from the refrigerator favor the production of acetic acid bacteria and slow yeast production, which in small amounts can be preferable (and in some breads desirable), but is not ideal for brioche.
Shaping
Brioche is a bread that is incredibly versatile and can be shaped in many different ways. This bread can be used as a base for pastries, desserts (like cinnamon rolls, babka, and pull-apart bread), and savory dishes (like sandwich breads, hamburger buns, or dinner rolls). This recipe makes two (1 lb) loaves, so I share just two of the many options. With brioche, bread pull is generally emphasized over openness of crumb, and I like to shape it in a way that shows this off.
Wash Options (And Why I Don’t Include One)
Generally, brioche is brushed with an egg wash. The purpose of an egg wash is simply to add color and/or shine to the top of baked goods. Brioche contains milk, a hefty amount of egg, and sugar: ingredients that contribute to the Maillard reaction and enhance browning in the oven. Typically, milk-based breads are baked at low temperatures (350 F; 175 C) to prevent burning on the outside before the inside is fully cooked. However, this recipe utilizes a higher baking temperature (400 F; 205 C), which bakes and browns this well-fermented brioche perfectly, without the use of an egg wash.
Other wash options include butter or an egg white wash. Butter works to keep the loaf soft during baking, which I do not find necessary due to the already copious amounts of butter inside the dough. Brushing the loaves with butter after baking is also an option for the same effect. Last, an egg white wash simply adds shine to the top of of the bread, rather than color, and is a great option if this is a characteristic you are after in brioche.
Baking
These loaves are simple to bake, as they do not require the preparation of steam or a wash. Simply stick them in a preheated, 400 F (205 C) oven and bake for 35-40 minutes, until the internal temperature reaches 200 F. This temperature is just right for gaining a gorgeous oven spring, as well as perfectly browning the exterior of the loaves.
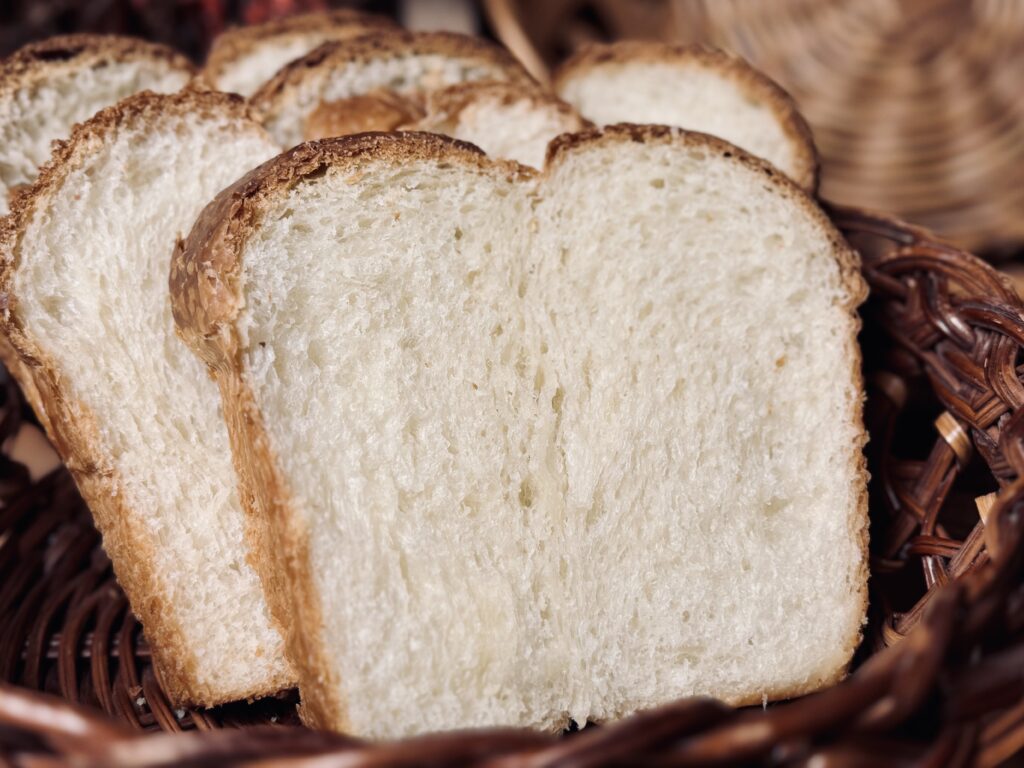
Suggested Timelines
Suggested Timeline
DAY 1
9:00 a.m.
- Make the sweet starter.
9:00 p.m.
- Mix and knead the dough.
9:30 p.m.
- Begin bulk fermentation.
DAY 2
7:00 a.m.
- Transfer dough to the refrigerator.
9:00 a.m.
- Shape and proof the brioche.
4:00 p.m.
- Bake and enjoy!
Overnight Timeline
DAY 1
9:00 p.m.
- Make the sweet starter.
DAY 2
9:00 a.m.
- Mix and knead the dough
9:30 a.m.
- Begin bulk fermentation.
6:30 p.m.
- Transfer dough to the refrigerator overnight.
DAY 3
8:00 a.m.
- Shape and proof the brioche.
2:00 p.m.
- Bake and enjoy!
📌 Quick Tip: Read the recipe in its entirety before you start cooking. This will help you understand the ingredients, steps, and timing involved, and allow you to prepare any necessary equipment or ingredients beforehand.
Brioche
Ingredients
Sweet Starter Build
Main Dough
Instructions
Make the sweet starter.
-
Twelve hours before you plan to mix the dough, mix all ingredients for the sweet starter in a quart-size container. Cover and rest at room temperature (73 F; 23 C) for 12 hours.
-
Optionally, give the sweet starter one set of stretch-and-folds 60 minutes and 120 minutes into fermentation.
Mix the dough.
-
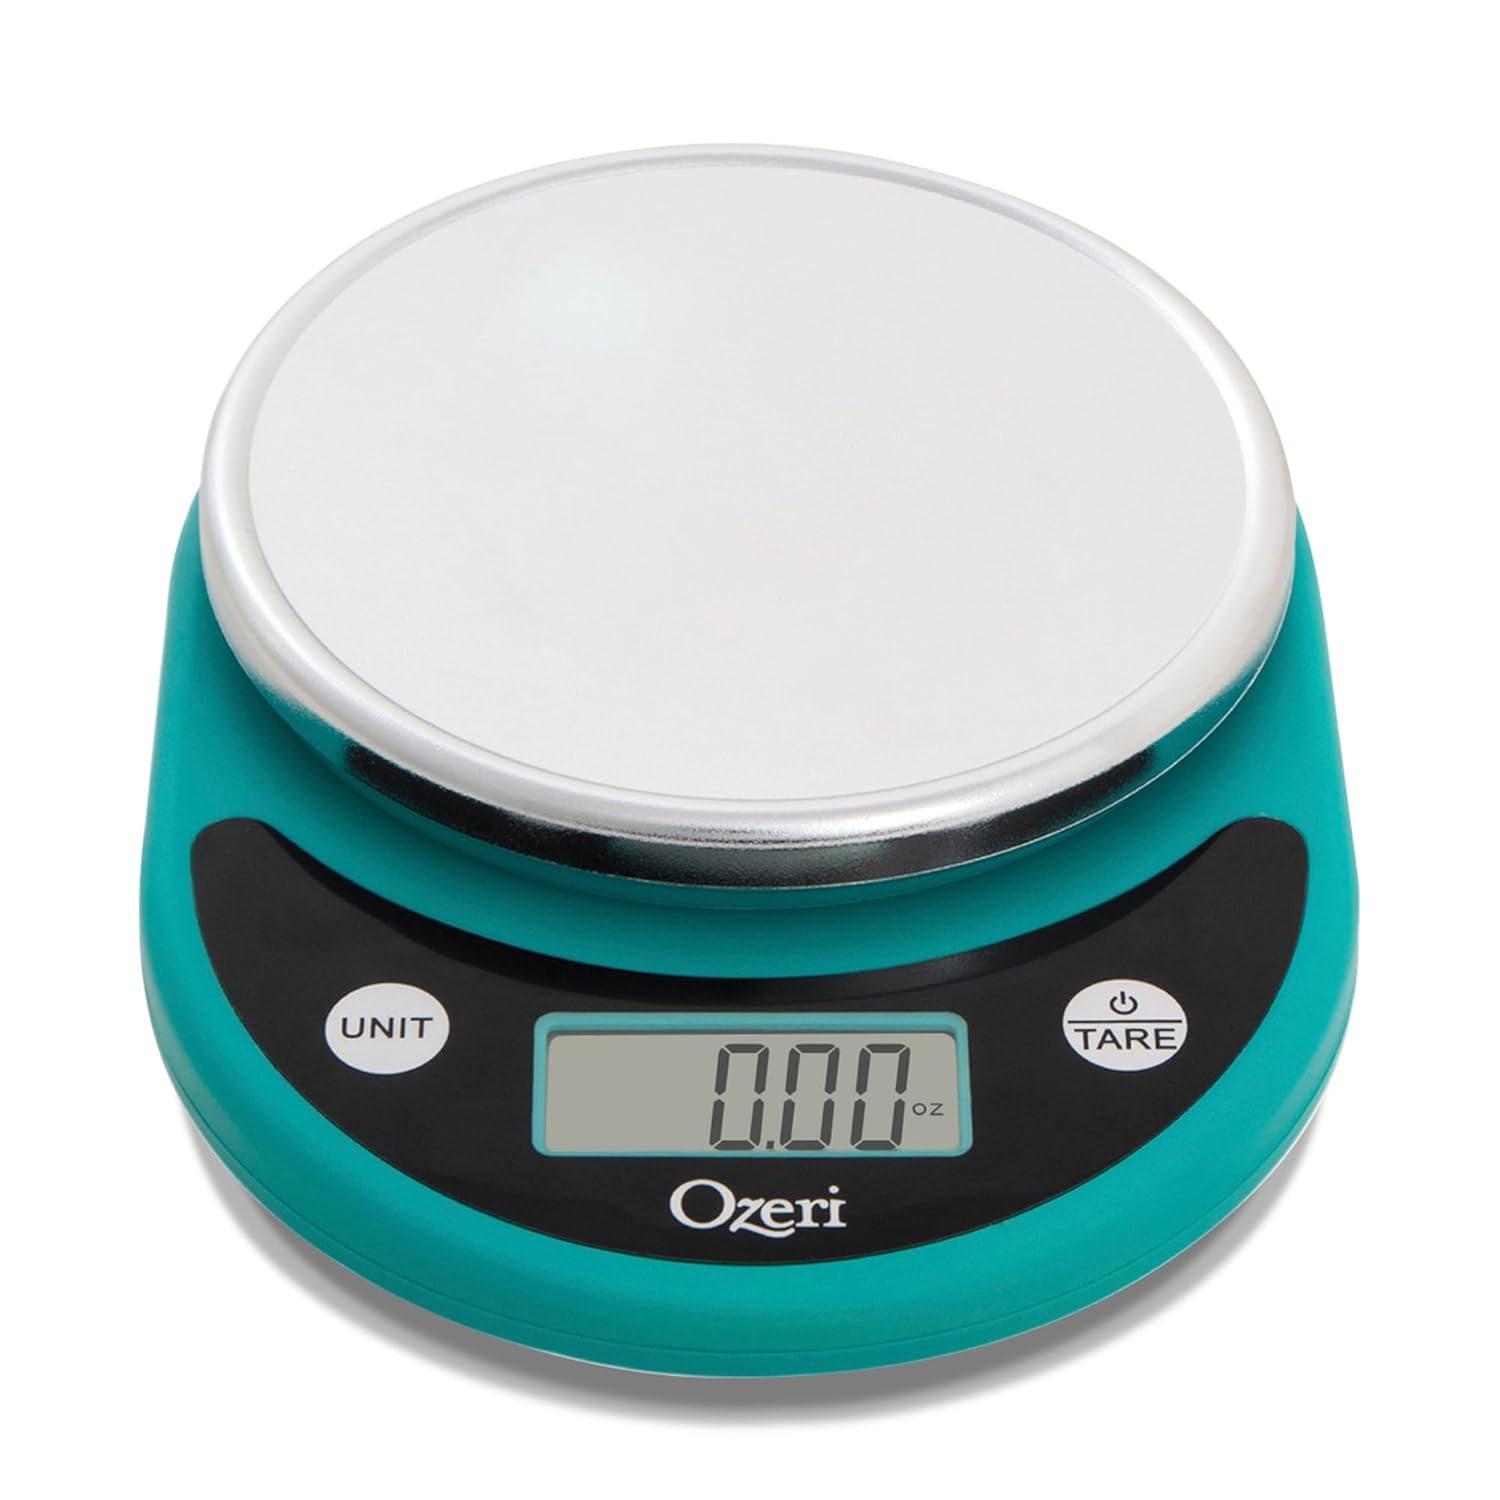
In the bowl of your Ankarsrum stand mixer, scale and whisk the high-protein bread flour, sugar, and salt. Add the egg, milk, and sweet starter. Roughly mix, then transfer to the base of the stand mixer.
-
Using the dough roller and scraper attachments, knead the dough on a medium-low speed, 2-3 o’clock, for about two minutes, until all ingredients are well incorporated and form one cohesive mass of dough.
-
Increase the speed to medium, 3-4 o’clock, and knead the dough until it builds some strength, but is not at a complete windowpane, about six minutes. You should be able to pull up on a section of dough without it tearing. Be sure to position your roller close enough to the side of the bowl that it works the dough against the bowl, but far enough away that it is not rolling the dough completely upwards or that the roller is not being forced aggressively into the middle of the machine.
-
Reduce the mixing speed back down to medium-low, 2-3 o’clock. Drop the butter, one pat at a time, into the center of your mixer, aiming for the very bottom of the dough roller. Mix each pat of butter until it absorbs into the dough before adding the next. It should take about 20-25 minutes to add all the butter in this manner. Pause mixing and scrape down the dough roller and scraper as necessary
Check the dough temperature using an instant read thermometer and make sure it does not exceed 78 F (26 C). By the end of mixing, my dough temperature has never exceeded 75 F (24 C) when using my Ankarsrum. Cold ingredients are important to keeping the dough temperature down during this long mixing time. -
After all the butter has been incorporated, check your dough for a windowpane. If you can easily stretch the dough to a see-through consistency without it tearing, you are finished mixing the dough. If the dough tears easily and will not stretch, increase the mixing speed to medium, 3-4 o’clock, and knead a few more minutes until you have achieved a clear windowpane (checking the dough every 1-2 minutes).
Bulk ferment the dough.
-
Scrape down the sides of the mixer and perform a few coil folds to gather the dough into a cohesive mass. Transfer the dough to a 3.75 quart glass bowl or plastic container with a lid.
-
Let the dough rest until it reaches the top of the container (almost triple in size). The time it takes to bulk ferment this dough is 8-9 hours at 70 F (21 C).
Be mindful of fermenting temperatures. The temperature needs to be warm enough to ferment the dough properly, but cool enough that the butter does not begin to melt or become greasy. 70-73 F (21-23 C) is ideal for this dough.
Refrigerate the dough.
-
Place the dough in the refrigerator for two, or up to twelve, hours. Cooling the dough is necessary to keep the butter manageable during shaping.
The longer the dough is in the fridge, the more complex the flavors of your brioche become. To avoid a sour flavor in this recipe, I recommend no more than twelve hours of refrigeration time. -
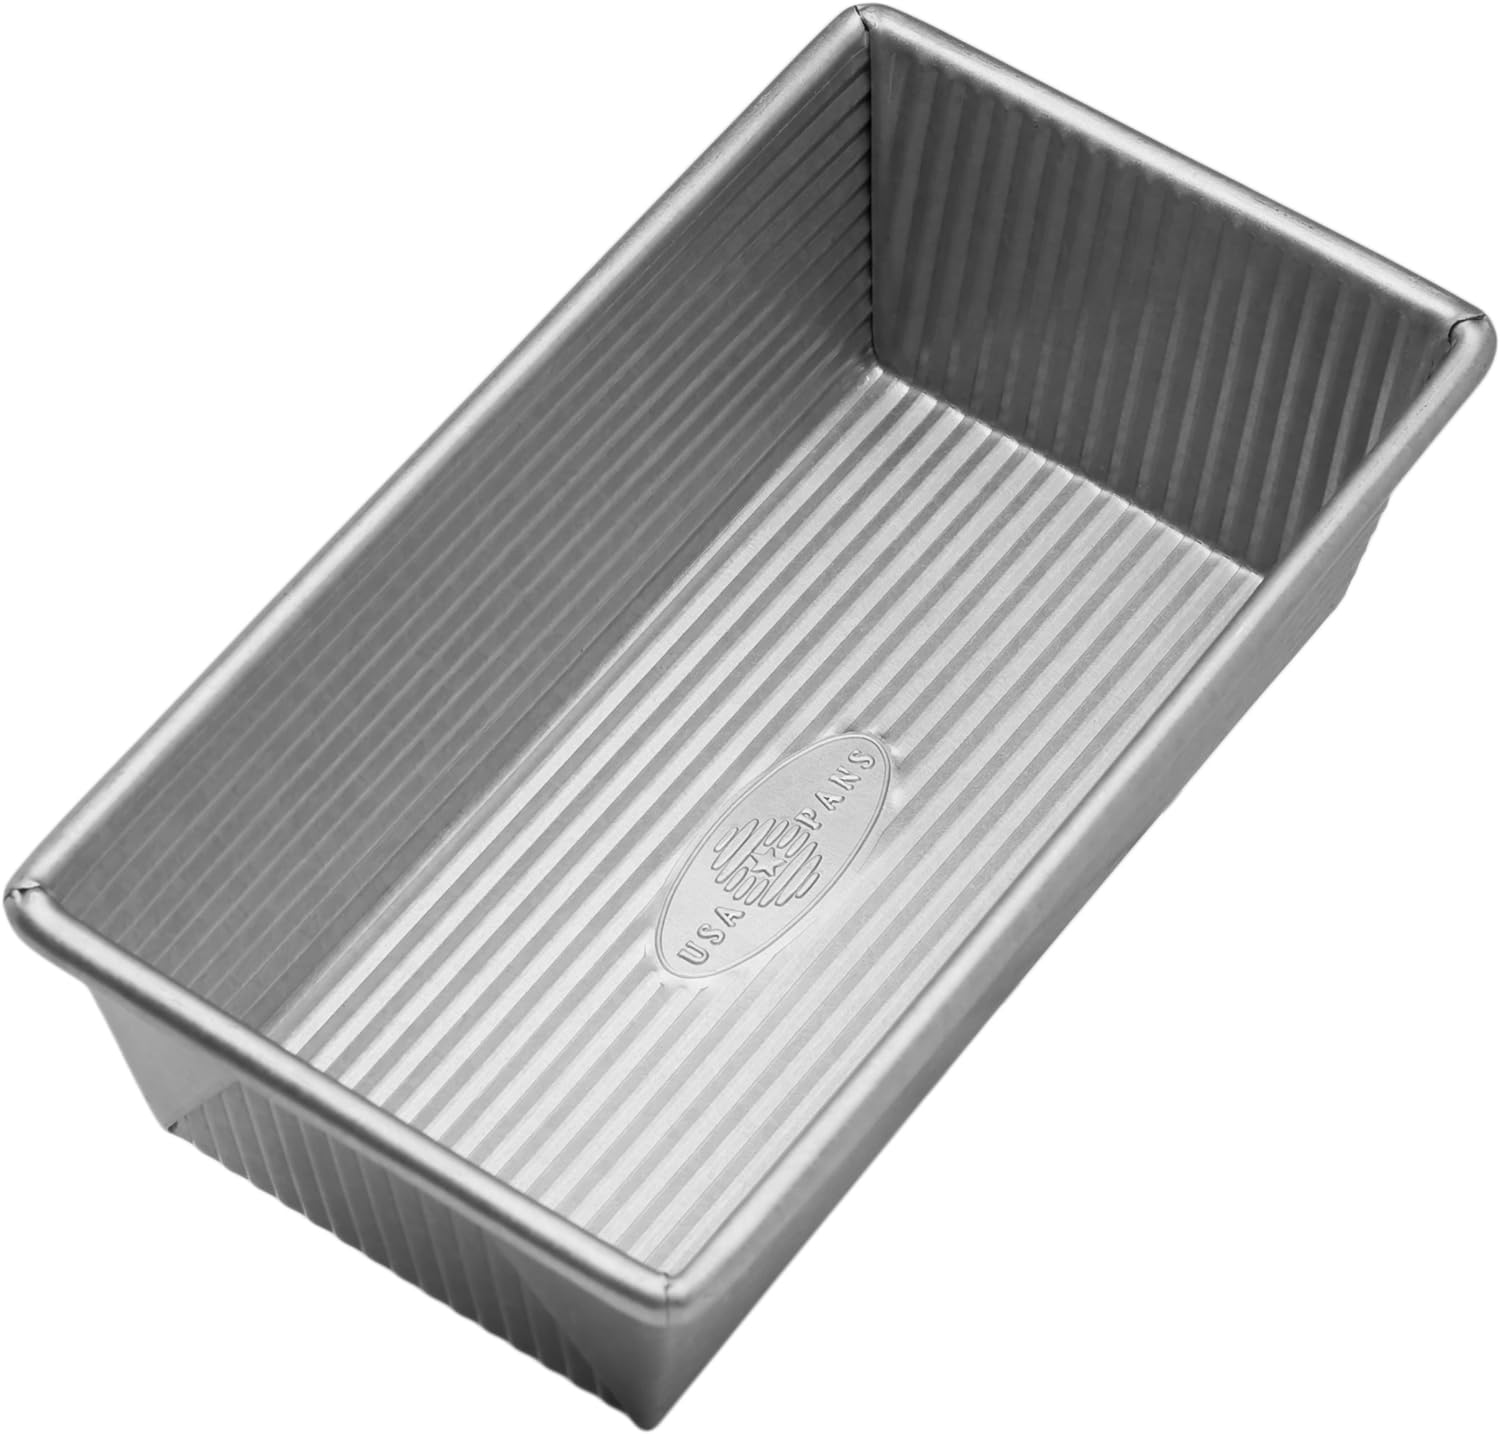
Prepare two (1 lb) loaf pans by brushing all over with softened or melted butter.
Shape the dough.
-
Remove the dough from the fridge and divide it into two sections, approximately 735 g each. Place one section back in the refrigerator while you shape the first loaf.
-
There are many options for shaping brioche. Below are simply my two favorites.
- Option 1: Divide the dough into eight sections, 90-92 g each. Shape each section into a round, adding each round to the greased loaf pan as it is formed.
- Option 2: Lightly flour a working surface. Roll the dough out into a rectangle and divide into 15-18 sections. The sections will be more like rectangles, not squares, and it is okay if they are not exactly the same size, as I think it adds character to the final bake. Place one of the greased loaf pans vertically next to your working surface. Stack each piece (one on top of the other), making sure the long side of each rectangle is in line with the bottom of the loaf pan. Turn the loaf pan back to its normal, horizontal position and give it a little shake, if needed, to ensure the sections are evenly spaced.
Proof the dough.
-
Cover the pans and let the dough proof until the dough reaches the top of the pan (about double in size). This takes about 5-7 hours at 70 F (21 C), depending on how long the dough was left in the fridge.
-
When the dough is nearly ready to bake, preheat your oven to 400 F (205 C).
Bake the brioche.
-
Bake the brioche loaves for 35-40 minutes; the internal temperature should register 200 F (94 C).
-
Optionally, brush with butter after baking. Enjoy!
Nutrition Facts
Servings 16
- Amount Per Serving
- Calories 310.54kcal
- % Daily Value *
- Total Fat 14.27g22%
- Saturated Fat 8.07g41%
- Cholesterol 96.82mg33%
- Sodium 223.1mg10%
- Potassium 92.59mg3%
- Total Carbohydrate 37.54g13%
- Dietary Fiber 1.06g5%
- Sugars 6.45g
- Protein 7.71g16%
- Vitamin A 131.47 IU
- Calcium 39.67 mg
- Iron 1.87 mg
- Vitamin D 0.56 IU
- Vitamin E 0.65 IU
- Vitamin K 1.22 mcg
- Thiamin 0.29 mg
- Riboflavin 0.28 mg
- Niacin 2.6 mg
- Vitamin B6 0.05 mg
- Folate 23.5 mcg
- Vitamin B12 0.25 mcg
- Phosphorus 94.26 mg
- Magnesium 14.52 mg
- Zinc 0.64 mg
* Nutrition values are auto-calculated and should be used as an approximation only.
Notes
- Storage: Cool the loaves completely before storing. Store at room temperature in a bread bag or ziploc bag for up to five days.


