About This Recipe
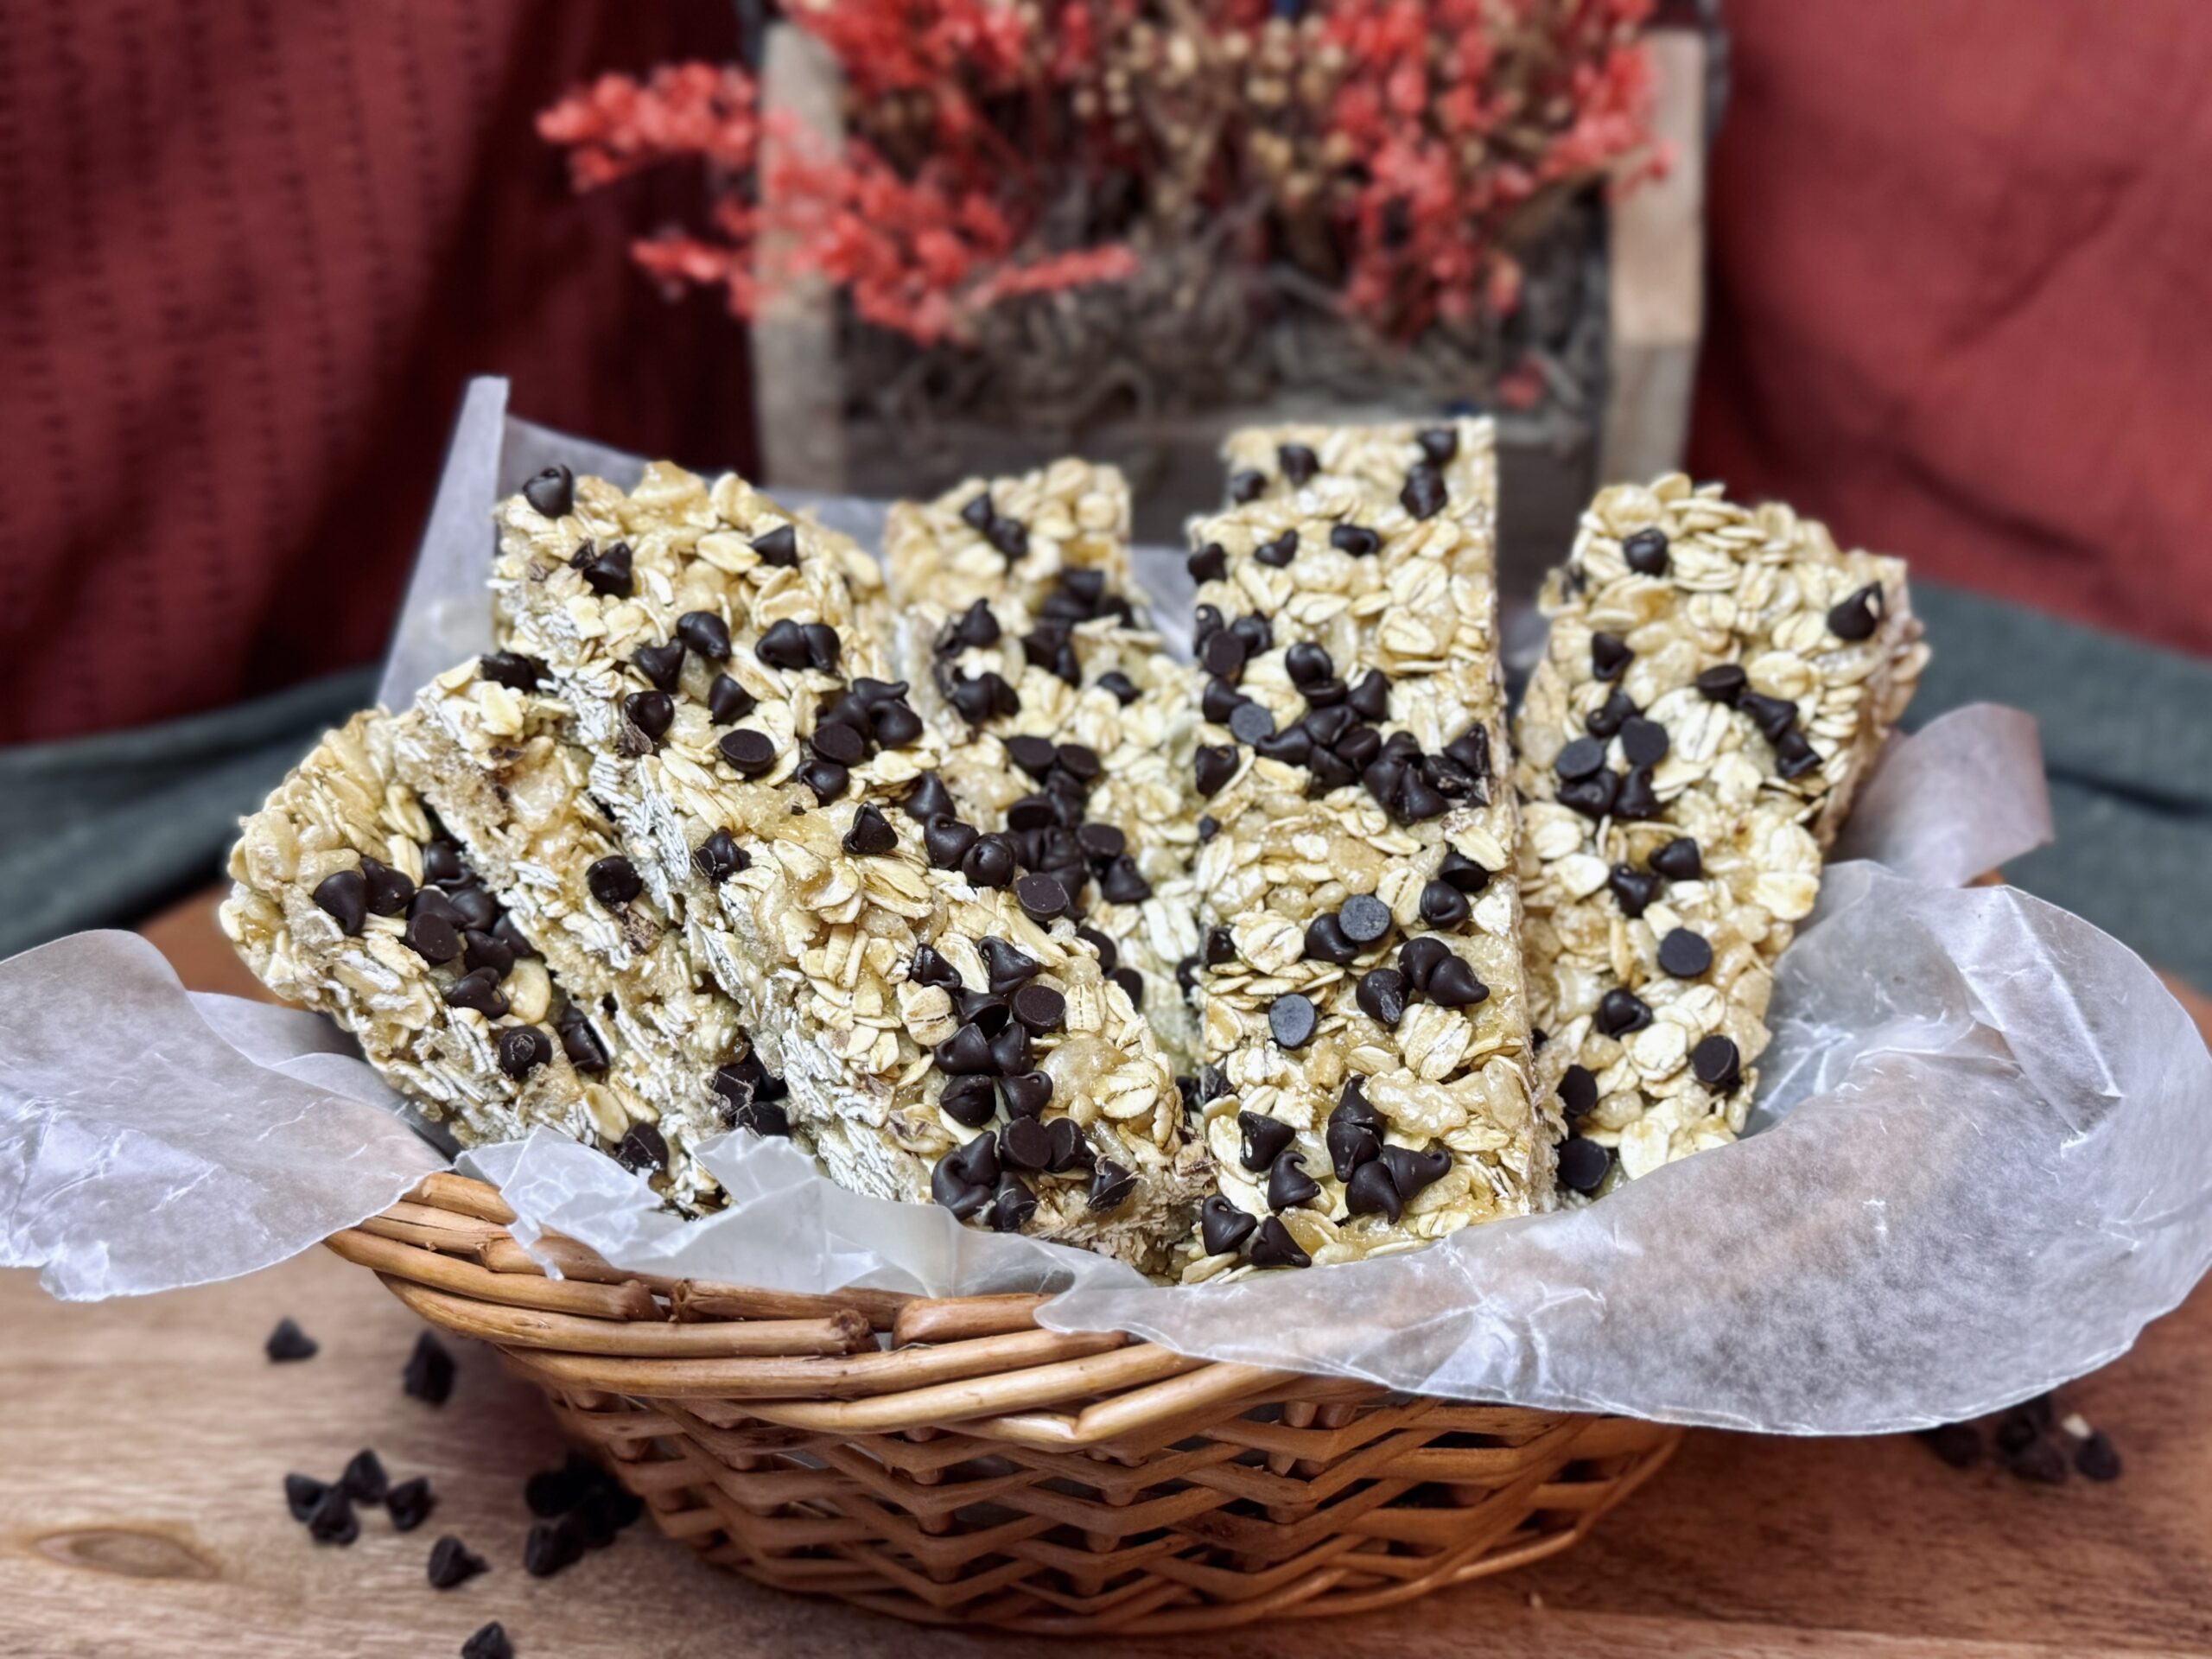
Who doesn’t love a good granola bar? They’re the perfect grab-and-go snack, a lifesaver on busy mornings, and just the right amount of sweet to curb those mid-afternoon cravings. This base recipe for granola bars is packed with flavor-enhancing techniques and is a creative way to use your sourdough discard.
What Are Granola Bars?
Granola bars are snacks made from oats, nuts, dried fruits, and sweeteners like honey or sugar. They are pressed together and baked or chilled until firm, making them easy to grab and eat on the go. Granola bars can be chewy or crunchy and come in lots of flavors to suit everyone’s taste!
What I Love About This Recipe
This is a base recipe for chewy granola bars that is packed with flavor-boosting steps like toasting oats and browning butter. It uses just a few basic ingredients, keeping things easy and straightforward for a tasty snack. In the future, I hope to build on this recipe with fun variations to fit different tastes and preferences (I’d love to hear your ideas!). But for now, let’s start with the basics—this recipe is the perfect place to begin.
All The “Why’s”
The Base
Granola bars start with a granola base. For this recipe, I keep things simple with just oats and crispy rice. The proportions of each dry ingredient in the base affect the texture, consistency, and chew of the granola bars. Let’s talk about each:
Oats
Oats are the main character. They keep the bars soft enough to chew without being too hard on the teeth and are the main contributor of flavor and texture.
I usually use rolled oats (also called “old-fashioned oats”); however, quick oats will work here as well. Quick oats are more processed than rolled oats (steamed for longer and cut into smaller pieces), meaning they cook faster than rolled oats. The difference here will be texture: rolled oats will be chewier, as they will not soften as quickly or absorb as much moisture from the binder, while quick oats will be softer, as they will quickly cook when introduced to the hot binder.
Steel cut oats are not an option for this recipe. Steel cut oats are less processed than rolled oats, meaning they have to be cooked first. While rolled oats are partially steamed and then rolled (to make for quicker and easier cooking), steel cut oats are just whole oat groats cut into two or three small pieces. Due to their lack of cooking, they are too firm to create the right texture in a granola bar.
Why Toast Them?
So many things I do in this recipe are about enhancing the depth of flavor, and this is one of them. Toasting the oats helps bring out their natural nuttiness, contributing to a warm, toasty aroma. However, there are other benefits, too. Toasting oats also helps improve the texture of the granola bars, making them slightly less chewy, and reduces the moisture content of the oats, which helps the oats absorb the binding agents more effectively (helping the bars hold their shape and stick together better).
Crispy or Puffed Rice
Crispy rice adds a crackle and crunch. Without the rice, the texture would be fairly bland and very soft.
The Sticky Binder
Brown Butter
The butter pairs with the honey and brown sugar to create a sticky toffee-like binder that helps keep the granola bars intact. Browning the butter (toasting the milk solids) significantly enhances the flavor, adding a rich, nutty complexity that perfectly complements the sweetness of the sugar.
Honey + Brown Sugar
This recipe uses a combination of honey and brown sugar to create the sticky binder. The combination of honey’s viscosity and brown sugar’s caramelizing properties creates a strong, sticky matrix that holds the oats and rice together. Honey penetrates the dry ingredients more effectively than sugar alone, improving cohesion. While honey keeps the bars soft, the brown sugar stiffens slightly as it cools, giving the bars structural integrity without making them too hard.
Balance matters. More honey means the bars will be softer, stickier, and more flexible. More brown sugar means the bars will be firmer and slightly more brittle but still chewy.
Ideally, you want to add the honey and brown sugar to the butter and let it cook until they are melted together and cohesive, just beginning to bubble. For even firmer bars, you can let the mixture bubble for about two minutes to begin caramelizing the sugars (you don’t want to go farther than the “soft ball stage” [about 240 F or 115 C] or the bars will bee too hard).
Sourdough Discard
Sourdough discard is definitely a twist, but one that is, of course, going to be added on this blog. Sourdough does not really have any purpose in this recipe other than flavor.
It is better, in this recipe, to use older, broken down discard. The gluten network should be completely disintegrated and the discard should be runny and thin. The discard cooks fast in the hot butter/sugar mixture and trying to stir in sticky, stringy discard simply won’t work. Instead of a smooth, pourable mixture, you’ll end up with clumpy chunks of cooked discard.
The flavor that the discard adds wholly depends on the maintenance, care, and health of your sourdough starter. A really acidic starter means a really acidic discard, leading to more sour flavor.
Vanilla
Vanilla adds a sweet, warm, and slightly floral note that balances the sugar and other flavors, making the bars taste richer and more complete.
Chocolate Chips
I can’t just have granola bars without a topping. For me, mini chocolate chips are the winner. They are the perfect, simple, topping for a basic granola bar. The small pieces flawlessly mesh into the bars and the hint of chocolate wonderfully suits my taste buds, complimenting the rest of the ingredients in this recipe. I use frozen chocolate chips so that I can firmly pack them in with the bars without melting them.
Packing
Packing the bars tightly ensures they won’t fall apart once cooled.
Cooling + Storage
These bars need to cool completely before slicing. The sticky binder needs to fully set and harden so that the bars do not fall apart. Doing this in the refrigerator can speed up the process. The bars can be stored on the countertop for a softer texture, or in the fridge for a firmer one.
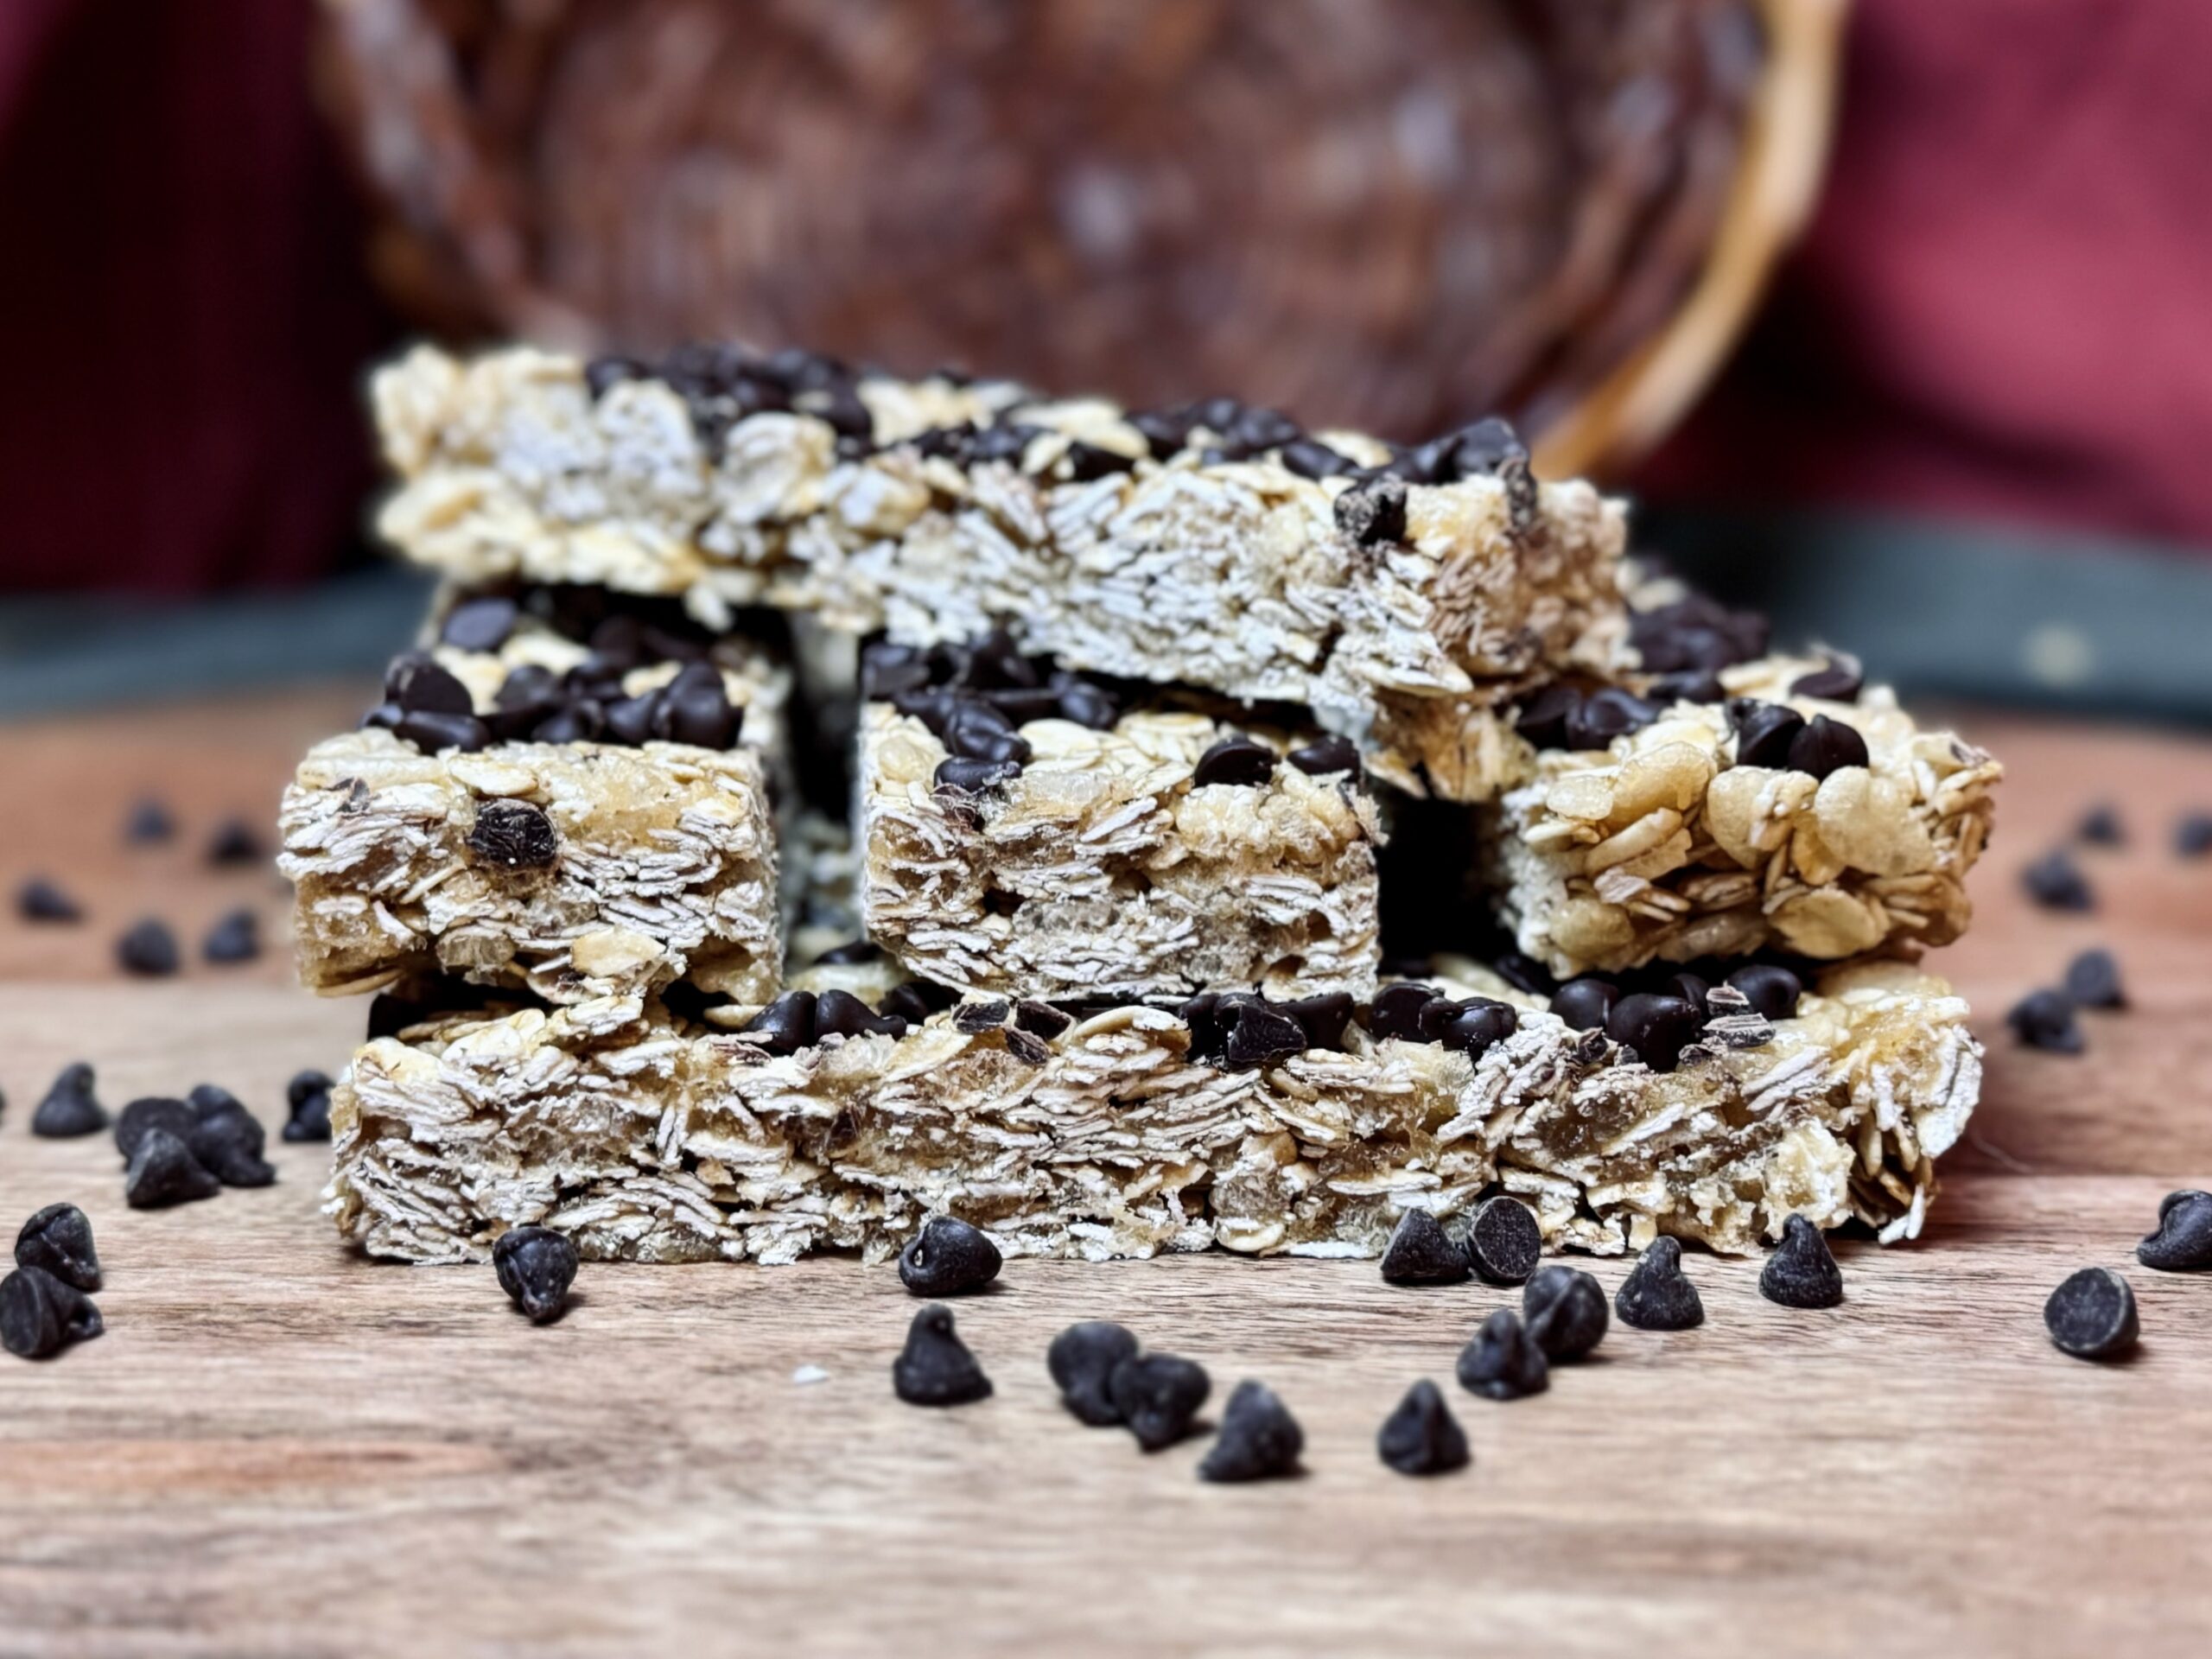
📌 Quick Tip: Read the recipe in its entirety before you start cooking. This will help you understand the ingredients, steps, and timing involved, and allow you to prepare any necessary equipment or ingredients beforehand.
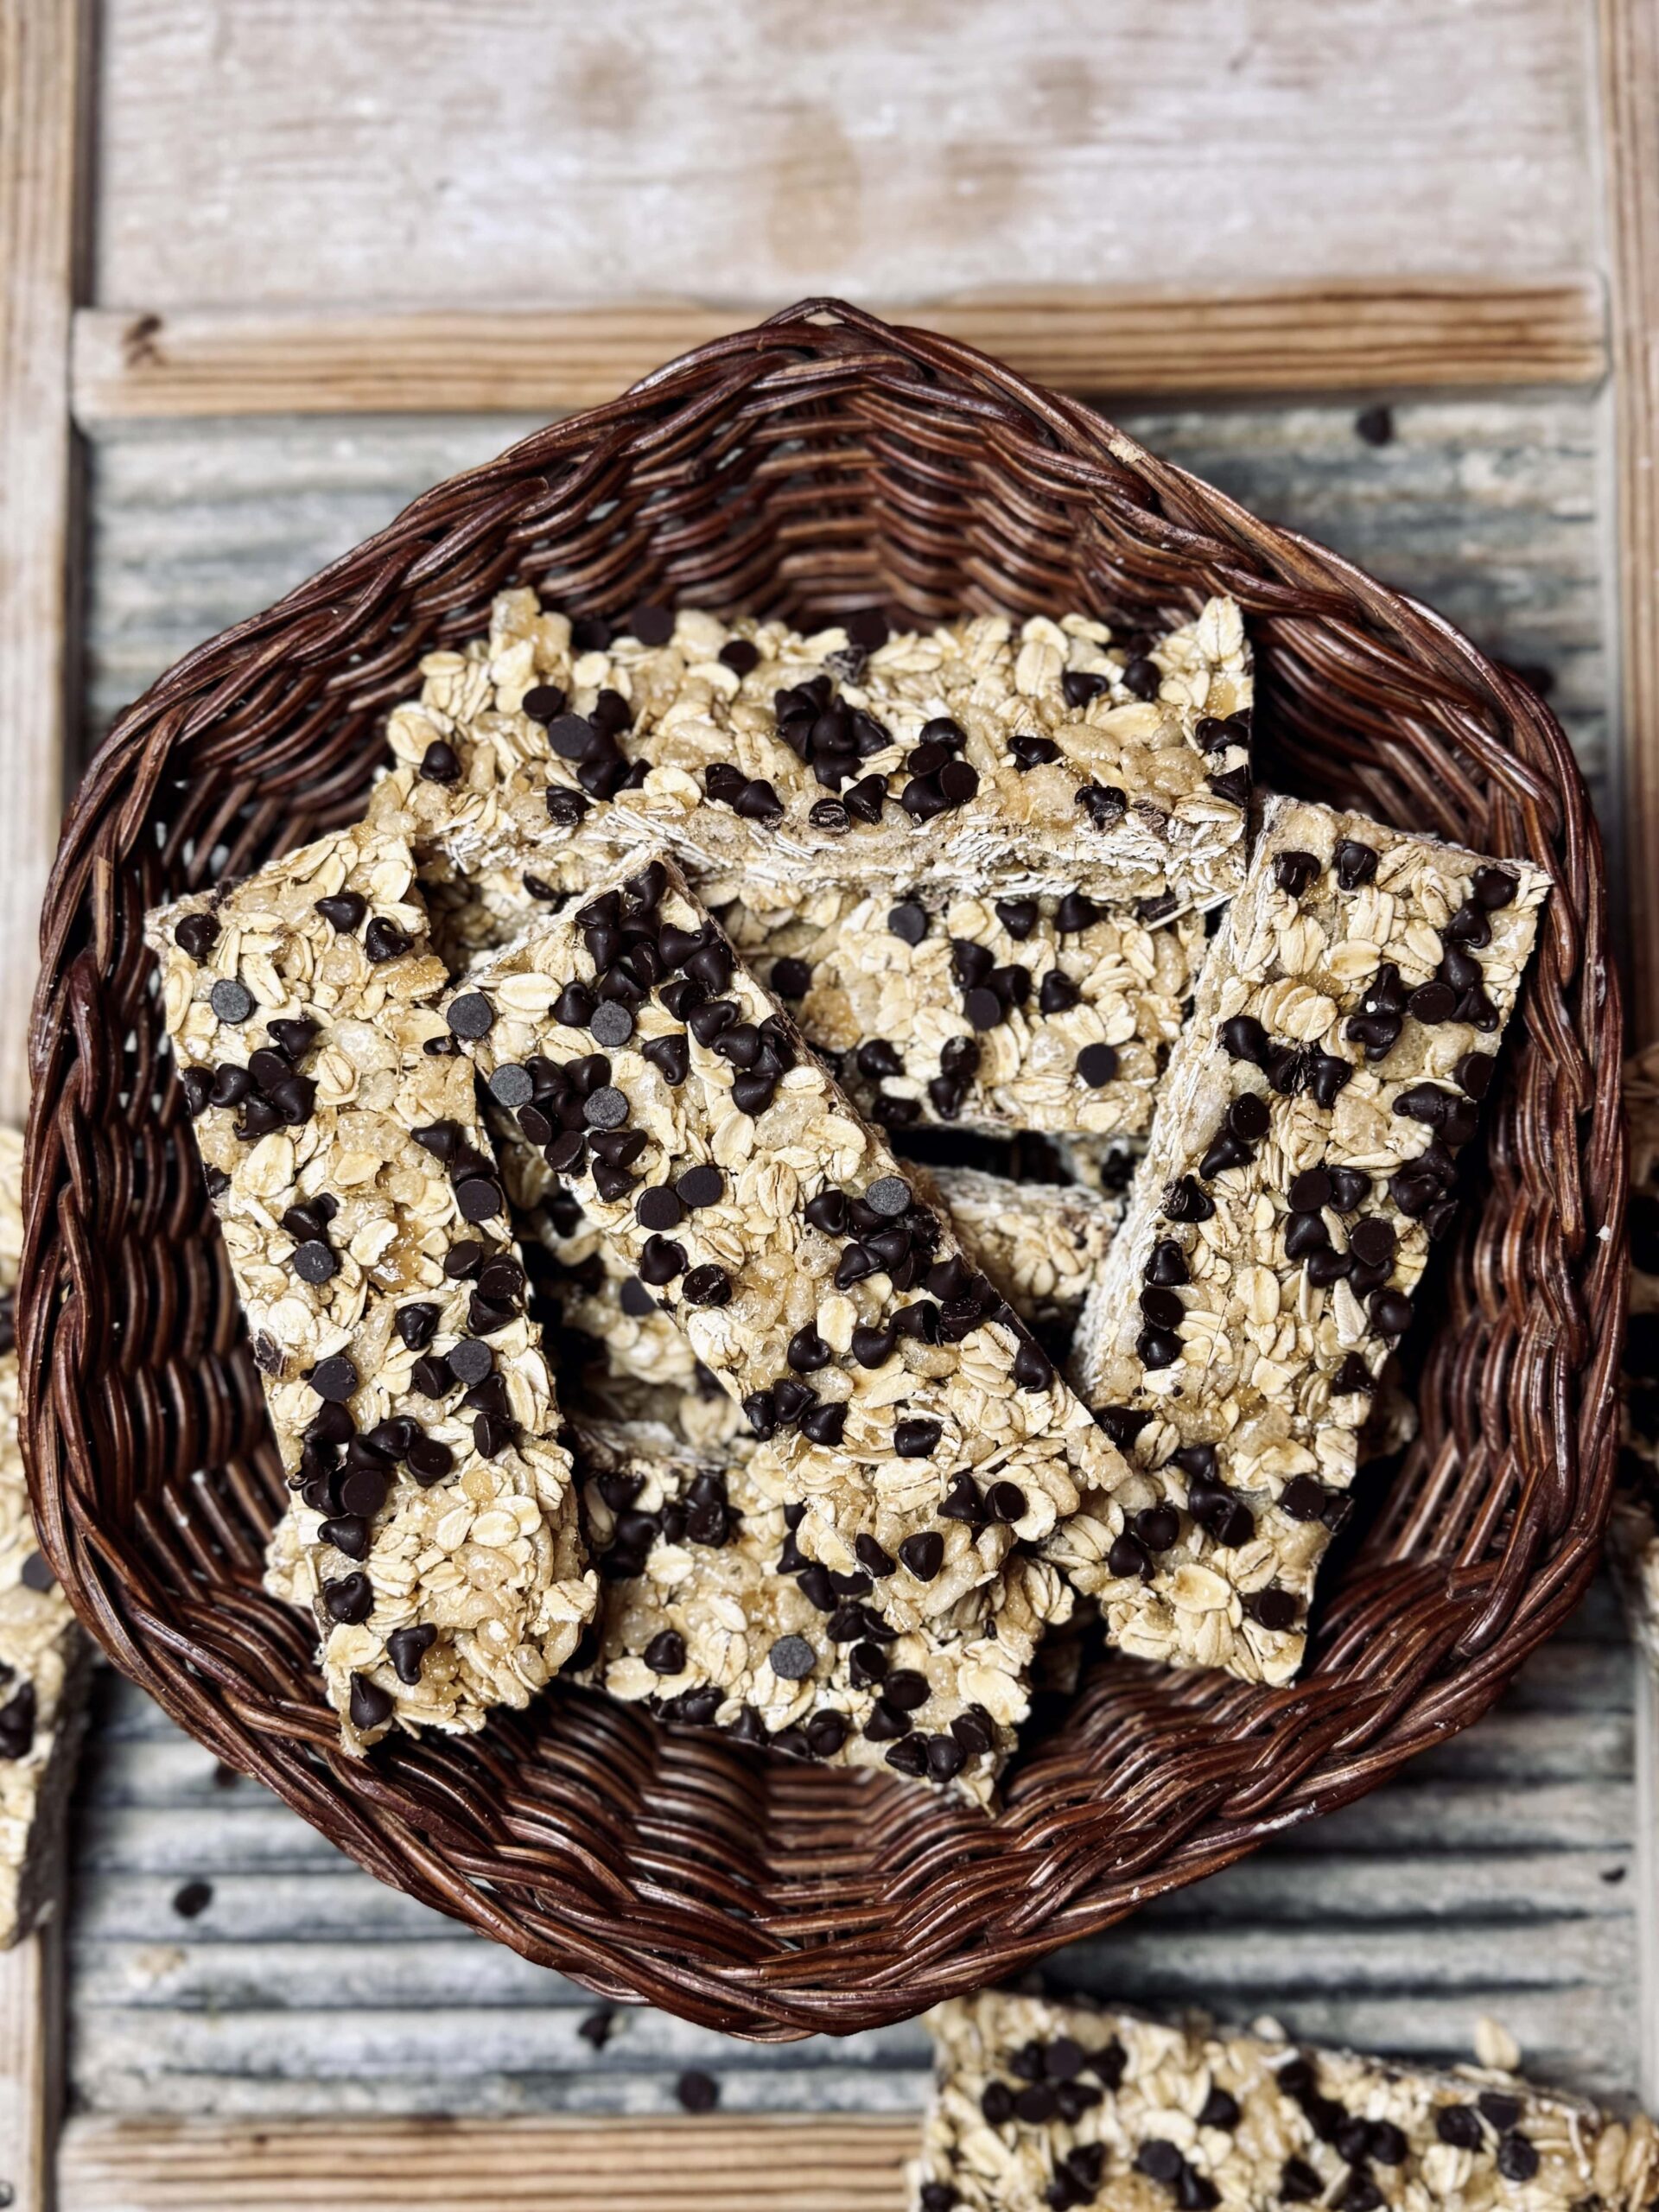
Brown Butter Chewy Granola Bars
Ingredients
Instructions
Toast the oats.
-
Preheat an oven to 350 F (175 C).
-
Pour the oats onto a quarter-size sheet pan (or 9X13 baking dish) and spread to evenly distribute.
-
Bake the oats for about 10 minutes, until lightly browned with a nutty aroma.
-
When the oats are finished toasting, pour them into a large bowl with the crispy rice and mix well. Line the sheet pan with wax paper and set aside.
Make the sticky binder.
-
Meanwhile, go ahead and measure out the honey, brown sugar, sourdough discard, and vanilla, then set aside while you brown the butter.
-
Add the butter to a small (1 qt) saucepan over medium to medium-low heat.
-
Watch the butter continuously, stirring constantly, until the milk solids separate and are lightly toasted.
After the butter melts and continues cooking, you'll notice it starts to foam. This is the water evaporating. Underneath the foam will be the separated milk solids, which is what we are toasting for extra depth of flavor. Stirring continuously will prevent the milk solids from sticking to the bottom and burning. Watch closely - they toast quickly! Once you notice a nutty, caramel-like aroma, the butter is sufficiently browned. -
After the butter is browned, add the honey and brown sugar. Whisk to dissolve, and cook the mixture until it begins to bubble, then cook for one to two minutes more. Do not let the mixture temp above 240 F (115 C).
Longer boiling times start the caramelization process, which can make for firmer bars. -
Once the sugar has been dissolved and started to bubble, turn down the heat to low and slowly drizzle in the sourdough discard, whisking continuously. This will cook fast! Return the heat to medium and cook the mixture until it is steaming and temping around 185 F (85 C) to ensure the discard is completely cooked through.
-
Turn off the heat and add the vanilla extract, continuing to whisk until incorporated.
Assemble the bars.
-
Pour the sticky binder into the oat and crispy rice mixture, stirring to completely coat all of the dry ingredients with the sticky binder.
-
Transfer the mixture back onto the quarter-size sheet pan (or 9X13 baking dish) and press down firmly to pack everything in as tightly as possible.
For this step, I like to use a second sheet of wax paper to cover the top of the mixture, then use my hands to firmly pack everything down into the sheet pan. -
Top the granola bars with mini chocolate chips (or your topping of choice), pressing down again to firmly pack the topping into the bars.
-
Cover the granola bars with plastic wrap and transfer to the refrigerator to let them cool completely before slicing.
Nutrition Facts
Servings 16
- Amount Per Serving
- Calories 174.68kcal
- % Daily Value *
- Total Fat 5.23g9%
- Saturated Fat 2.62g14%
- Cholesterol 10.07mg4%
- Sodium 33.03mg2%
- Potassium 101.94mg3%
- Total Carbohydrate 28.81g10%
- Dietary Fiber 2.11g9%
- Sugars 11.45g
- Protein 3.98g8%
- Vitamin A 32.06 IU
- Vitamin C 0.03 mg
- Calcium 19.71 mg
- Iron 1.17 mg
- Vitamin E 0.11 IU
- Vitamin K 0.36 mcg
- Thiamin 0.18 mg
- Riboflavin 0.05 mg
- Niacin 0.48 mg
- Vitamin B6 0.03 mg
- Folate 13.9 mcg
- Phosphorus 108.32 mg
- Magnesium 36.68 mg
- Zinc 0.85 mg
* Nutrition values are auto-calculated and should be used as an approximation only.
Notes
- Storage: Store, covered, on the counter for up to one week, on in the fridge for up to three weeks.
- A quarter-size sheet pan is about 9X12 inches, making 16 bars about 1.5X4.5 inches in size. You can also use a 9X13 baking dish, which will make slightly thinner bars, or an 8X8 square baking dish for very thick bars.
