About This Recipe
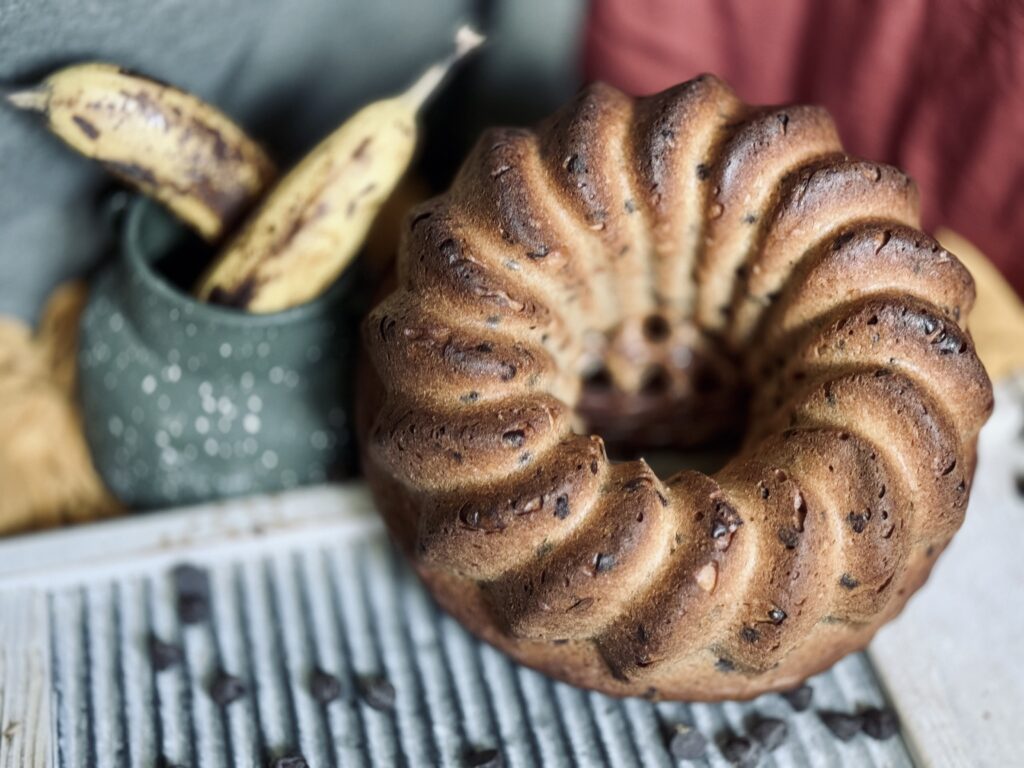
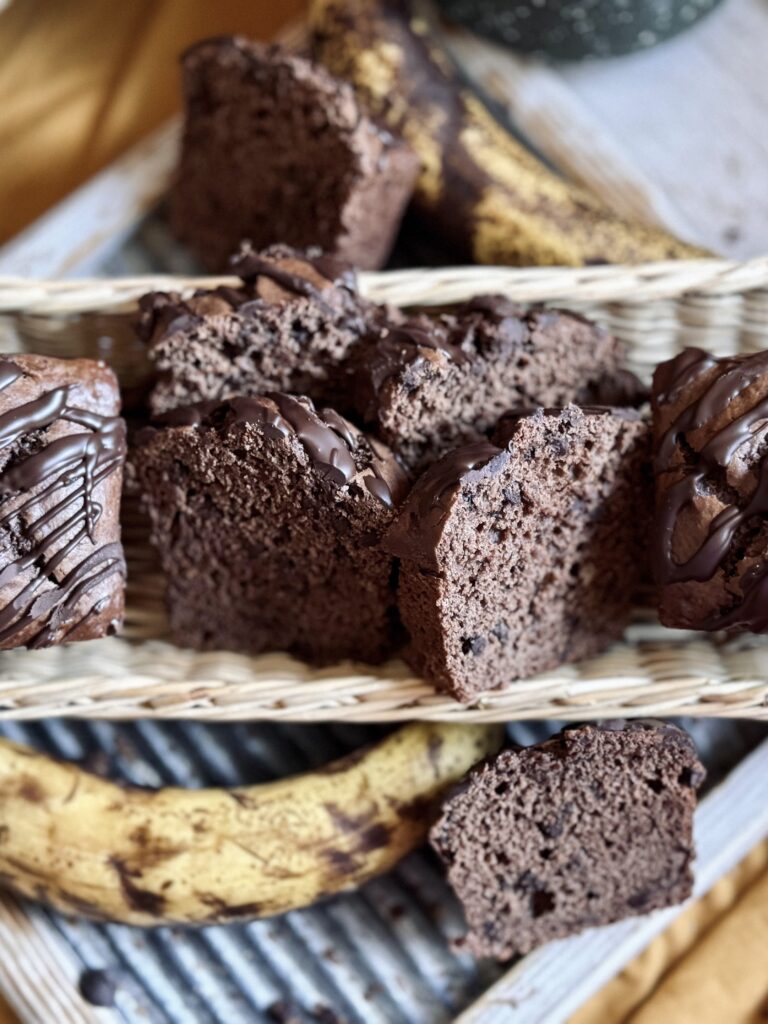
Every time I have extra bananas I present to myself a challenge: what banana bread am I going to conjure up next. One day, this very incident happened as I was drinking my favorite breakfast smoothie: peanut butter, chocolate, banana. That is when it hit me: this combination is my absolute favorite. So, why not make it into a banana bread? I bet that would be delightful! And so, I did.
What Is Banana Bread?
If you are not familiar with banana bread, it is a type of sweet, baked quick bread made with overripe, mashed bananas. The bananas provide a natural moisture and sweetness to the bread, though sugar is still usually added to the batter. It is extremely popular in North America, but has become a classic and beloved baked good in many households across the world.
What I Love About This Recipe
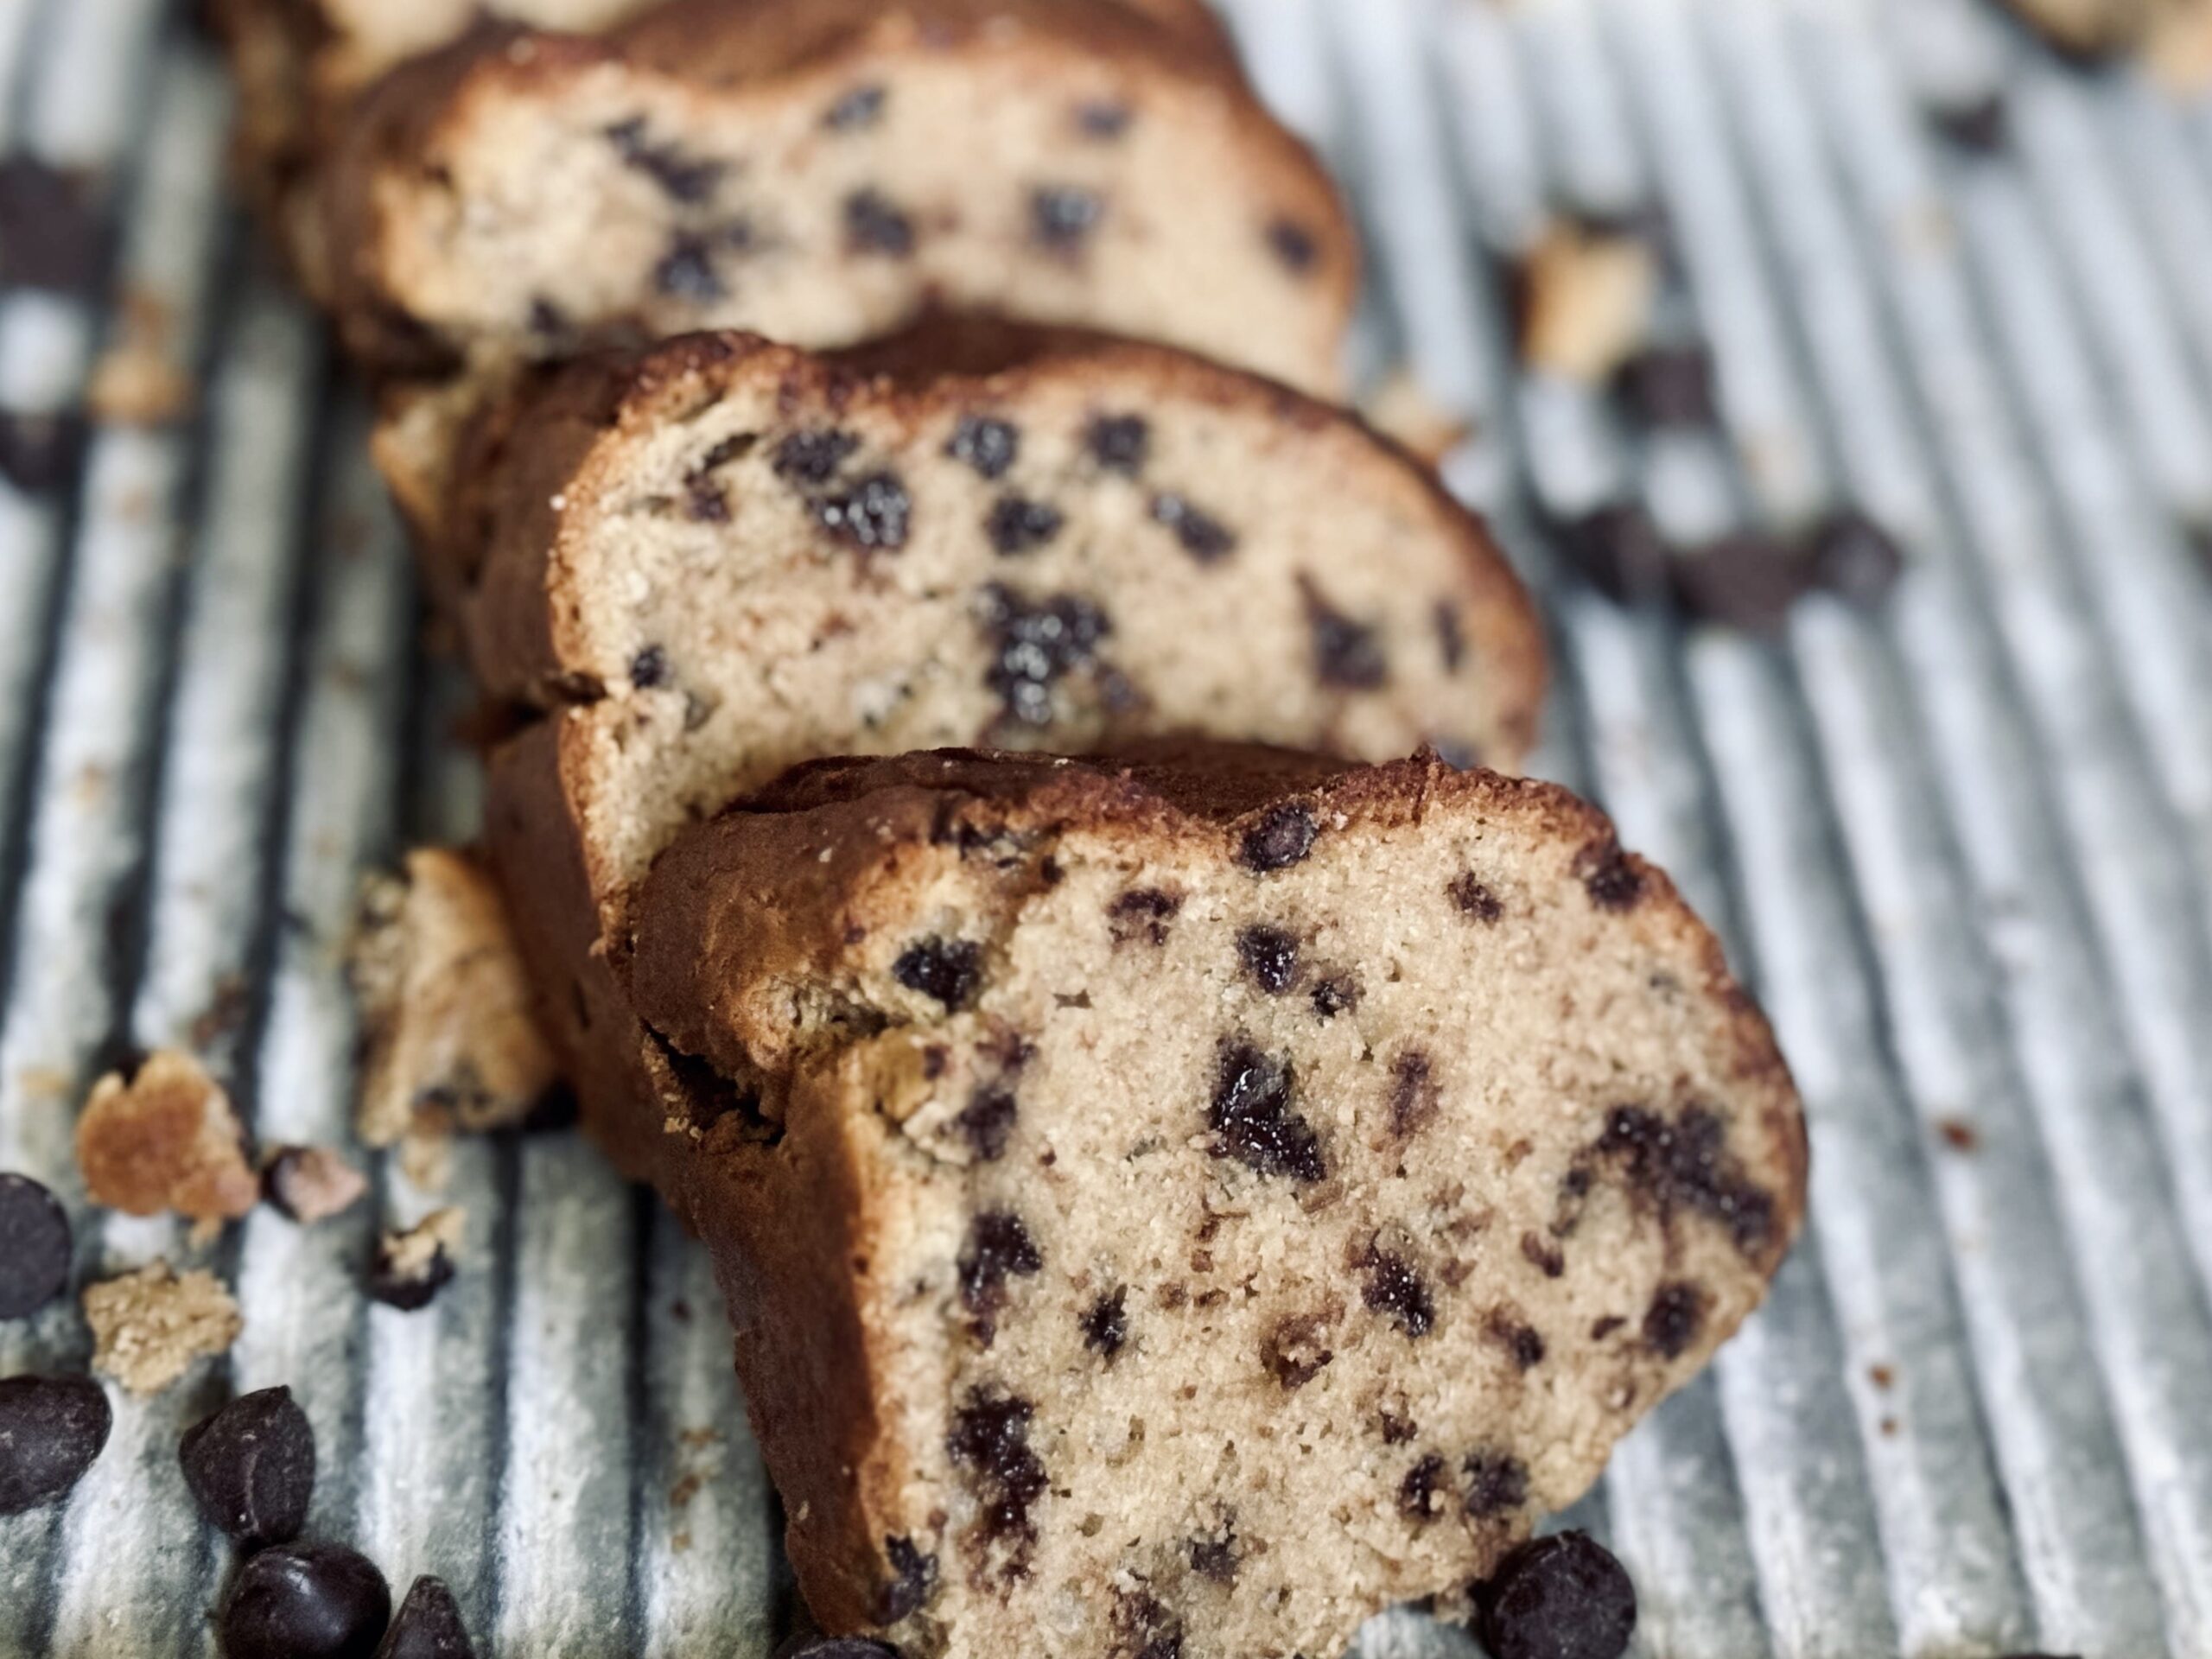
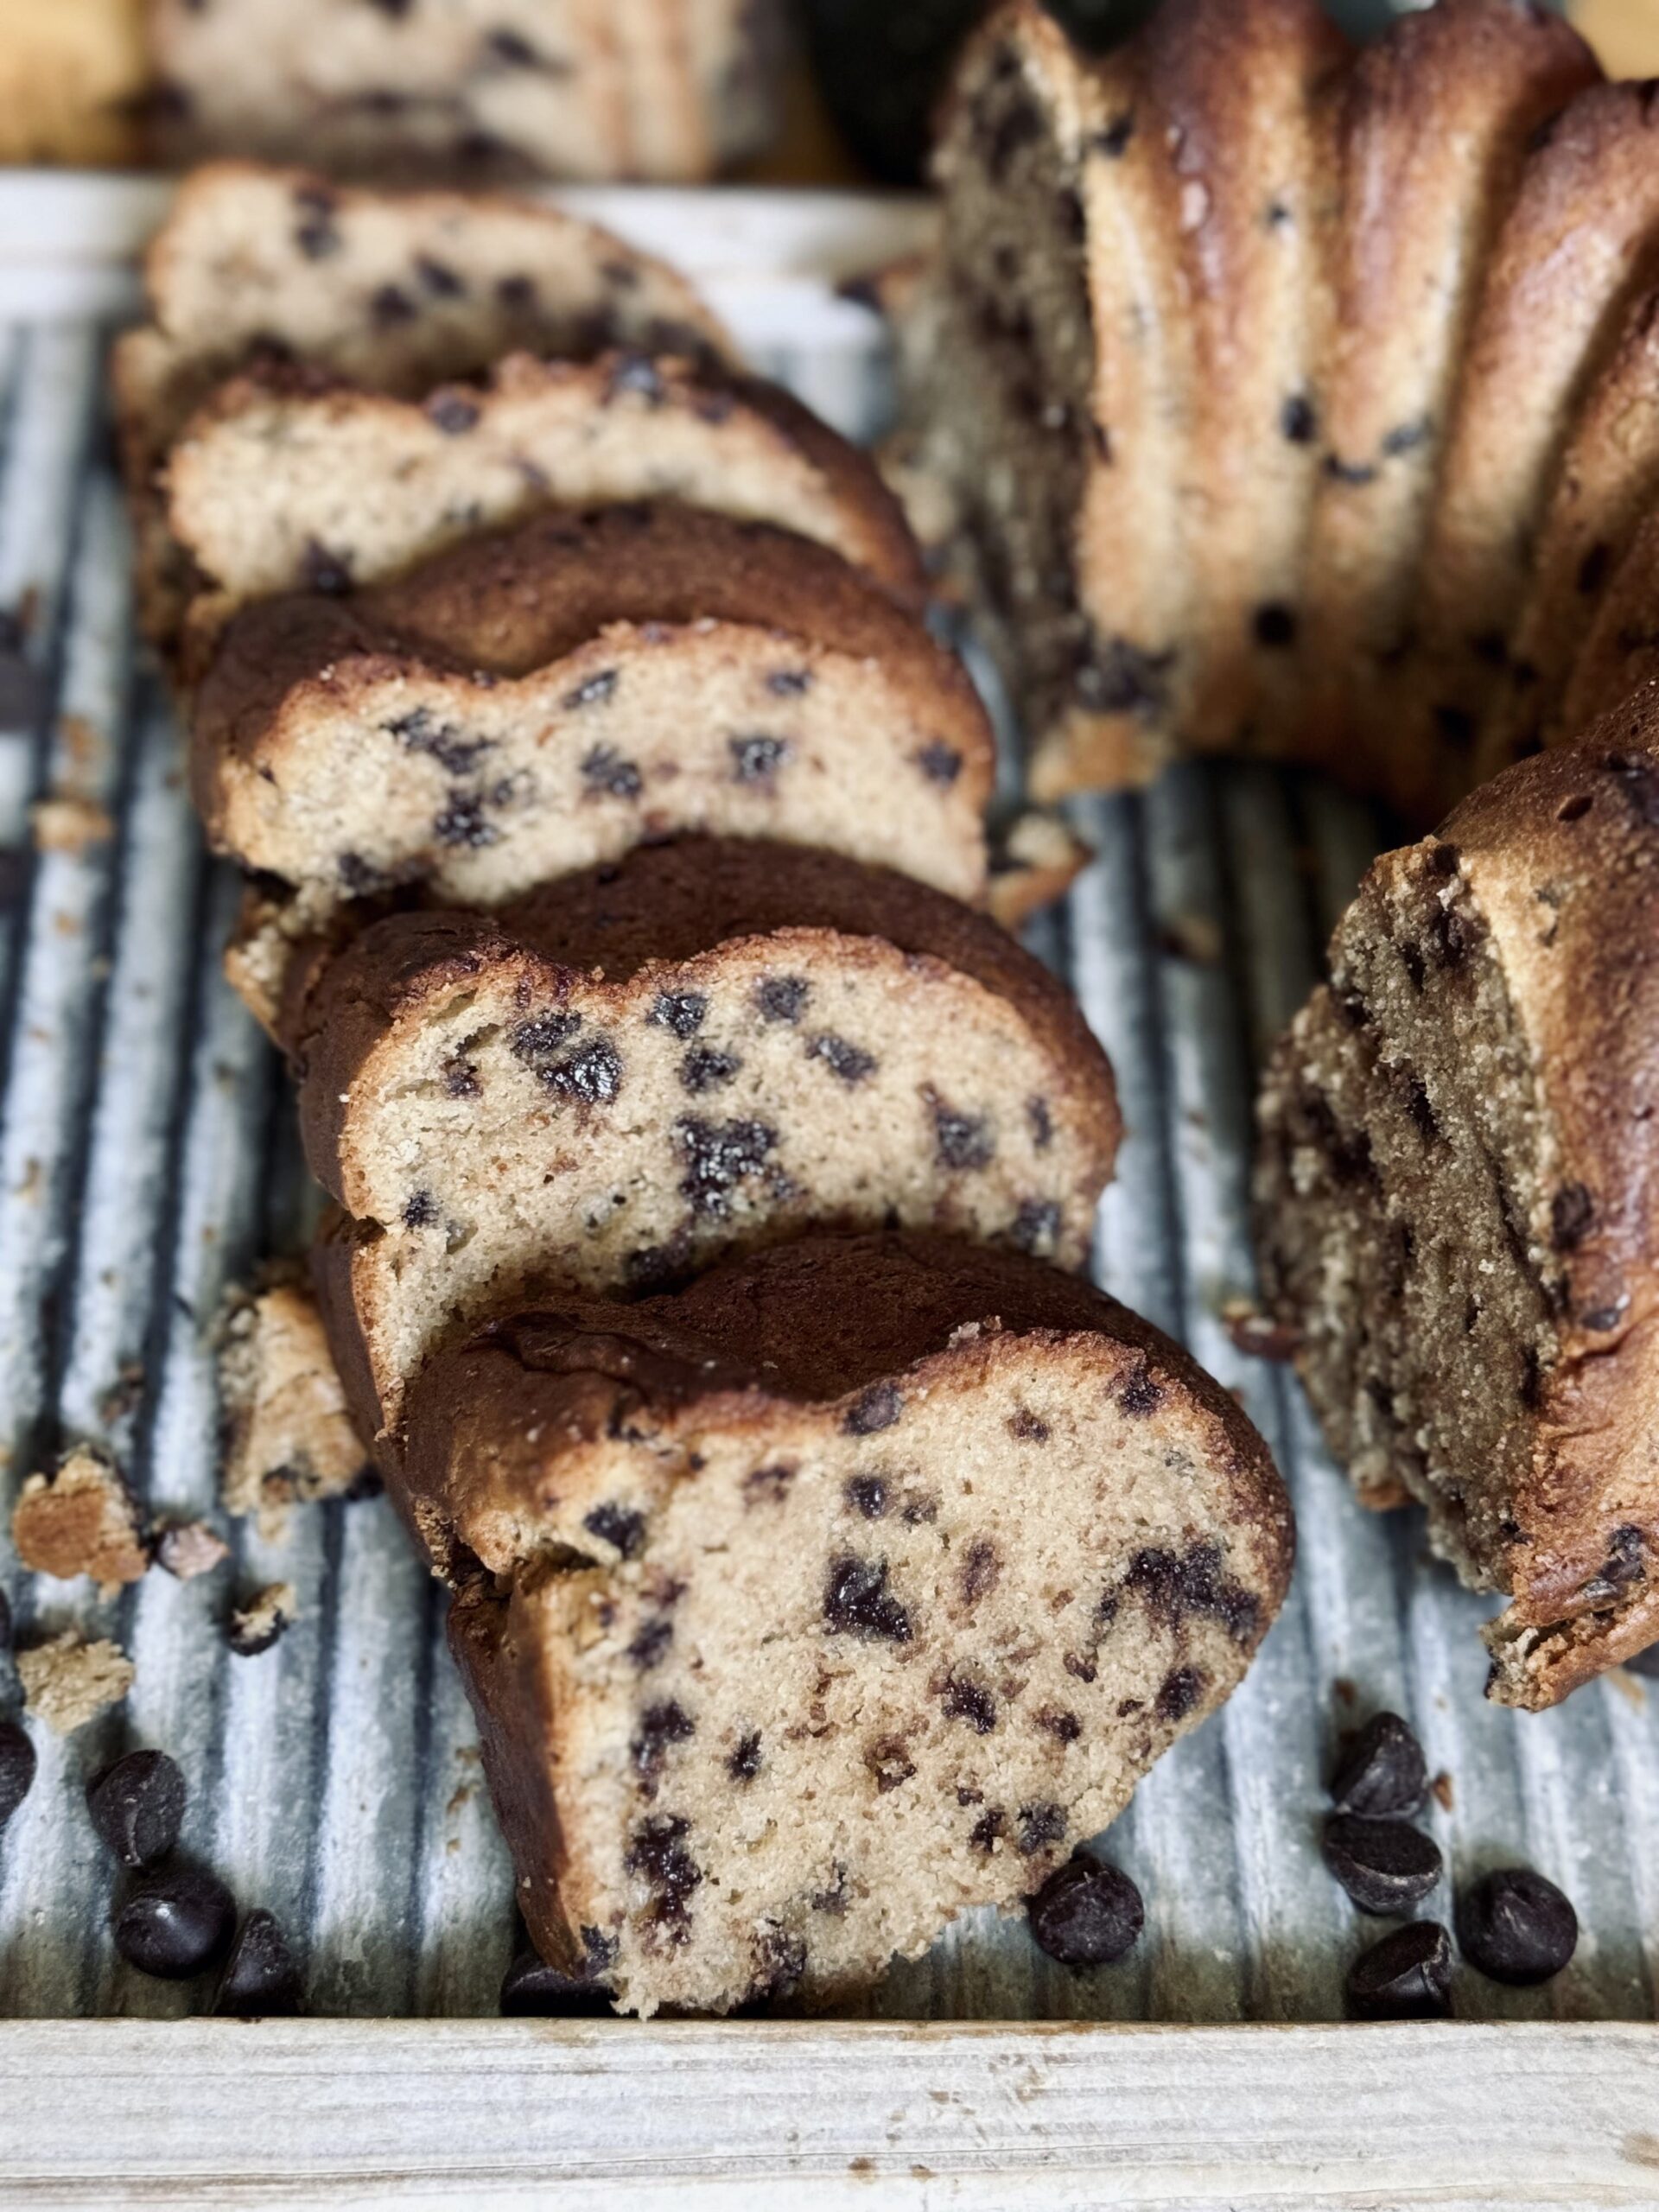
The tricky part here is the peanut butter. Every time you add an ingredient to a recipe, you must consider its effects and balance them appropriately. And, that, my friends, is exactly what I did. This recipe, of course, is based off of my original banana bread recipe, which is a cream cheese-based banana bread. It’s an obsession of mine, banana bread is. Many banana bread recipes I have found online appear unbalanced. The loaves are squat and the crumb just does not appear quite right. They might be too dry or too oily because the effects of each ingredient were not accounted for. This loaf is not that. Here, we have a perfectly moist, structured, and balanced peanut butter banana bread.
All The “Why’s”
Cream Cheese
Most quick breads contain a base made with two sticks of softened butter. Others add yogurt or sour cream. While this can be good, in my opinion, cream cheese is better. Though this recipe still contains butter (and oil, from the peanut butter), which is necessary for moisture retention, cream cheese brings a unique richness, texture, and even more moisture to the final bake. The final, overall flavor and consistency is elevated significantly and the loaf does not dry out as quickly.
Sugar
Sugar is mainly used as a sweetener in this quick bread. This means you can increase or reduce the amount to your personal preference. The sugar in this recipe is reduced from my original banana bread recipe, purely for personal preference, after realizing just how much sugar my original recipe contains (an entire cup). Sugar has other important contributions, too; it aids in browning, tenderizing, moisture retention, and preservation/shelf life. Therefore, I would not recommend removing it completely. If, though, your peanut butter is sweetened (I use “no sugar added” peanut butter, but not everyone does), definitely be mindful of the sugar content and adjust to suit your preferences.
Peanut Butter
Peanut butter is one of the main flavor goals in this recipe. With it, we must consider the effects it has on the batter and on the final baked product. The addition of peanut butter adds two things: oil and peanuts (which function like flour in the way that they bind the recipe together and create structure in the final baked product). To keep things balanced, these factors must be considered. Compared to my original banana bread recipe, this recipe reduces the overall amount of added fat (butter, in this case) by half to accommodate for the oil in the added peanut butter. It also reduces the amount of added flour significantly to keep the right consistency of batter and to prevent the loaf from becoming too dry.
Butter And Oil
While fat can have many purposes in a recipe, one major effect is moisture retention. Without it, the loaf would be dry and crumbly, even with the cream cheese and sugar (which also work to retain moisture). This recipe contains two tablespoons of butter, which works together with the added oil from the peanut butter to give the loaf just the right amount of moisture and balance of flavor.
Sourdough Discard
The main purpose of sourdough discard is, well, to use sourdough discard. Unfortunately, the amount I use in this recipe is limited (if you know me, you know I like to use as much as possible in any given recipe), as banana bread gets most of its moisture from bananas and eggs, leaving little room for the additional moisture from the sourdough discard.
Bananas
Bananas are another main flavor component of this recipe, as well as the star of the show in banana bread in general. They add moisture, flavor, and sweetness. Ripe bananas are key; I like to use them when they are very dark. As bananas ripen, their starches are converted into sugars and moisture is released, which just means the older, the better. It also means that the time you use the banana in relation to its ripeness will affect the outcome of your bread, creating a wetter or dryer batter.
Eggs
The more eggs you add to your bread, the more cake-like the bread becomes. Eggs add fluff and moisture, as well as make your bread lighter and taller. I find two eggs to be the perfect balance: it is not too cake-like, but is also not too dense.
All-Purpose Flour
While I do try to eliminate flour in some of my discard recipes, it is not possible with this one. Flour adds necessary structure to an otherwise loose batter. In this banana bread recipe, I use less flour than usual. This is because the ground peanuts in the peanut butter also provide structure and suck away at moisture, so it is not essential to include as much flour as I usually do. This being said, it is important to measure correctly by volume, or just use the weighted measurements provided in the recipe. Flour is one of the most inaccurate ingredients measured by volume, and too much flour can cause a dry and crumbly loaf.
It is also important to note that all-purpose flour is superior to bread flour in any quick bread recipe. In fact, the lower the protein content, the better. Though I have not tested it, cake flour may even work wonders. The problem is: cake flour is not a staple ingredient in many homes; therefore, I choose not to base a recipe off of it unless it is absolutely necessary. The reason all-purpose flour is important is the same reason we mix this batter until “just incorporated” – gluten development is not desired. The development of gluten produces a chewy texture, which is not desirable in baked goods, such as banana bread. Banana bread is meant to be moist and tender, with a soft crumb that’s slightly dense but not heavy – meaning we need to eliminate gluten to achieve it.
Leavening
This recipe uses a balance of baking powder and baking soda to leaven the bread, rather than the sourdough discard. This means you can bake your bread right away, without waiting for sourdough to do its magic. I prefer chemical leavening for sourdough discard recipes because we are using starter that is not in its prime state, and may not leaven well. While it is true that the addition of flour feeds the yeast, and you may get a slow rise, sourdough-discard-leavened bread has the potential to be more sour, due to the ever populating bacteria (which are responsible for the sour flavor) and still may not rise properly. Not to mention how the other ingredients in this quick bread would hold up during this waiting period, namely the bananas.
If you want to try long fermentation, do it in the refrigerator and wait to add the baking powder and soda until you are ready to bake. While the yeast in your starter will not function well (due to the cold temperatures), the bacteria will still work to break down the flour during this time. Still adding the baking powder and soda ensures you get a loaf that has been appropriately aerated (since the yeast from your discard will not be able to adequately do this on their own).
Salt
Salt brings out flavor. I use just a touch in this recipe to enhance all the flavors in this quick bread.
Inclusions
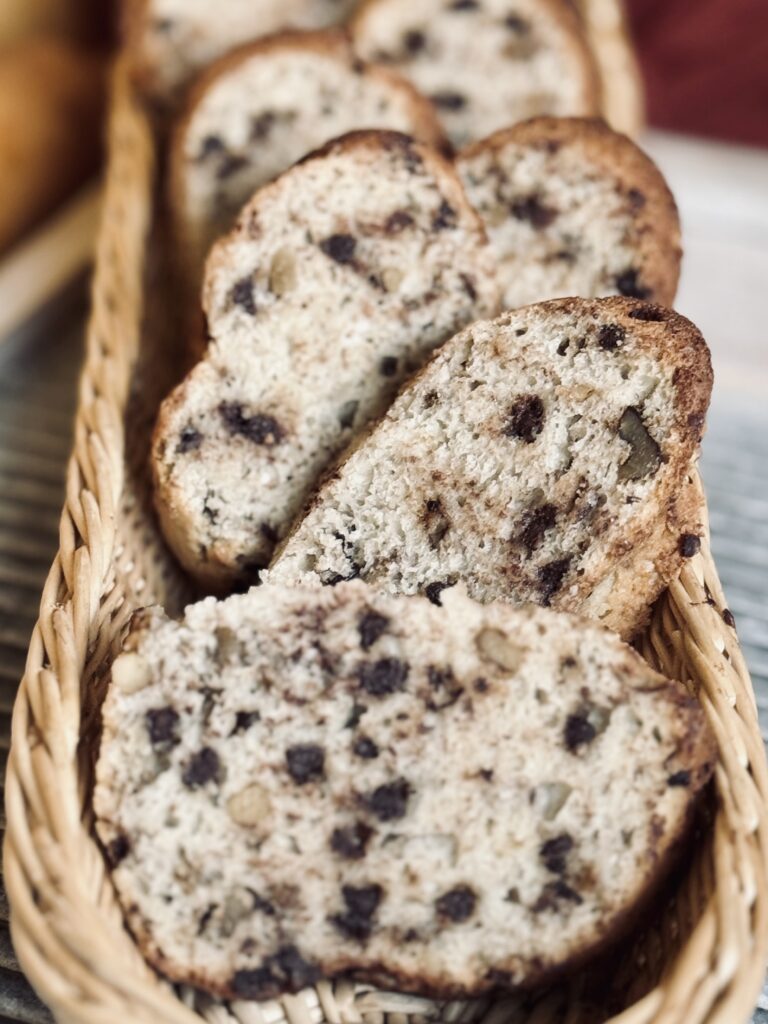
Chocolate chips make up the final component of this banana bread’s flavor profile. I prefer to use mini chocolate chips, as I feel they spread out and enhance the chocolate flavor even more. You can use any inclusion you desire, whether nuts or a different kind of chip (like peanut butter chips). The base is one cup total of inclusions, but really this is flexible depending on your preference.
📌 Quick Tip: Read the recipe in its entirety before you start cooking. This will help you understand the ingredients, steps, and timing involved, and allow you to prepare any necessary equipment or ingredients beforehand.
Peanut Butter Banana Bread
Ingredients
Instructions
-
Preheat an oven to 350 F (175 C).
-
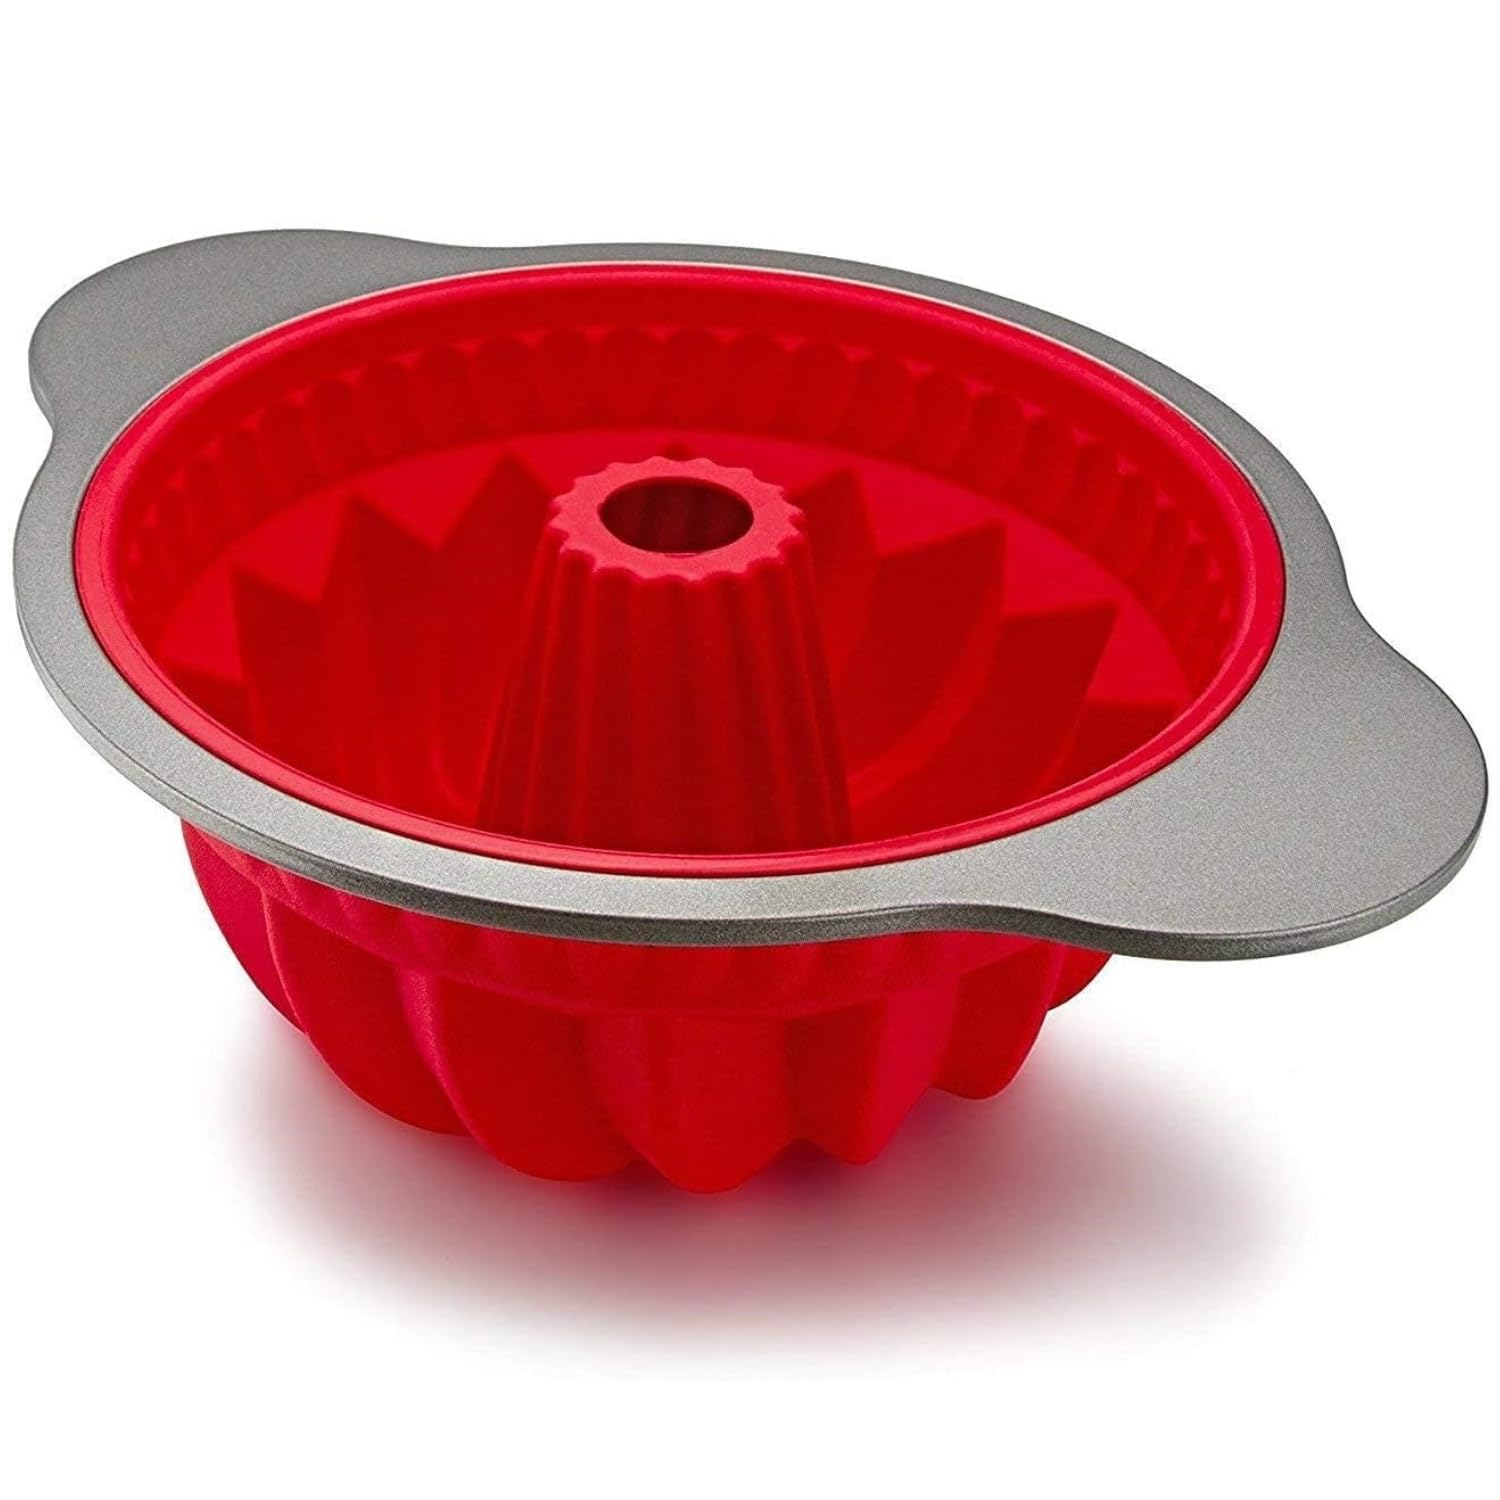
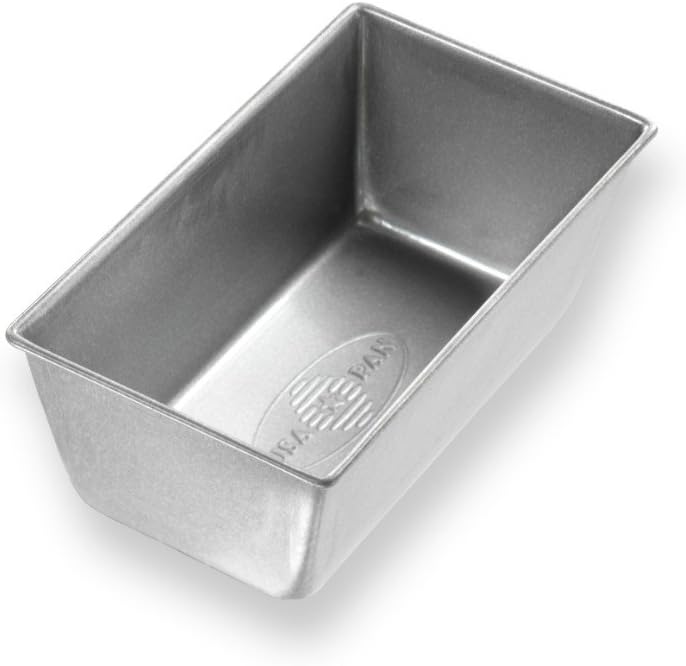
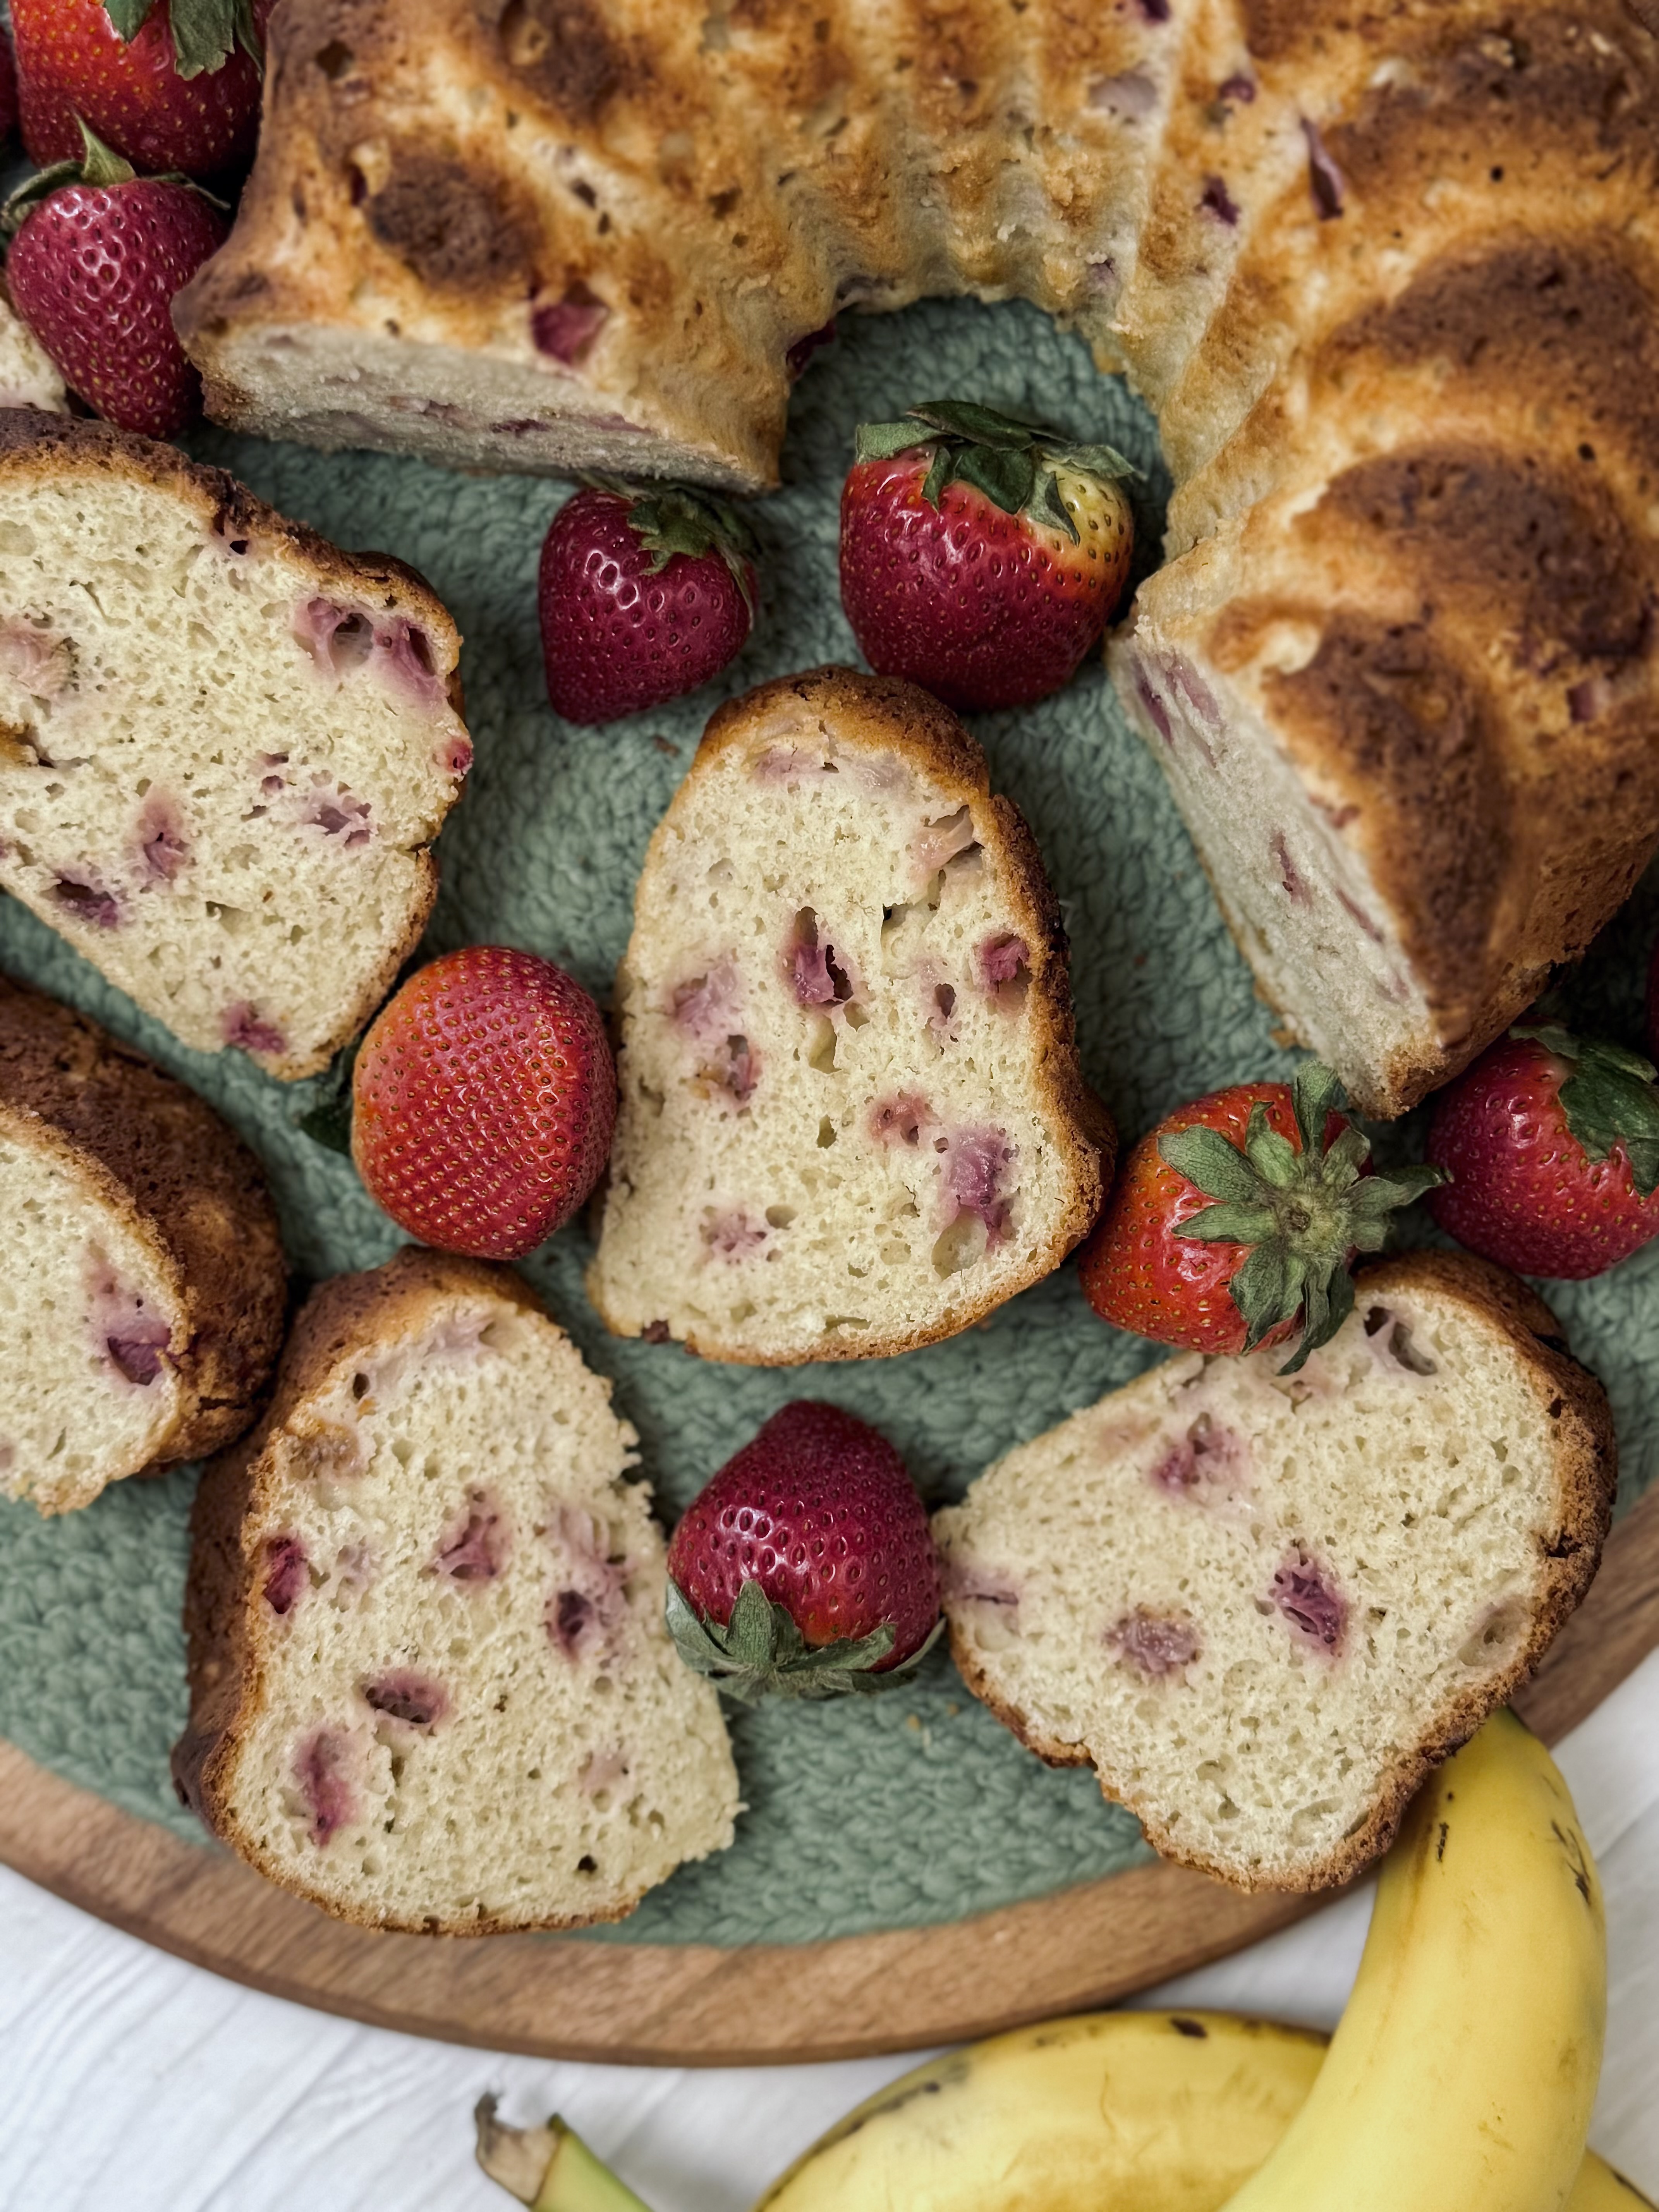
Grease a bundt pan (or 9 X 5 loaf pan) and set aside. (You could also make this into muffins or mini loaves. See notes for baking modifications.)
-
To a large bowl, add cream cheese, sugar, and butter. Mix until smooth and some air is incorporated.
-
To the same bowl, add peanut butter, mashed bananas, sourdough discard, and eggs. Mix, again, on a higher speed, until everything is incorporated and the mixture is whipped and pale brown in color. Set aside.
-
In a smaller bowl, sift the flour, baking powder, baking soda, and salt. Whisk to combine.
-
Add the dry ingredients into the wet ingredients. Stir until almost completely incorporated.
-
Work in chocolate chips. Mix until everything is just incorporated.
-
Add all the batter to your baking pan(s). Smooth the top out nicely, so that everything bakes evenly.
-
Bake in the preheated oven for about 60 minutes, or until a toothpick inserted comes out clean.
-
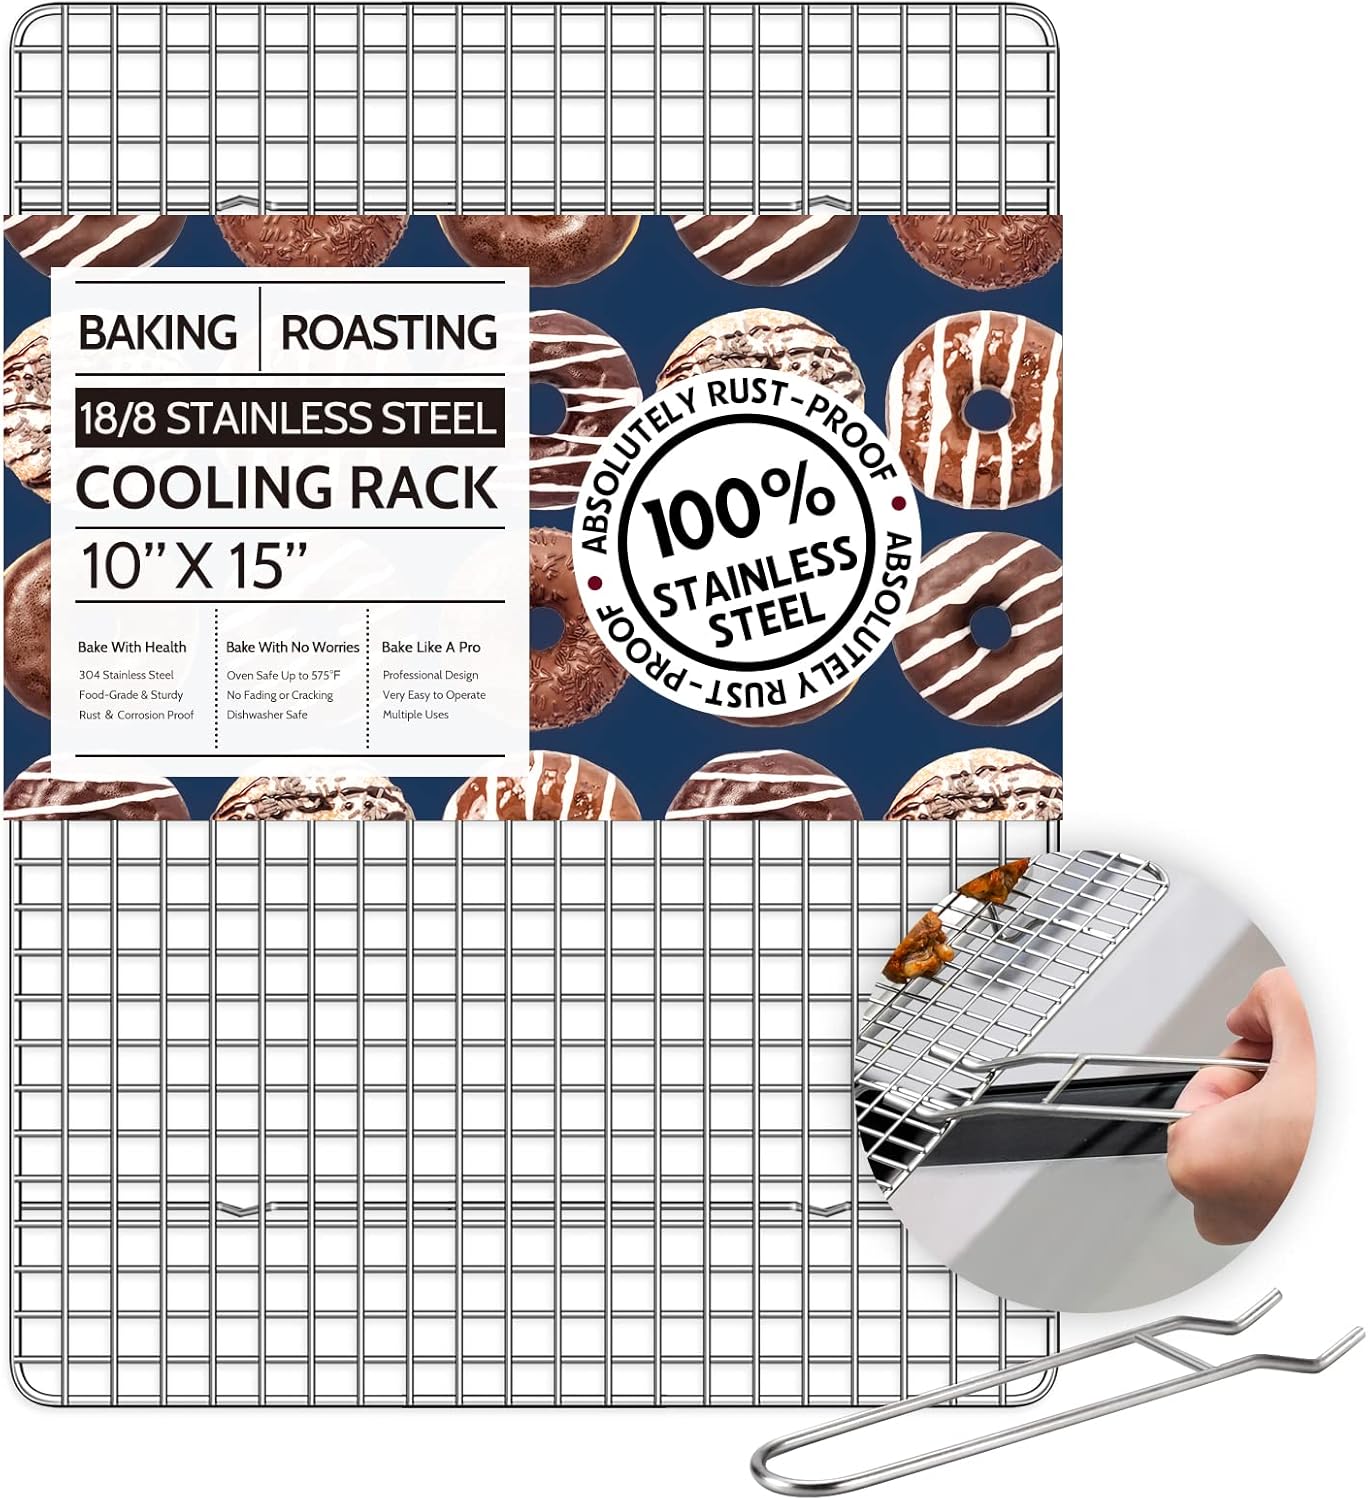
Cool 5-10 minutes in the pan, then turn out onto a wire rack to cool completely.
-
Enjoy!
Nutrition Facts
Servings 12
- Amount Per Serving
- Calories 465.74kcal
- % Daily Value *
- Total Fat 24.51g38%
- Saturated Fat 10.06g51%
- Trans Fat 0.27g
- Cholesterol 58.23mg20%
- Sodium 297.45mg13%
- Potassium 285.74mg9%
- Total Carbohydrate 54.08g19%
- Dietary Fiber 2.87g12%
- Sugars 30.71g
- Protein 10.65g22%
- Vitamin A 101.53 IU
- Vitamin C 2.61 mg
- Calcium 105.59 mg
- Iron 1.98 mg
- Vitamin D 0.16 IU
- Vitamin E 2.29 IU
- Vitamin K 0.92 mcg
- Thiamin 0.23 mg
- Riboflavin 0.26 mg
- Niacin 4.33 mg
- Vitamin B6 0.24 mg
- Folate 39.8 mcg
- Vitamin B12 0.12 mcg
- Phosphorus 198.76 mg
- Magnesium 52.44 mg
- Zinc 0.98 mg
* Nutrition values are auto-calculated and should be used as an approximation only.
Notes
- Storage: Store on the counter for three to five days, or slice and store in the freezer. No need to reheat, enjoy straight from the counter. From the freezer, allow to come to room temperature before serving.
- For mini loaves: Bake at 350 F (175 C) for 35-45 minutes, or until a toothpick inserted comes out clean. Makes four mini loaves.
- For muffins: Bake at 350 F (175 C) for 20-25 minutes, or until a toothpick inserted comes out clean. Makes about 24 muffins.



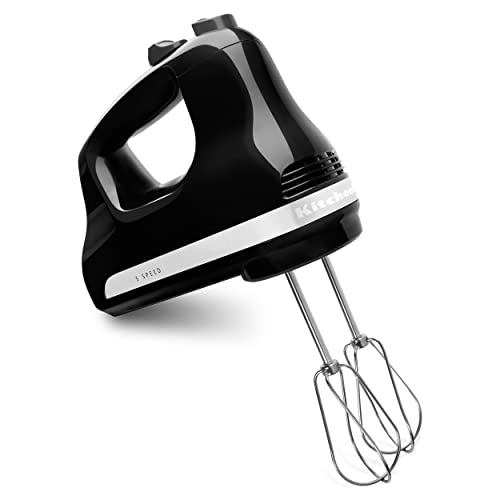


I have no experience with bread machines, so I definitely have no idea. However, since the recipe is just mix and bake, you can definitely use a stand mixer with the paddle attachment to mix everything, then bake it right away.
Can this recipe be made in a bread machine?