About This Recipe
If bread could dance, it would twist itself into a pretzel. It’s one of those treats meant for fun times, where memories are made with people galore. That’s why I just can’t – not – have a good soft pretzel recipe. A simple one; one that doesn’t require any fancy ingredients. Serve these alongside any occasion, or even just for yourself. From classic mustard dips to creative sweet glazes, soft pretzels are more than just twisted dough—they’re a blank canvas for your imagination.
What Is A Soft Pretzel?
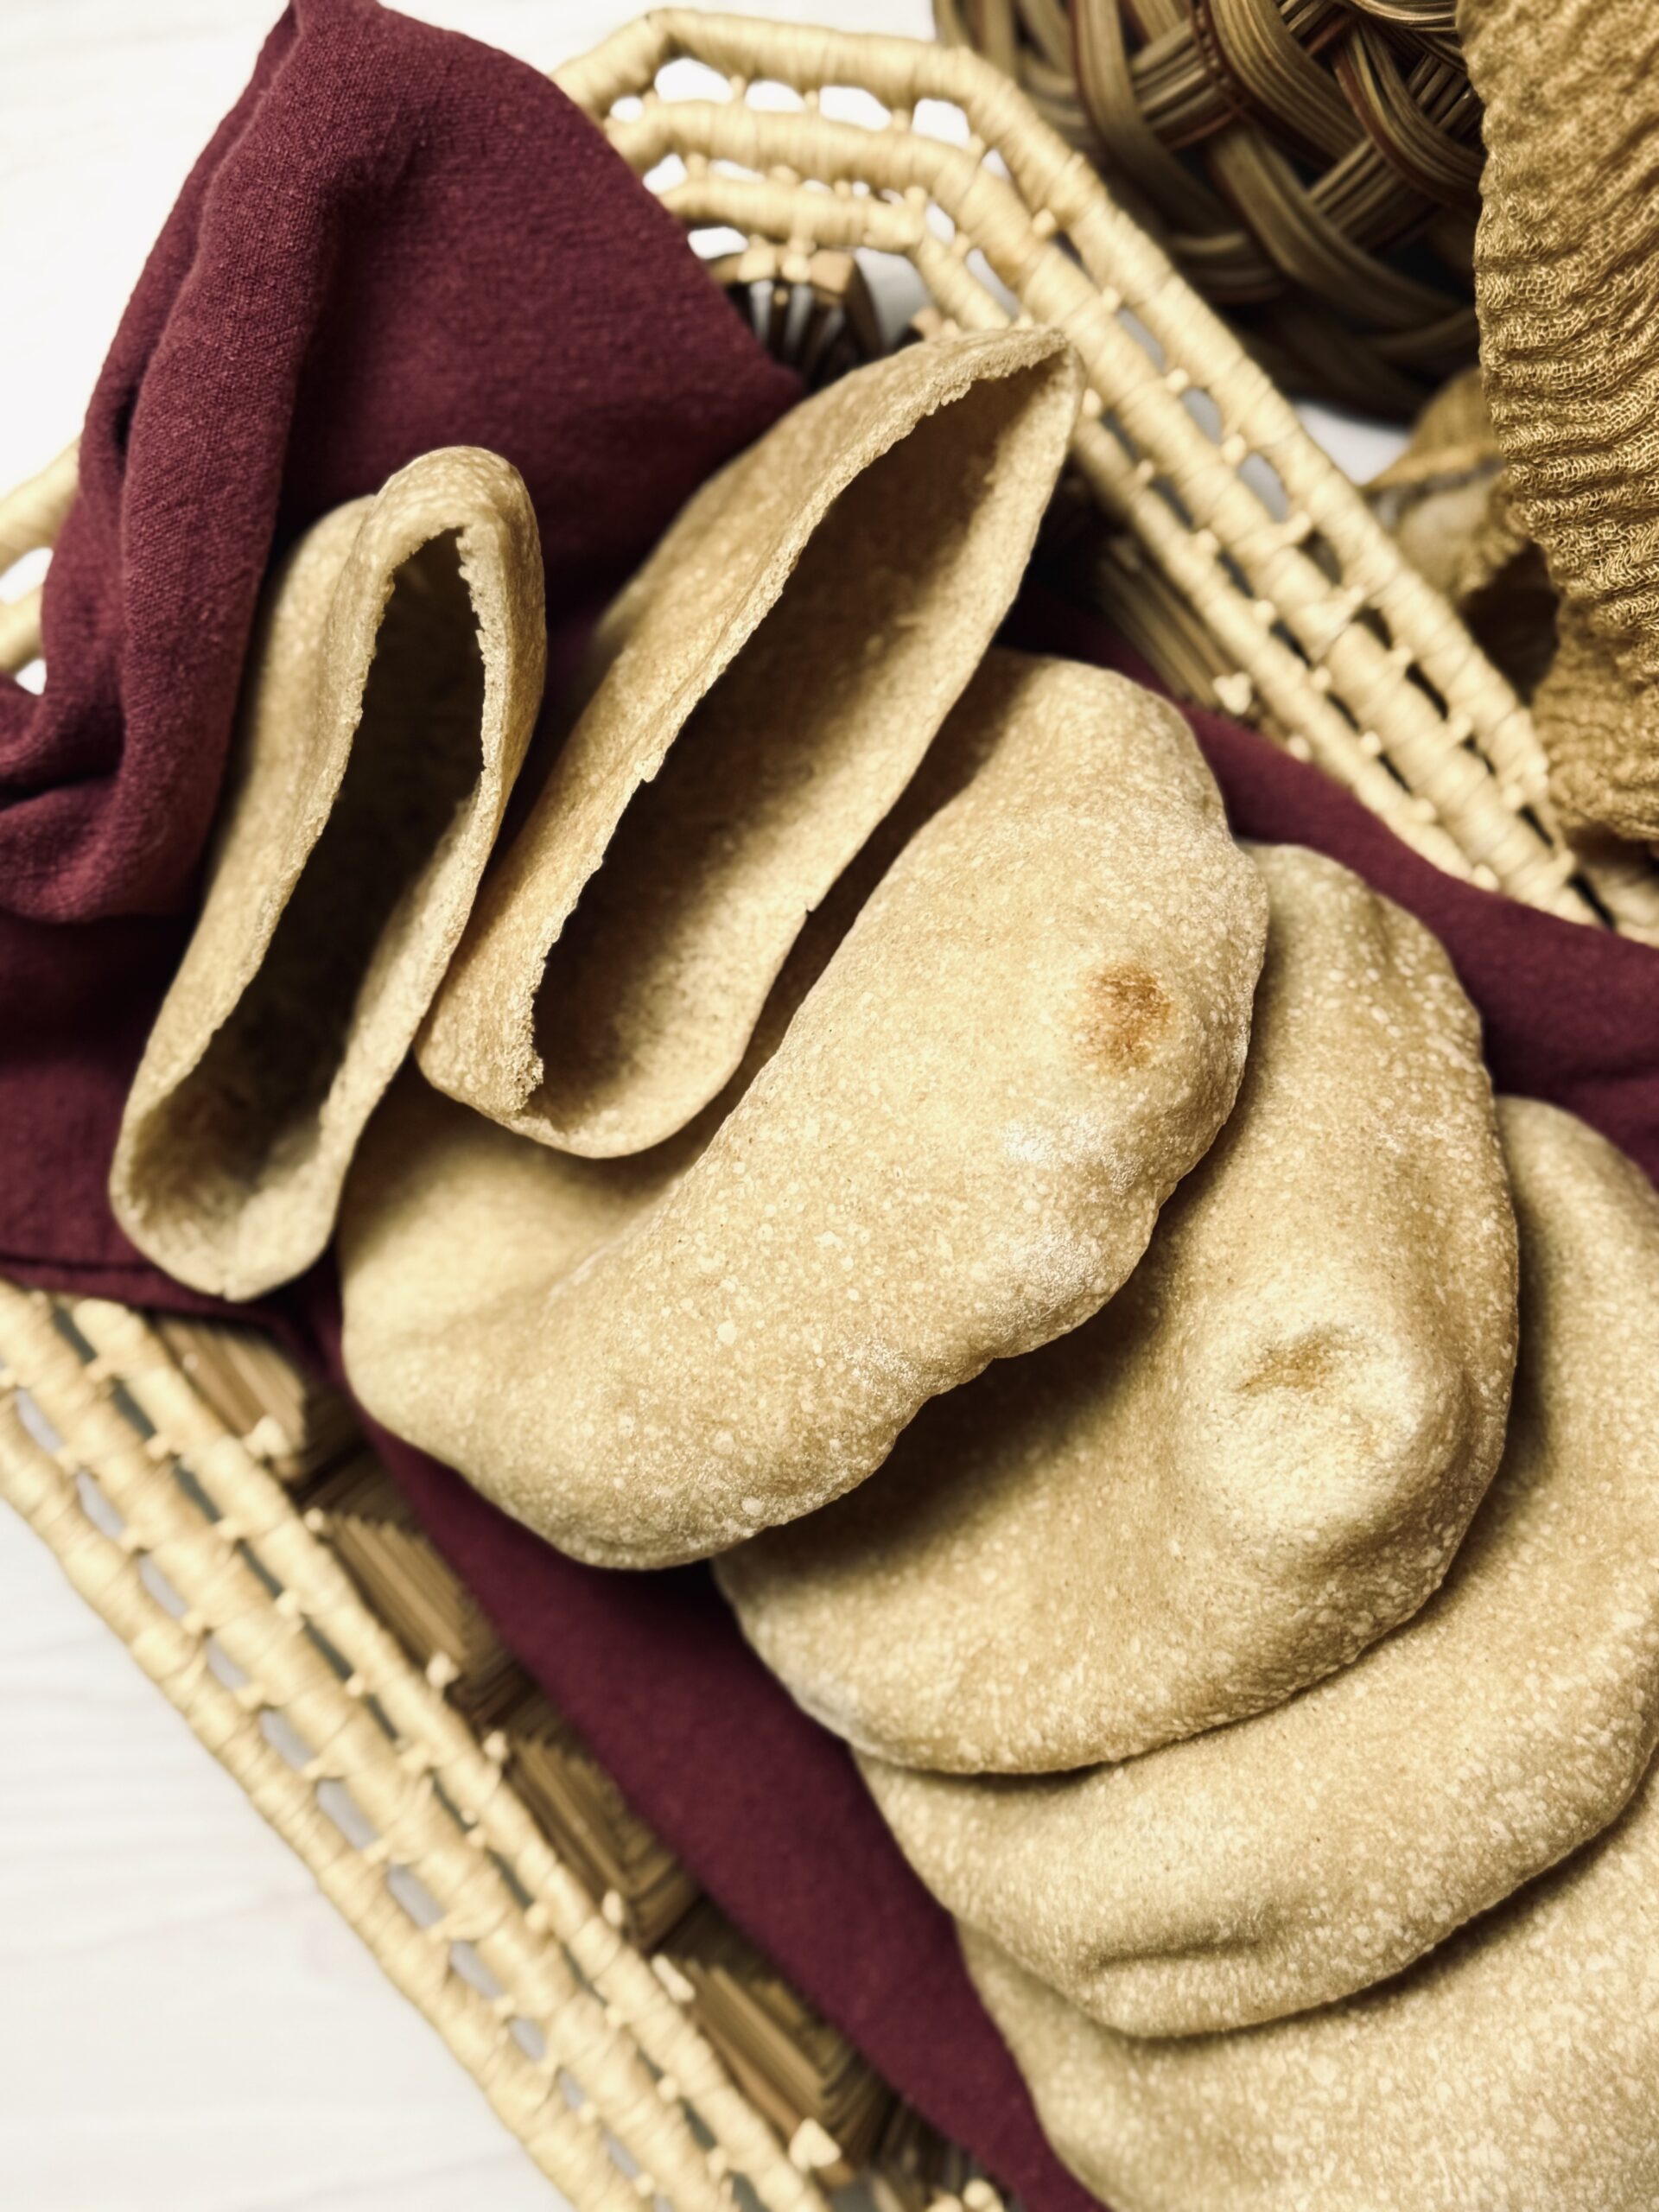
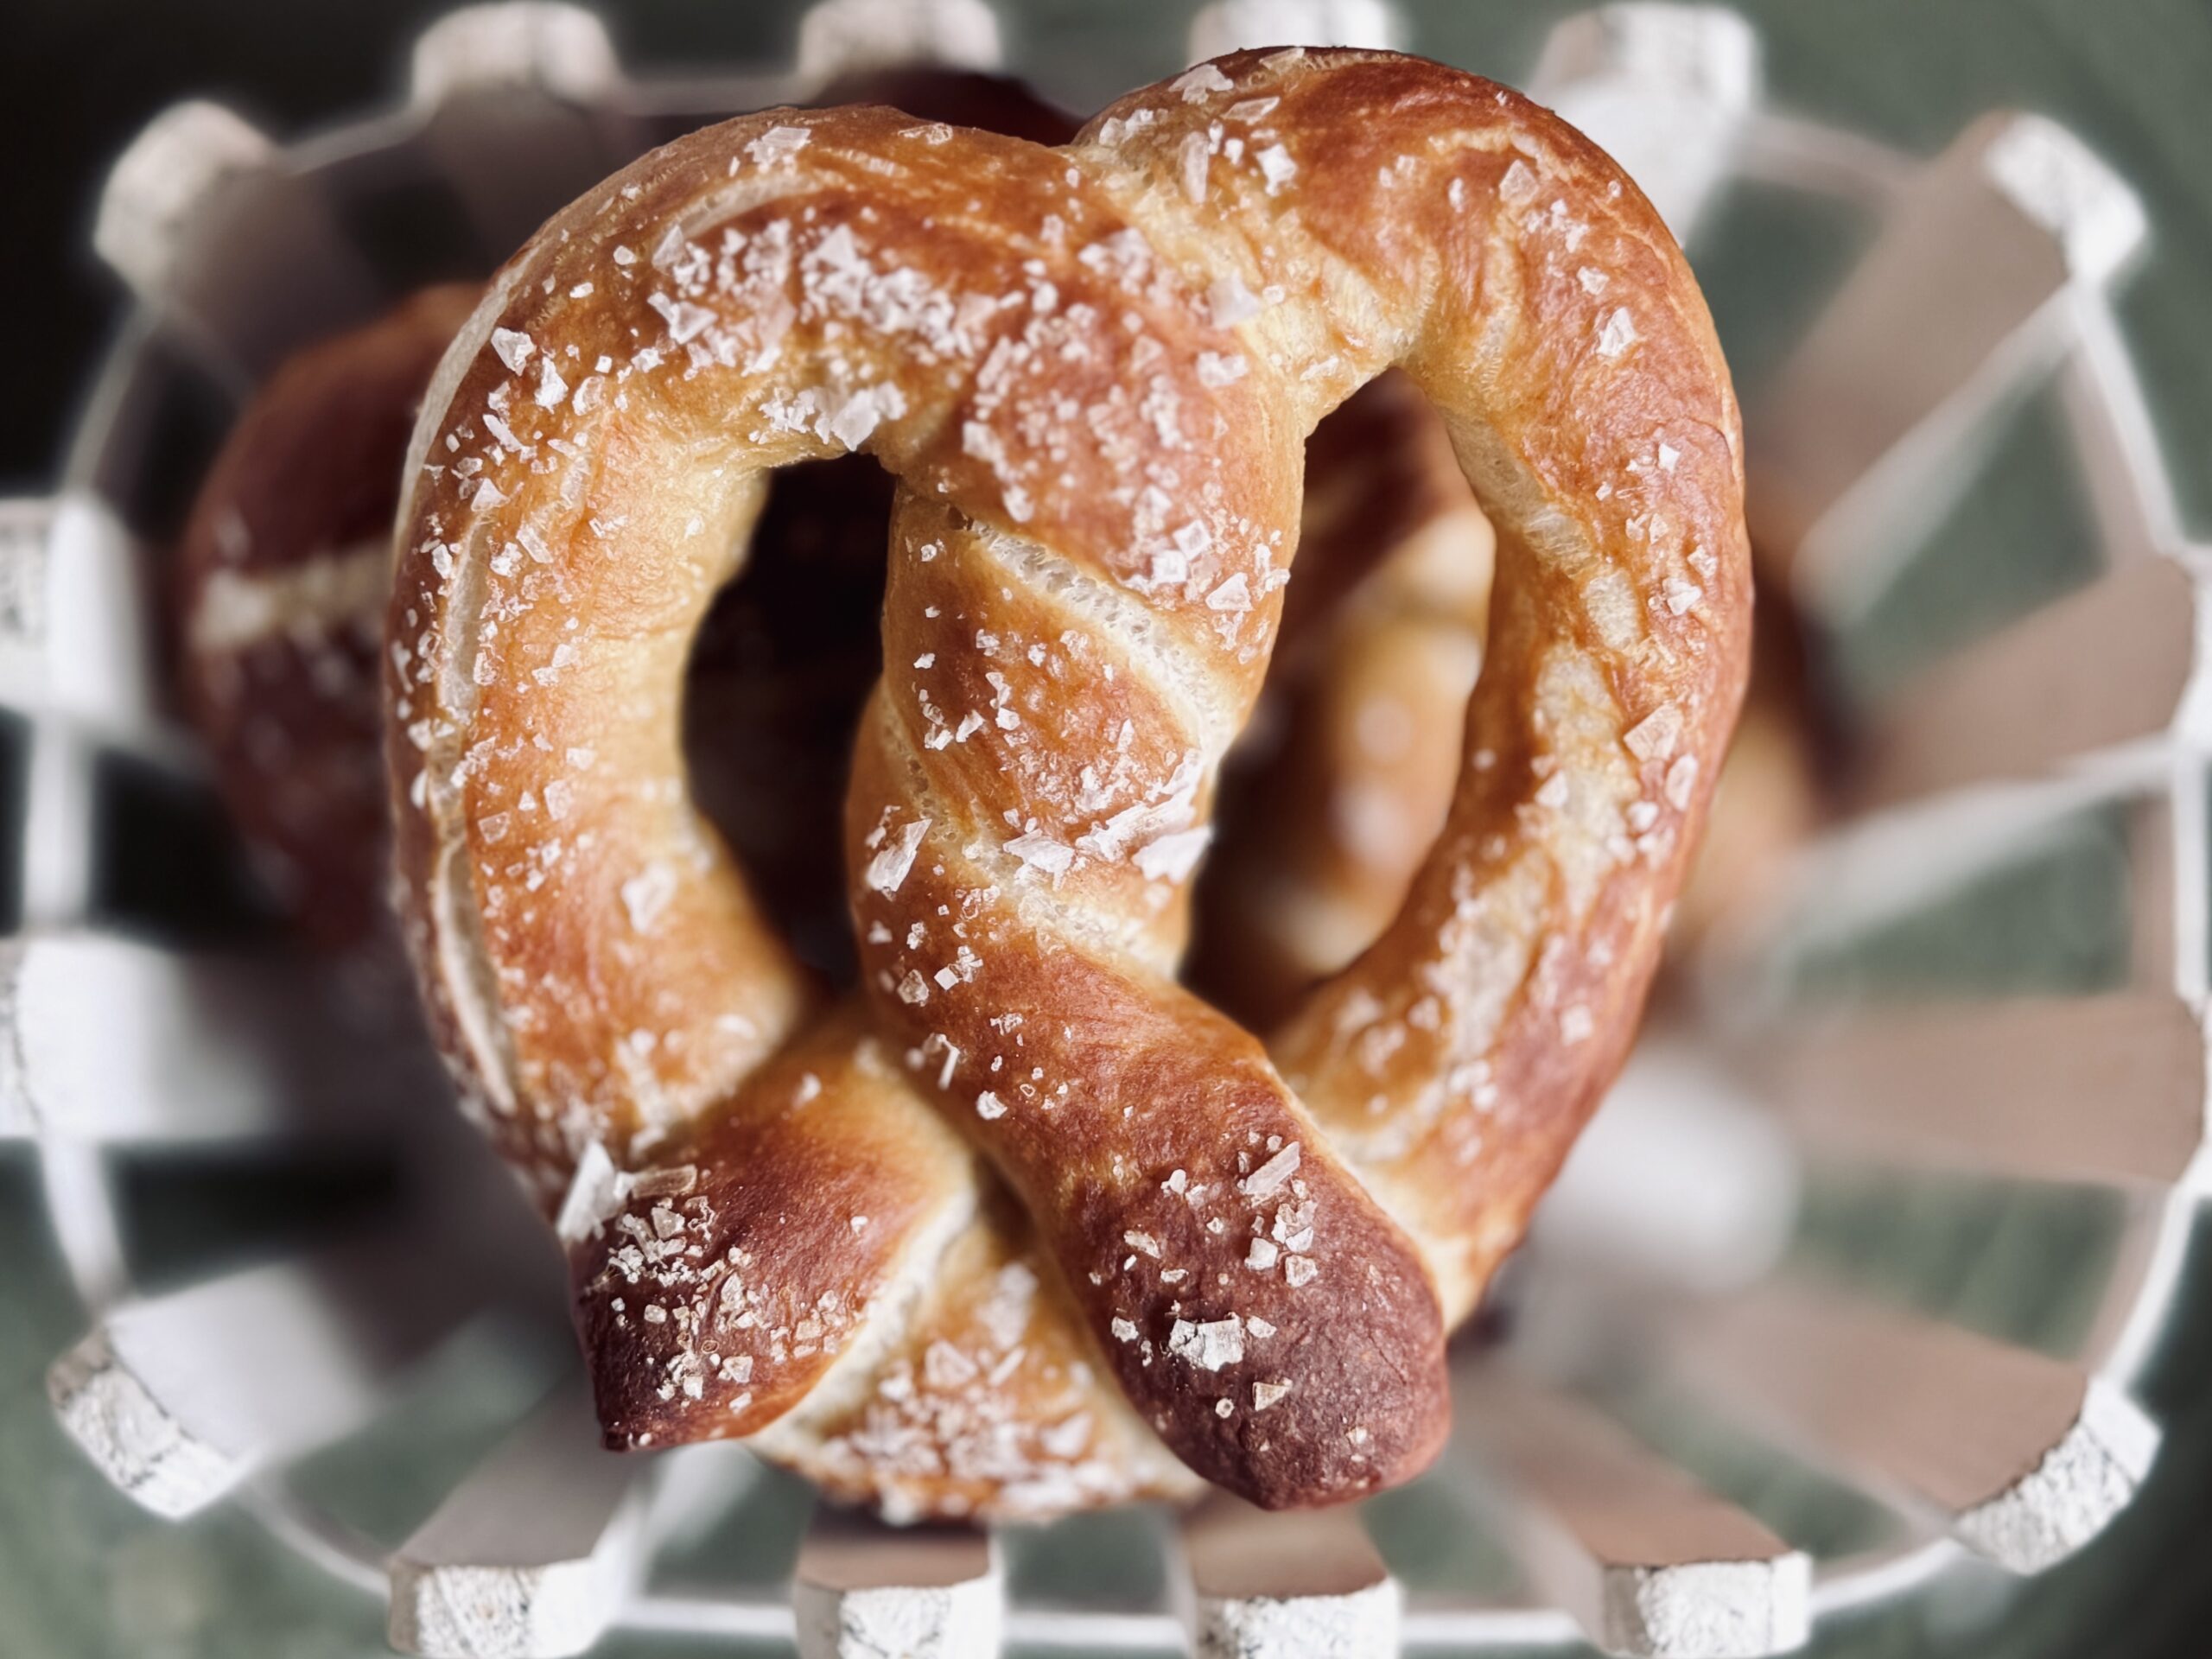
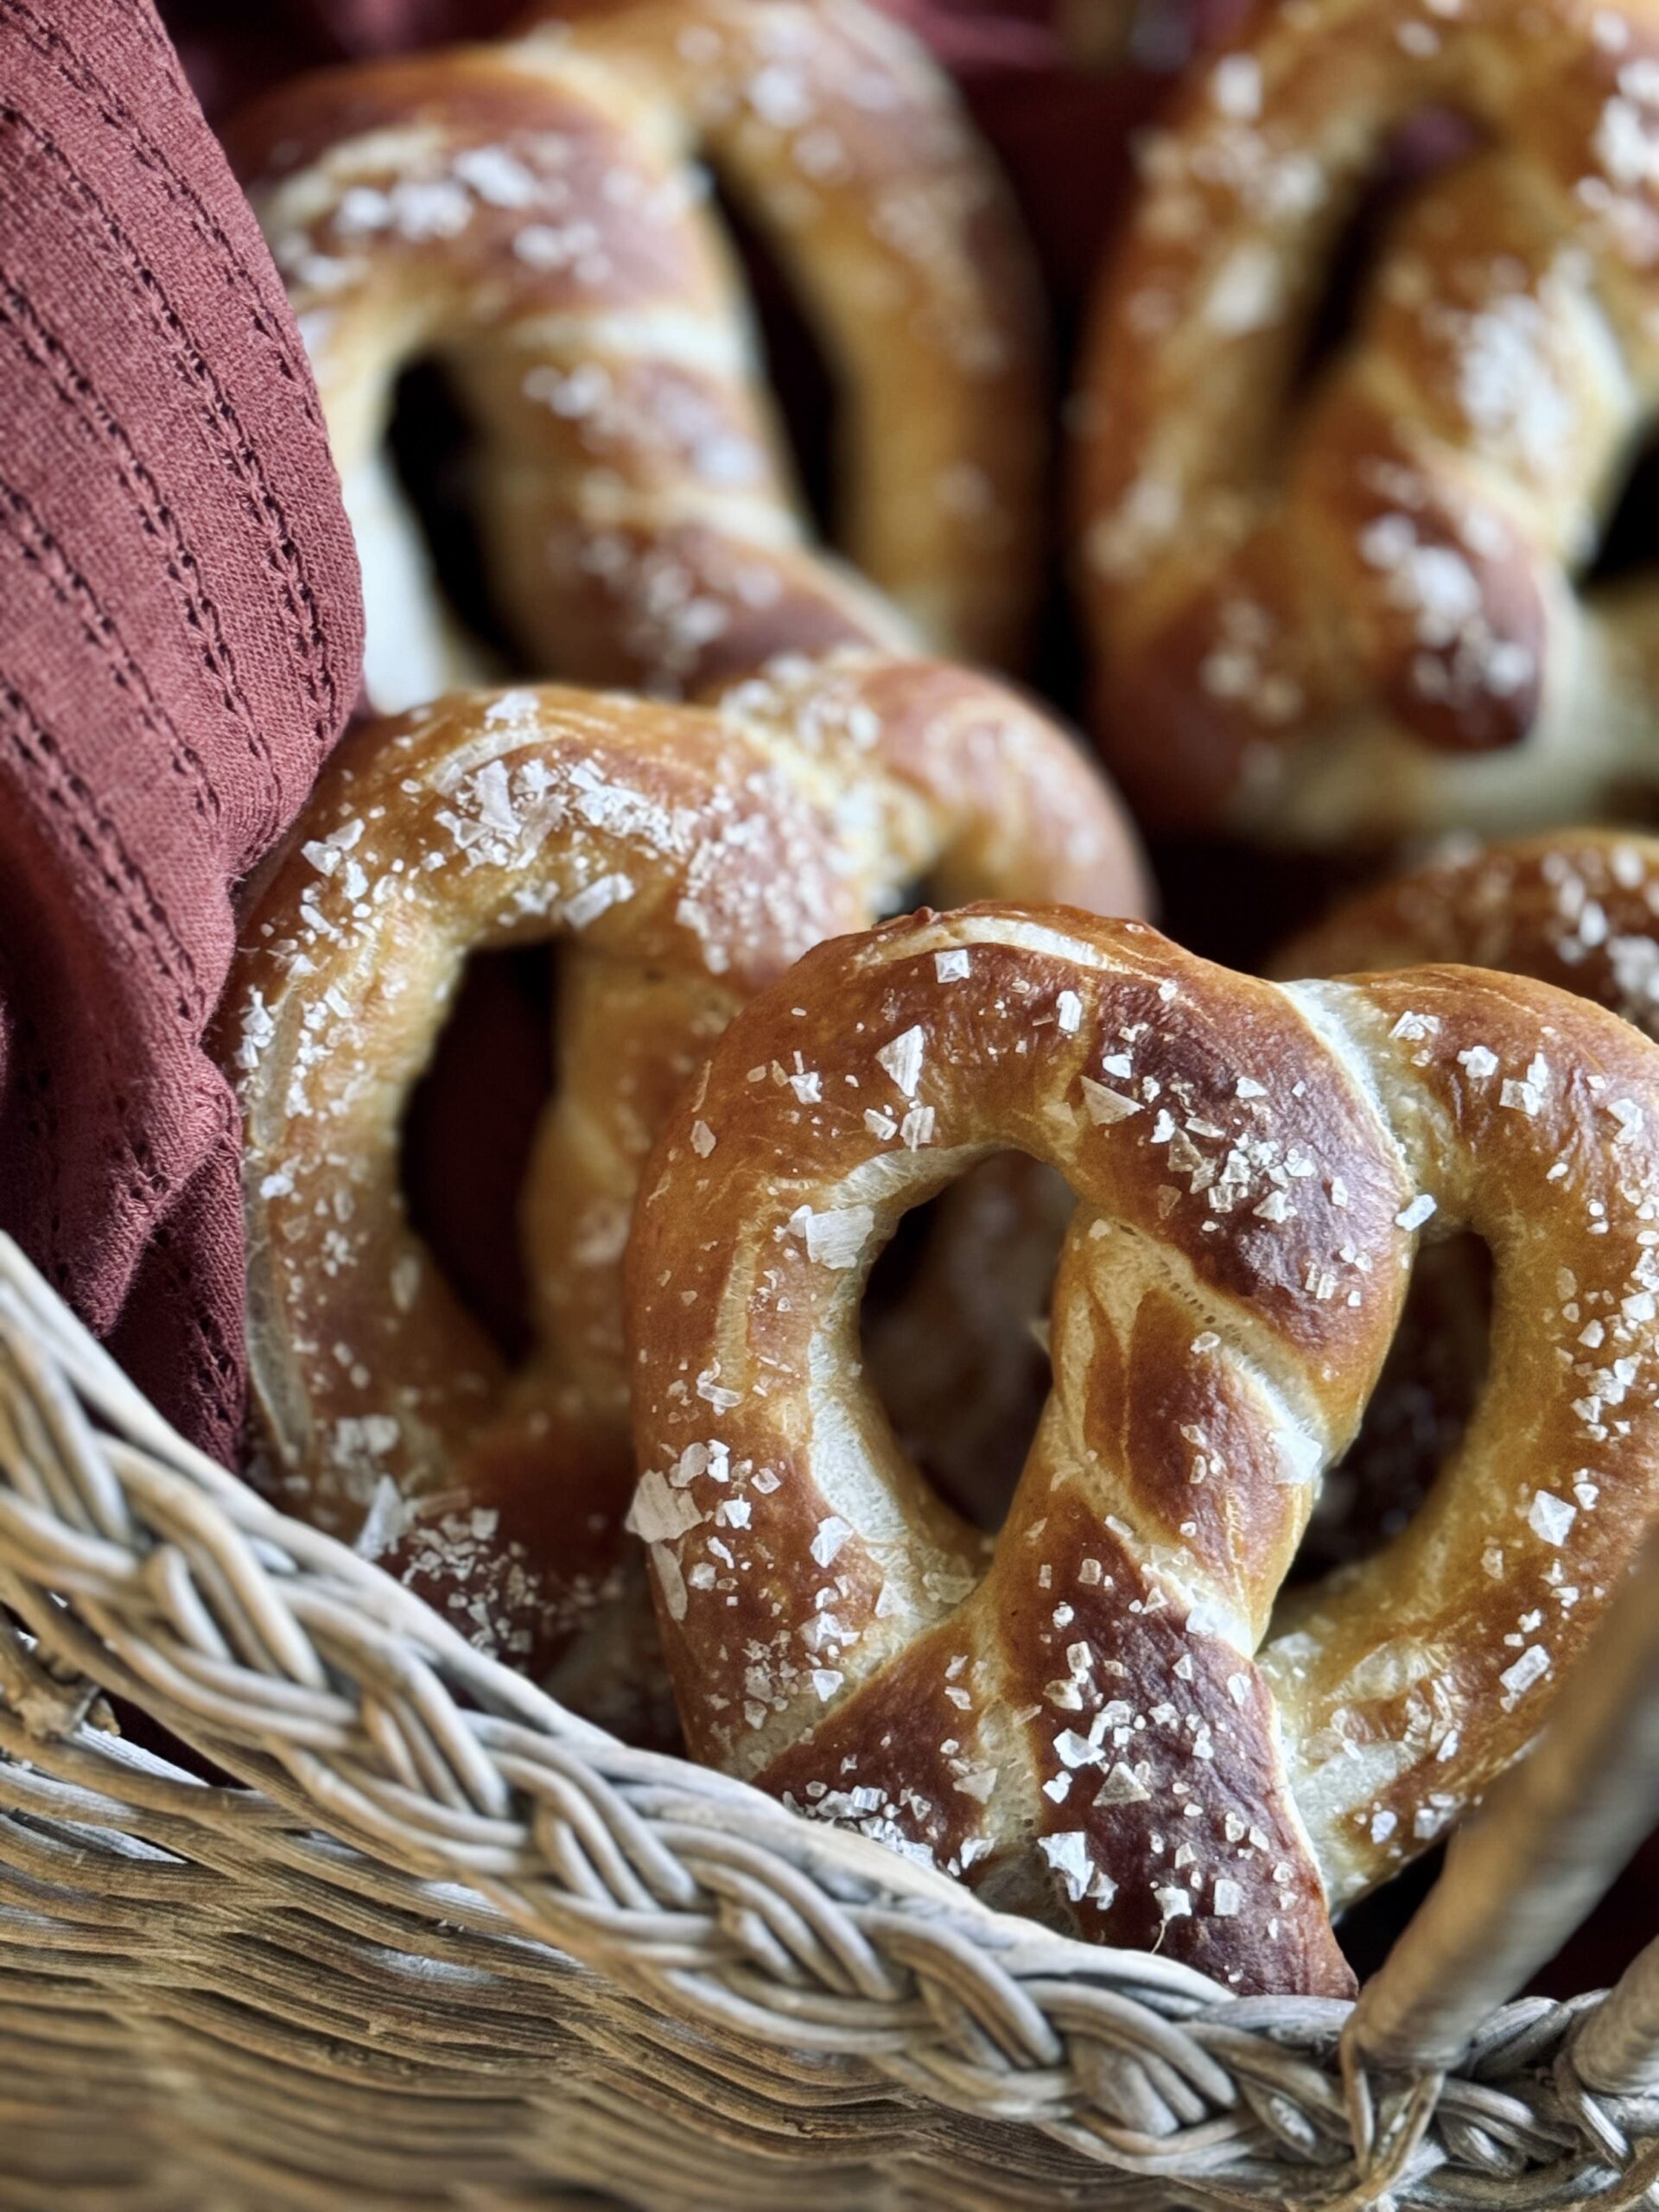
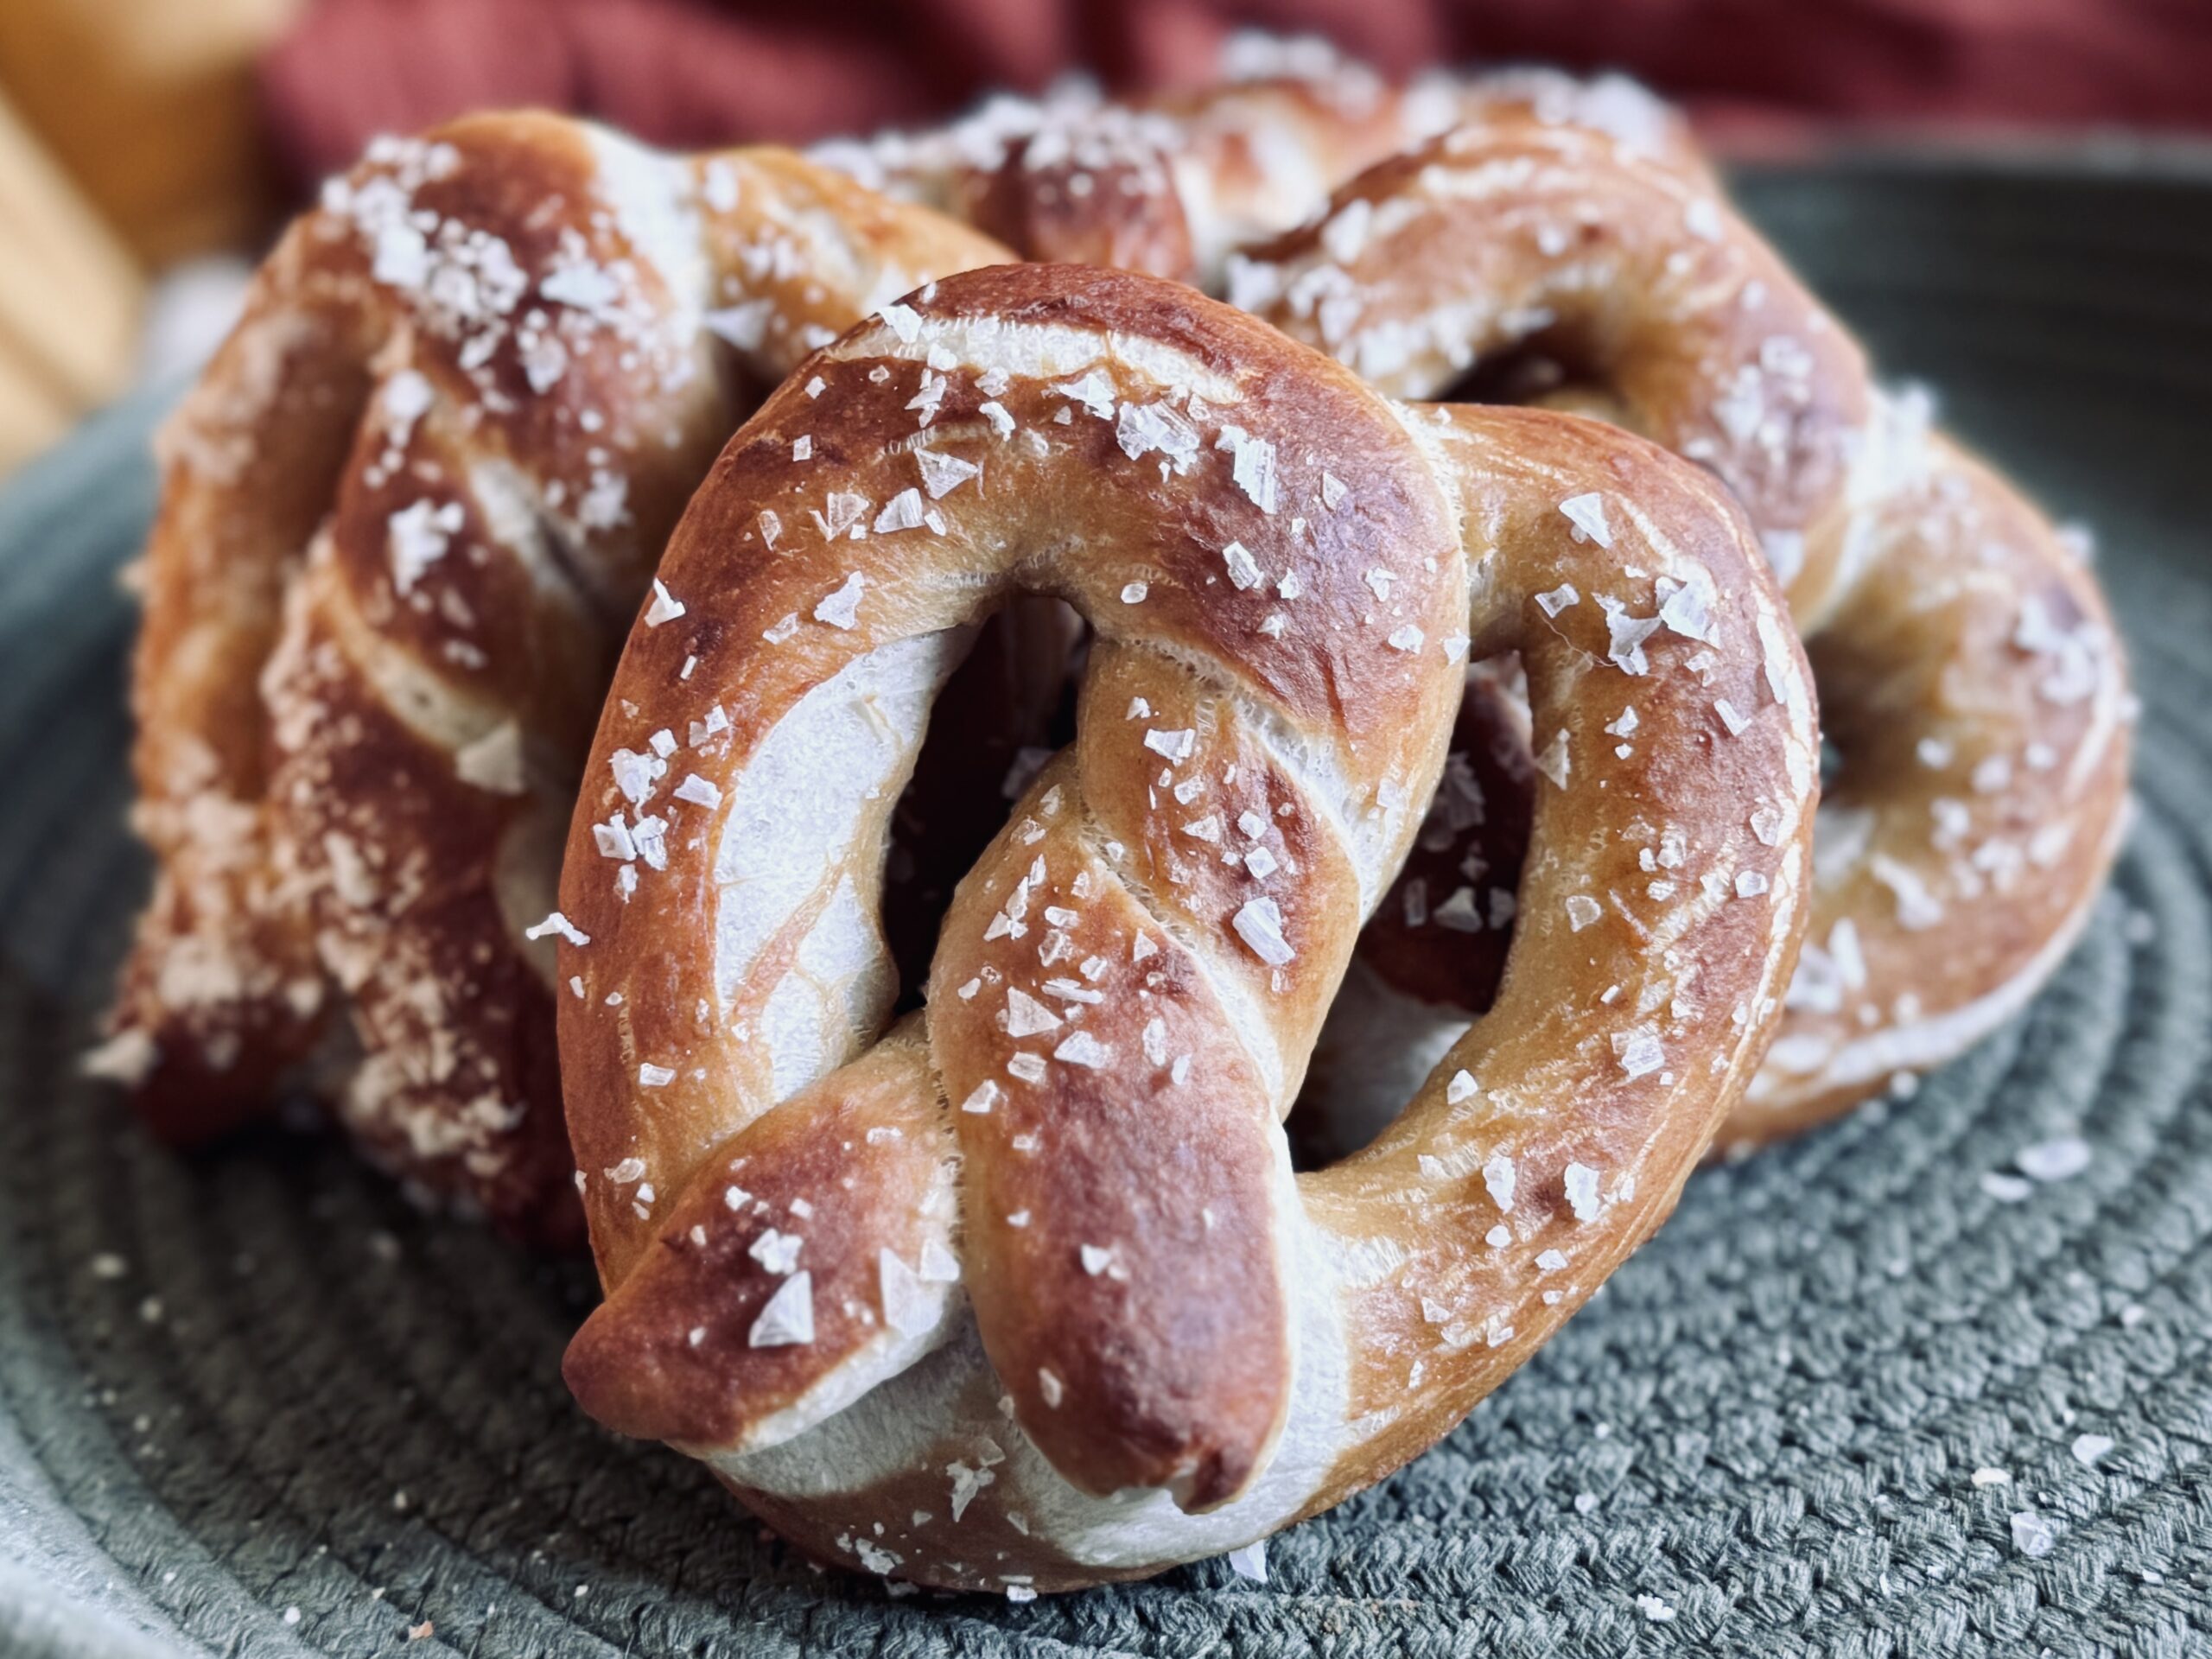
A soft pretzel is a popular snack often enjoyed at sporting events, movie theaters, and amusement parks. They are made from a simple dough and characterized by a chewy and tender texture throughout. Their unique color comes from a bath in baking soda (or lye). Soft pretzels can be served plain or with a variety of toppings and dips, such as coarse salt, cinnamon sugar, cheese sauce, mustard, or caramel.
Why No Lye?
I wanted to make a pretzel recipe without lye for those of us who either: a) don’t keep lye in the house, but still want to make pretzels on a whim, b) have children and don’t want to worry about the hazard of working with lye while they’re around, or c) are completely freaked out by the idea of using lye in food.
Pretzels made with a baking soda bath have a soft, slightly chewy texture and a gentler exterior. The baking soda provides some alkalinity, which helps create the classic golden-brown crust, but the surface tends to be less crisp and less deeply browned compared to lye-bathed pretzels. These pretzels are milder in taste, making them an approachable option for those new to pretzel-making. The texture leans toward pillowy, with a less distinct snap when you bite into the crust.
Pretzels made with lye are absolute gold; however, these are a close second. One day, I will post a real German pretzel recipe. For now, though, I have little babies running around my house while I bake, and this recipe works just as well.
What I Love About This Recipe
Pretzels are so simple. They’re made from a basic dough with only five ingredients: flour, water, salt, starter, and a little butter. Not only are they fun to work with, they can also be the base for all of your pretzel dreams. Shape them however, coat them with whatever – your imagination is the limit. The dough is easy to make, easy to ferment, and easy to handle, and the golden brown-color is absolutely stunning.

All The “Why’s”
Bread Flour
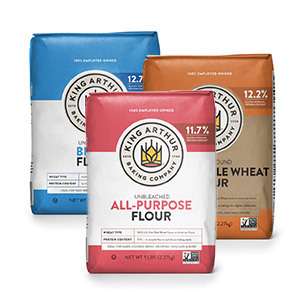
Bread flour absorbs more moisture, so you’ll find that if you substitute this ingredient with all-purpose flour, the dough will be wetter and you may need to add more flour. I prefer bread flour in my stiff doughs because of its higher protein content, which helps the gluten bind. This is especially important in stiff doughs because the lack of water makes it more difficult for gluten to come together. Without gluten, the dough will not be able to trap air, and it will not rise properly. I use King Arthur Bread Flour, protein content about 12.7%, in any recipe that calls for bread flour (unless otherwise noted). Alternatively, you could use all-purpose flour and one to two tablespoons of vital wheat gluten in a pinch.
Salt
Salt helps bring out flavor (without salt, bread would taste almost like nothing), but also has notable effects on the dough. Salt is a tightening agent, meaning it helps create a more elastic (strong) dough. It does slow fermentation, as well as gluten development, but these are things we must account for in the recipe because we cannot have a recipe without salt. It is important to use just the right amount, enough to bring out the flavor, but not so much that the loaf cannot ferment or come together. I use the standard – 2% salt – in all my recipes, unless otherwise noted.
Butter
Butter (any kind of fat, really) is a tenderizer; it makes the dough fragile and soft. In this recipe, I only use a small amount, which is meant to keep the bread soft in the oven and after baking.
Low Hydration
The term “low hydration” simply means this is not a wet and sticky dough; it does not include as much moisture as other recipes. The approximate hydration is 60%. At this hydration, you’ll find the dough is soft, smooth, and firm (but still pliable). It may be slightly sticky but should not stick to the bowl of the stand mixer when kneading.
This consistency of the dough contributes a lot to the characteristics of the pretzel. For one, it allows the dough to be twisted and turned, then remain in a defined pretzel shape. It also contributes to a finer crumb and a softer, more tender texture.
The low hydration of the dough also has one other bonus – reduced sourness. Stiff doughs (and starters, for that matter) do not encourage the reproduction of bacteria that release acids resulting in a sour flavor.
Mixing
For this recipe, we just need the dough to form a gluten network. This can be a difficult task in stiff doughs due to the lack of water (which makes it harder for gluten to form). Without enough gluten-binding proteins, the dough may struggle to form a gluten window, which allows opportunity for air to escape. This decreases the dough’s ability to rise to its fullest potential, resulting in a denser crumb and texture. Gluten must be developed through kneading and time; the more help it can get, the better. Using a flour with a high protein content can be helpful. Ten to twelve minutes in a stand mixer or by hand should do, and if your flour is good, time will do the rest. Follow your stand mixer’s directions for a stiff dough, generally a low speed is all you need, and you will be on your way! This recipe does not require any folds.
Bulk Fermentation
Letting the dough rise as much as possible, but not too much, contributes to the airiest of loaves. In an attempt to favor the yeast and reduce sourness, I recommend keeping the dough temperature between 70-75 F (21-24 C). Watch the dough and ferment until it doubles in size (at least; eight to twelve hours). Then, you can shape it and let it double again. Though I favor an overnight method for this dough, use your knowledge of your environment to bulk ferment this dough appropriately.
Shaping
I use a pre-shape and a final shape for this recipe. As the pretzels are being rolled out, the gluten begins to tighten. By letting the dough rest after rolling into a long cylinder, the gluten is given a chance to relax and the pretzels are much easier to form into their final shape.
Cold Proof
I place the shaped pretzels in the refrigerator for at least 30-60 minutes before boiling and baking. The reason for this is two-fold. First, they become incredibly easy to handle when it comes time for the baking soda bath. Second, they do not become as puffy and have, in my opinion, a more beautiful oven spring and final appearance.
Baking Soda Bath
Instead of a lye bath, I give these pretzels a baking soda bath to achieve the classic golden-brown color and “pretzel” taste. Let’s talk about each element of the bath:
Baking Soda
Baking soda is the ingredient that gives these pretzels their unique color and taste. It’s an alkali, similar to lye, only not as strong, meaning the pretzels will be a more toned-down version of a pretzel made with lye (not quite as dark, not quite as deep of a flavor, not quite the same texture). I use a lot of baking soda, which I find necessary to get the best color, texture, and flavor. (Just a few teaspoons isn’t going to do much for us.)
Baking soda can be a little bit messy. Be sure to add it to the water before the honey, otherwise it will boil over your pot. Also, be sure not to leave the pretzels in the bath for too long, otherwise you’ll notice they start to taste metallic-y. Thirty seconds seems to be the sweet spot.
Honey
I include a small amount of honey in the pot with the baking soda. This ingredient is optional; however, it also contributes to browning on the exterior of the pretzels.
Simmering Water
For this recipe, I use simmering water, which helps the baking soda/honey dissolve and works with the baking soda to give the pretzels a their subtly chewy exterior.
Coarse Salt
A coarse salt not only adds a visual appeal to the pretzels, but also creates a stark contrast in texture and enhances the deep flavor of the pretzels.
Baking Method
I use a compromise of high and low temperatures to achieve the best oven spring, color, and texture. The higher temperature ensures a beautiful oven spring, while the lower temperature finishes cooking the pretzels all the way through.
I do want to note that we don’t need to use steam. The main purpose of steam is to soften the dough, allowing for a full expansion in the oven. However, we have enough moisture leftover from the baking soda bath to ensure the pretzels rise properly without the help of anything extra.
Suggested Timelines
Daytime Timeline
DAY 1
8:00 a.m.
- Mix and knead the dough.
- Begin bulk fermentation (around 75 F, 24 C).
4:00 p.m.
- Divide and pre-shape the dough.
4:15 p.m.
- Shape the dough.
5:00 p.m.
- Cold proof the dough.
5:30 – 6:00 p.m.
- Boil and bake the pretzels. Enjoy!
Overnight Timeline
DAY 1
9:00 p.m.
- Mix and knead the dough.
- Begin bulk fermentation (around 70 F, 21 C).
DAY 2
8:00 a.m.
- Divide and pre-shape the dough.
8:15 a.m.
- Shape the dough.
9:00 a.m.
- Cold proof the dough.
10:30 – 11 a.m.
- Boil and bake the pretzels. Enjoy!
Work Day Timeline
DAY 1
8:00 p.m.
- Mix and knead the dough.
- Begin bulk fermentation (around 70 F, 21 C).
DAY 2
7:00 a.m.
- Divide and pre-shape the dough.
7:15 a.m.
- Shape the dough.
8:00 a.m.
- Cold proof the dough.
After work
- Boil and bake the pretzels. Enjoy!

📌 Quick Tip: Read the recipe in its entirety before you start cooking. This will help you understand the ingredients, steps, and timing involved, and allow you to prepare any necessary equipment or ingredients beforehand.

Soft Pretzels (without lye)

Ingredients
Dough
Baking Soda Bath
Other Ingredients
Instructions
-
Mix the bread flour, salt, water, and active starter together in the bowl of a stand mixer.
-
Knead in the stand mixer, fitted with a dough hook, on a low speed (speed 2 on a KitchenAid) until the dough comes completely together. Alternatively, knead by hand.
-
After the dough has come together, add the butter one tablespoon at a time, allowing each tablespoon to be fully incorporated before adding the next.
-
Continue kneading 12-15 minutes more, until the dough is smooth, soft, and pliable.
The dough should NOT stick to your fingers or the bowl. If it is too sticky at this stage, problems will occur later on. Add more flour if necessary. -
Bulk ferment the dough. Shape the dough into a ball, cover, and let it rest until it has doubled in size.
-
Divide the dough into six equal portions, about 150 g each, and pre-shape each into a 24-27 inch long rope. Let the dough rest for 15-20 minutes to allow the gluten to relax.
-
Shape each rope into a pretzel (see 4:45 in video). Make a “U” shape with each rope. Twist the ends to form what looks like a fish. Twist the ends 1-2 more times to complete the middle pretzel twist. Last, bring the top down to the bottom to complete the pretzel shape.
-
Rest on the counter for 30-60 minutes (this will add fluff to your pretzel), then in the fridge for another 30-60 minutes (this will make them easy to handle and give them a beautiful oven spring).
-
Prepare the baking soda bath. Bring 6 cups of water to a boil in a 4 qt pot, then reduce to a simmer. Meanwhile, preheat your oven to 450 F (230 C).
-
Add the baking soda to your hot, simmering water in small portions, whisking continuously, so as not to let the mixture boil over.
-
Once the baking soda has dissolved, add the honey to the pot and whisk to dissolve.
-
Remove the pretzels from the fridge and prepare a work area with your baking soda bath, cold pretzels, a cooling rack, and a skimmer.
-
Simmer each pretzel in the baking soda bath for 30 seconds (no more than 40 seconds or your pretzels will develop a metallic taste), then remove using a skimmer and let them fully drip dry on a cooling rack.
-
Transfer pretzels from the cooling rack to a baking sheet and sprinkle with coarse salt.
-
Bake the pretzels at 450 F (230 C) for 10 minutes, then at 425 F (220 C) for 8-10 more minutes.
-
Immediately remove the pretzels from the baking sheet onto a cooling rack, in order to prevent the bottom from overcooking. Enjoy!

You might need...
Affiliate Disclosure: This post contains Amazon affiliate links. This means when you buy a product using one of my links, I may receive a small commission at no cost to you. Thank you, in advance, for supporting my work.
Nutrition Facts
Servings 6
- Amount Per Serving
- Calories 393.96kcal
- % Daily Value *
- Total Fat 7.19g12%
- Saturated Fat 3.65g19%
- Cholesterol 14.33mg5%
- Sodium 354.63mg15%
- Potassium 104.48mg3%
- Total Carbohydrate 69.07g24%
- Dietary Fiber 2.36g10%
- Sugars 1.03g
- Protein 11.85g24%
- Vitamin A 45.6 IU
- Calcium 24.29 mg
- Iron 4.33 mg
- Vitamin E 0.52 IU
- Vitamin K 0.83 mcg
- Thiamin 0.79 mg
- Riboflavin 0.5 mg
- Niacin 7.09 mg
- Vitamin B6 0.04 mg
- Folate 37.03 mcg
- Vitamin B12 0.01 mcg
- Phosphorus 99.93 mg
- Magnesium 26.76 mg
- Zinc 0.89 mg
* Nutrition values are auto-calculated and should be used as an approximation only.
Notes
- Storage: Enjoy these fresh out of the oven. If you absolutely cannot, let them cool as much as possible, then place on a sheet pan and flash-freeze. To reheat, remove the pretzels from the freezer and bake at 350 F (175 C) for 5-10 minutes until warmed through.
- Video: This was one of my first recipes, and one of the things I used to do was adjust the amount of starter based on environment and baking timeline goals. I soon learned that this confused people, so in my current recipes I have switched to adjusting fermenting times instead. Seeing as I have not updated this recipe, you will still notice a range of starter in the video. To help you determine how much starter to use based on the environment of your home and your baking timeline goals, check out this video. You can also reference the suggested baking timelines below. I do not do this in my newer recipes; however, understanding your environment, baking timeline goals, and how much starter is perfect for your situation will open up a realm of control in your sourdough baking world that is unmatched.
- I do not recommend buttering the pretzels before baking, as it will affect the color and texture of the pretzels (they'll be lighter and softer/less chewy). However, feel free to butter them up after they come out of the oven.
- You could skip the fridge during the second proof and just let these rest on the counter for 60-90 minutes. They will be super fluffy, but a little more difficult to handle and may not have as beautiful of an oven spring.

