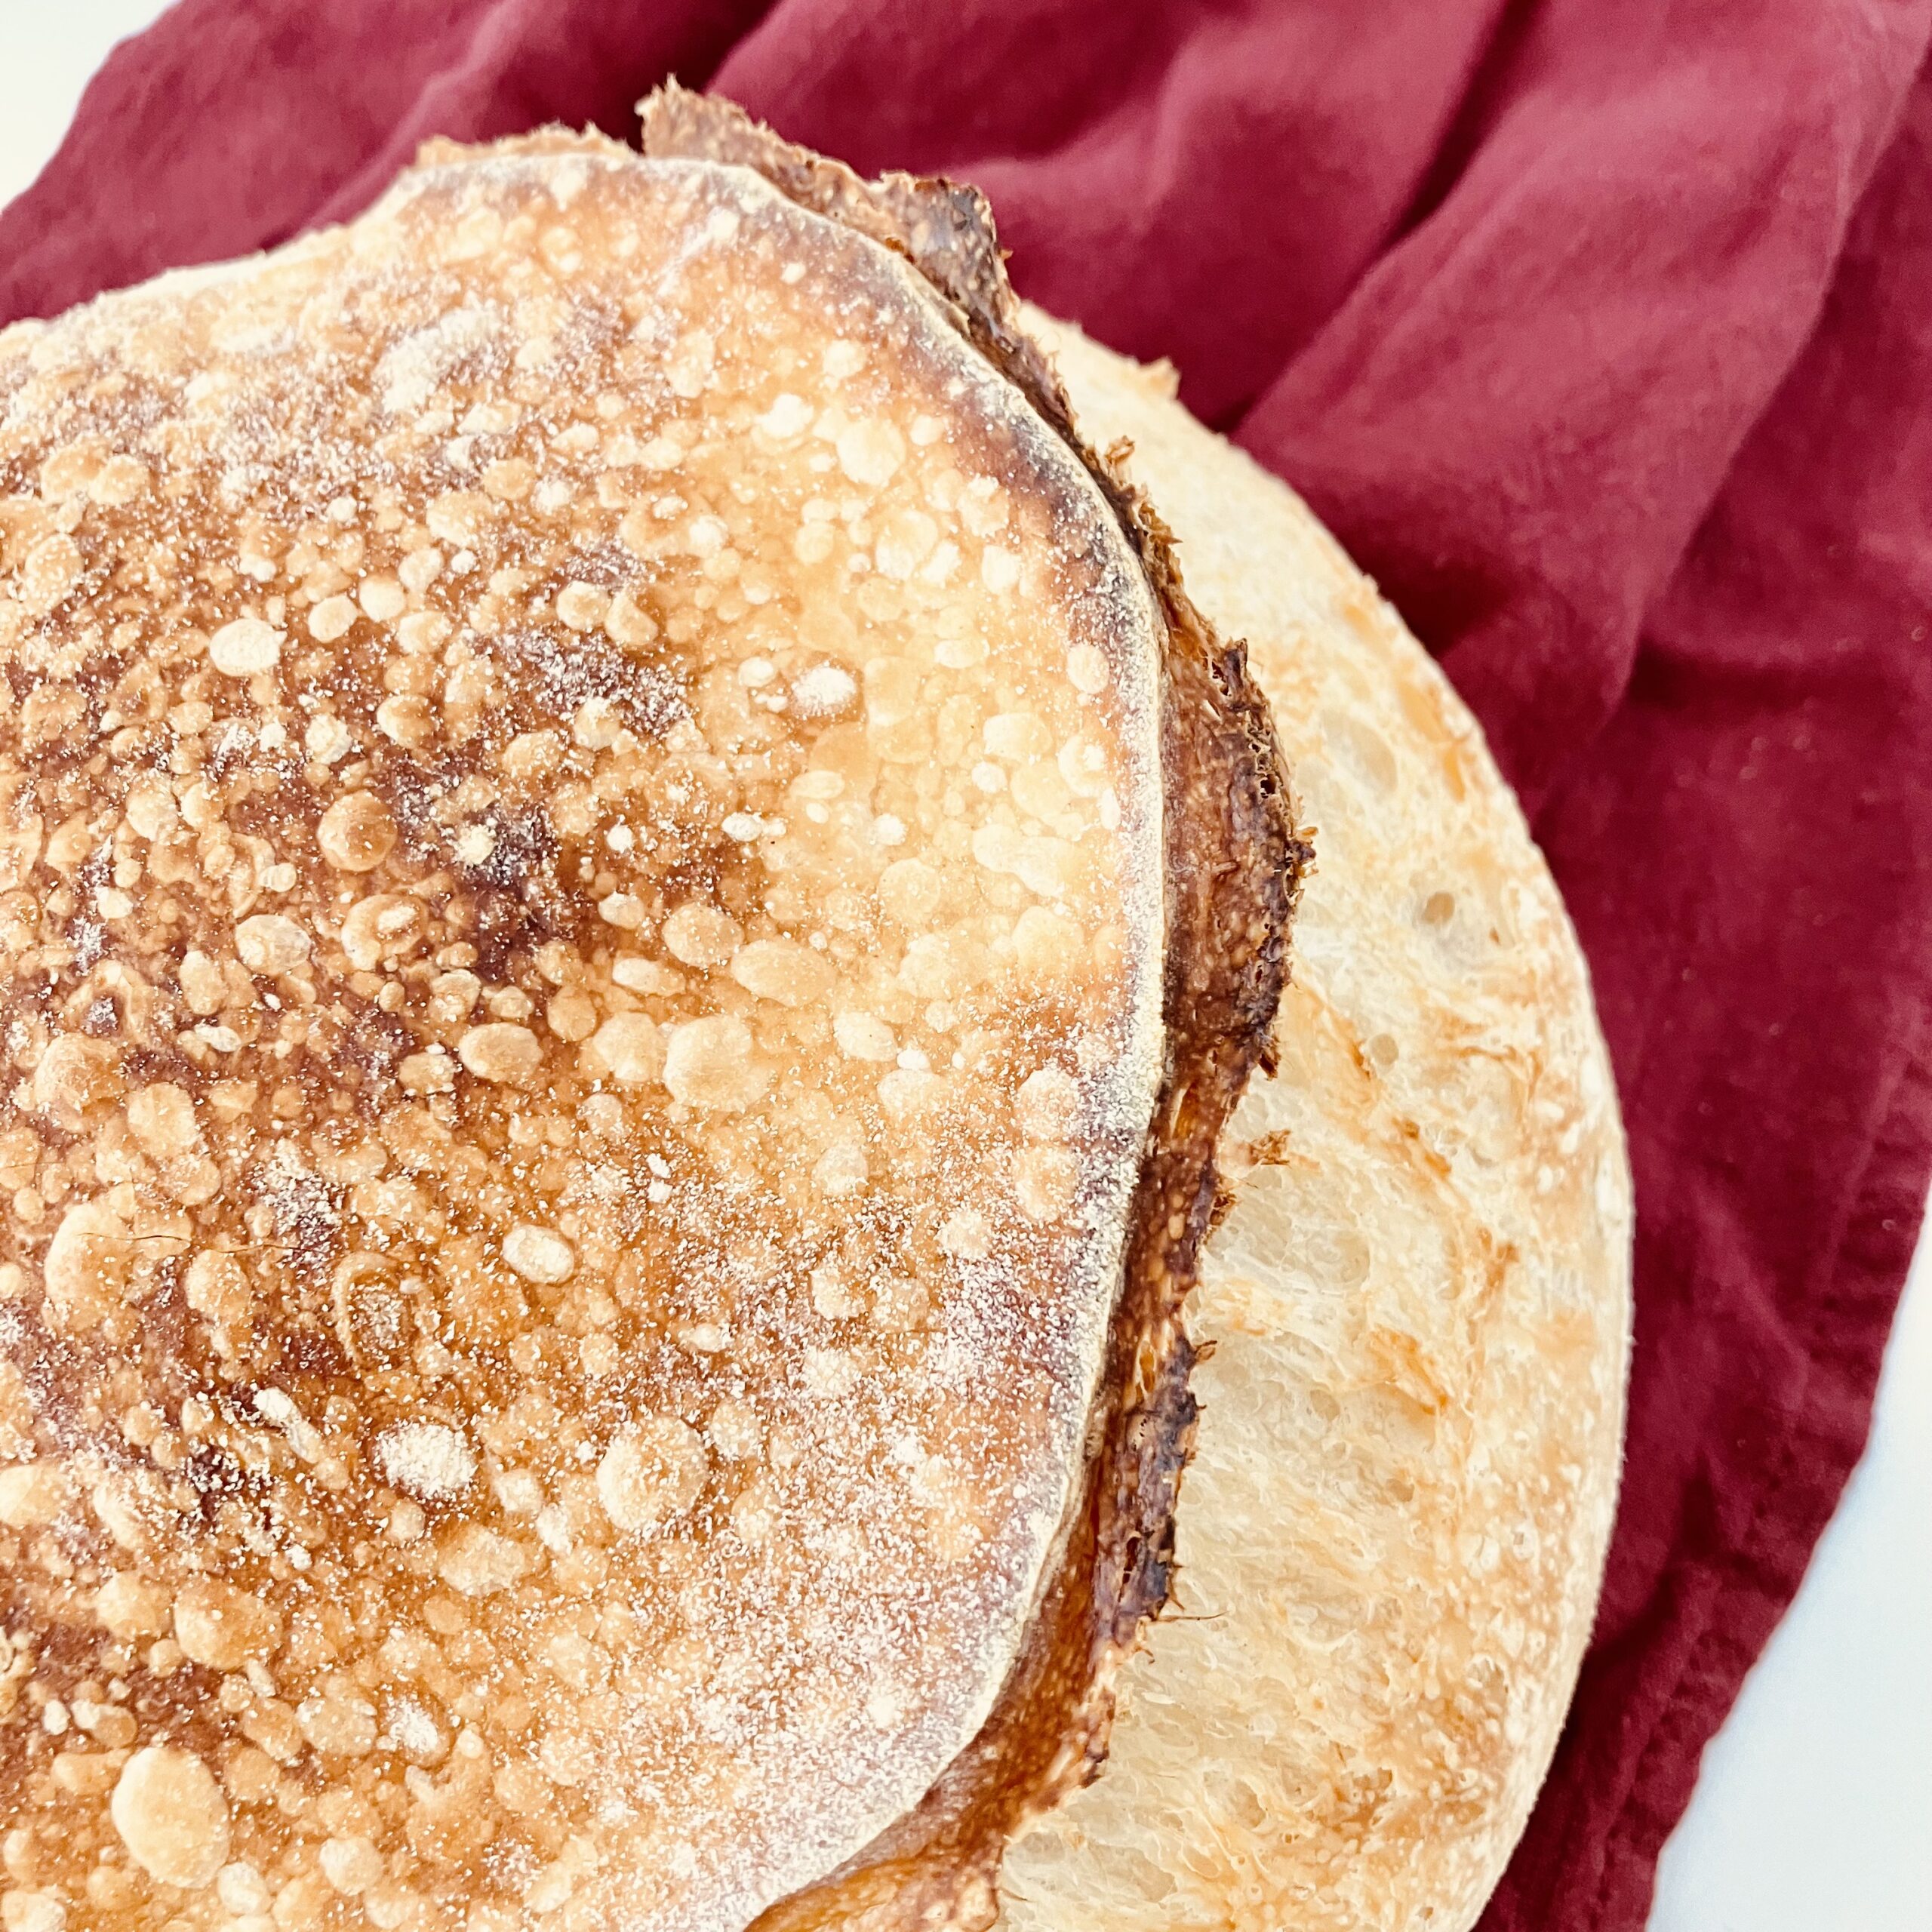
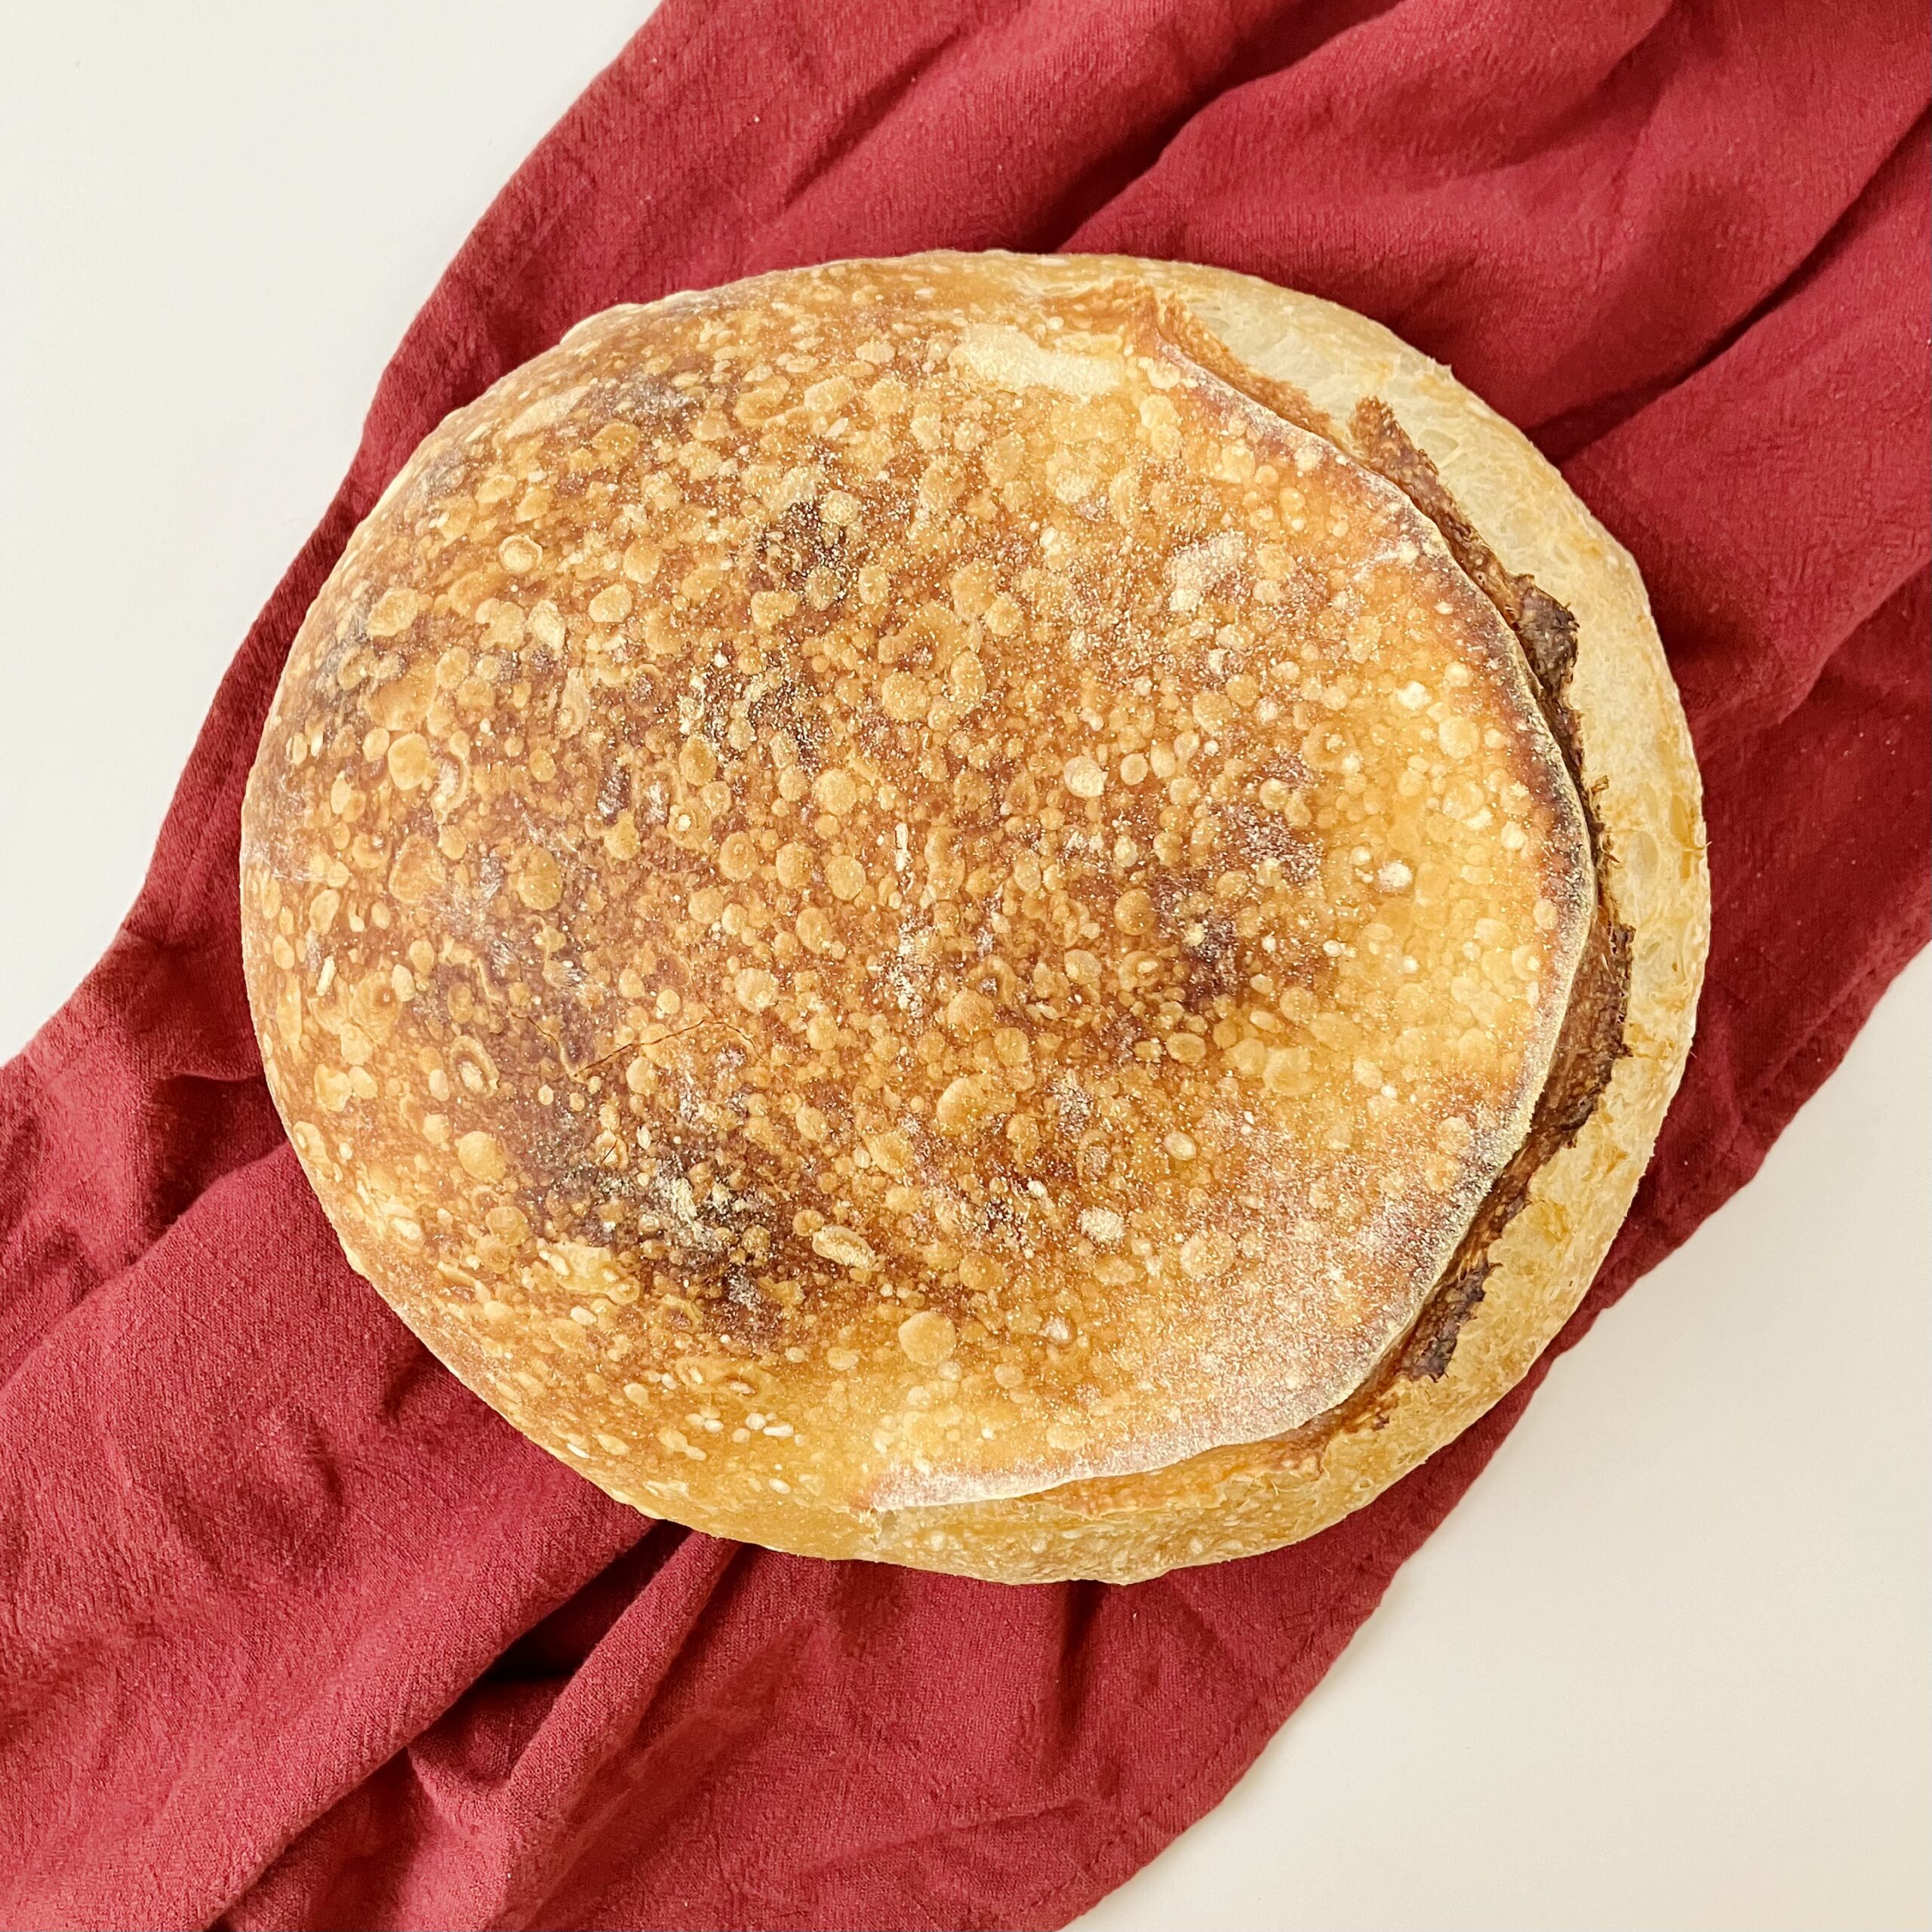
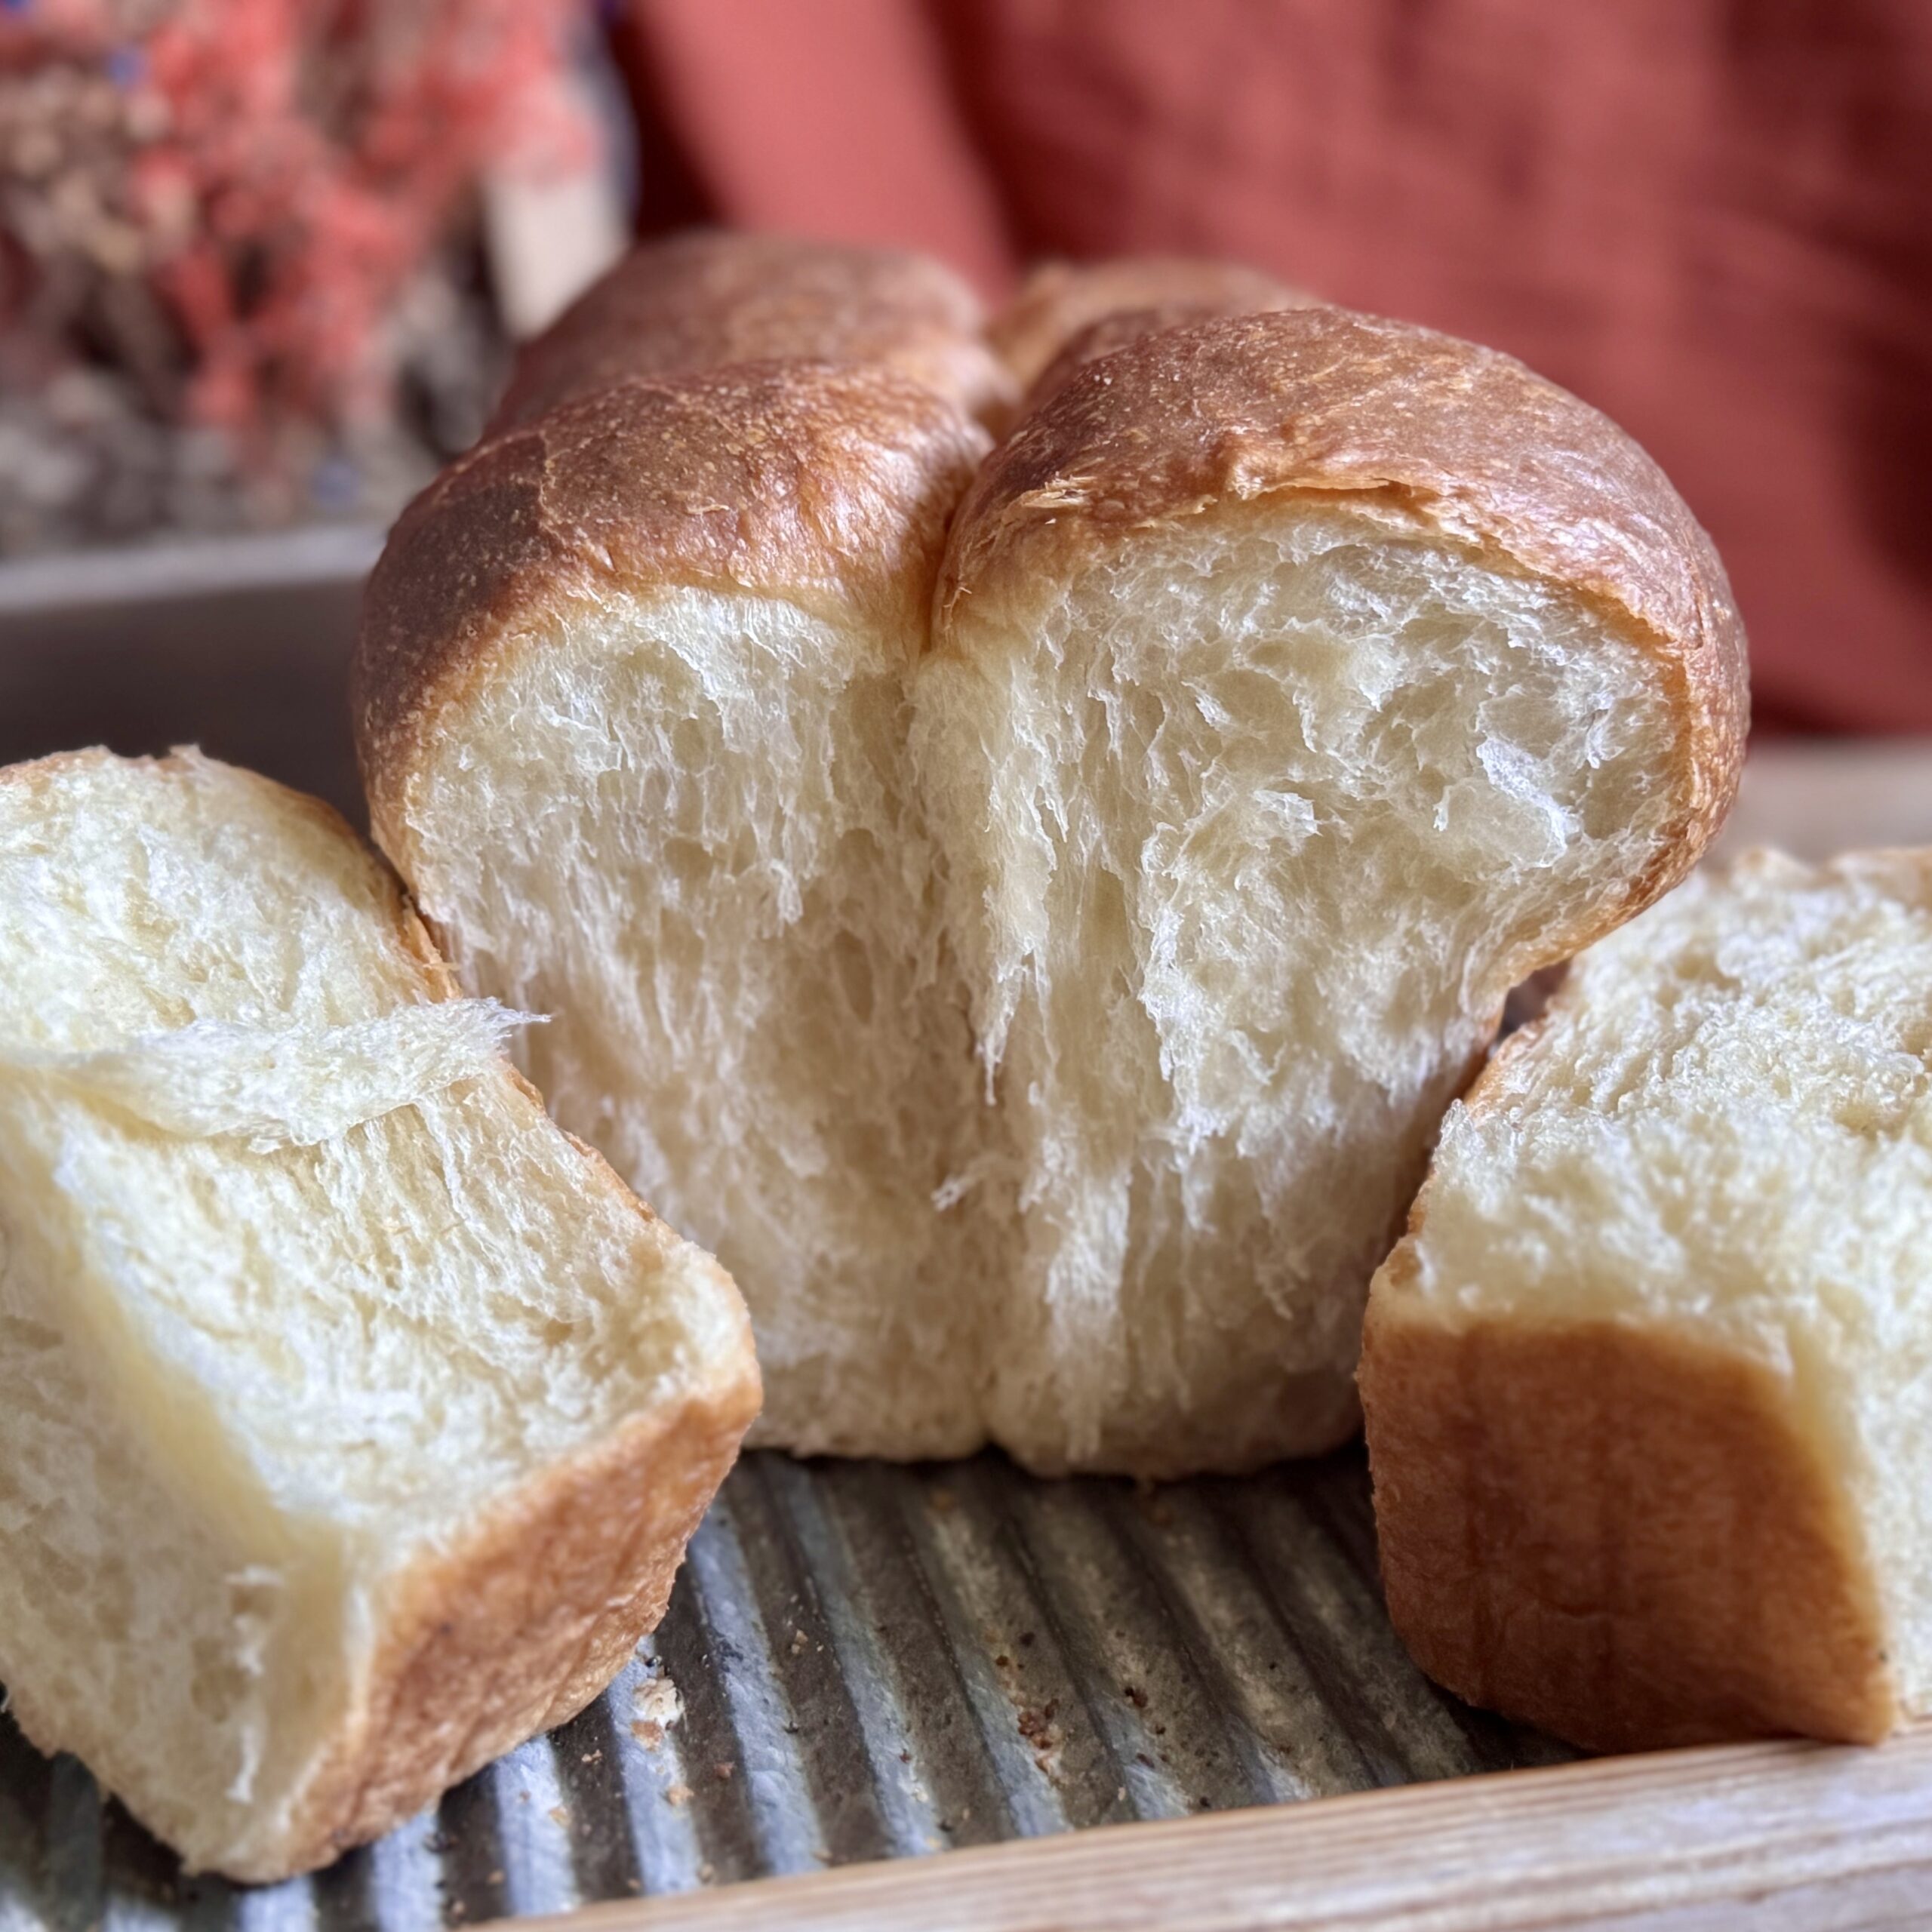
Country Bread
Course: Lunch, Dinner, Snack, SideCuisine: UniversalDifficulty: Intermediate45
minutes24
hours45
minutes1
LoafIngredients
350 g filtered water (1 1/2 cups)
100 g active starter (1/2 cup)
465 g bread flour * [see notes] (3 3/4 cups) (This gives a dough hydration of approx. 77%, starter included. You can use more flour [500 g] for a stiffer dough that is easier to work with, or less flour [450 g] for a slightly looser dough. Anywhere in this range [450-500 g flour] will produce great results.)
10 g salt (1 1/2 tsp)
Directions
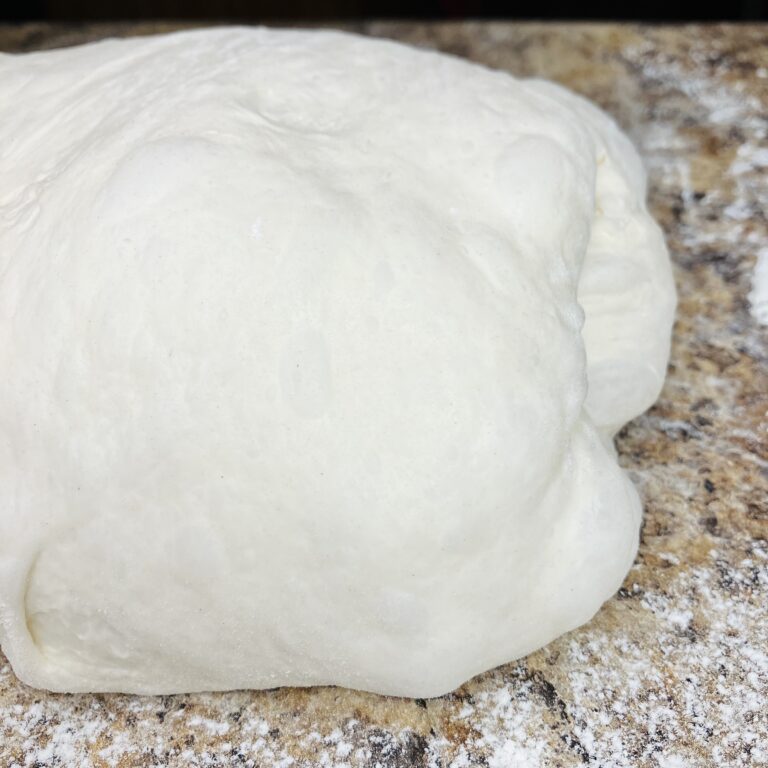
Mix all ingredients together until the flour is completely absorbed and a shaggy dough is formed.
Allow the dough to rest for 30-60 minutes before beginning the strengthening process.
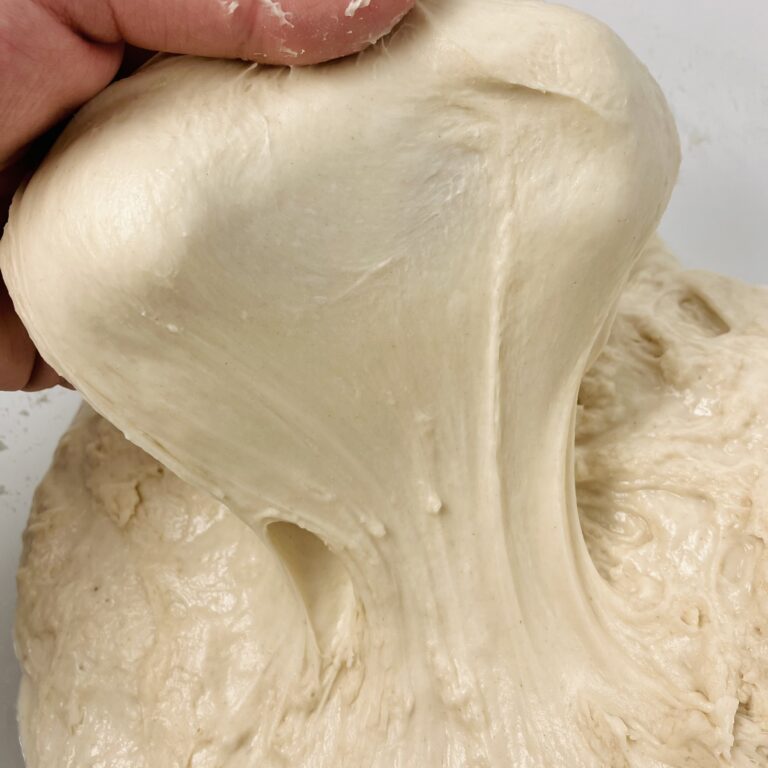
Strengthen the dough: Complete six sets of folds, spaced at least 15 minutes apart (30-45 minutes is better). You can do stretch-and-folds, coil folds, bench light folds, or letter folds (review all the types of folds here). Make sure the dough is completely relaxed before stretching in order to get the most benefit out of each stretch.
Bulk rise: Let the dough rest until it increases in size by at least 30%, or up to double in size (about 6-9 more hours).
Pre-shape (5:16 in video): Use wet hands to remove the dough from the bowl and turn out onto a clean counter that has been lightly dusted with flour or sprayed with water. Using a bench scraper and your hands, tuck and tighten to form a round. Rest, uncovered, on the counter for 20-30 minutes.
Shape (5:49 in video): Lightly flour a banneton (or a towel/cheesecloth inserted into a 1.5 qt mixing bowl) with rice flour to prevent sticking, or regular flour if you don't have this option (though, some sticking may occur as the flour is absorbed into the dough during the resting period).
Scoop up the pre-shaped dough and flip it over, so the smooth side is on the counter. Fold the left and right sides of the dough into the middle, then repeat with the top of the dough. Last, take the bottom end of the dough and fold it all the way over, so that the seam you have just created is now touching the counter. Using your hands (wet, if needed), tuck and tighten the dough into a smooth ball.
Using your bench scraper, scoop the dough off the counter and place it, seam side up, into the banneton. Pinch together any holes or open seams, or stitch if needed (7:19 in video). Cover with a plastic bag.
Transfer your dough to the refrigerator until the next day (8-16 hours). Or, finish proofing on the counter 1-3 more hours.
The next day (or while your dough is finishing its final proof on the counter), preheat your oven to 450 F. Insert a Dutch oven onto the top rack, and a pizza stone or baking sheet on the bottom rack ** [see note]. Preheat your Dutch oven for at least one hour before baking.
Remove your dough from the fridge. Turn it out onto a silicone baking mat or a piece of parchment paper.
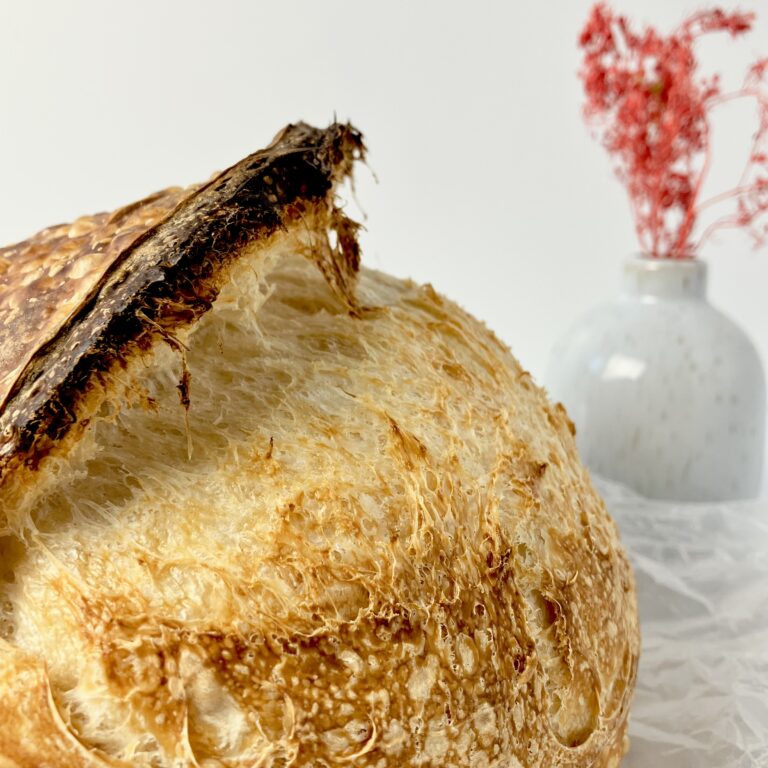
Score the dough: Using a razor blade or bread lame, make one score 1/4 to 1/2 inch deep, making sure the razor is angled parallel with the counter for the most prominent ear. (I used one expansion score for simplicity, but you are welcome to score any design you like at this point, as long as you still have at least one, deep expansion score.)
Place your scored loaf into the preheated Dutch oven and replace the lid.
Bake for 25 minutes with the lid on.
Optionally, five minutes in, score the loaf a second time along the seam where it is expanding (9:57 in video). Make sure to keep your razor parallel with the counter. The only purpose of this is to increase expansion and assure a prominent ear on your loaf.
After 25 minutes, remove the lid of the Dutch oven and bake 20 minutes more.
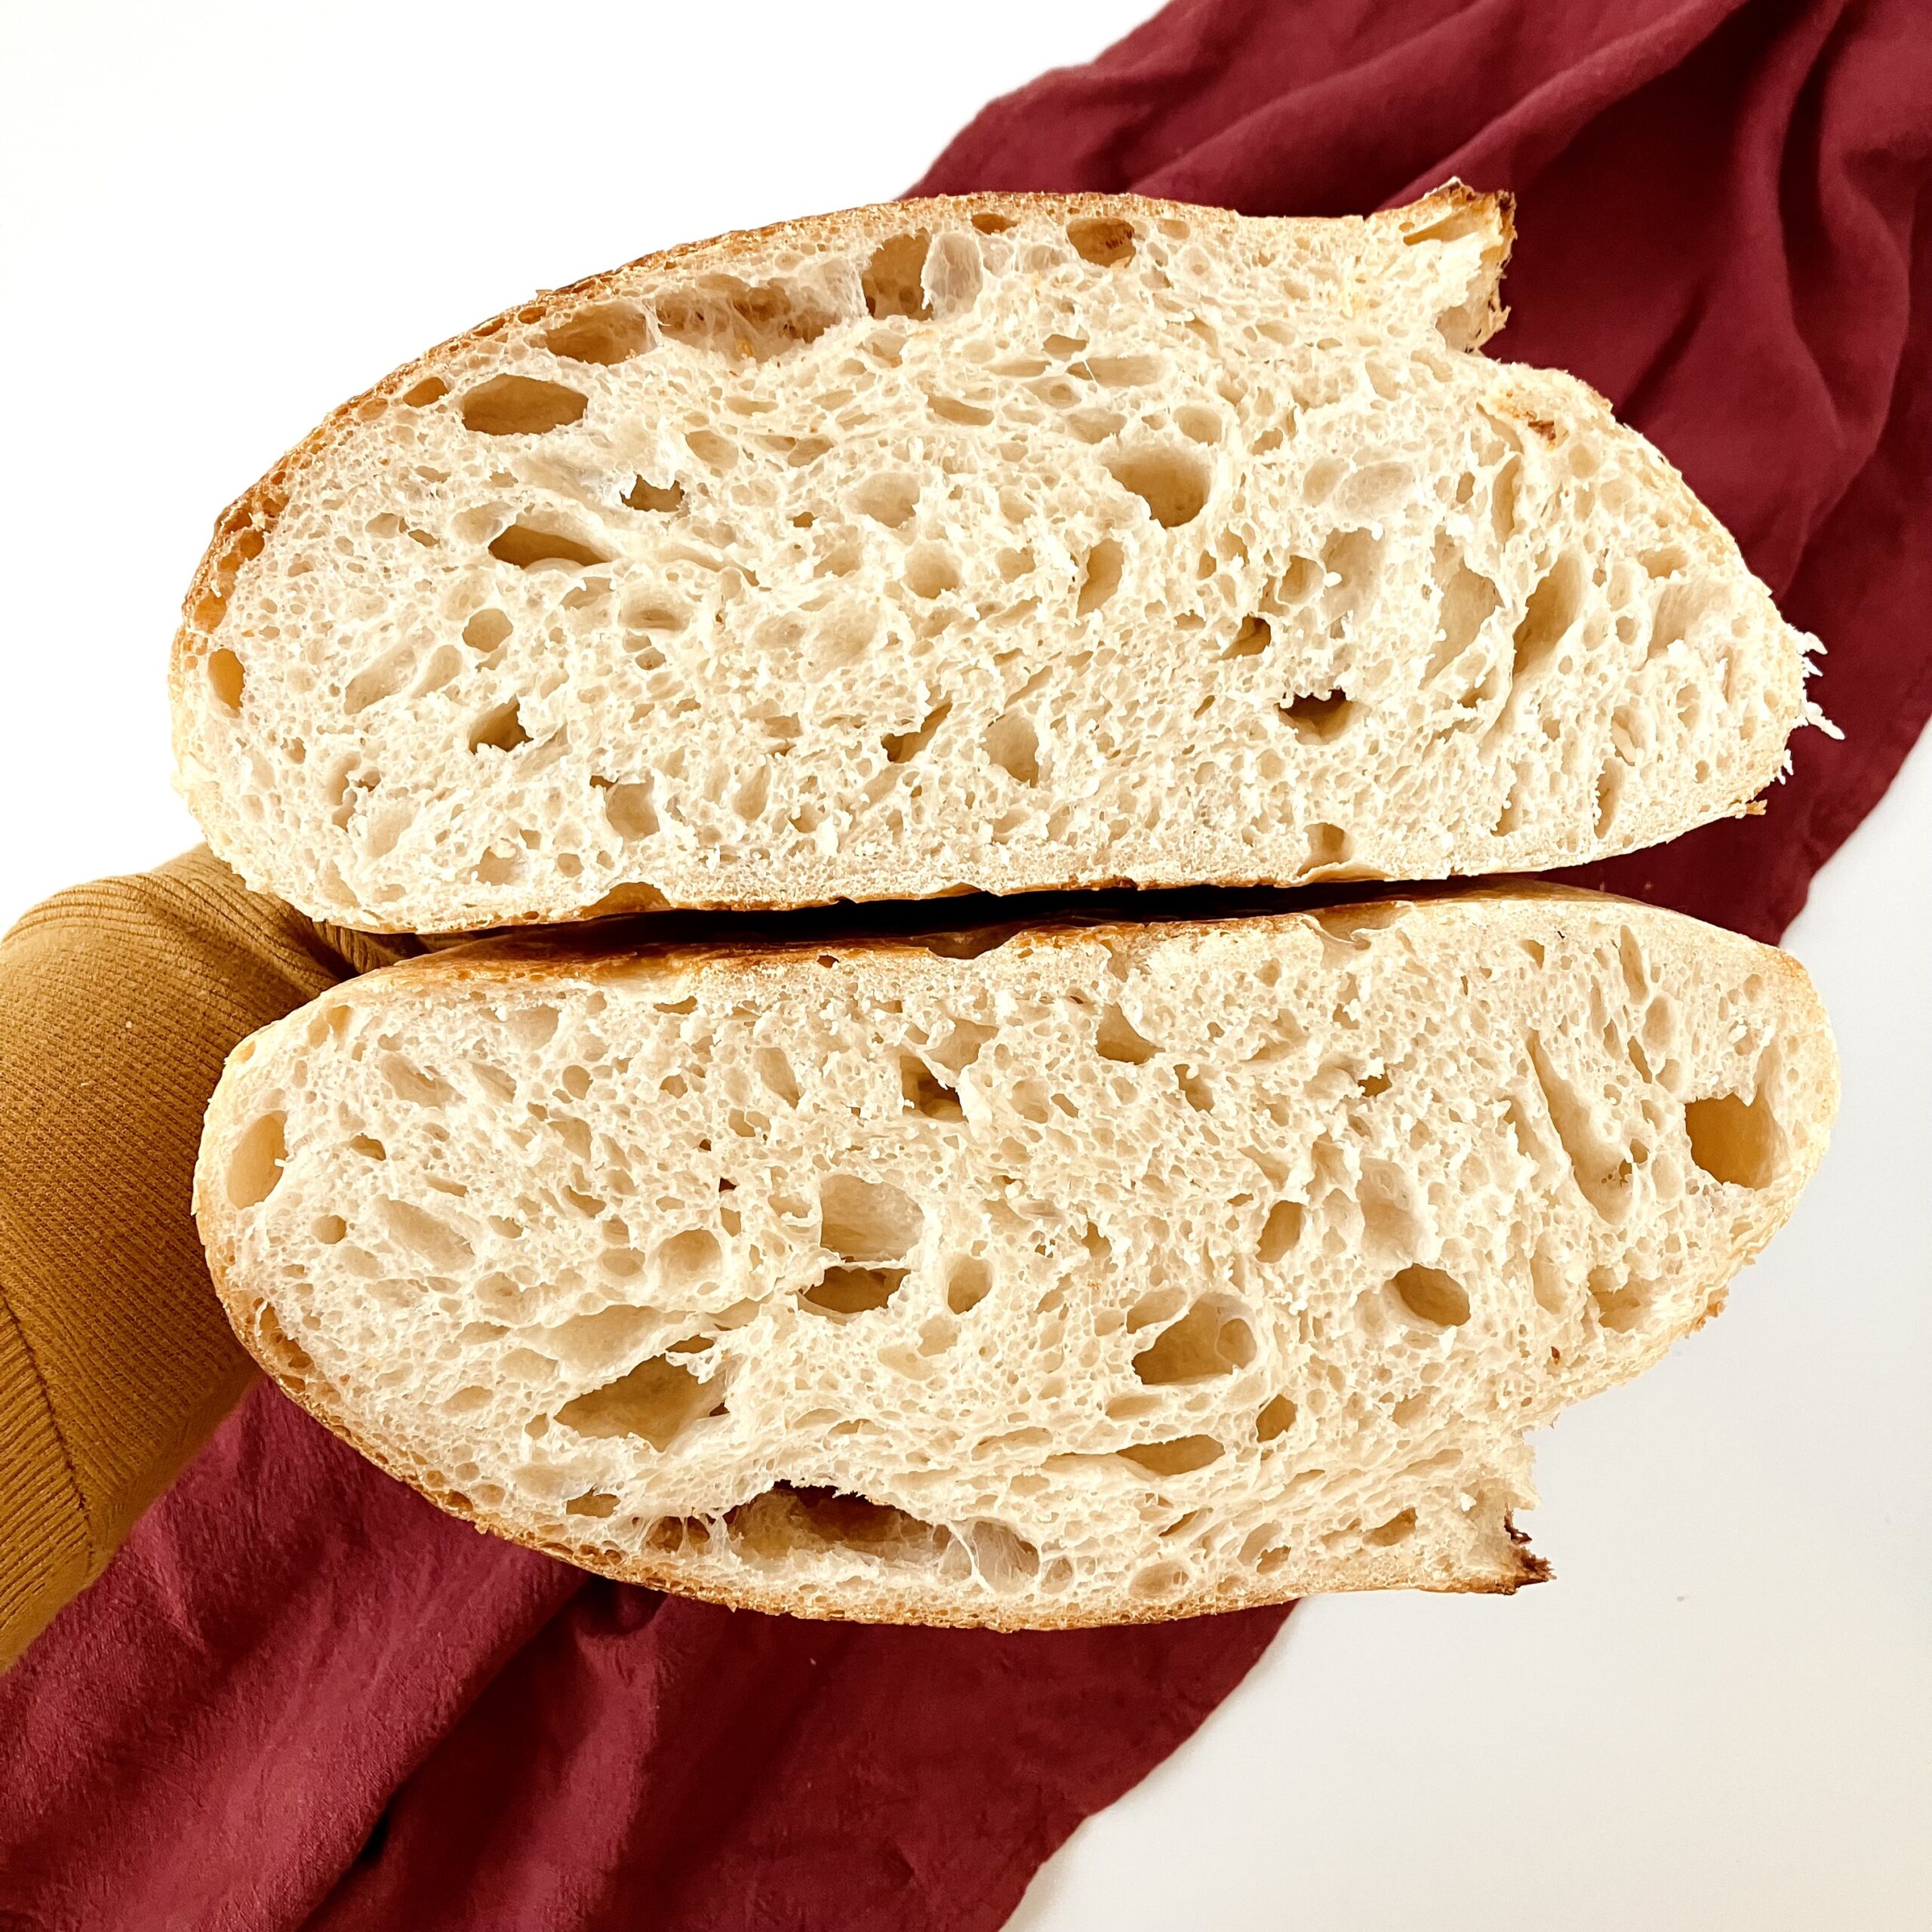
The bread is finished when it temps about 200 F.
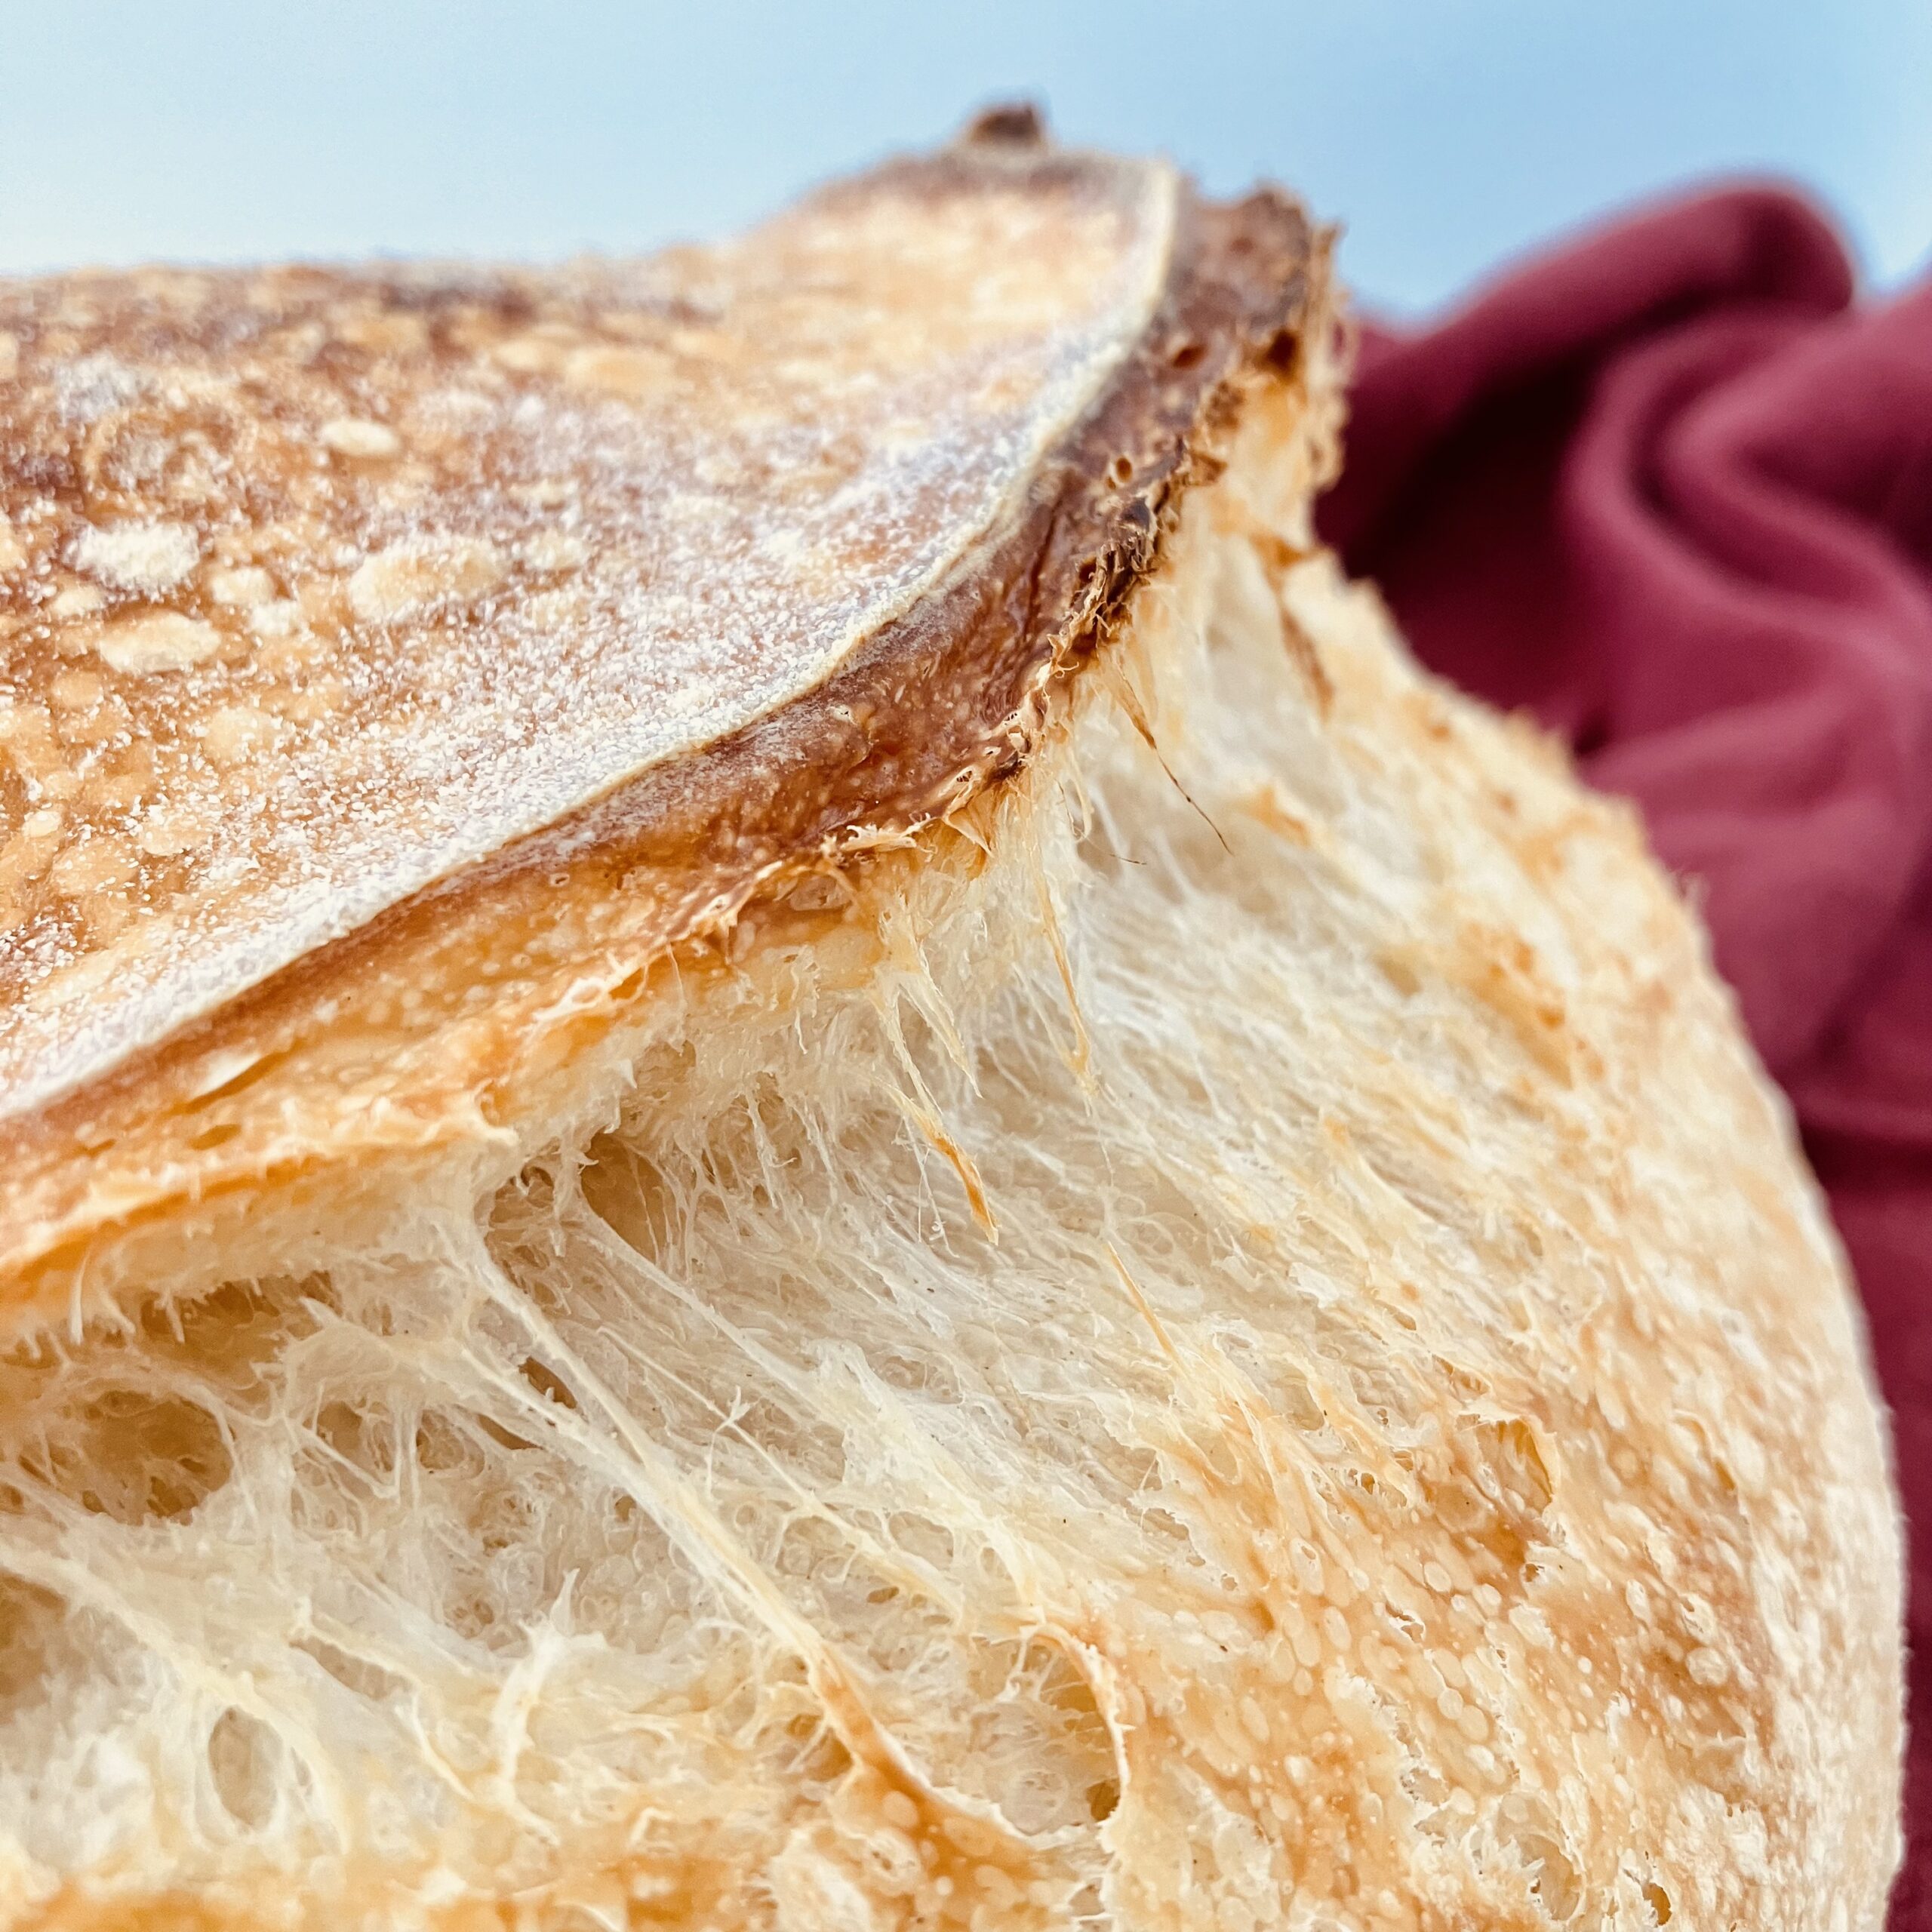
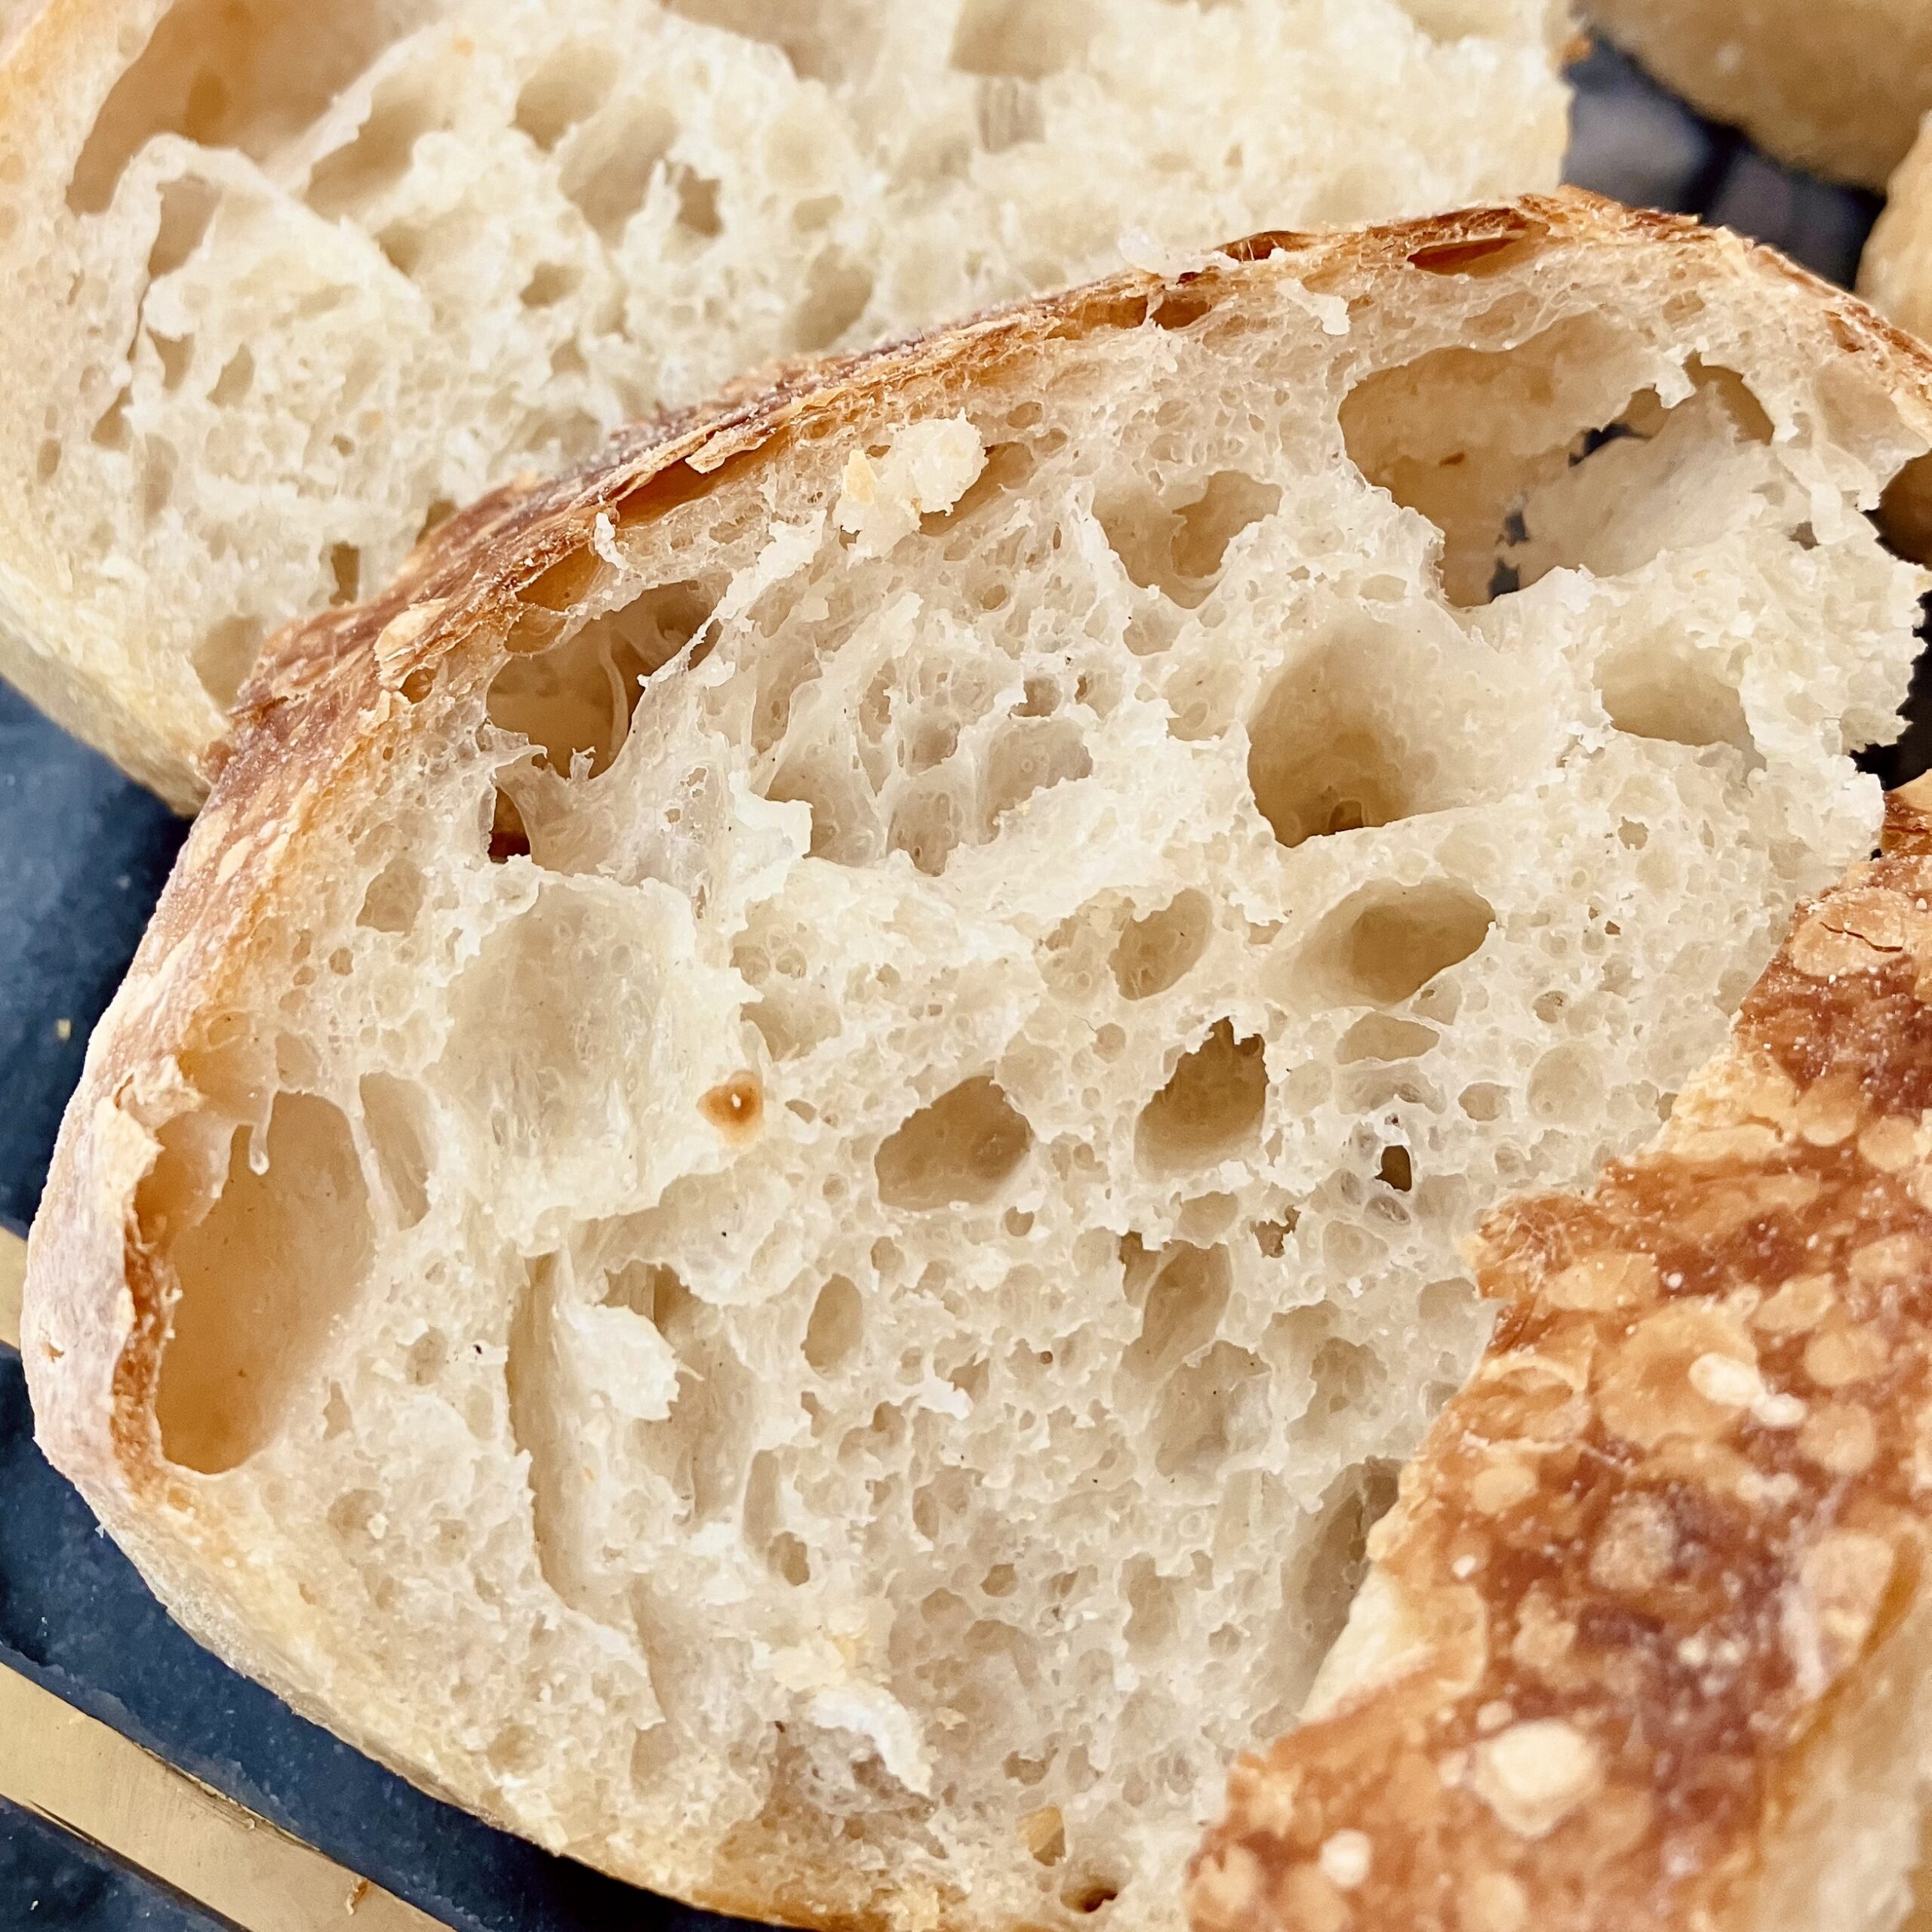
Allow the bread to cool for at least 30 minutes (one to two hours is better) before slicing (otherwise the loaf will be slightly gummy).
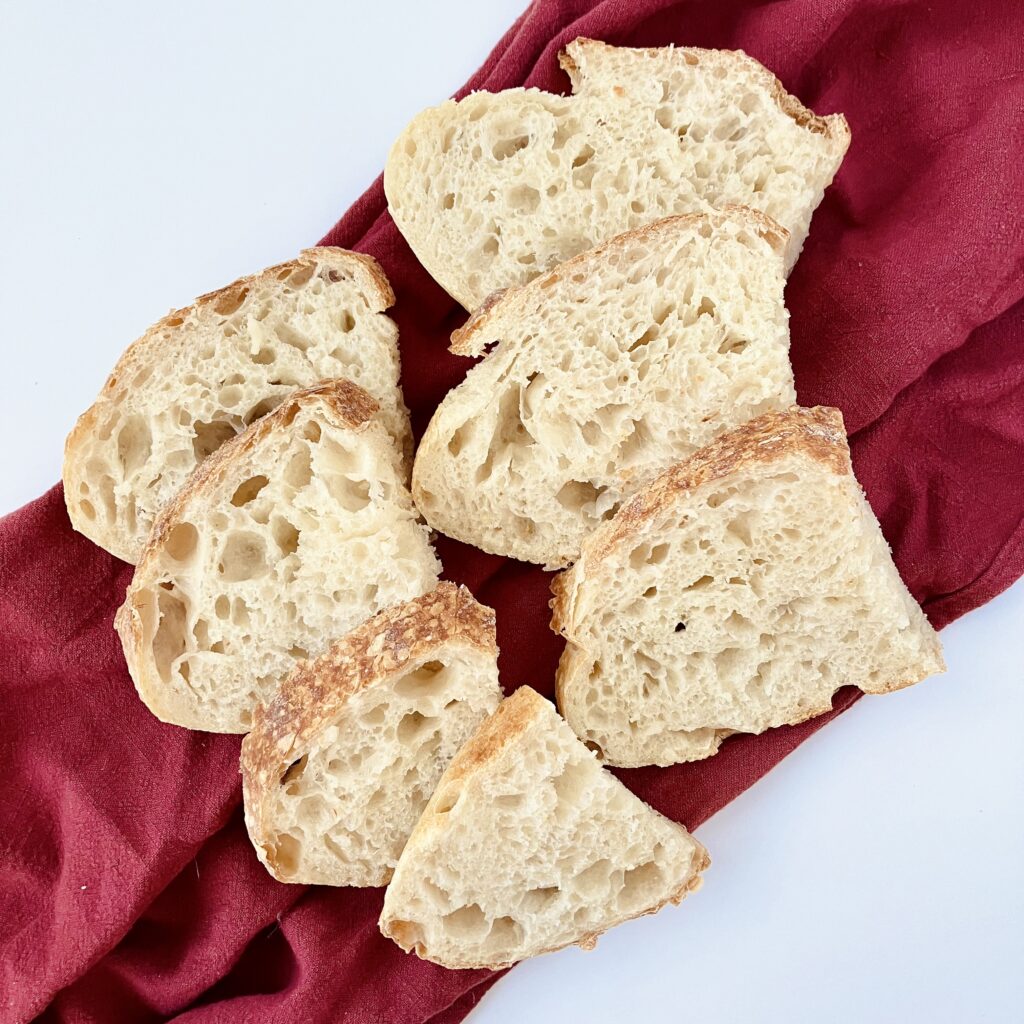
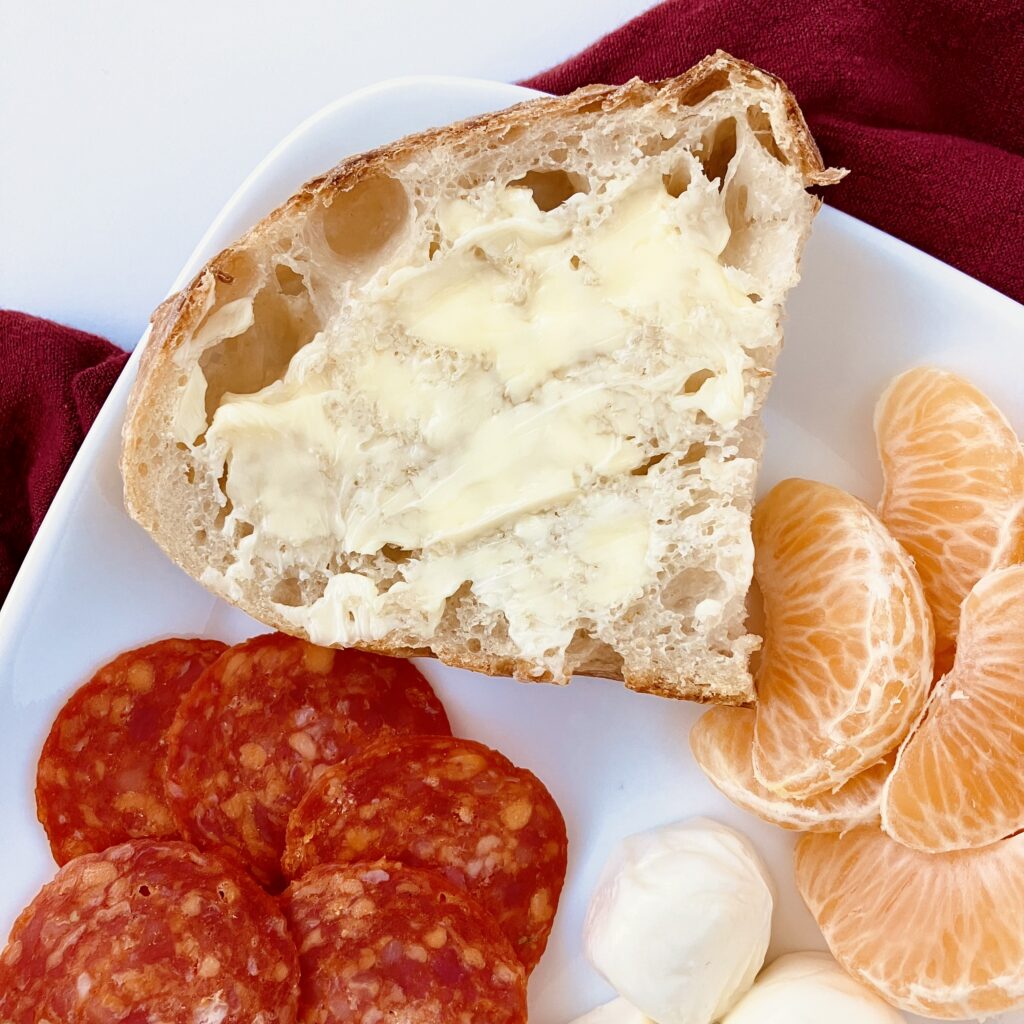
Enjoy!
How to store: Store in a Ziploc bag on the counter for three to five days, or slice and store in the freezer.
To reheat: The best option for reheating this bread is to toast it in a toaster, toaster oven, or air dryer until warmed through and crisped to your preference.
Watch the Video
Notes
- Bread flour: THIS IS ABSOLUTELY ESSENTIAL! I tried this recipe at many times using generic all-purpose flour. Though it does make bread, it does NOT yield fabulous results. The higher protein content in bread flour will help the gluten bind and create a strong dough. You may be able to get away with a high-quality all-purpose flour. I use King Arthur Bread Flour (12.7% protein) in any recipe that calls for bread flour.
- Pizza Stone/Baking Sheet: This is not necessary, but the addition of an object underneath the Dutch oven helps create indirect heat, preventing the bottom of the loaf from burning. When experimenting with this recipe, I found that my bread tended to burn on the bottom, and this is one thing that kept that from happening. You could also use aluminum foil, or sprinkle cornmeal under the parchment paper/silicone bread sling.
Pingback: Tangzhong – The sourdough Baker
Pingback: BIALY - The Sourdough Baker
Pingback: STAND MIXER SOURDOUGH - The Sourdough Baker
Pingback: MAKING STARTER FROM SCRATCH - The Sourdough Baker