About This Recipe
This is the first bread recipe I ever learned to make, only converted to sourdough. It’s simple and it’s made from a stiff dough – making it the perfect beginner sandwich bread recipe (I’ll explain more on why a bit later). It doesn’t use any fancy techniques, like sweet stiff starter or tangzhong (though I know for a fact we could enhance this bread greatly with them!). This recipe is just your basic, white sandwich bread.
What Is Sandwich Bread?
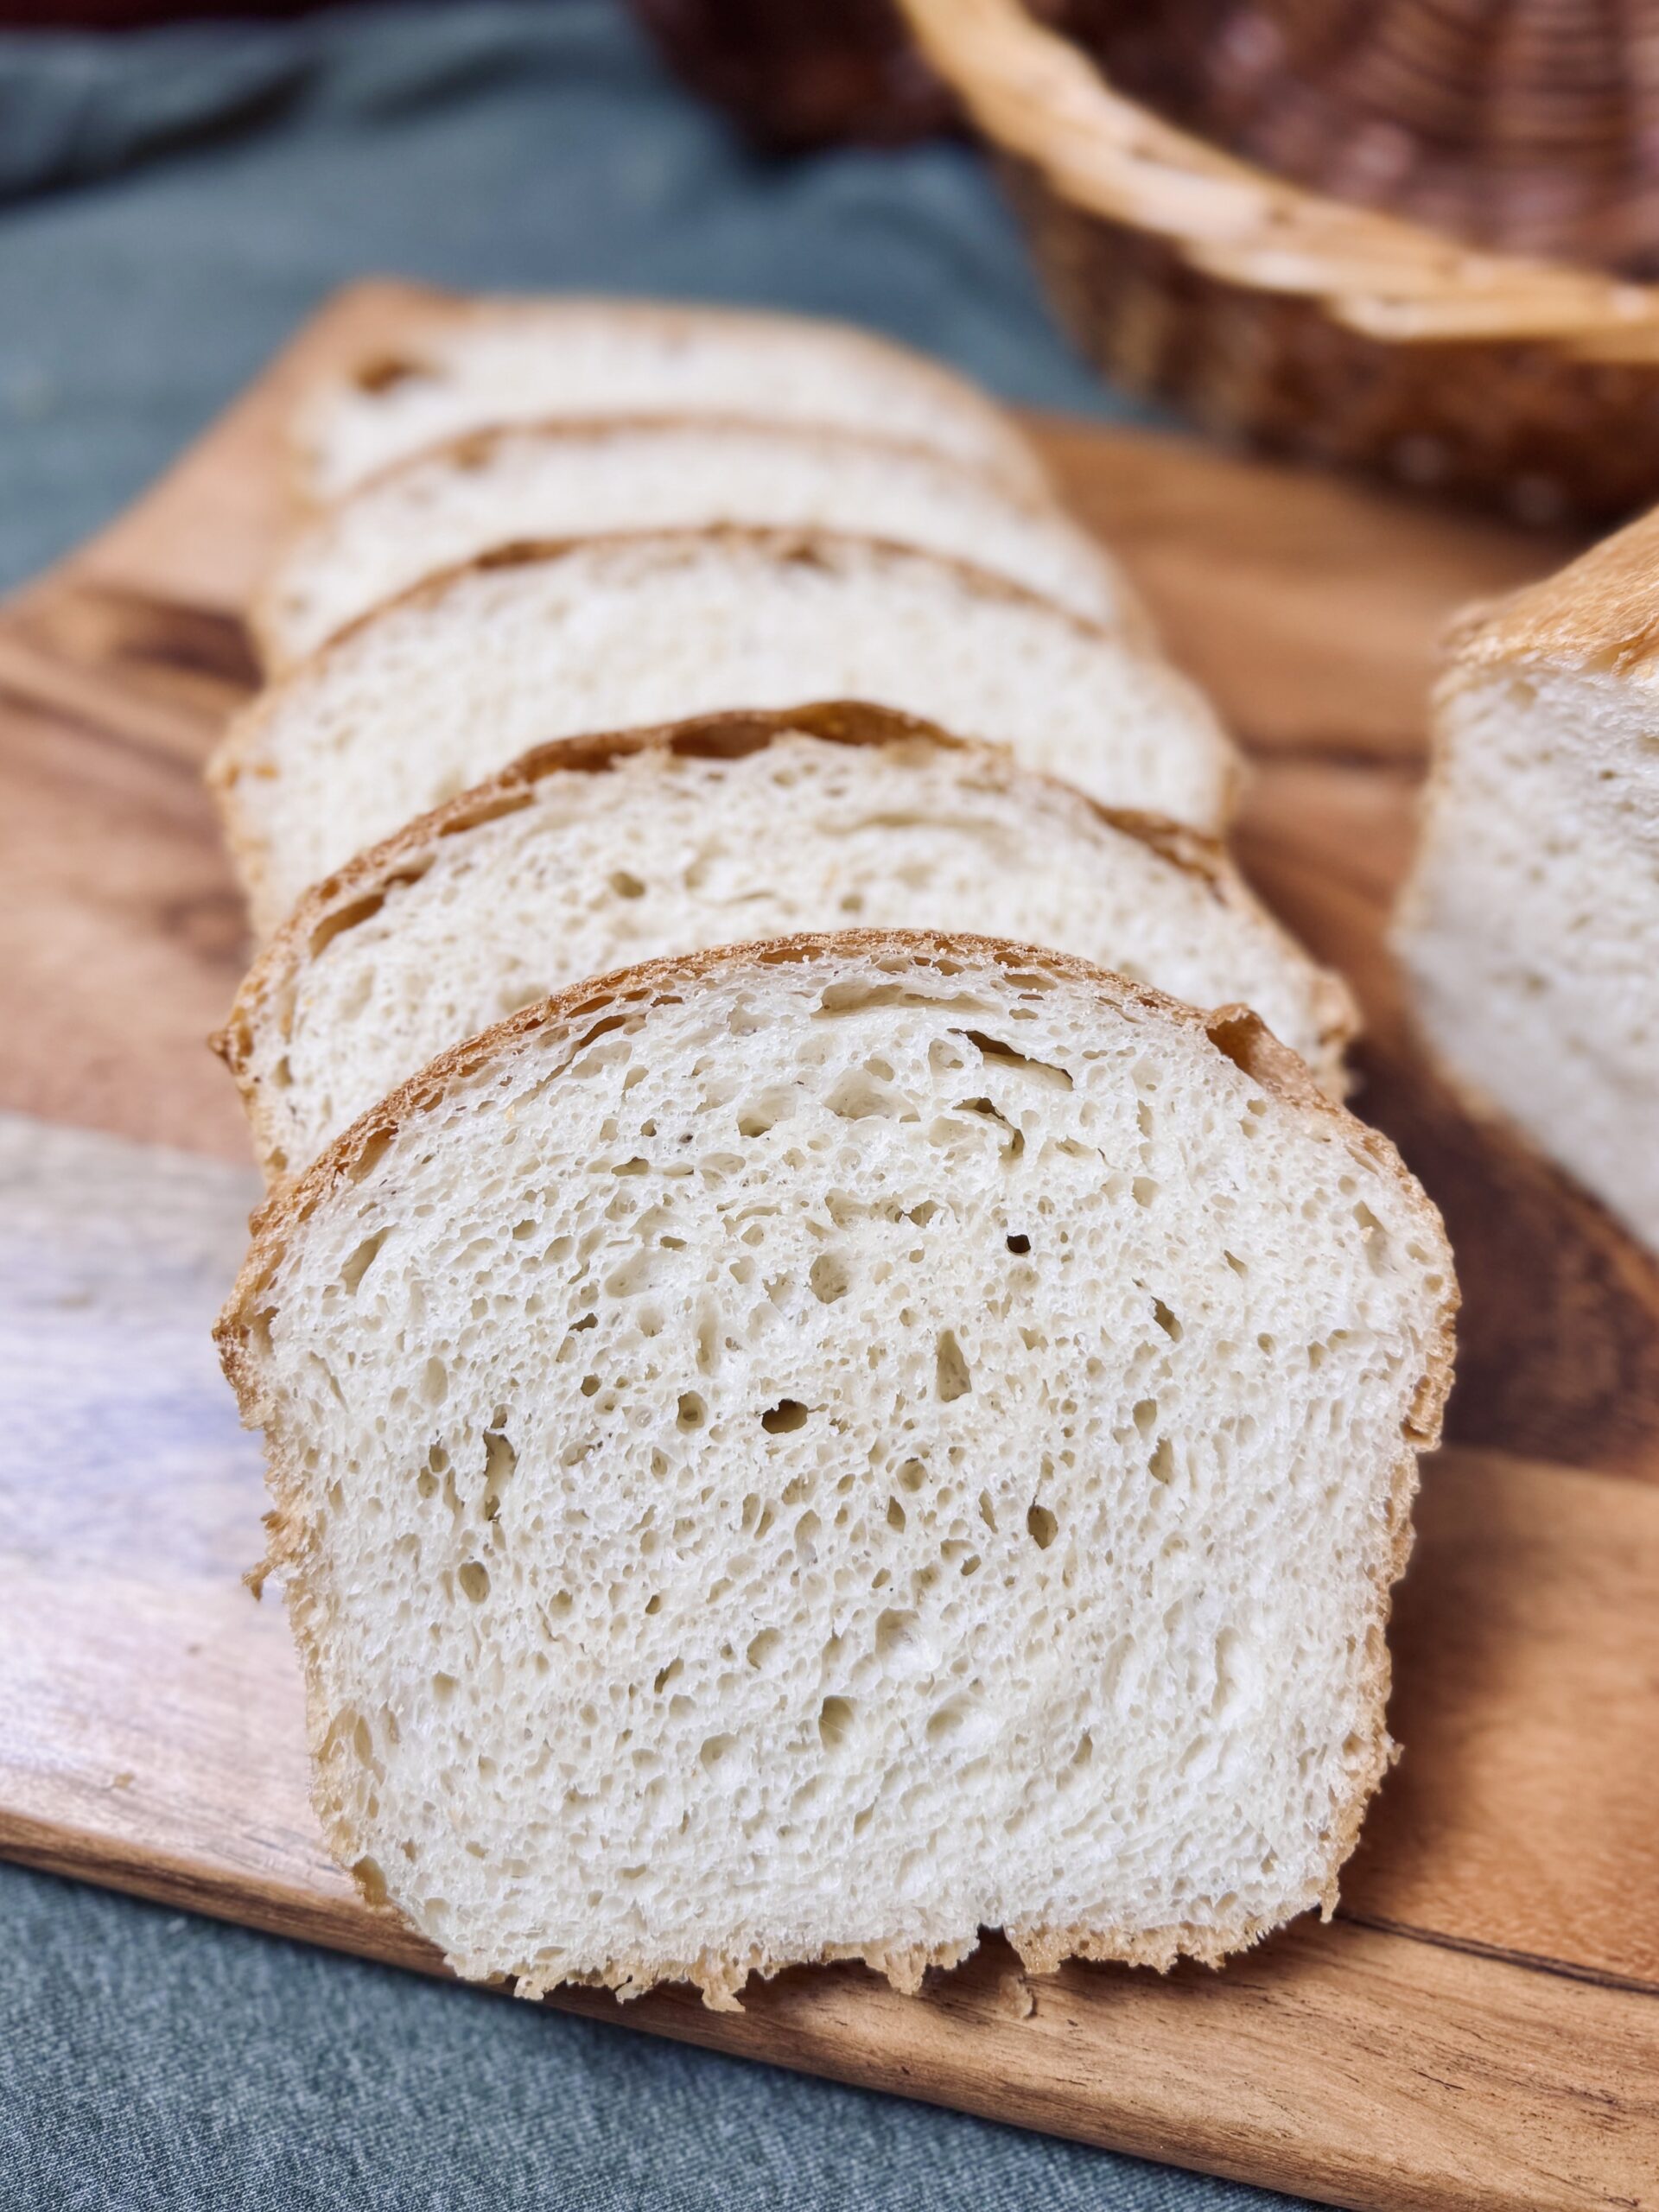
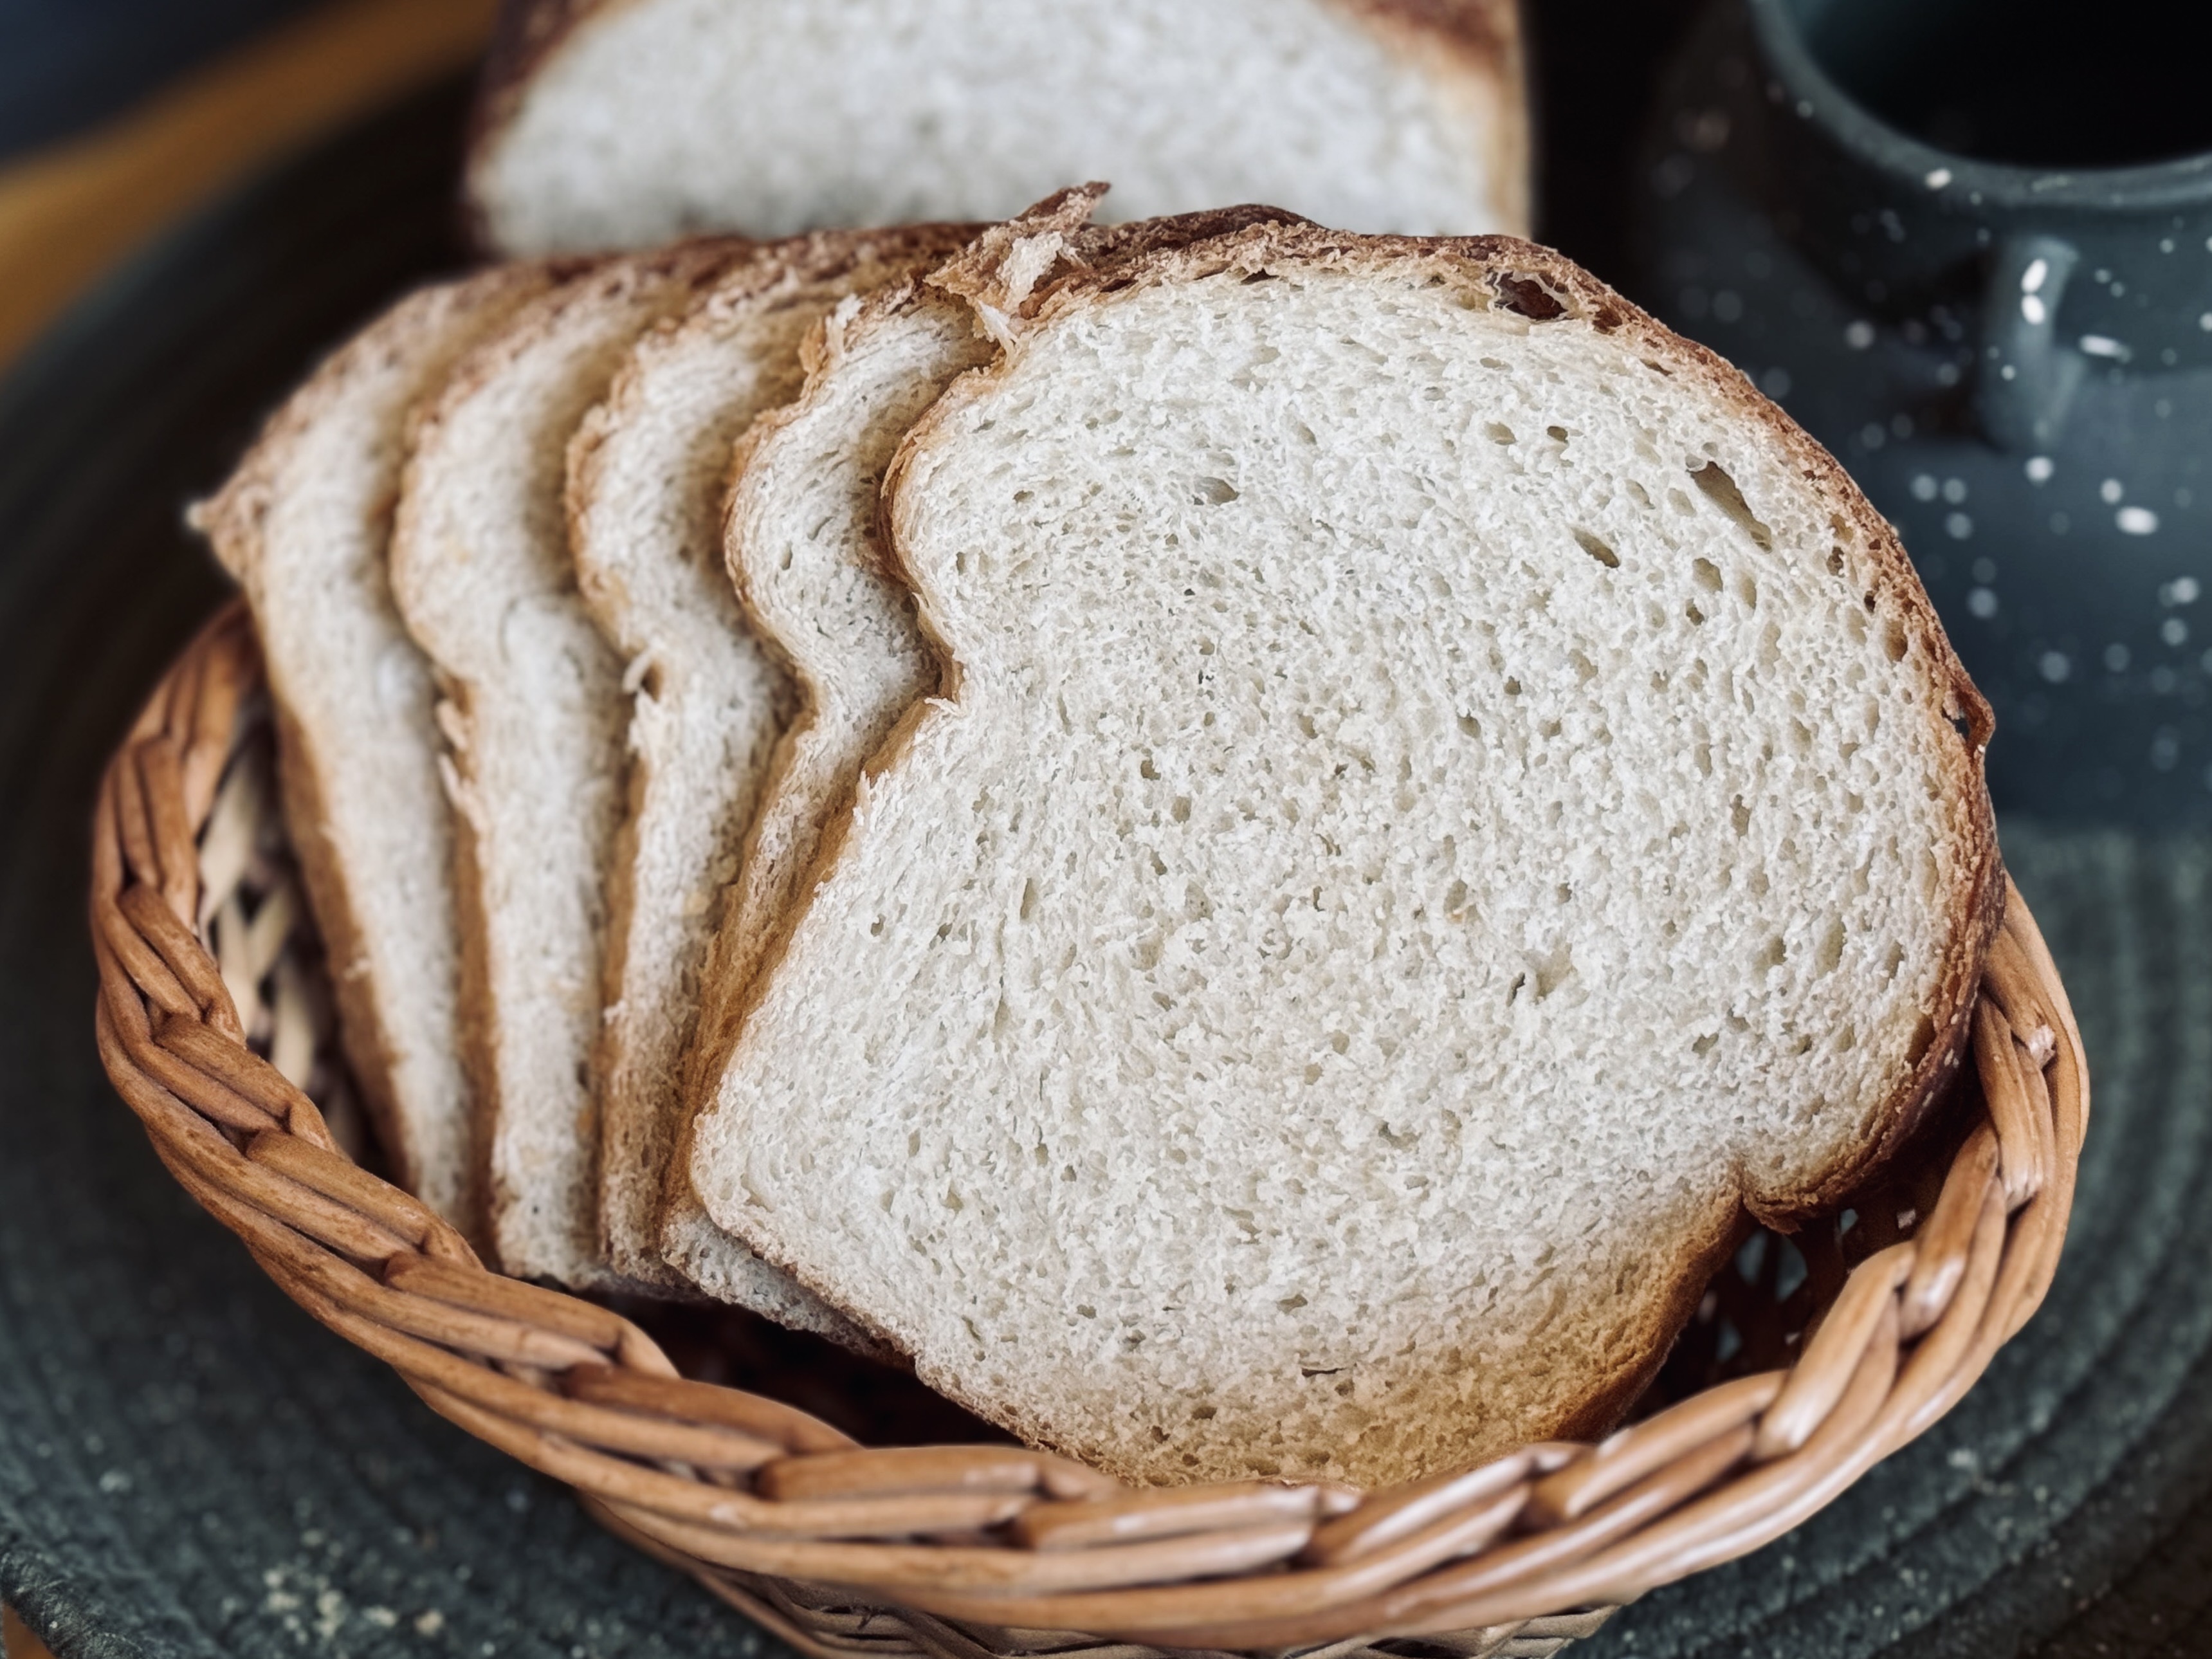
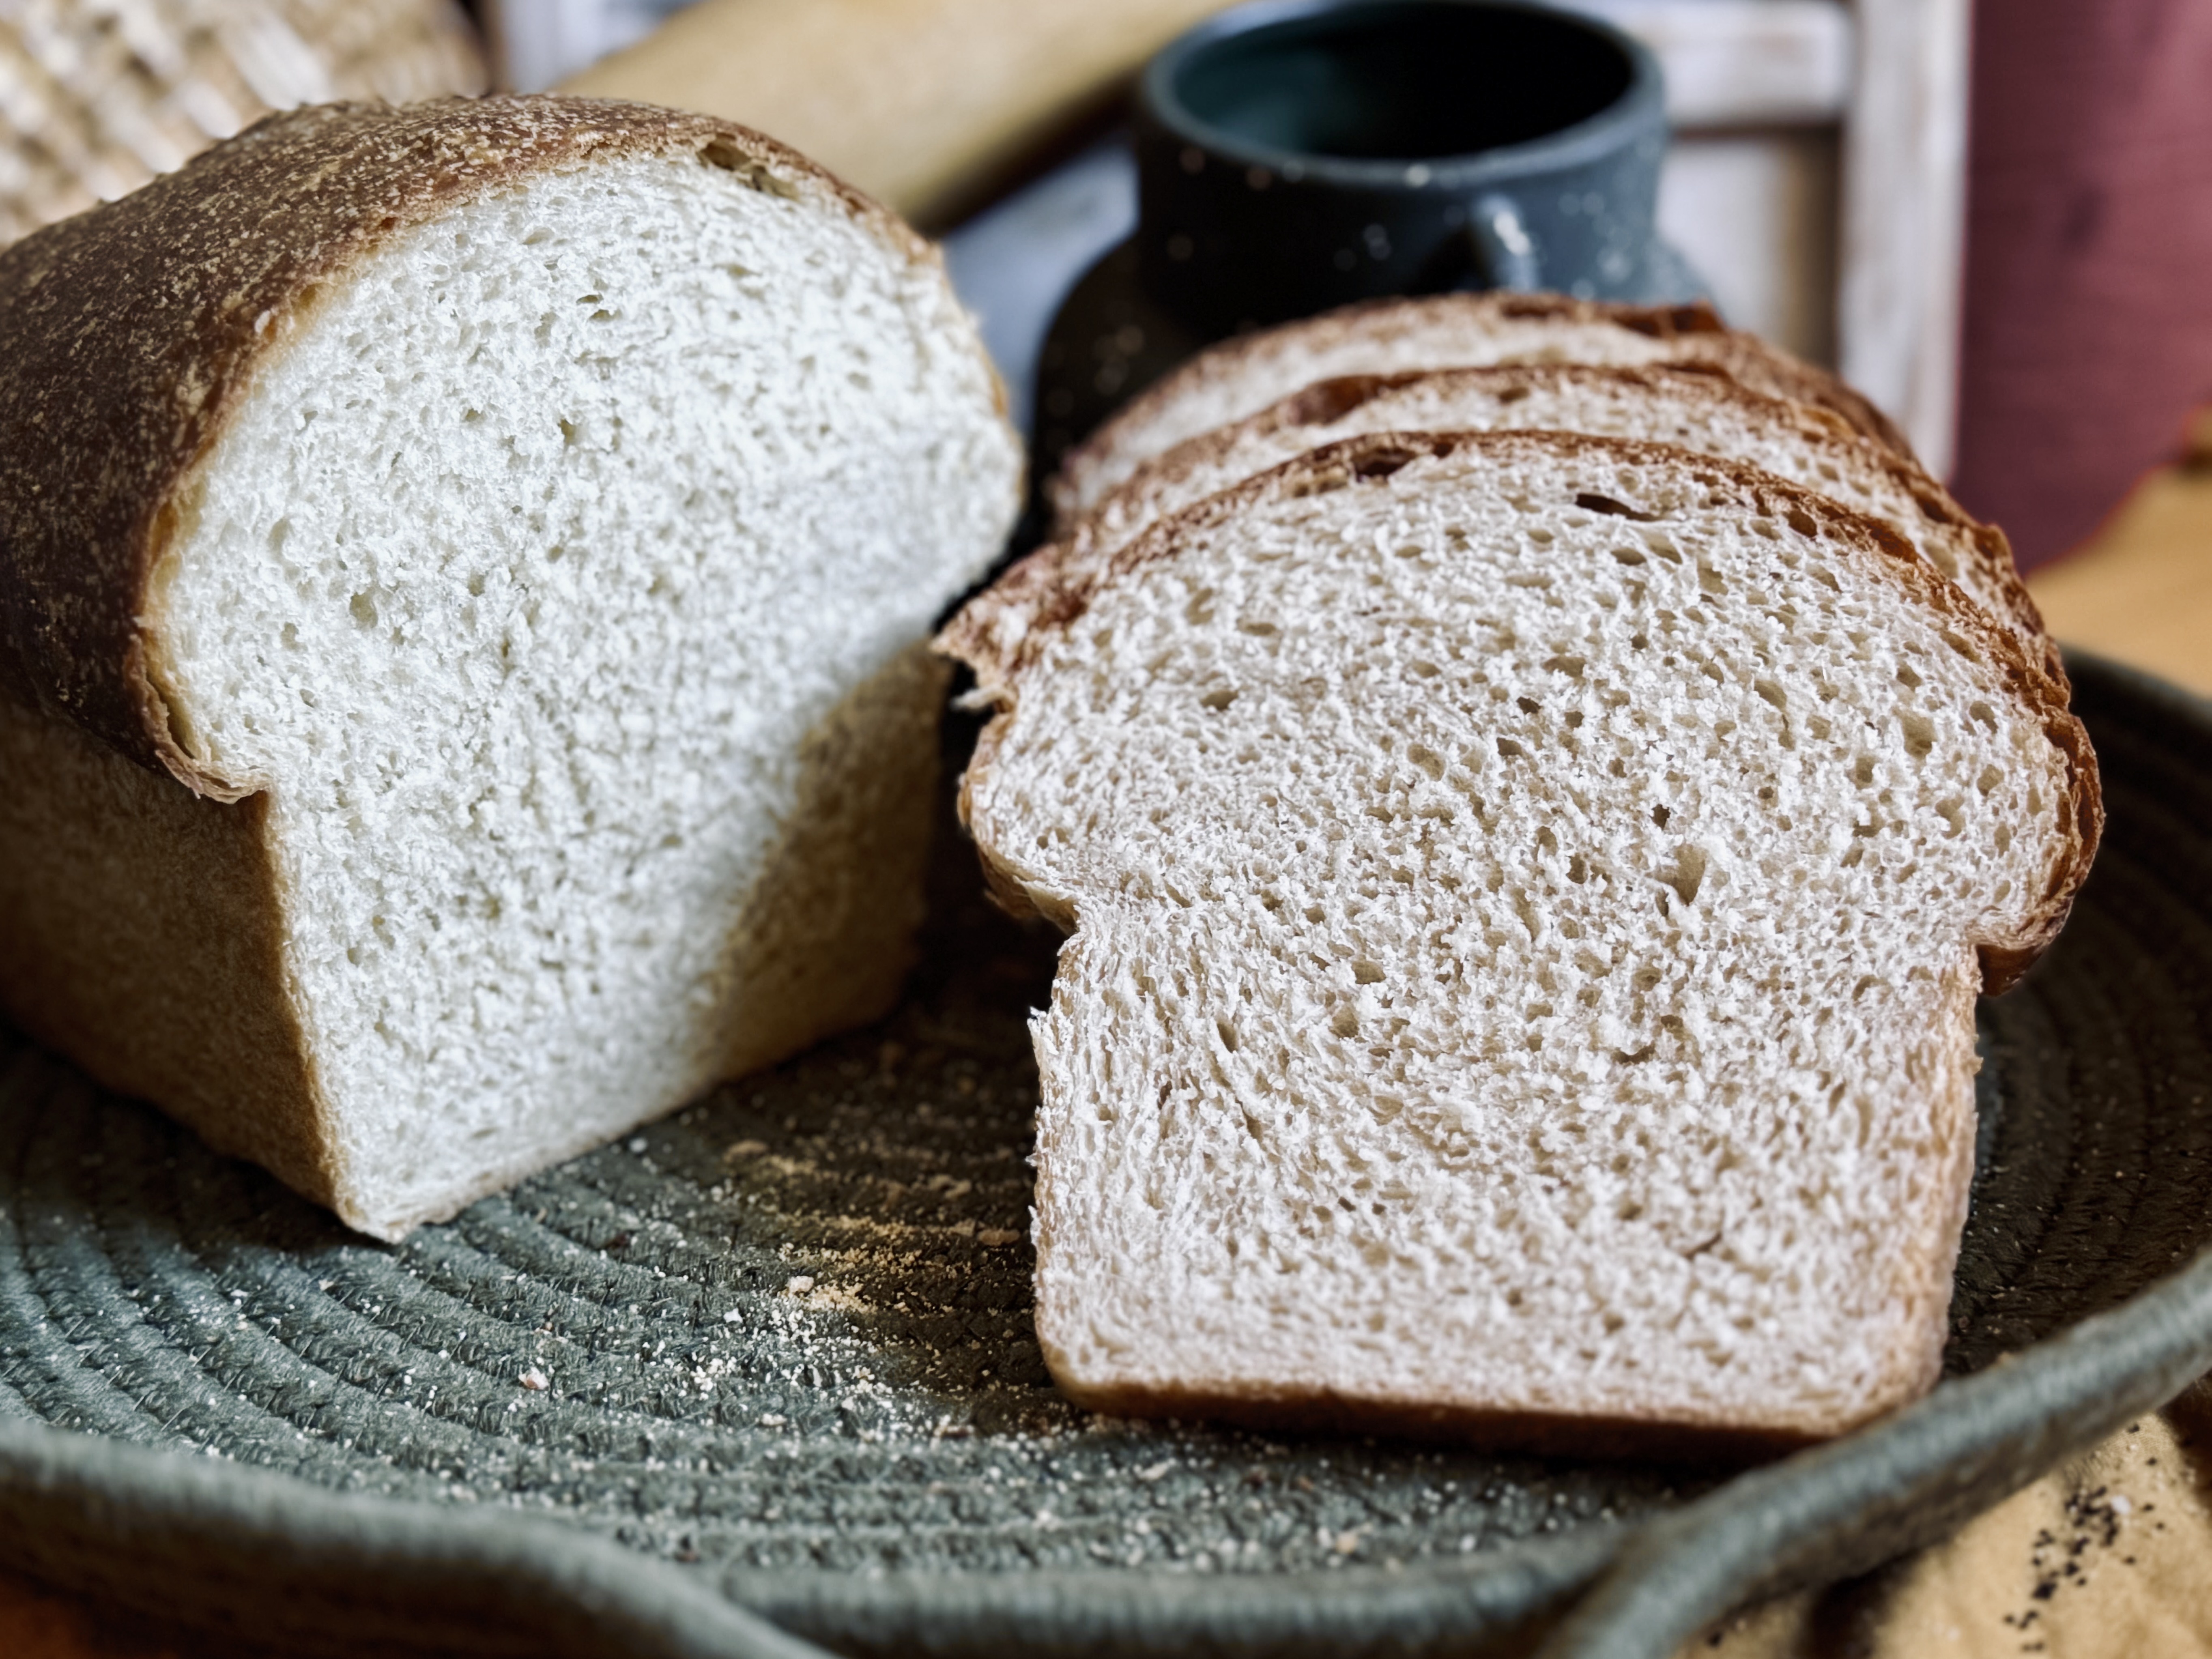
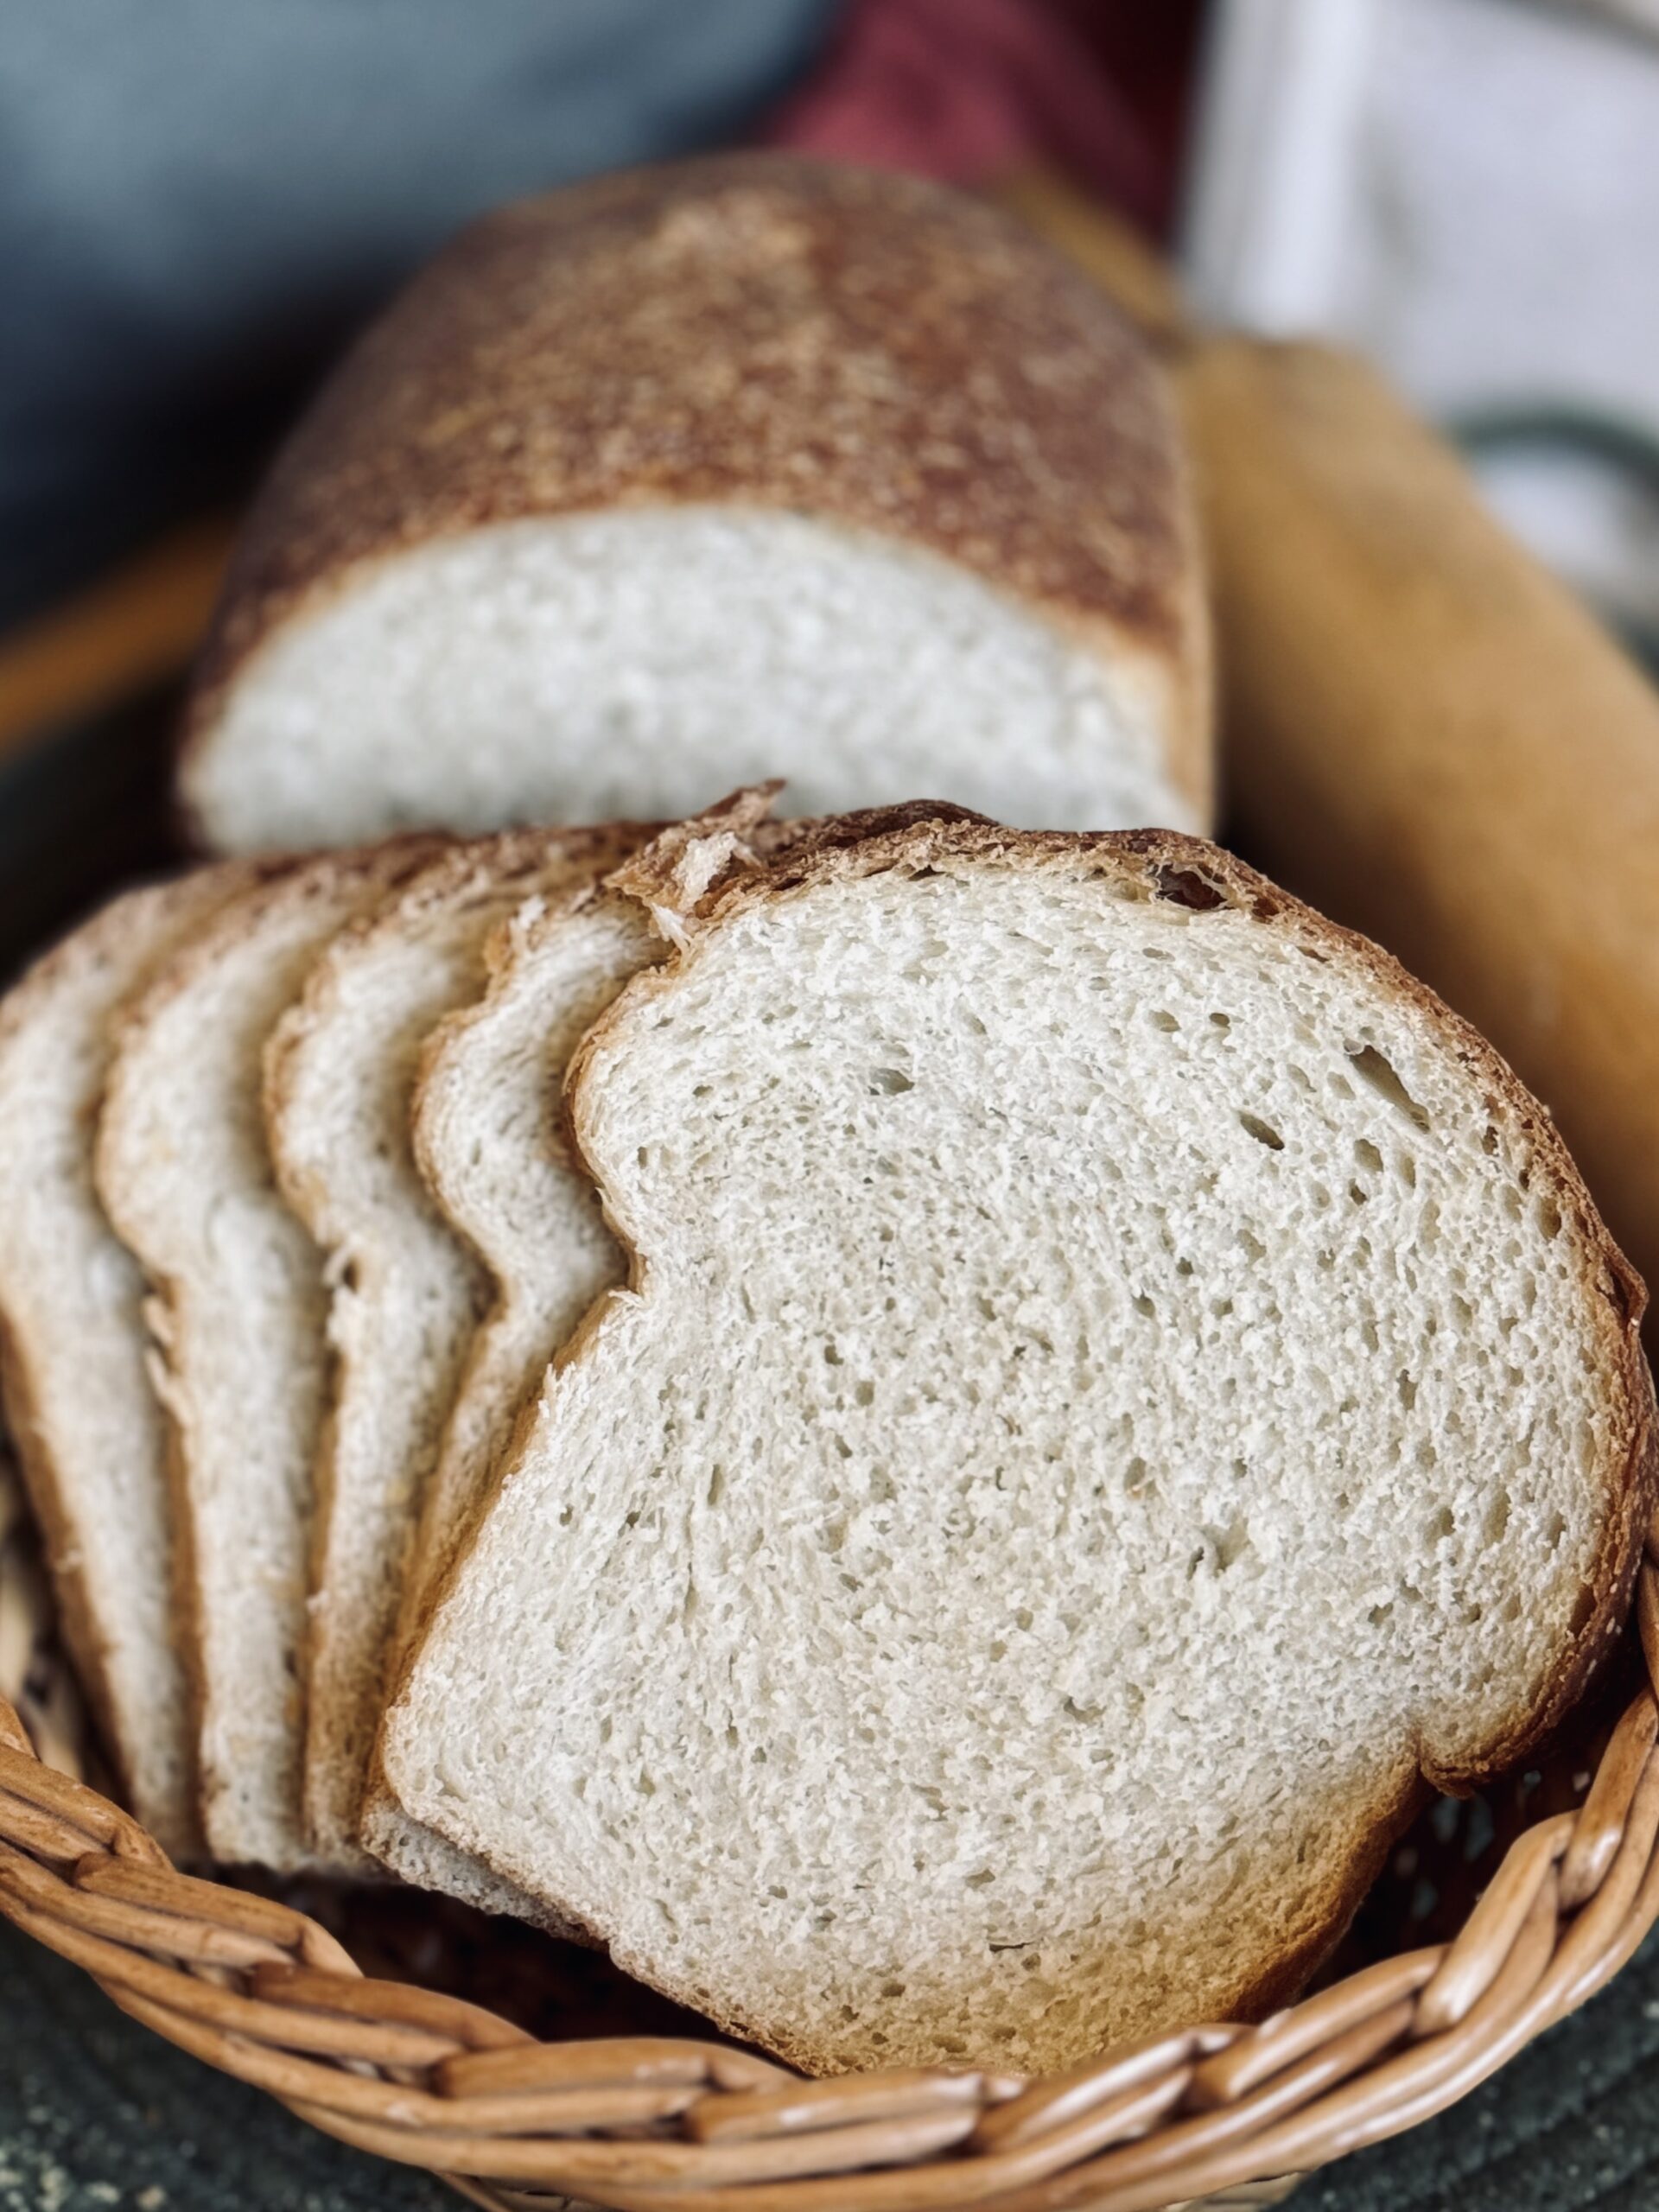
Sandwich bread is a type of bread made specifically for sandwiches. It is typically made in a loaf pan (though not always!). These breads are soft, yet sturdy, with a tight, even crumb (to make sure none of the sauce slips out!).
What I Love About This Recipe
This recipe is perfect for the beginner sourdough baker. The dough is easy to work with: it is soft (not sticky) to the touch. It uses a stand mixer and can be left to rise overnight, which makes it fairly hands-off and perfect for busy weeks. The flavor is still phenomenal, reminiscent of Wonder Bread, only better.


All The “Why’s”
Milk Mixture
This is a technique that stems from the beginning of my bread journey, when I first started making bread doughs using commercial yeast. This bread, actually. This is the one I learned this technique from. The warm mixture activates commercial yeast, which isn’t necessary in sourdough. However, it also dissolves the sweetener, softens the butter, and gives the dough warmth – giving it a great kickstart to fermentation.
Let’s talk about the specific ingredients more in-depth:
Milk + Water
Milk is a tightening agent in bread, meaning it makes the gluten network stiffer and stronger, often increasing the time the dough ferments. This is because it takes twice the air to blow up a stiff balloon (our gluten network). However, it also adds a really good flavor and texture to sandwich bread. It makes the bread denser, softer, and creamier. It also helps the bread darken in the oven. For these reasons, I love to use milk in my sandwich bread recipes, but I also find it is best to balance the milk with water.
Water is the opposite of milk. It creates an extensible gluten network (loose, stretchy). It balances out the stiffness from the milk. It makes the dough lighter and airier. However, water does not really have a flavor and it doesn’t darken in the oven (unless you bake the bread at a really high temperature).
For these reasons, I like to balance these two ingredients accordingly, depending on the outcome I am trying to achieve. For a bread like this, milk is the winner for its tight, even crumb, flavor, and darkening capabilities. I use three parts milk to one part water to make this dough.
Honey
Honey is used as a sweetener. This recipe contains about 11% honey, which is the perfect percentage to create osmotic stress, especially paired with the stiffness of this dough. If you don’t know what osmotic stress is, it’s when the bacteria in your starter (they create sourness) are suffocated, in a sense. It helps to reduce sourness. The honey also works to sweeten the bread, but only a bit. This is not a sweet bread.
Honey can be substituted with most other natural sweeteners – granulated sugar, molasses, maple syrup, brown sugar. I have not tested this recipe with sugar substitutes.
Butter
Butter (any kind of fat, really) is a tenderizer; it makes the dough fragile and soft. In this recipe, I only use a small amount, which is meant to keep the bread soft in the oven and after baking – so important for sandwich bread! My personal choice is butter, but you can use any kind of fat (olive oil, neutral oil, bacon fat, lard, tallow, etc.) as long as you like the flavor.
Bread Flour
Bread flour absorbs more moisture, so you’ll find that if you substitute this ingredient with all-purpose flour, the dough will be wetter and you may need to add more flour. I prefer bread flour in my stiff doughs because of its higher protein content, which helps the gluten bind. This is especially important in stiff doughs because the lack of water makes it more difficult for gluten to come together. Without gluten, the dough will not be able to trap air, and it will not rise properly. I use King Arthur Bread Flour, protein content about 12.7%, in any recipe that calls for bread flour (unless otherwise noted).
Vital Wheat Gluten (Optional)
I only recently (a few months ago) discovered vital wheat gluten, and have since come to be a big fan. I’m not really sure if there’s a debate about it (because it is processed). Vital wheat gluten is essentially straight gluten, and it can be a game changer when it comes to fermentation. Vital wheat gluten is like bread flour’s secret side kick, and it can make a world of a difference in your bread. For stiff doughs like this one, it helps create a lighter texture, in addition to helping the dough rise taller.
Because a stiff dough has less water in relation to flour, gluten struggles to form. While the dough may be easier to work with and is capable of holding its shape without gluten, it still suffers from its lack of gluten. Without proper gluten development, the dough cannot hold in air, decreasing the dough’s ability to rise to its fullest potential, resulting in a denser crumb and texture. This is why vital wheat gluten can be so helpful – because it helps the gluten to finish forming during fermentation.
Salt
Salt helps bring out flavor (without salt, bread would taste almost like nothing), but also has notable effects on the dough. Salt is a tightening agent, meaning it helps create a more elastic (strong) dough. It does slow fermentation, as well as gluten development, but these are things we must account for in the recipe because we cannot have a recipe without salt. It is important to use just the right amount, enough to bring out the flavor, but not so much that the loaf cannot ferment or come together. I use the standard – 2% salt – in all my recipes, unless otherwise noted.
Sourdough Starter
Because of the milk and honey, this bread tends to ferment slower. I love to do this one as an overnight dough. That being said, using a little more than the standard 20% starter can be helpful. That’s why there’s a starter increase here – to ensure your dough rises right without taking obnoxiously too long.
Hydration
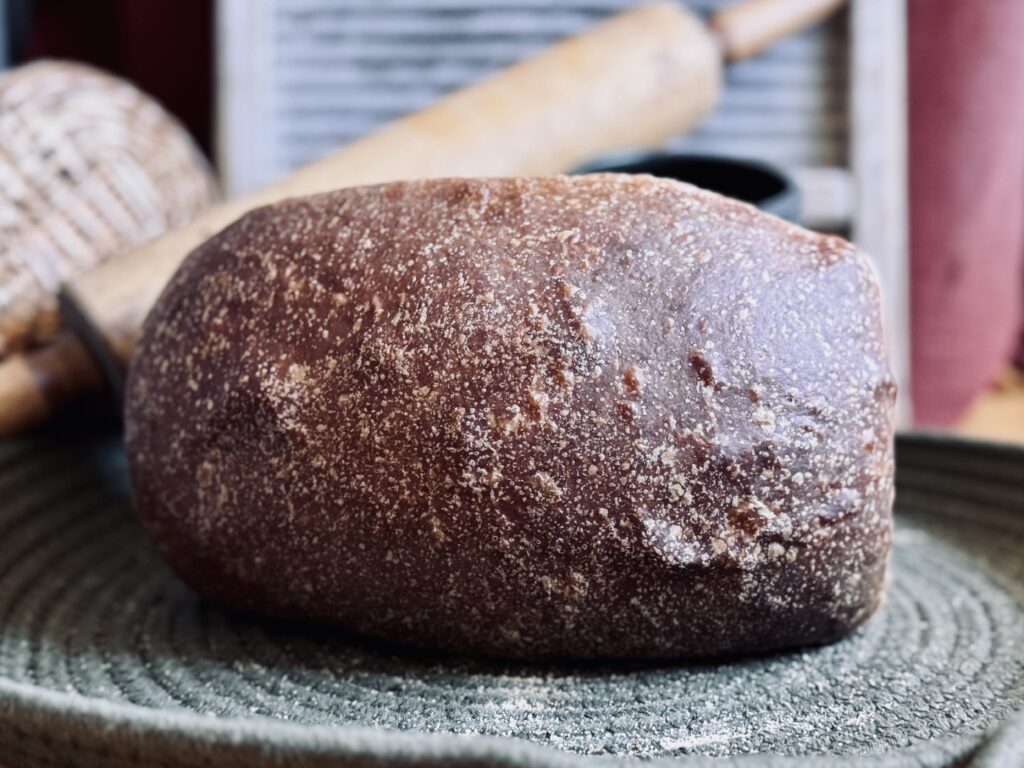
This recipe has an approximate hydration of 57%. That is very low, especially with the use of bread flour. The stiff dough makes it easy to knead this dough by hand or in a stand mixer. It just needs to be kneaded for about 10-12 minutes, until it is smooth and soft. Then, it can rest until it doubles in size.
The low hydration makes the dough easy to work with. It’s smooth, soft, and just barely sticky – sticky enough to stick together, but not sticky enough that the dough is hard to manage.
Mixing
For this recipe, we just need the dough to form a gluten network. Milk is a tightening agent, so we do not need to work the dough too hard to get the gluten to form. Ten to twelve minutes in a stand mixer or by hand should do, especially when paired with vital wheat gluten, which will enable the dough to finish coming together after mixing (if you did not develop it completely in the mixer). Follow your stand mixer’s directions for a stiff dough, generally a low speed is all you need, and you will be on your way! This recipe does not require any folds.
Bulk Fermentation
Letting the dough rise as much as possible, but not too much, contributes to the airiest of loaves. In an attempt to favor the yeast and reduce sourness, I recommend keeping the dough temperature between 70-75 F (21-24 C). Watch the dough and ferment until it doubles in size (at least; eight to twelve hours). Then, you can shape it and let it double again. Though I favor an overnight method for this dough, use your knowledge of your environment to bulk ferment this dough appropriately.
Shaping
Shaping sandwich bread is so easy. You can really shape it however you want, as long as the top is smooth and the seams are sealed. I like to turn the dough out, pat it into a rectangle, fold the outer thirds inward, then roll it into a log. Since the dough is stiff and well-fermented by this point, try to shape it smoothly (all-in-one go), otherwise the gluten will tighten up (tension) and you’ll have to give it a rest before trying again.
Butter Wash
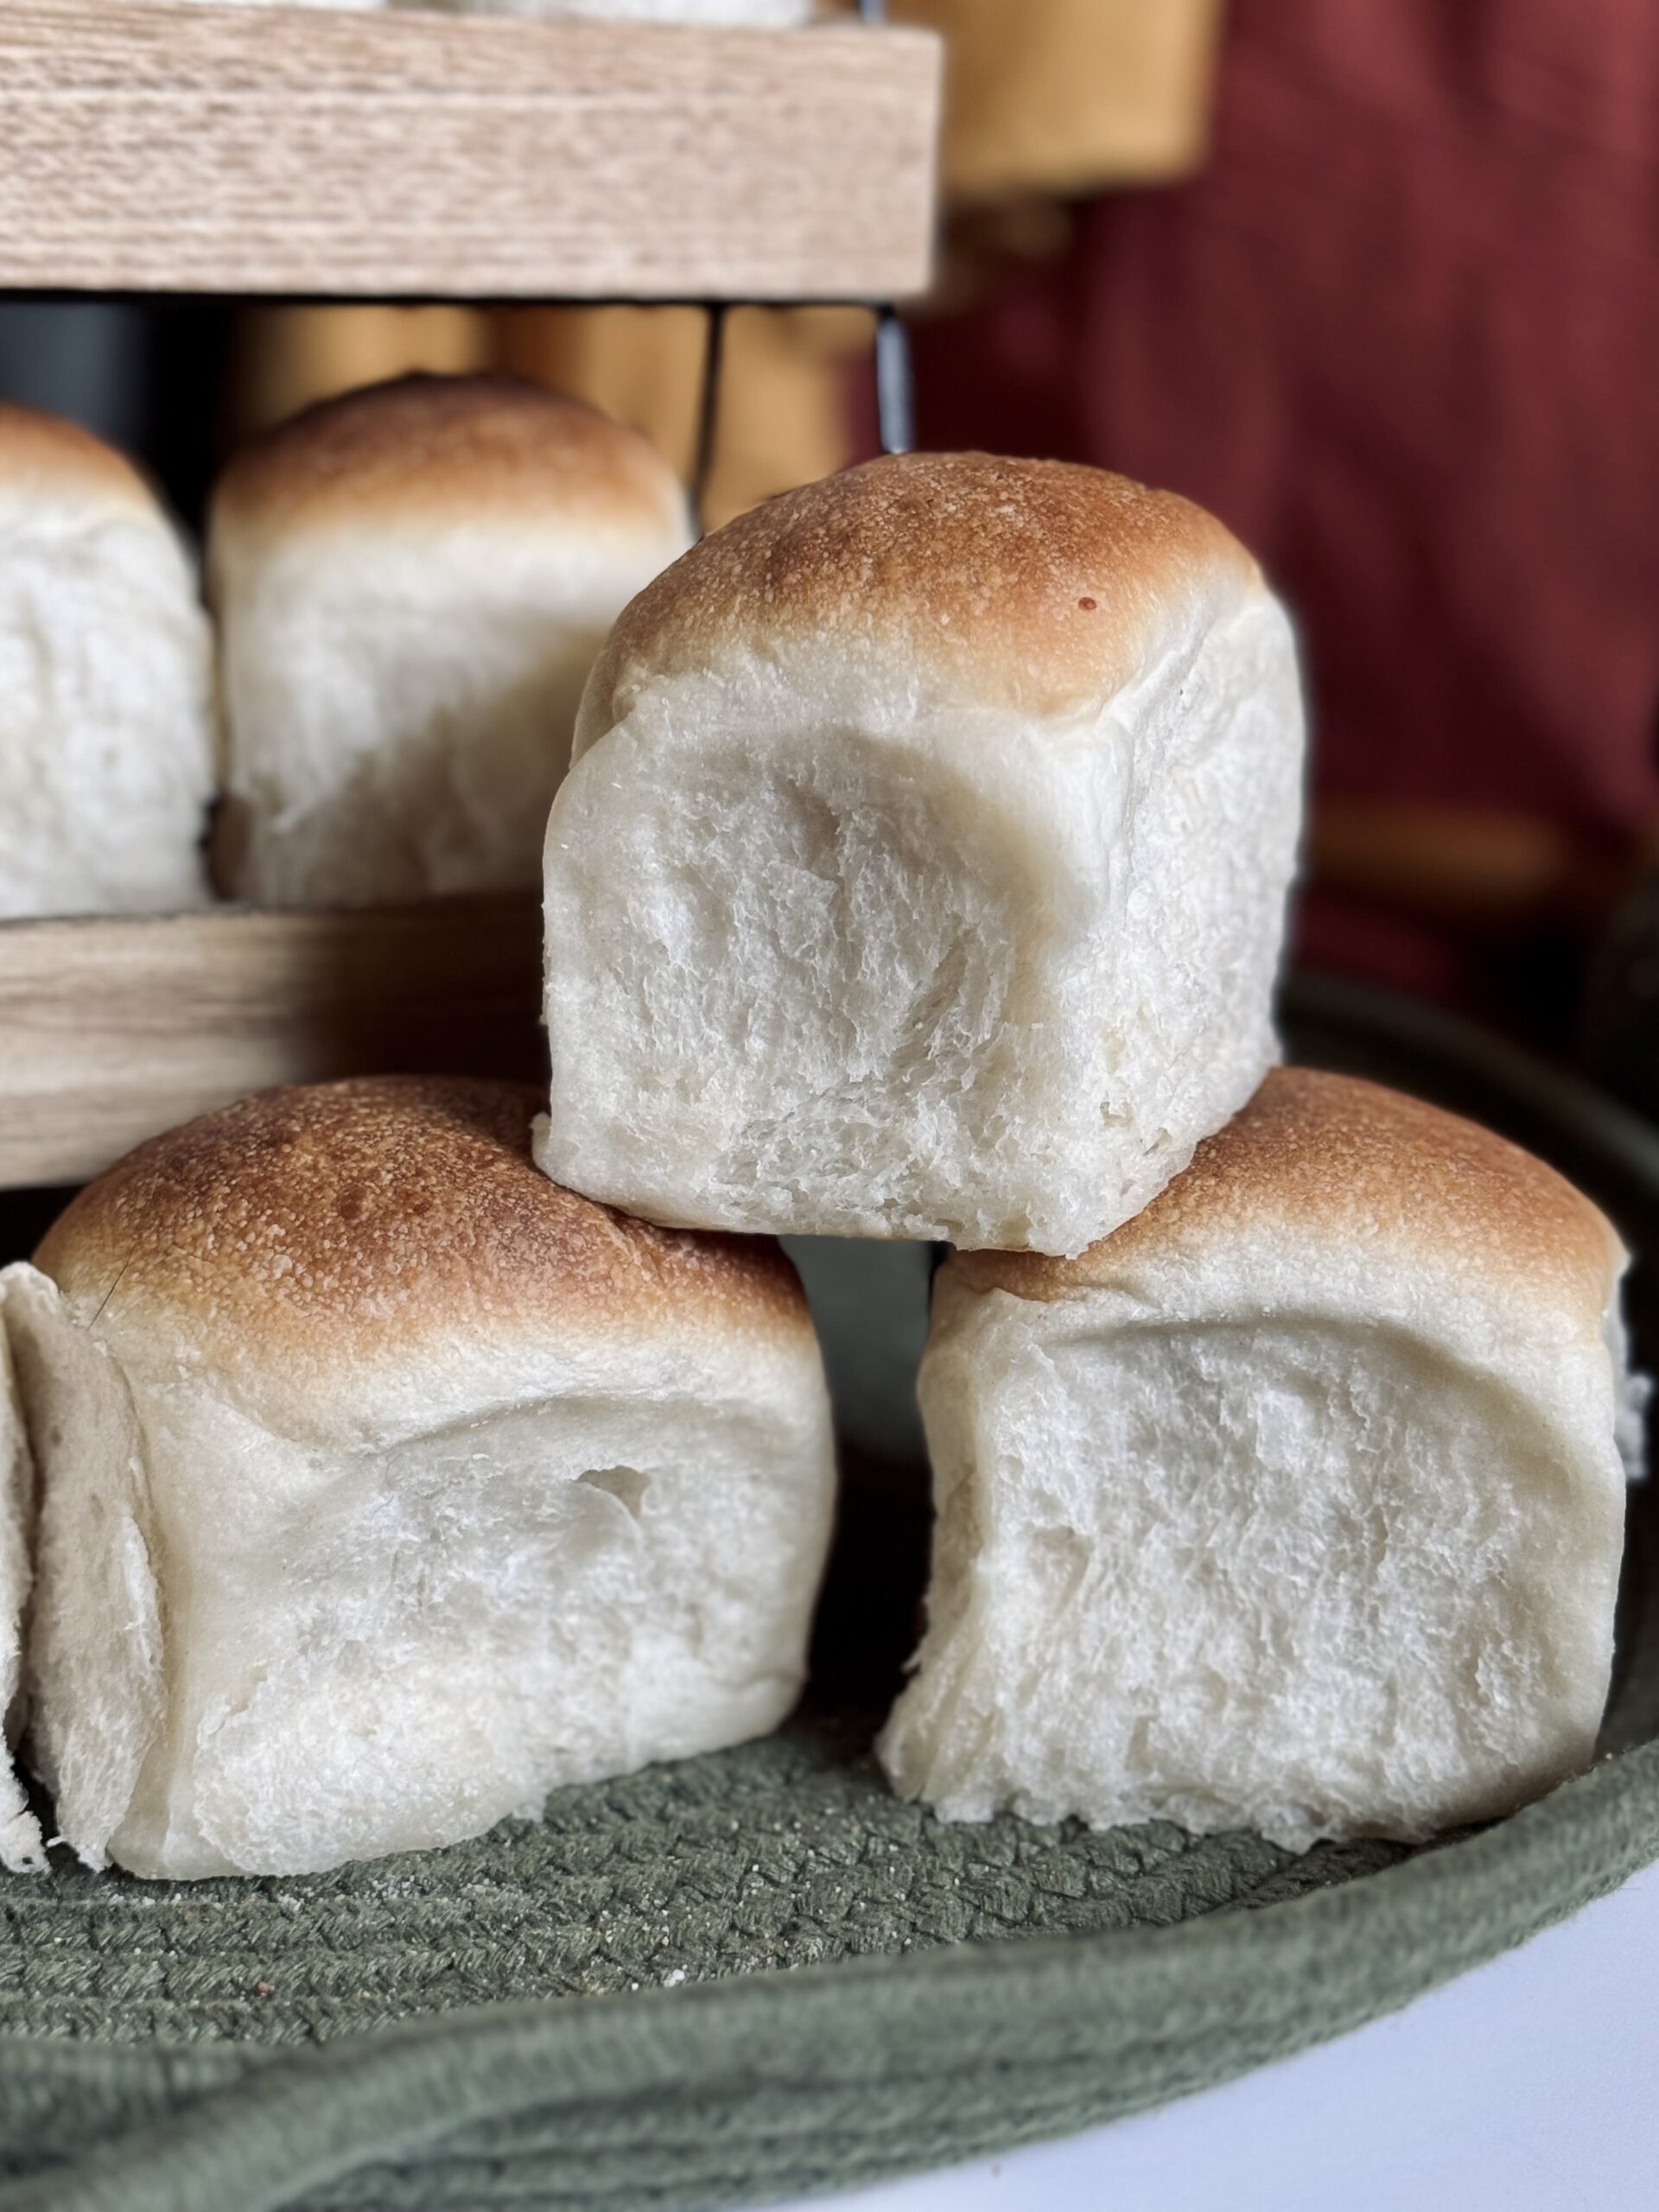
Washing your loaf with butter helps keep the crust soft during baking. I also like to brush my loaves with butter after baking, for the best flavor and softness.
Baking Method: Temperature
For breads with milk, a lower baking temperature is better. Because milk contributes to the Maillard reaction, the bread will still brown fine in the oven. Your dough will rise and bake slowly, contributing to an even crumb. The low-and-slow bake will also keep the dough soft, as it is able to retain more moisture this way.
Baking Method: Steam
Since this is a sandwich bread – which is purposefully soft – you don’t have to remove the steam from the oven like you would for a crusty bread. It helps the dough stay soft, which leads to better expansion and texture. I use a pan of boiling water next to my dough, but you can use any method you like.
Suggested Timeline
Suggested Timeline
DAY 1
8:00 p.m.
- Mix the dough.
8:30 p.m.
- Begin bulk fermentation.
DAY 2
8:00 a.m.
- Shape the dough.
11:00 a.m.
- Bake and enjoy!
📌 Quick Tip: Read the recipe in its entirety before you start cooking. This will help you understand the ingredients, steps, and timing involved, and allow you to prepare any necessary equipment or ingredients beforehand.

White Sandwich Bread


Ingredients
Milk Mixture
Dough
For baking
Instructions
-
Add all of the ingredients for the milk mixture to a small saucepan.
-
Heat the mixture on low heat until the butter is just beginning to melt (but not completely melted), or until the mixture temps approximately 90-100 F (32-38 C).
-
Whisk together the flour, vital wheat gluten (optional), and salt in the bowl of a stand mixer.
-
Add the milk mixture, and stir to partially combine. (If you accidentally overheated the milk, this step should help cool it off before adding the starter.)
-
Add the active starter. Briefly combine, then transfer to a stand mixer fitted with a dough hook.
-
Knead on low for about 10 minutes. The dough should completely remove itself from the sides and bottom of the bowl. If it does not, add flour, one tablespoon at a time, until it just begins to remove itself from the sides and bottom of the bowl.
-
- For an Ankarsrum mixer, use the dough roller and scraper attachment. Set the speed to 2 o'clock and the timer to “on.” Make sure the roller is close enough to the edge that it is working the dough up against the side of the bowl. Let the mixer work until the dough comes completely together, then set the timer to twelve minutes and allow the dough to knead until the timer is finished.
- Alternatively, turn out onto the counter and knead by hand for 10-15 minutes. In this case, the dough should not stick to the counter or your hands when kneading. If it does, add more flour accordingly.
-
-
Transfer the dough to a 2-quart container and cover it with cling wrap, or a lid. Let it rest until it has doubled in size.
-
Shape the dough into a loaf and add to an 8 1/2 X 4 1/2 inch loaf pan. I do this by forming a rectangle slightly smaller than my loaf pan, rolling the dough into a cylinder, and pinching the seams closed. Cover once more and let it rest until it has risen above the rim of the loaf pan.
-
Preheat the oven to 350 F (175 C). Boil some water in a tea kettle or on the stovetop.
-
Remove the cover from your dough and brush all over with melted butter.
-
Pour the boiling water into a water-safe, oven-safe pan placed next to the bread in the oven. Bake for 50-60 minutes, or until the internal temperature reaches 190 F (88 C).
-
Brush with more melted butter, if desired.
-
Cool 5-10 minutes in the loaf pan, then transfer to a wire rack to cool completely. Wait at least 30 minutes before slicing.
Nutrition Facts
Servings 12
- Amount Per Serving
- Calories 252.22kcal
- % Daily Value *
- Total Fat 4.72g8%
- Saturated Fat 2.43g13%
- Cholesterol 10.06mg4%
- Sodium 216.07mg10%
- Potassium 89.27mg3%
- Total Carbohydrate 44.53g15%
- Dietary Fiber 1.36g6%
- Sugars 5.76g
- Protein 7.44g15%
- Vitamin A 34.85 IU
- Vitamin C 0.02 mg
- Calcium 36.72 mg
- Iron 2.51 mg
- Vitamin D 0.26 IU
- Vitamin E 0.31 IU
- Vitamin K 0.53 mcg
- Thiamin 0.46 mg
- Riboflavin 0.32 mg
- Niacin 4.07 mg
- Vitamin B6 0.03 mg
- Folate 22.67 mcg
- Vitamin B12 0.09 mcg
- Phosphorus 74.54 mg
- Magnesium 17.37 mg
- Zinc 0.59 mg
* Nutrition values are auto-calculated and should be used as an approximation only.
Notes
- Storage: Store in a Ziploc or bread bag on the counter for three to five days, or slice and store in the freezer. Toast to warm.
- Video: Please use the video as a reference only. I have grown a lot as a baker since I made the video. If in doubt, follow the information in the blog post or written recipe over the information in the video. Please feel free to ask questions in the comments.

