About This Recipe
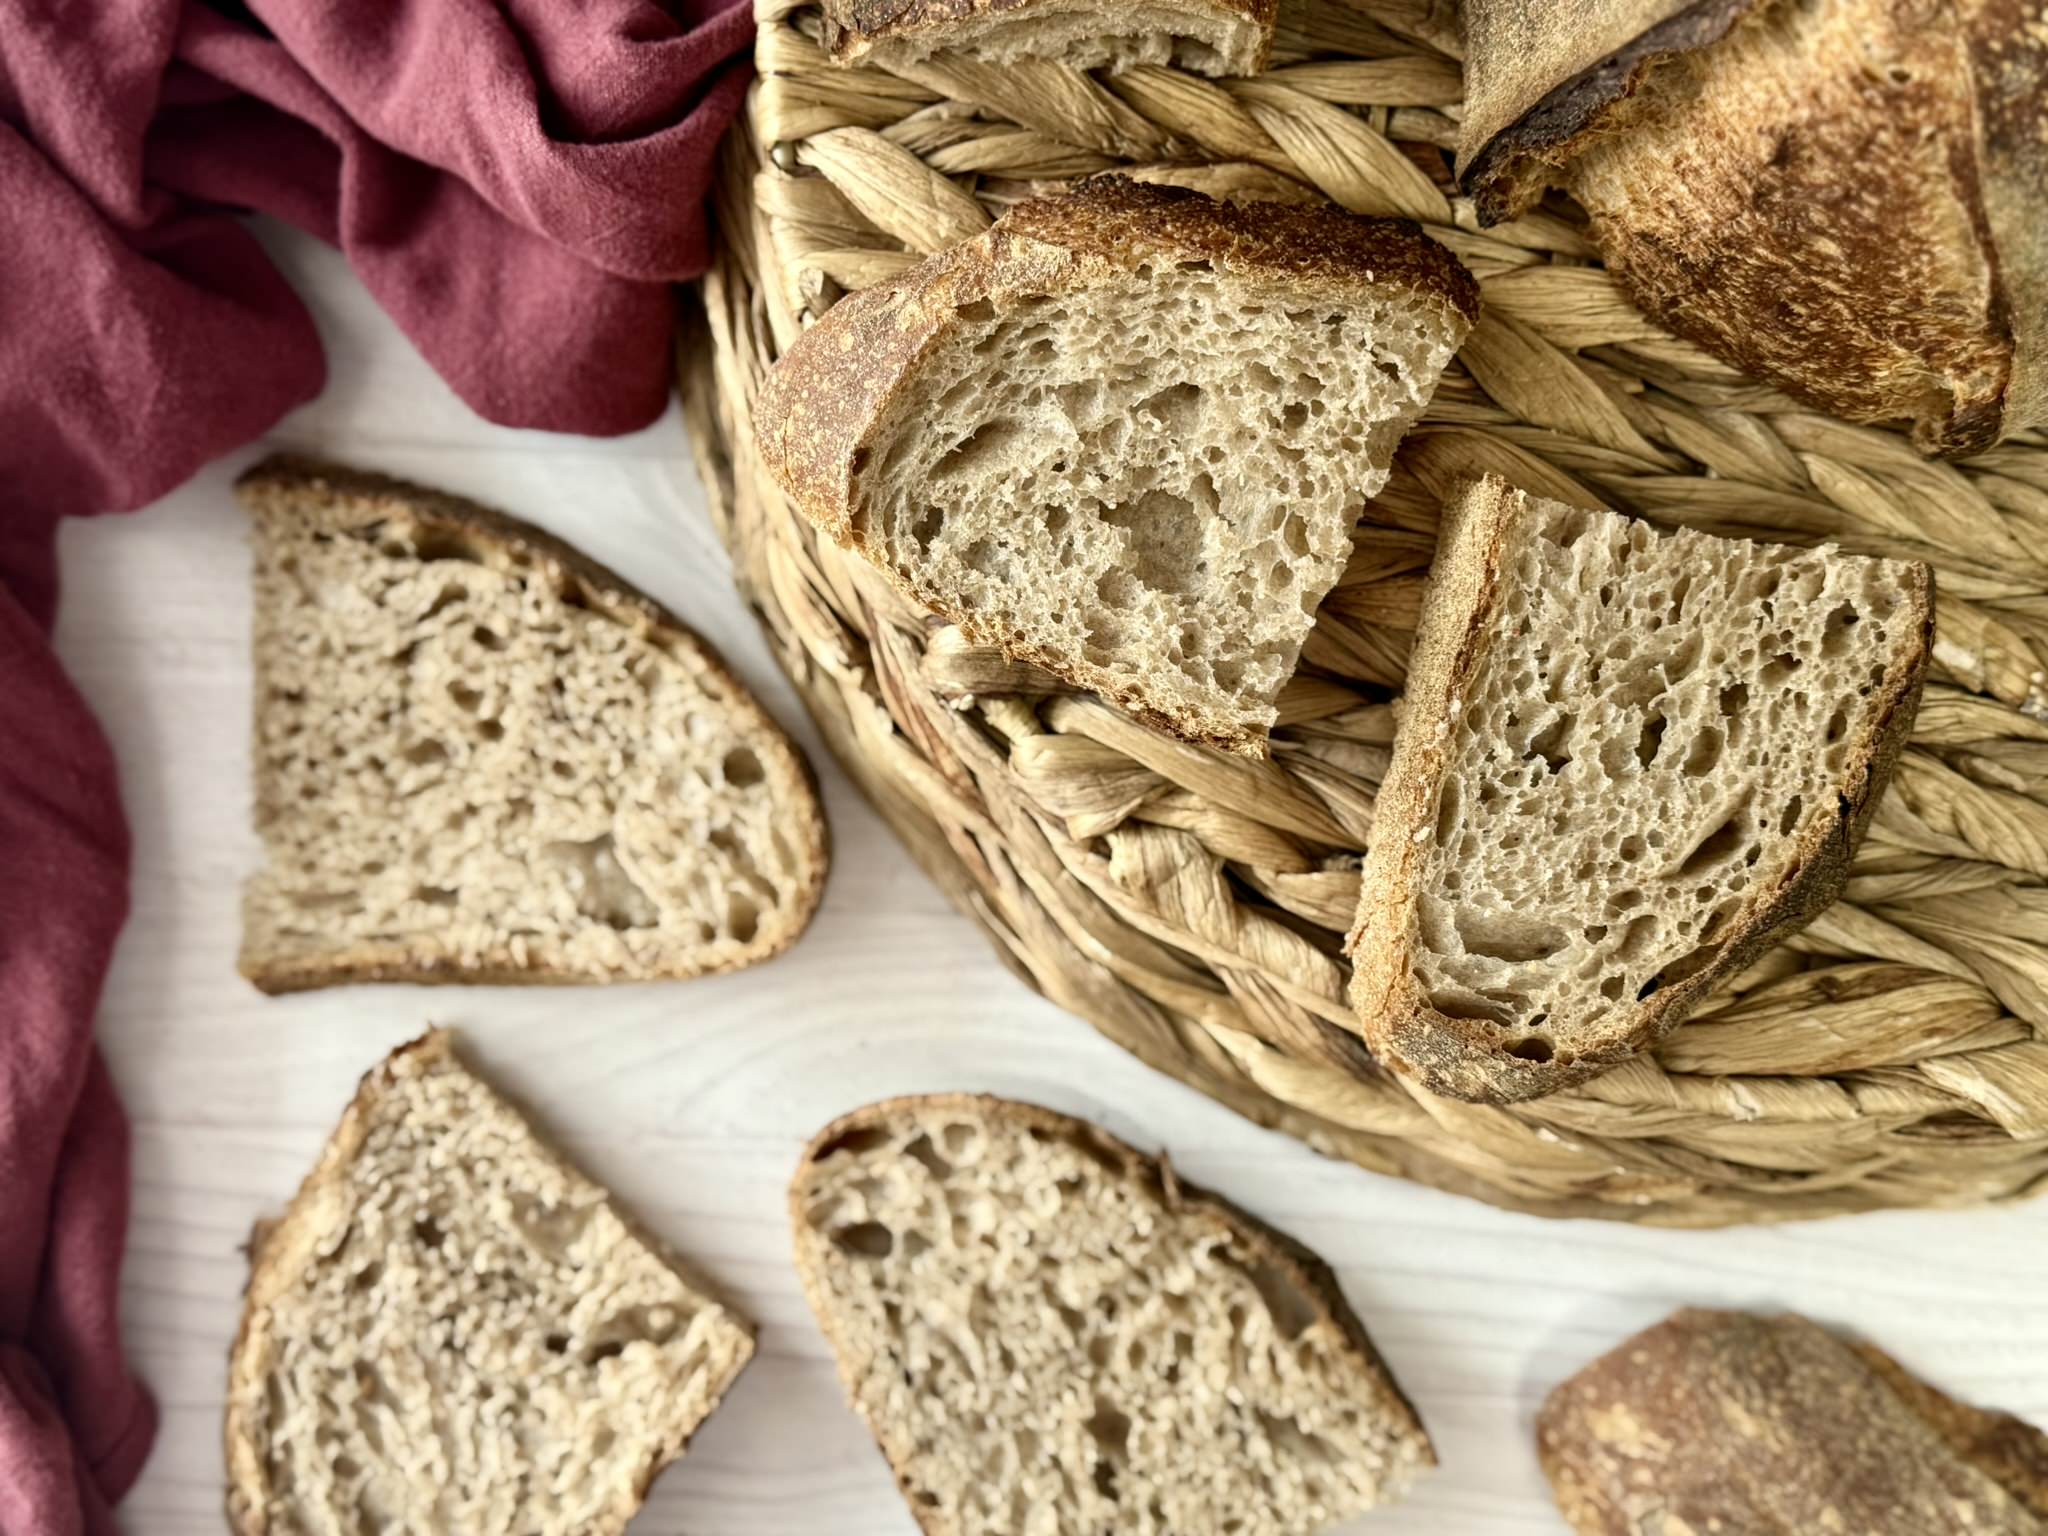
This spelt bread has been calling to me for a while. I make it with whole spelt flour, which (like whole wheat) includes the bran, germ, and endosperm of the wheat kernel. I also add a touch of whole wheat and about fifty perfect white bread flour. I love a 50/50 blend of whole grains and white; it hits the sweet spot between nutty, whole grain flavor and good nutrition, while still baking up a loaf that’s tall, airy, an beautiful. And spelt is—chef’s kiss—one of my absolute favorite flavors. This recipe walks you through how to make a classic sourdough loaf packed with all the whole grain goodness you love.
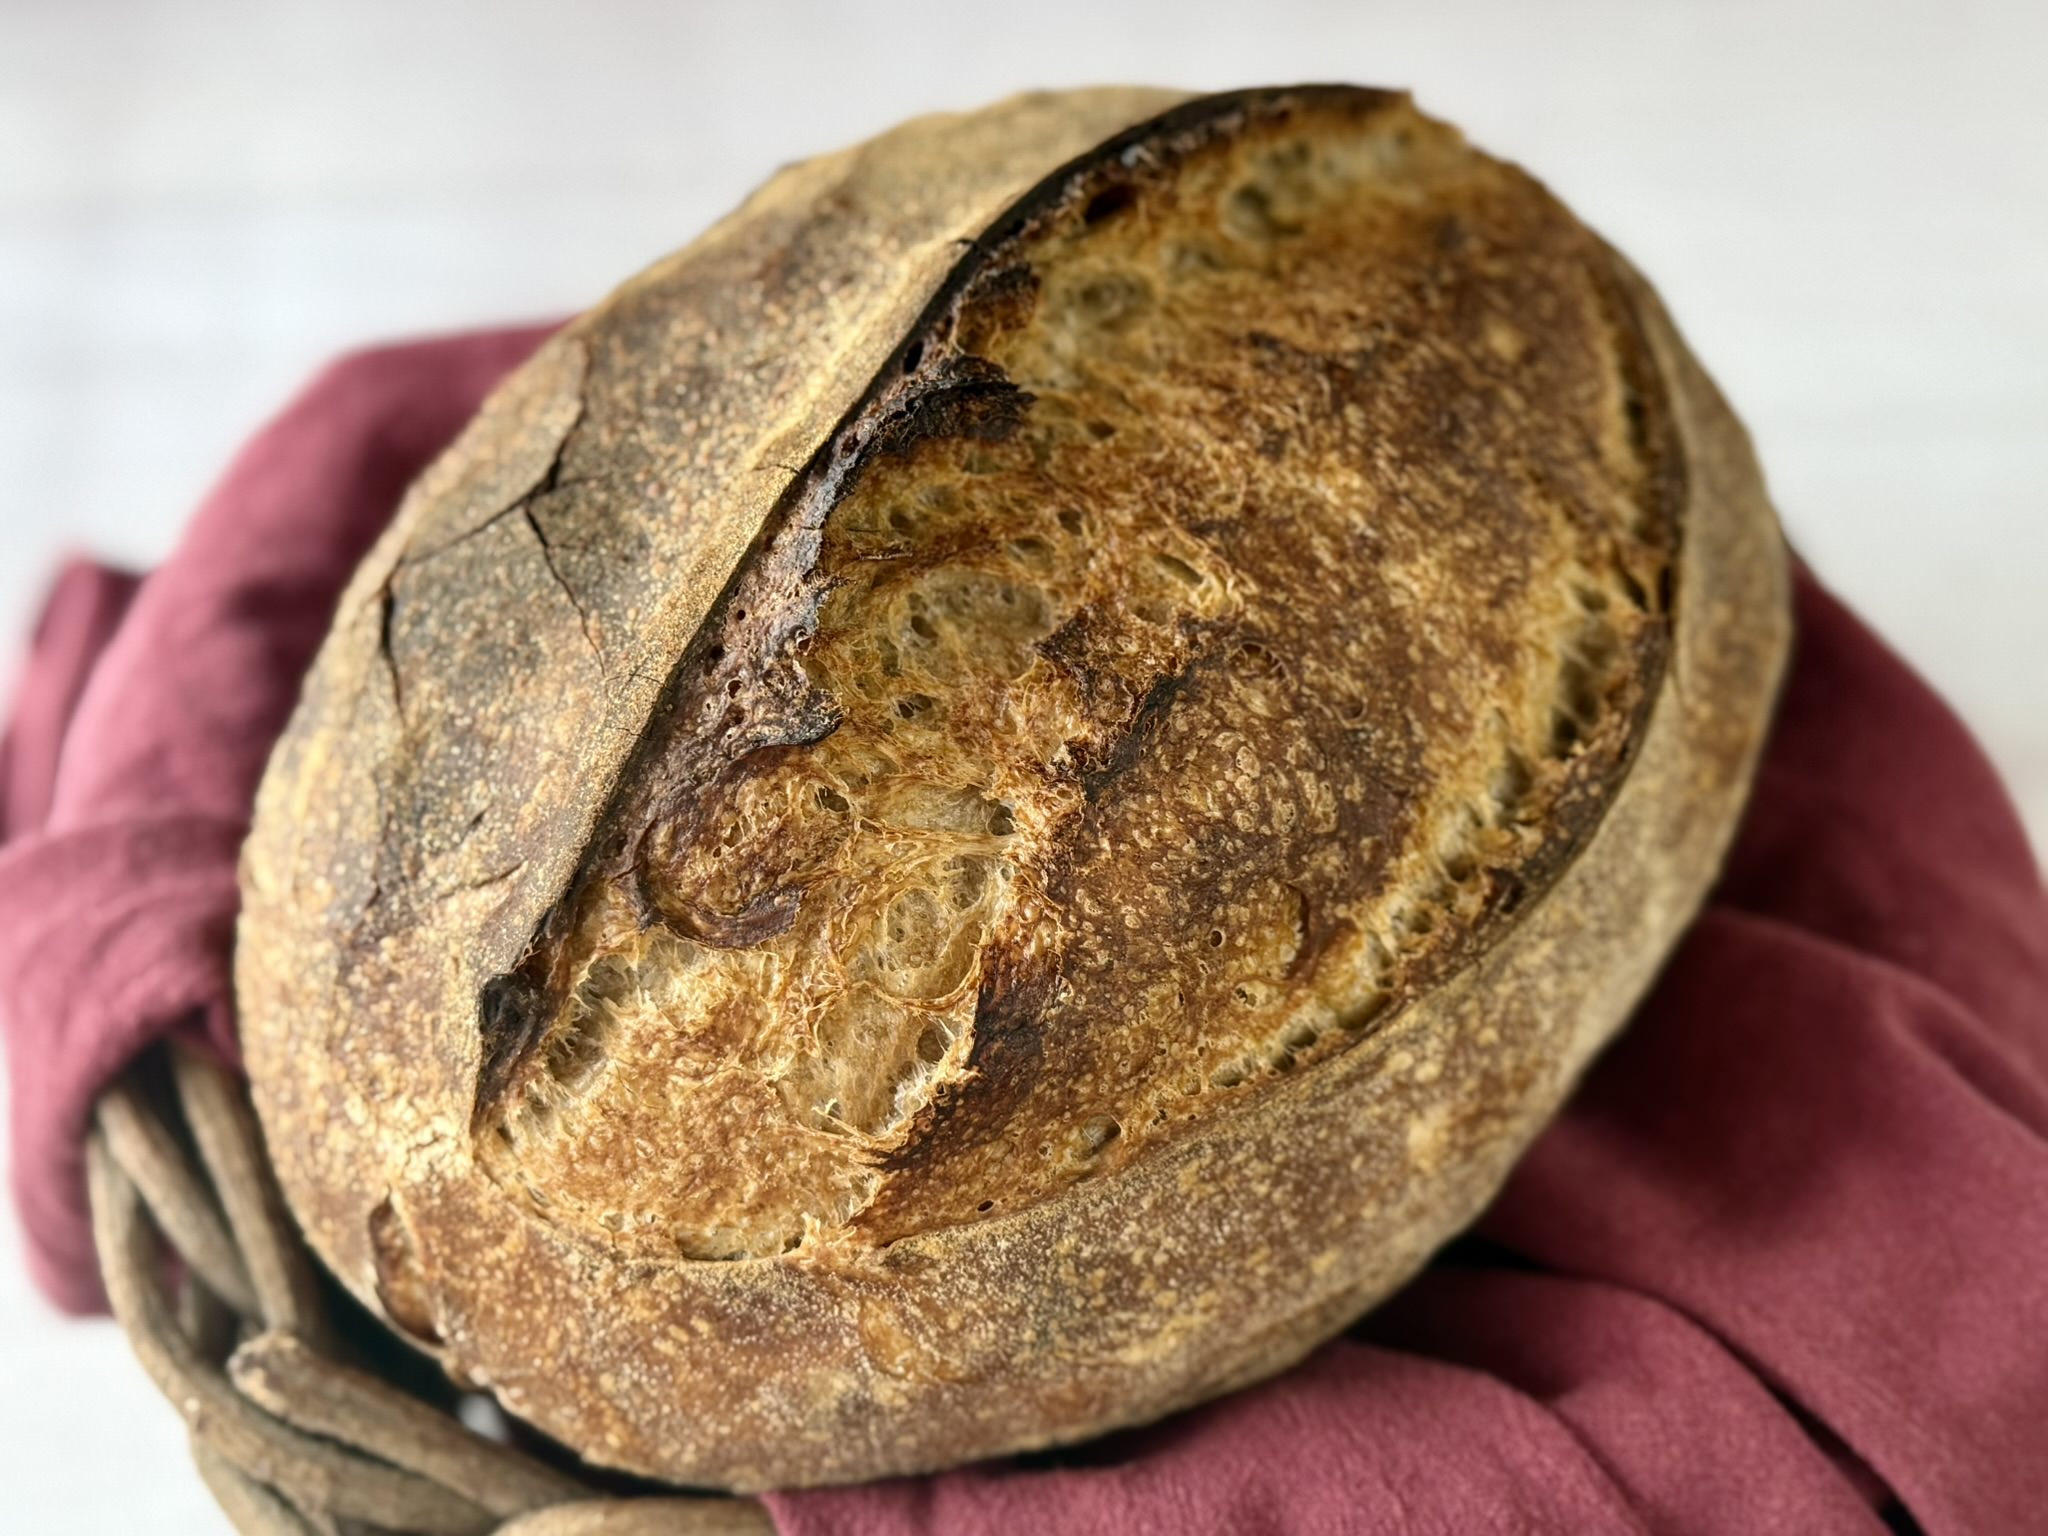
What Is Country Bread?
Country bread is a French-inspired rustic sourdough loaf. It’s a free-standing bread, also known as “hearth bread,” that’s typically shaped into a boule (round) or a batard (oval). This is the bread that most people simply call “sourdough” today. It was popularized in the early 2000’s by Chad Robertson, whose book, Tartine Bread, is the root for which all modern sourdough is based today.
This type of bread is made from a loose dough, which easier to develop by hand. Long fermentation allows gluten to develop naturally without kneading, while also filling the dough with air, giving it strength and structure. It is baked at a high temperature (with steam) to encourage a dramatic oven spring, creating that signature crispy crust and chewy interior.
What I Love About This Recipe
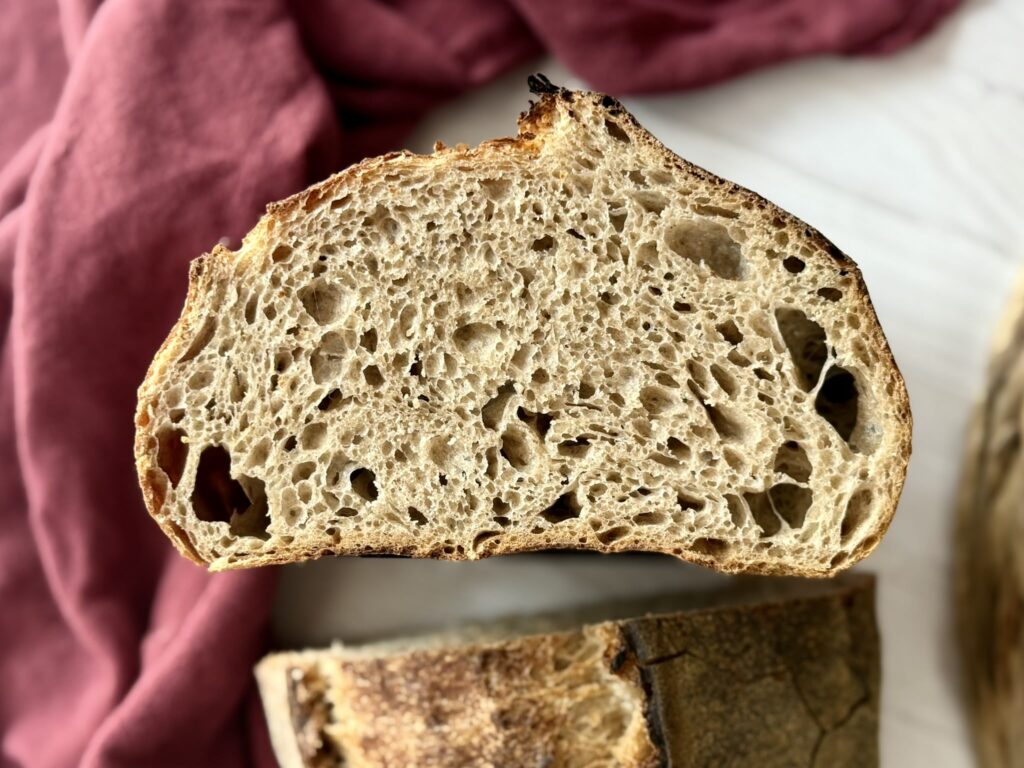
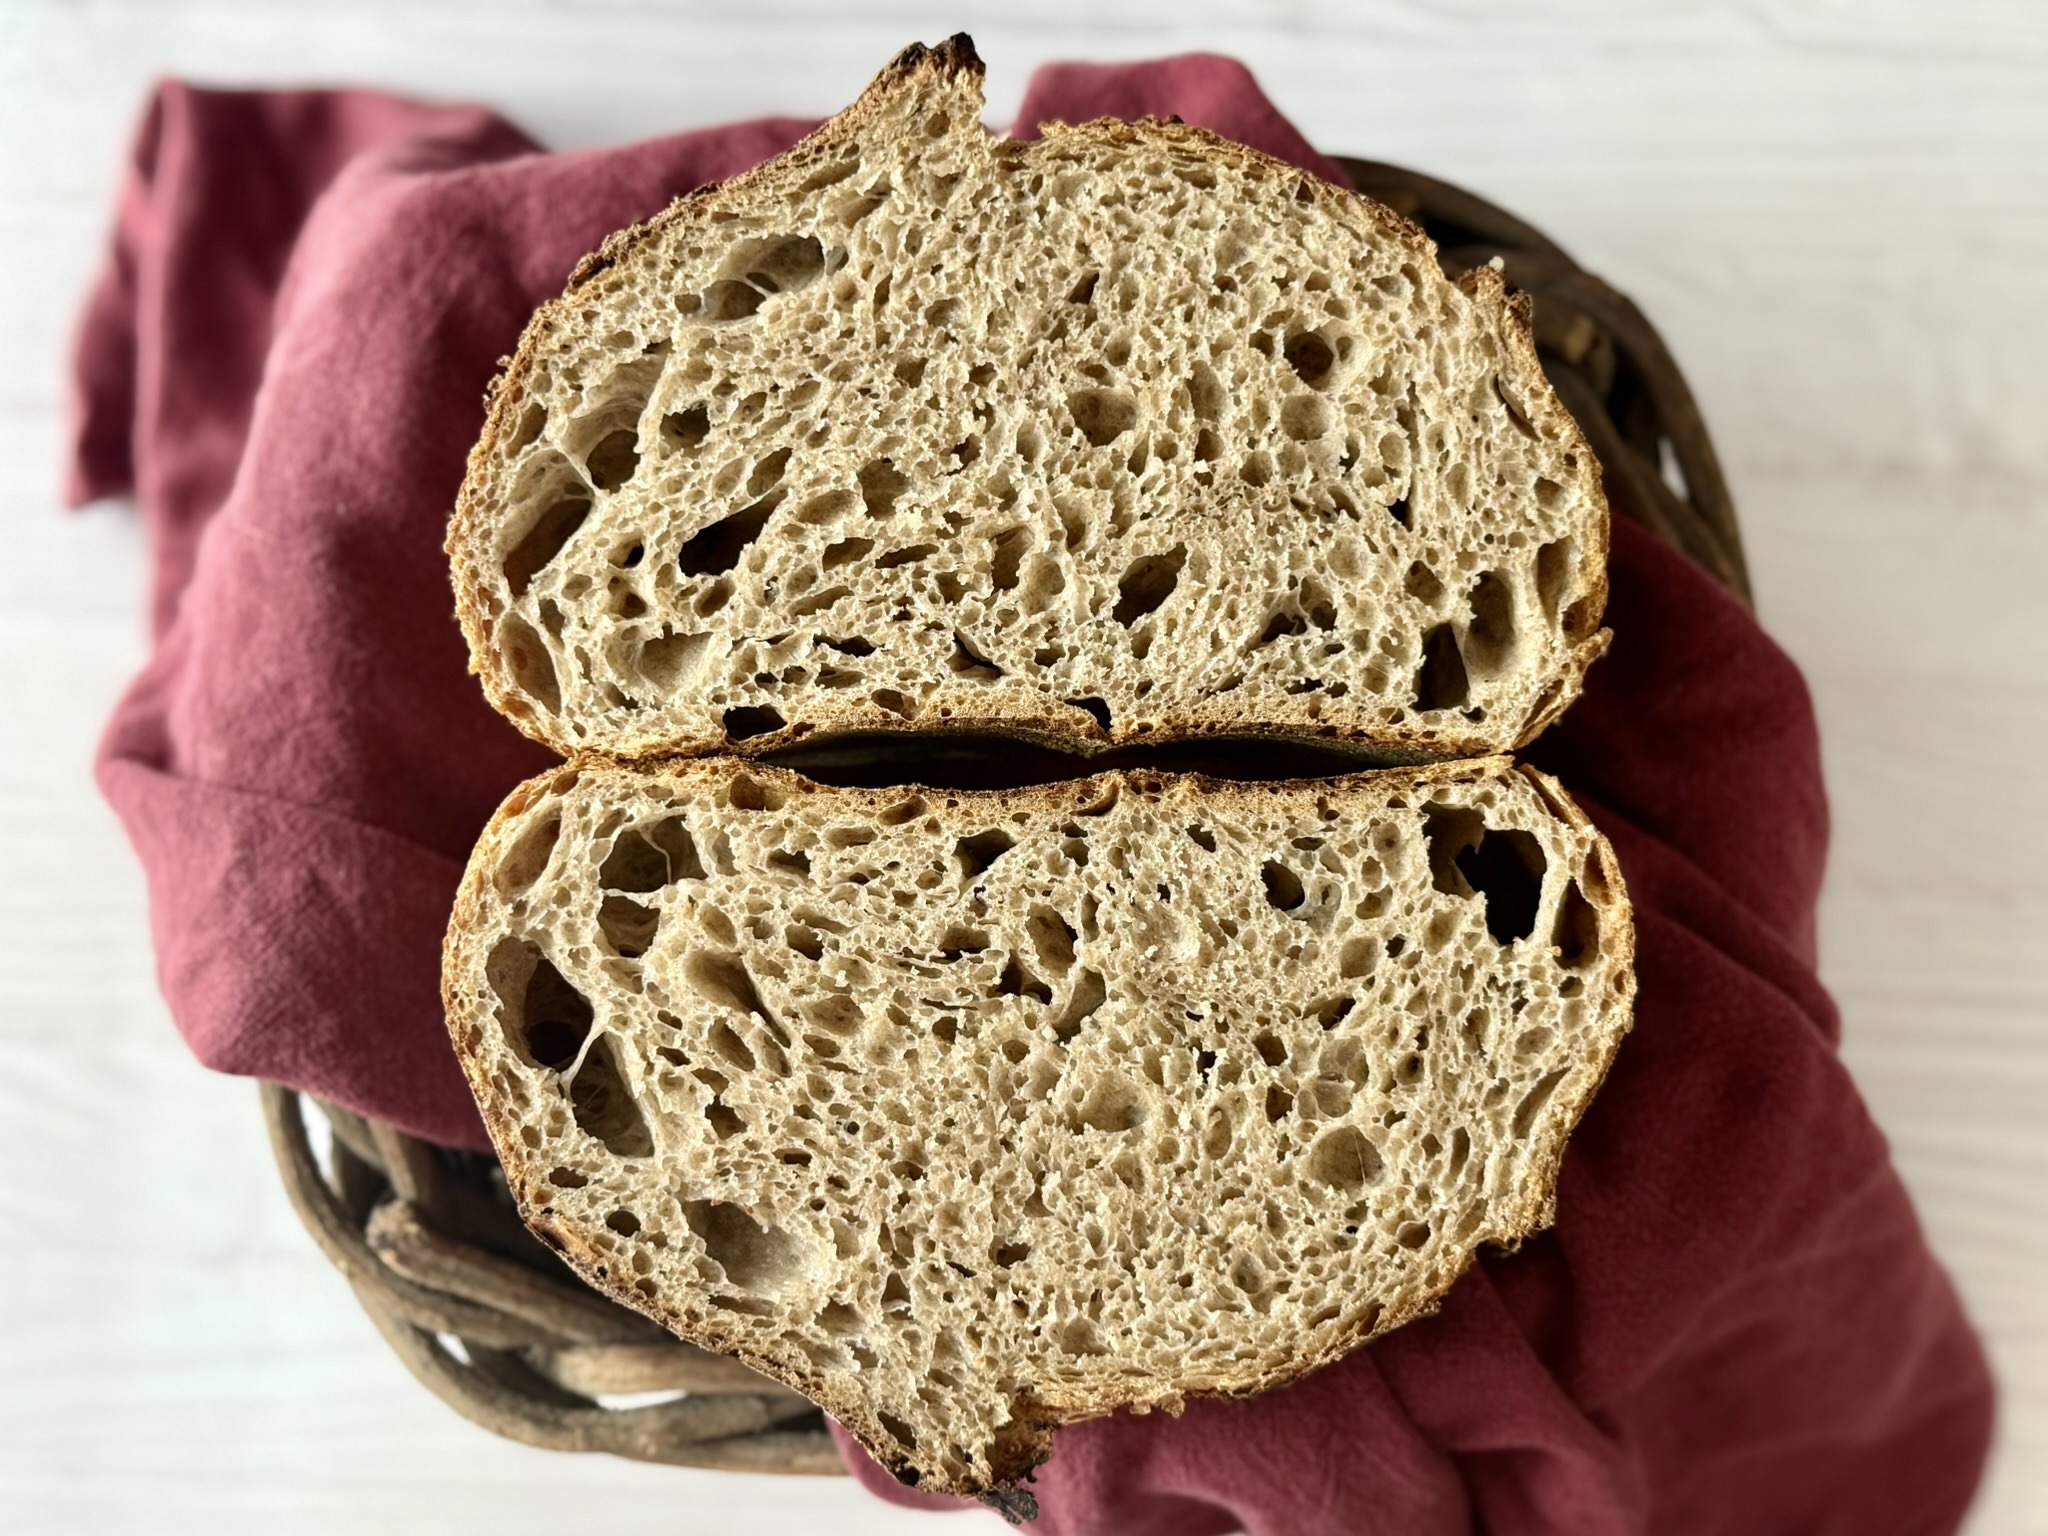
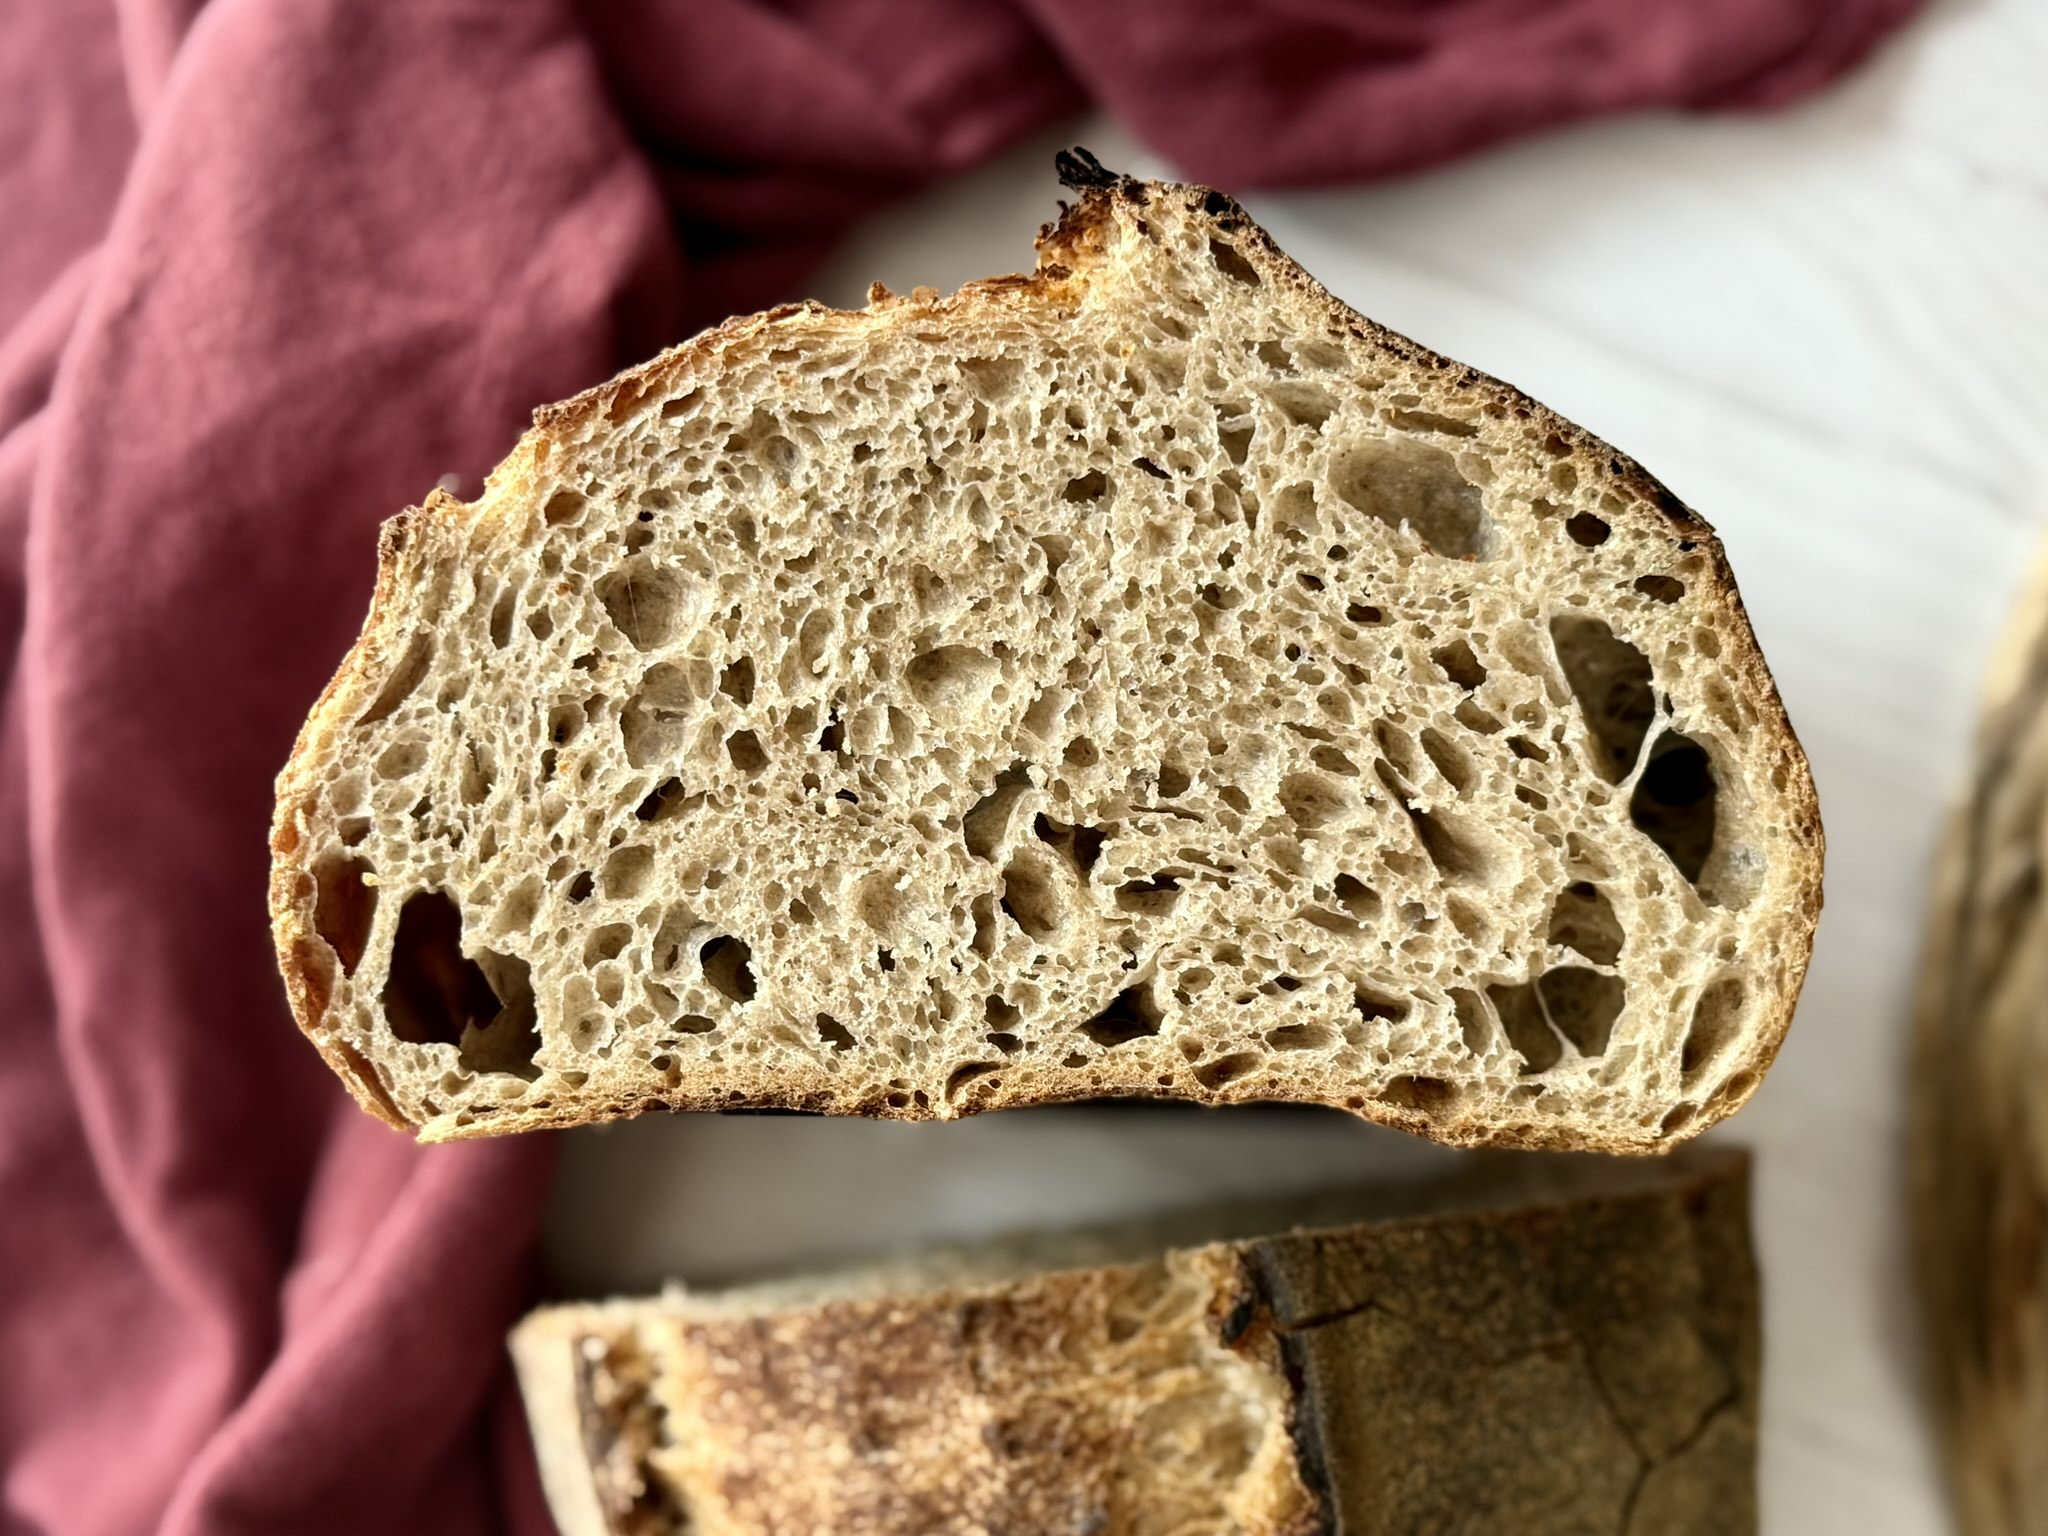
I don’t diverge from white flour in most of my recipes, probably because I’m too obsessed with perfection. The thing about whole grains is that the bran and the germ cut through the gluten network, limiting the bread’s ability to retain air and the crumb’s ability to open up. I love an airy loaf, but I also love the flavor of whole grains, especially spelt. This loaf strikes a perfect compromise. Yea, it’s a little denser, but it’s also quite a bit more flavorful and definitely more nutritious. However, no one party is overwhelming: it’s not too hearty or too strong, just beautifully balanced and mighty delicious.
The “Why” Behind The Ingredients
Let’s Talk Whole Grains
This recipe contains 50% whole grains: whole spelt and whole wheat (but mostly whole spelt). When working with whole grains in bread dough, there are a few important things to keep in mind, as they naturally change how the dough behaves.
- Whole grains absorb more water. This recipe has a higher hydration to account for that. I’ve adjusted the water amount so the dough has a similar consistency to my standard recipes, without adding so much water that it weakens the gluten structure. The premixing step is especially helpful here, as it gives the whole grains time to soak up extra water before fermentation begins.
- Whole grains “cut” through the gluten network. A grain kernel is made up of three parts: the bran, the germ, and the endosperm (the part responsible for gluten development). Whole grains contain all three, while white flour simply contains the endosperm. Unfortunately, the rough bran in whole grain flour has a coarse texture and doesn’t stretch the way gluten does. While it doesn’t actually “cut” the gluten, it’s ragged shape and inability to expand simply cause holes in the gluten network as the dough is trying to fill with air, leading to air loss during fermentation. The science behind this is complex, and this correspondence from The Fresh Loaf explains how this happens in more depth. In short: whole grain doughs tend to produce denser loaves with smaller air pockets.
- Whole grains can make your bread sour. Whole grains have what’s called a “buffering capacity,” which just means they can form more acid during fermentation without harming the yeast or bacteria. If you love whole grains but prefer a less sour bread, you’ll need to manage your fermentation carefully. Favoring yeast activity (fermenting in the mid-70s F) and avoiding extended fermentation can be helpful. In general, the faster the fermentation, the milder the flavor.
- Whole grains ferment faster. Thanks to their higher nutrient content and enzyme activity, whole grains speed up fermentation. There’s more food for yeast (thanks to amylases that break down starches into sugars), which means the dough rises faster. But that increased activity also accelerates gluten breakdown (thanks to protease enzymes), making it harder to achieve a full fermentation without overproofing.
Let’s Talk Spelt
Spelt is praised for it’s extensibility, which can help create an open-crumb. But that same extensibility also reveals some important characteristics of spelt flour. Its gluten network is generally weaker and more unstable than that of modern wheat. Think of it like a balloon made from very thin rubber. Yes, you can blow it up easily, but it can’t hold pressure for long and is more likely to burst. Since this recipe uses whole spelt (as opposed to light spelt), the bran and the germ can further disrupt the gluten structure, making it even more delicate.
This means that you’ll likely notice the dough feels nice and stretchy during folds, but it can tear more easily if handled too roughly. Visual tearing means the gluten network literally just snapped, which causes the dough to lose gas (leading to denser bread). To avoid this, it’s important to handle the dough gently and monitor fermentation closely to avoid overstretching or overproofing (if you want great results, that is).
The White Flour: Why Bread Flour?
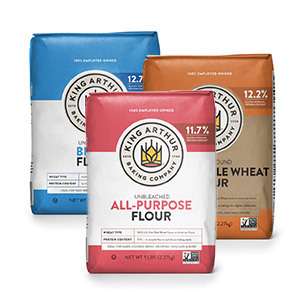
Ten out of ten times I will choose bread flour over all-purpose flour. Bread flour has more gluten-forming proteins, which naturally build a stronger gluten network. This helps trap air better during fermentation, leading to a lighter, airier texture. It’s especially important in a recipe like this one, where most of the dough’s strength comes from time (premixing, lamination, and just a few folds).
You can use all-purpose flour if that’s what you have, but you might notice some differences. Your loaf might be squatter, not expanding quite as profoundly in the oven. It might not rise right, as the flour is unable to hold in air as effectively. You may notice tearing during folds or shaping—definitive indicators of a weak flour. The loaf will probably be a bit denser, depending on how fermentation went. If you notice these things happening and aren’t satisfied with your bread, I definitely recommend trying the recipe again with a different flour. Or, if you absolutely have no other options, you can try increasing the vital wheat gluten in this recipe to one tablespoon (10 g), which will help give the dough a bit more strength.
For most recipes that call for “bread flour,” I use King Arthur Bread Flour because of its higher protein content (12.7%) and amazing gluten strength. I’ve also tested this recipe with Bob’s Red Mill Artisan Bread Flour (around 12.5% protein). It’s a little softer overall, but it still works just fine here.
Vital Wheat Gluten
I love to add vital wheat gluten in recipes where I feel the gluten network might need a little extra support. That’s the case here, since we are using whole grains, which naturally weaken gluten strength. Vital wheat gluten is essentially just straight gluten, and it’s main job is to strengthen the dough so that it can trap more air during fermentation. This leads to a taller, lighter loaf and a more efficient rise. If you don’t have it or prefer not to use it, that’s totally fine. Just keep in mind that your loaf will likely turn out denser and a bit flatter, and it may seem to overproof more quickly.
Salt
When it comes to salt, I like to use a fine salt without any anti-caking agents. Fine salt dissolves more easily, and skipping the caking agents means a cleaner dough. Lately, I’ve been loving Redmond’s Real Salt for all my bread recipes.
Salt does way more than just make bread taste good (without it, bread would honestly taste like nothing). It also acts as a tightening agent, helping to create a stronger, more elastic dough. On the flip side, salt does slow down fermentation and gluten development a little—but that’s totally normal and something we plan for when building the recipe. Bread needs salt, no question about it. The key is using just the right amount: enough to bring out the flavor without stopping the dough from rising properly. I use the standard 2% salt in all my recipes, unless otherwise noted.
Hydration (Water)
I like to keep my bread doughs hydrated enough to support strong gluten development, without tipping into overhydrated territory. That means aiming for a dough that feels soft and supple: not too wet, but not too dry. Since whole grains soak up more water, they can dry out the dough if there isn’t enough moisture to begin with. Taking all of that into account, the hydration of this dough rests around 84%. That number might look high on paper, but when you’re actually working with the dough, it feels just right. You can read more about dough hydration here.
Sourdough Starter
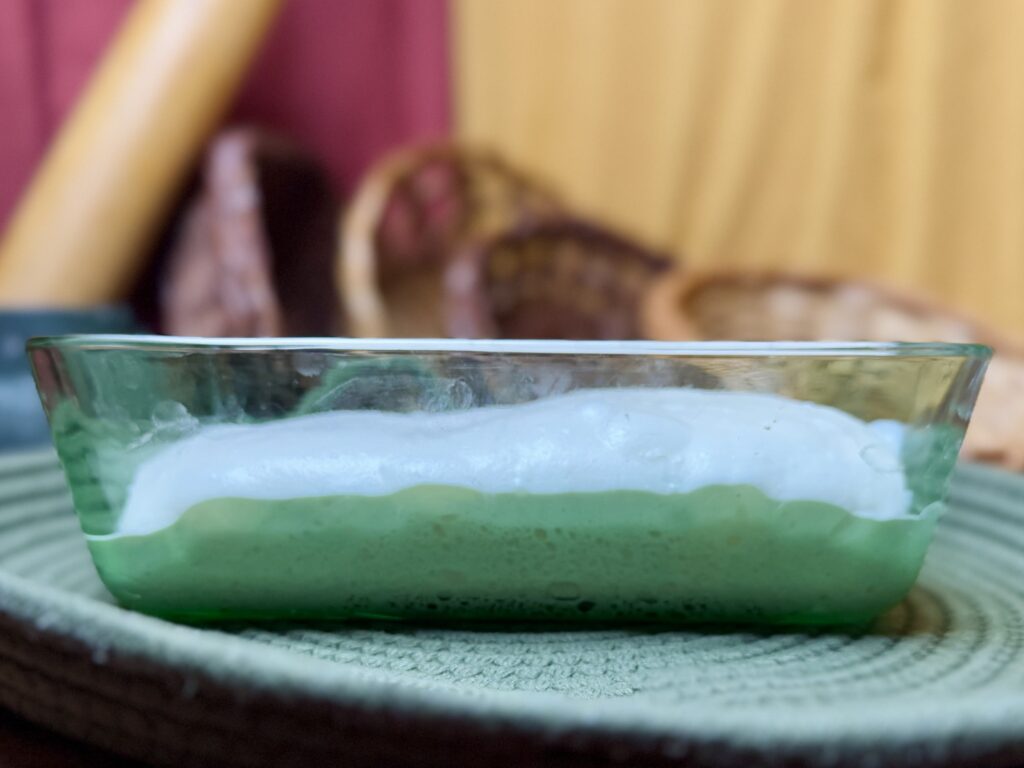
If you know me, you know I’m all about keeping a healthy starter. For the best fermentation, feed your starter at a higher ratio, about 1:5:5 or 1:6:6, to cut down on acid buildup. Let it ferment somewhere in the 70s F (ideally 73–75 F, or 23–24 C) to favor yeast growth and keep the acid levels balanced. At this feeding ratio and temperature, your starter should triple in size in about twelve hours.
If you want to go the extra mile, you can give your starter one or two sets of stretch-and-folds during the first four hours of fermentation. This traps extra oxygen and encourages the yeast to pump out more CO2 (and less ethanol), which helps it rise higher and keeps the alcohol flavor mild.
After about twelve hours, you can take what you need to refresh your starter or tuck some away for maintenance. I like to give it one more set of folds at this point, then let it rest for another 3–4 hours alongside my premix. The starter should double or triple again during this time.

The “Why” Behind The Method
Premixing Method (For Dough And Gluten Development)
Premixing has become my new obsession because it does so much for the dough with almost no extra effort from the baker. Time does most of the heavy lifting, and we’re just there to give a little support along the way. It creates a dough with a beautiful crumb, great oven spring, and a texture that’s easy to work with (and super versatile!).
The reason premixing works so well is because this dough is unenriched—meaning it is only made from flour, water, vital wheat gluten, and salt. That means gluten bonds naturally start forming the moment flour and water meet, and they keep getting stronger over time.
Time doesn’t just build gluten, it also gives enzymes a chance to go to work. Amylases break down complex carbs into simple sugars, creating easy food for the yeast once the starter is added (you can read a bit more about that here). At the same time, proteases start breaking down proteins, helping the dough become more stretchy and extensible.
Another bonus: time lets the flour fully absorb the water, which is especially important for this whole grain dough, making the dough way easier to handle.
Now, unlike an autolyse or fermentolyse, premixing includes the salt right from the start. While an advanced baker might notice that salt slightly tightens the dough early on, I actually prefer this. Since the salt is already there, we never have to break any gluten bonds to mix or knead again. In fact, we’ll never even need to knead this dough! Yet it still builds the perfect balance of strength.
With premixing, time does most of the work, but we still have a few simple jobs. First, we need to incorporate the starter, which is done with a few gentle coil folds. Then, we laminate the dough, which is a great strengthening step, but also the perfect time to add inclusions. Both moves—especially lamination—stretch and strengthen the gluten network, building tension that will trap gases efficiently during fermentation. Finally, as the dough starts to fill with gas, we’ll give it just two—yes, only two!—more coil folds to add a little extra structure.
Like I said, this recipe is beautifully hands-off, yet massively effective.
Bulk Fermentation
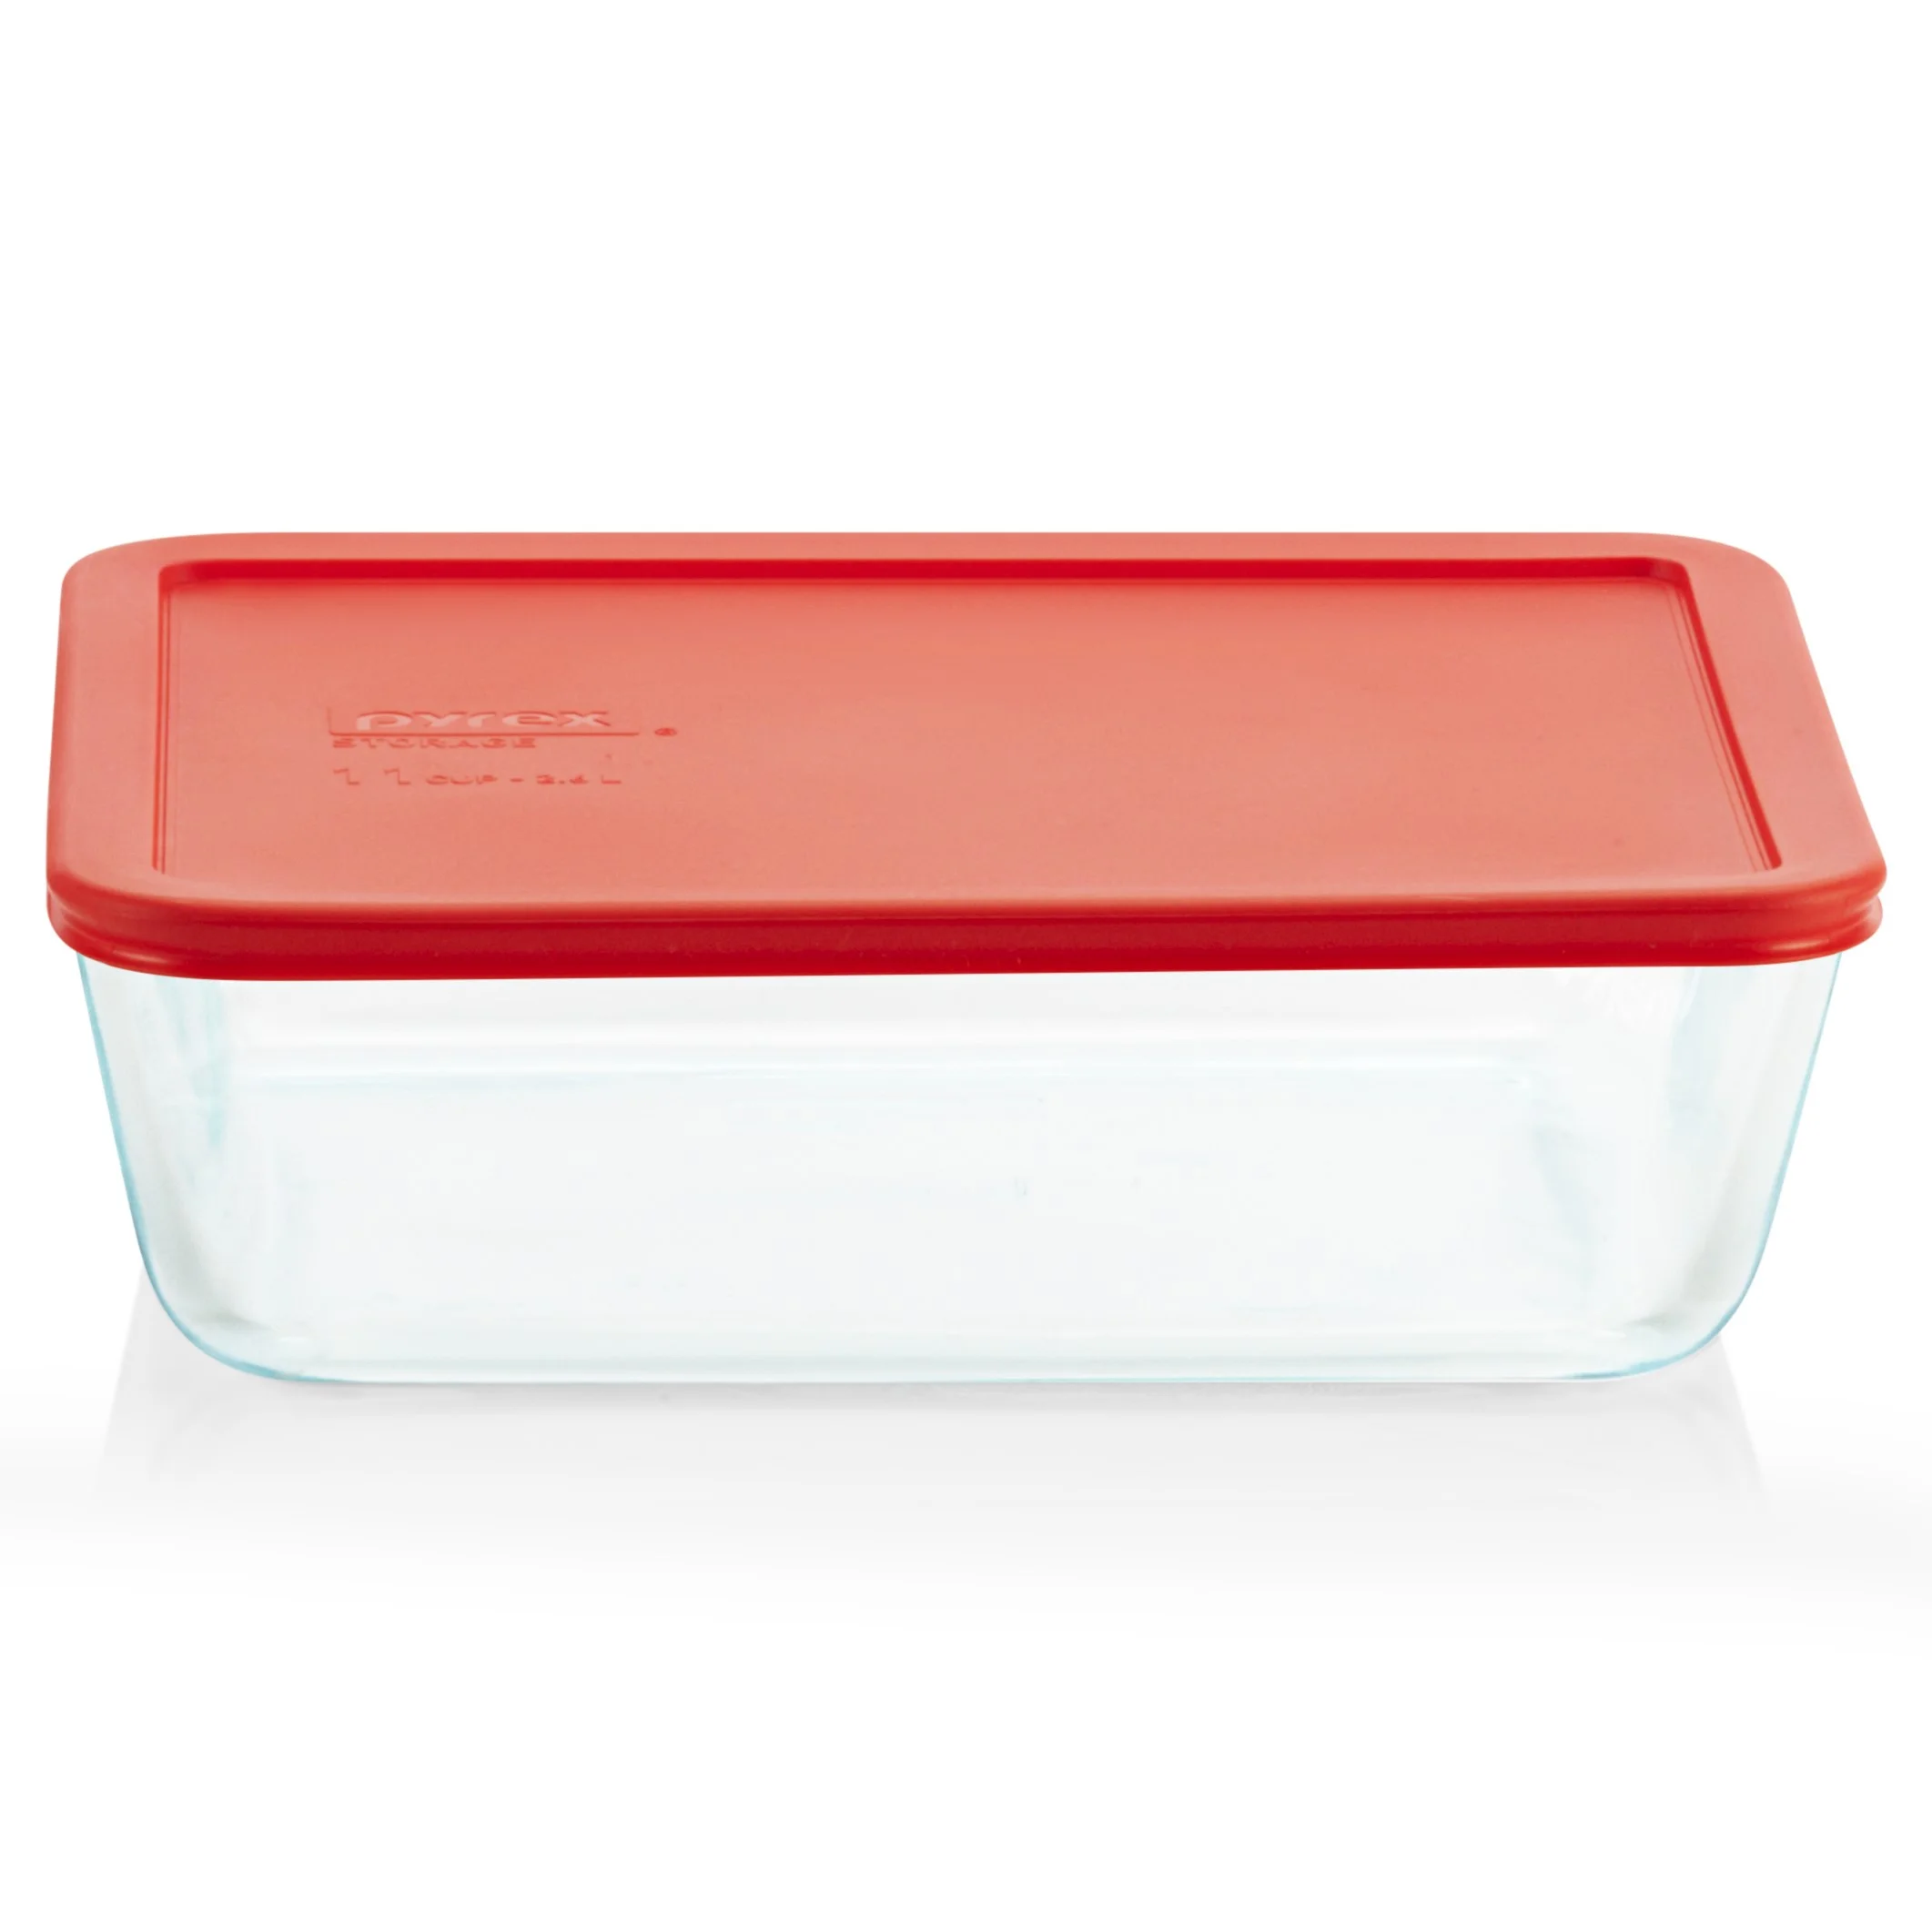
Because I’ve balanced this dough well, bulk fermentation lies in my usual window of 7-8 hours at an ambient temperature of 73–75 F (23–24 C). We’re aiming to fill an 11-cup container about two-thirds of the way full.
I know whole grains ferment faster, but the reason this fermentation lies in my usual window is because I’ve added the vital wheat gluten. The extra gluten strength adds time to fermentation because it makes the dough a bit more difficult to blow up. My loaf usually isn’t sour, since I’m careful with how I treat my starter and how I manage my temperature during fermentation. Occasionally, though, it can have a slight tang (especially since I almost always proof in the refrigerator).
I always judge the end of bulk fermentation by the dough’s size increase. If the gluten (from the flour) is strong enough to trap air and the acids (from the starter) are well-balanced (read more here!), the rise is the best sign that the dough has built up enough gas (which is what creates that light, airy texture we want!).
Temperature
I prefer (and recommend) fermenting bread dough in the 70s F to help with acid balance; however, with a well-balanced starter you should be able to ferment in wide range of temperatures (upper-60s to low-80s) with great results. And, for this recipe, the actual fermenting temperature isn’t as important as it is in some other recipes, like this croissant country bread recipe.
However, I’ve found there’s a connection between temperature and the timing of your folds. Folds help build structure in fermenting dough, and since that structure is influenced by gas accumulation, the dough’s temperature plays a role in how much tension each fold creates and holds.
Warmer temperatures also encourage the production of lactic acid, which leads to a stretchier, more extensible dough that needs a bit more support. On the other hand, cooler temperatures promote more acetic acid, which strengthens the dough, meaning it naturally needs less support.
So, if your fermentation is happening at a cooler temperature than mine, you may need to space your folds a bit further apart. On the flip side, if your dough is fermenting in a warmer environment, you might need to place your folds a bit closer together. I ferment my dough at an ambient temperature of 73–75 F (23–24 C) for most of my artisan premix recipes, including this one.
Shaping
Some things about my shaping technique:
- When I only make one loaf of bread, I do not pre-shape (unless something went wrong during fermentation).
- Since I let the dough fill with air, which provides strength, I use a gentle shaping technique (demonstrated in a video on the recipe card).
If you are a pre-shaping advocate and want to chat about it, I’d love to have that conversation with you. But from my experience, it’s just not necessary for this recipe. I really only pre-shape if something went wrong during fermentation or if I’m dividing the dough and need each piece to be easier to shape later. Since this dough is already full of air—thanks to strong gluten and a full fermentation—it doesn’t need the extra tension or development that pre-shaping would add.
The same goes for final shaping. With this method, we don’t need to add a lot of tension because the dough already has a strong gluten network and plenty of gas built up during fermentation. That internal strength helps the loaf stand tall without needing to be forced into shape. A simple, gentle rolling technique (which I show in this video) creates just enough tension to help the loaf hold its form.
Cold Proof
I love to cold proof my artisan dough for the simple fact that it extends the baking timeline and helps make the process more leisurely. I do the same with this recipe, even though I risk making my bread a bit more sour (thanks to the whole grains).
A cold proof allows me to be around during bulk fermentation to fold the dough and watch for the right size increase, then shape it and pop it into the fridge at the end of the day. It not only builds flavor overnight (sometimes a little too much flavor, but we compromise), but also creates just enough condensation on the loaf so I don’t even have to add extra water or steam to my Dutch oven during baking. It’s a win-win, and easily my favorite method for this kind of bread.
Scoring
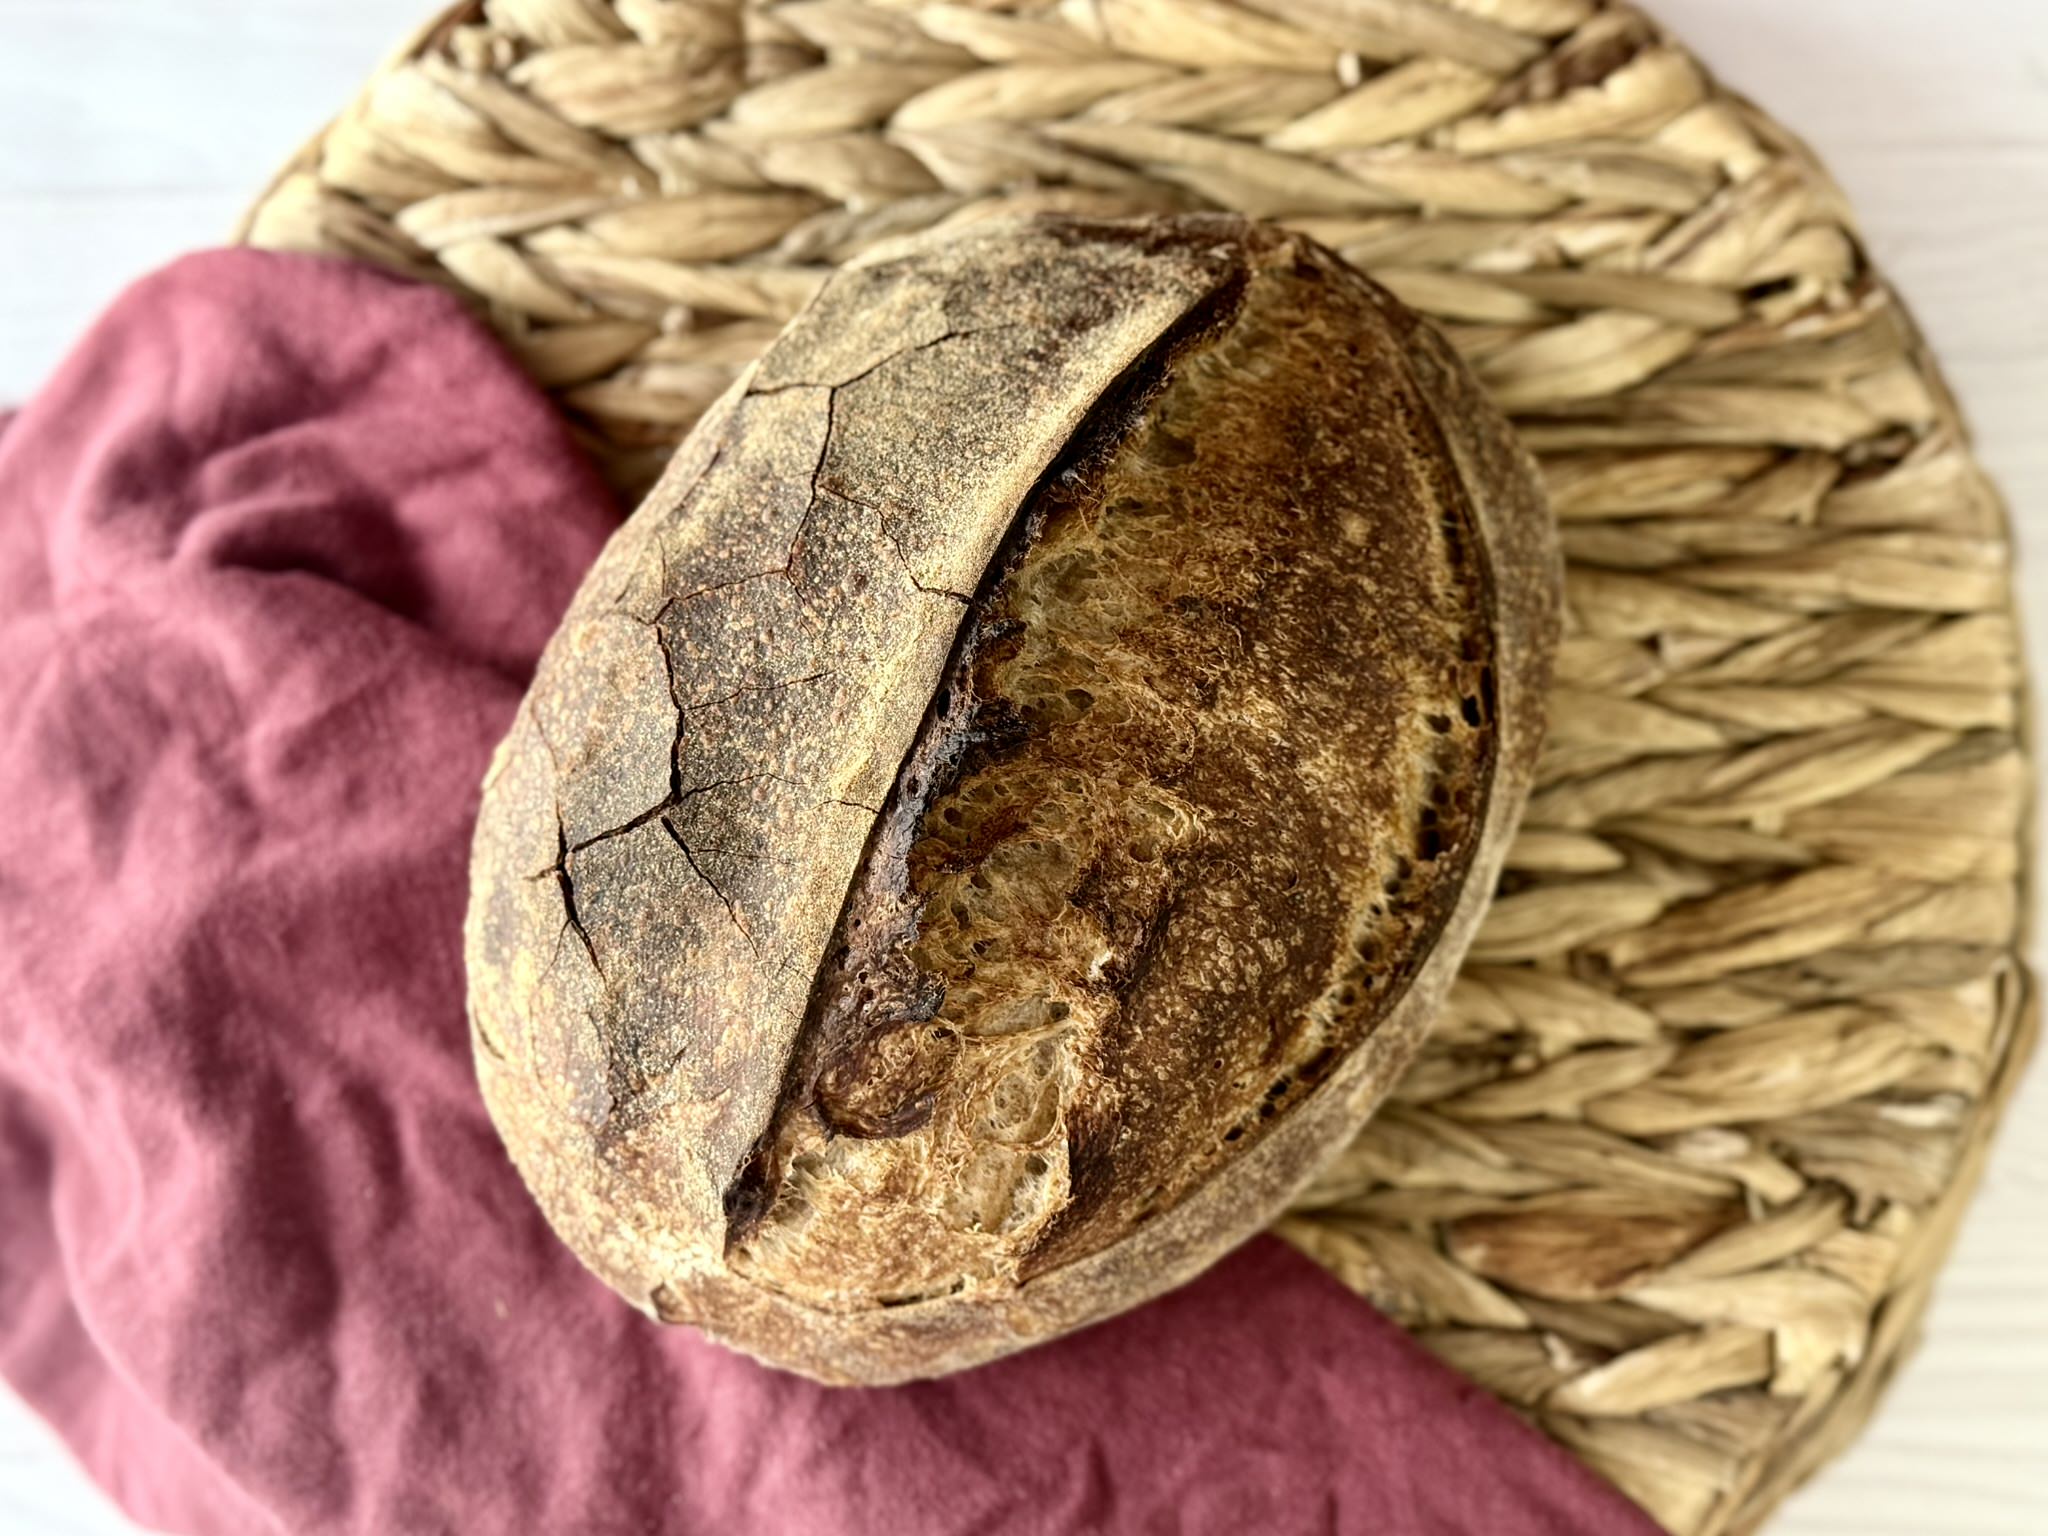
When it comes to scoring, I like to keep it super simple. Usually, I just do one clean slash, about 1/4 to 1/2 inch deep, that’s it! But honestly, you can score this loaf however your heart desires. The only thing you’ll have to be aware of is that this loaf has a tendency to crack just a little. While we take certain steps in this recipe to keep the gluten strong, they aren’t perfect. For this reason, intricate decorative scoring may not be the best choice here.
The main goal of scoring is to release tension at a specific spot, so the loaf expands exactly where you want it to, instead of cracking or blowing out randomly. If the dough is well-fermented with the right balance of stretchiness (extensibility) and strength (elasticity), you don’t even have to score it!
Using a sharp razor will give you the cleanest score, which can help with both expansion and looks. But if all you have is a pair of scissors, go for it! And if you’re worried that scoring will drag and deflate your dough, it’s totally fine to skip it altogether and let the loaf open up naturally.
Baking Method
Normally, I like to bake my loaves around 500 F (260 C). But with my new, smaller oven, things bake much more efficiently, so I’ve started lowering the temperature to 450 F (230 C) to keep them from burning.
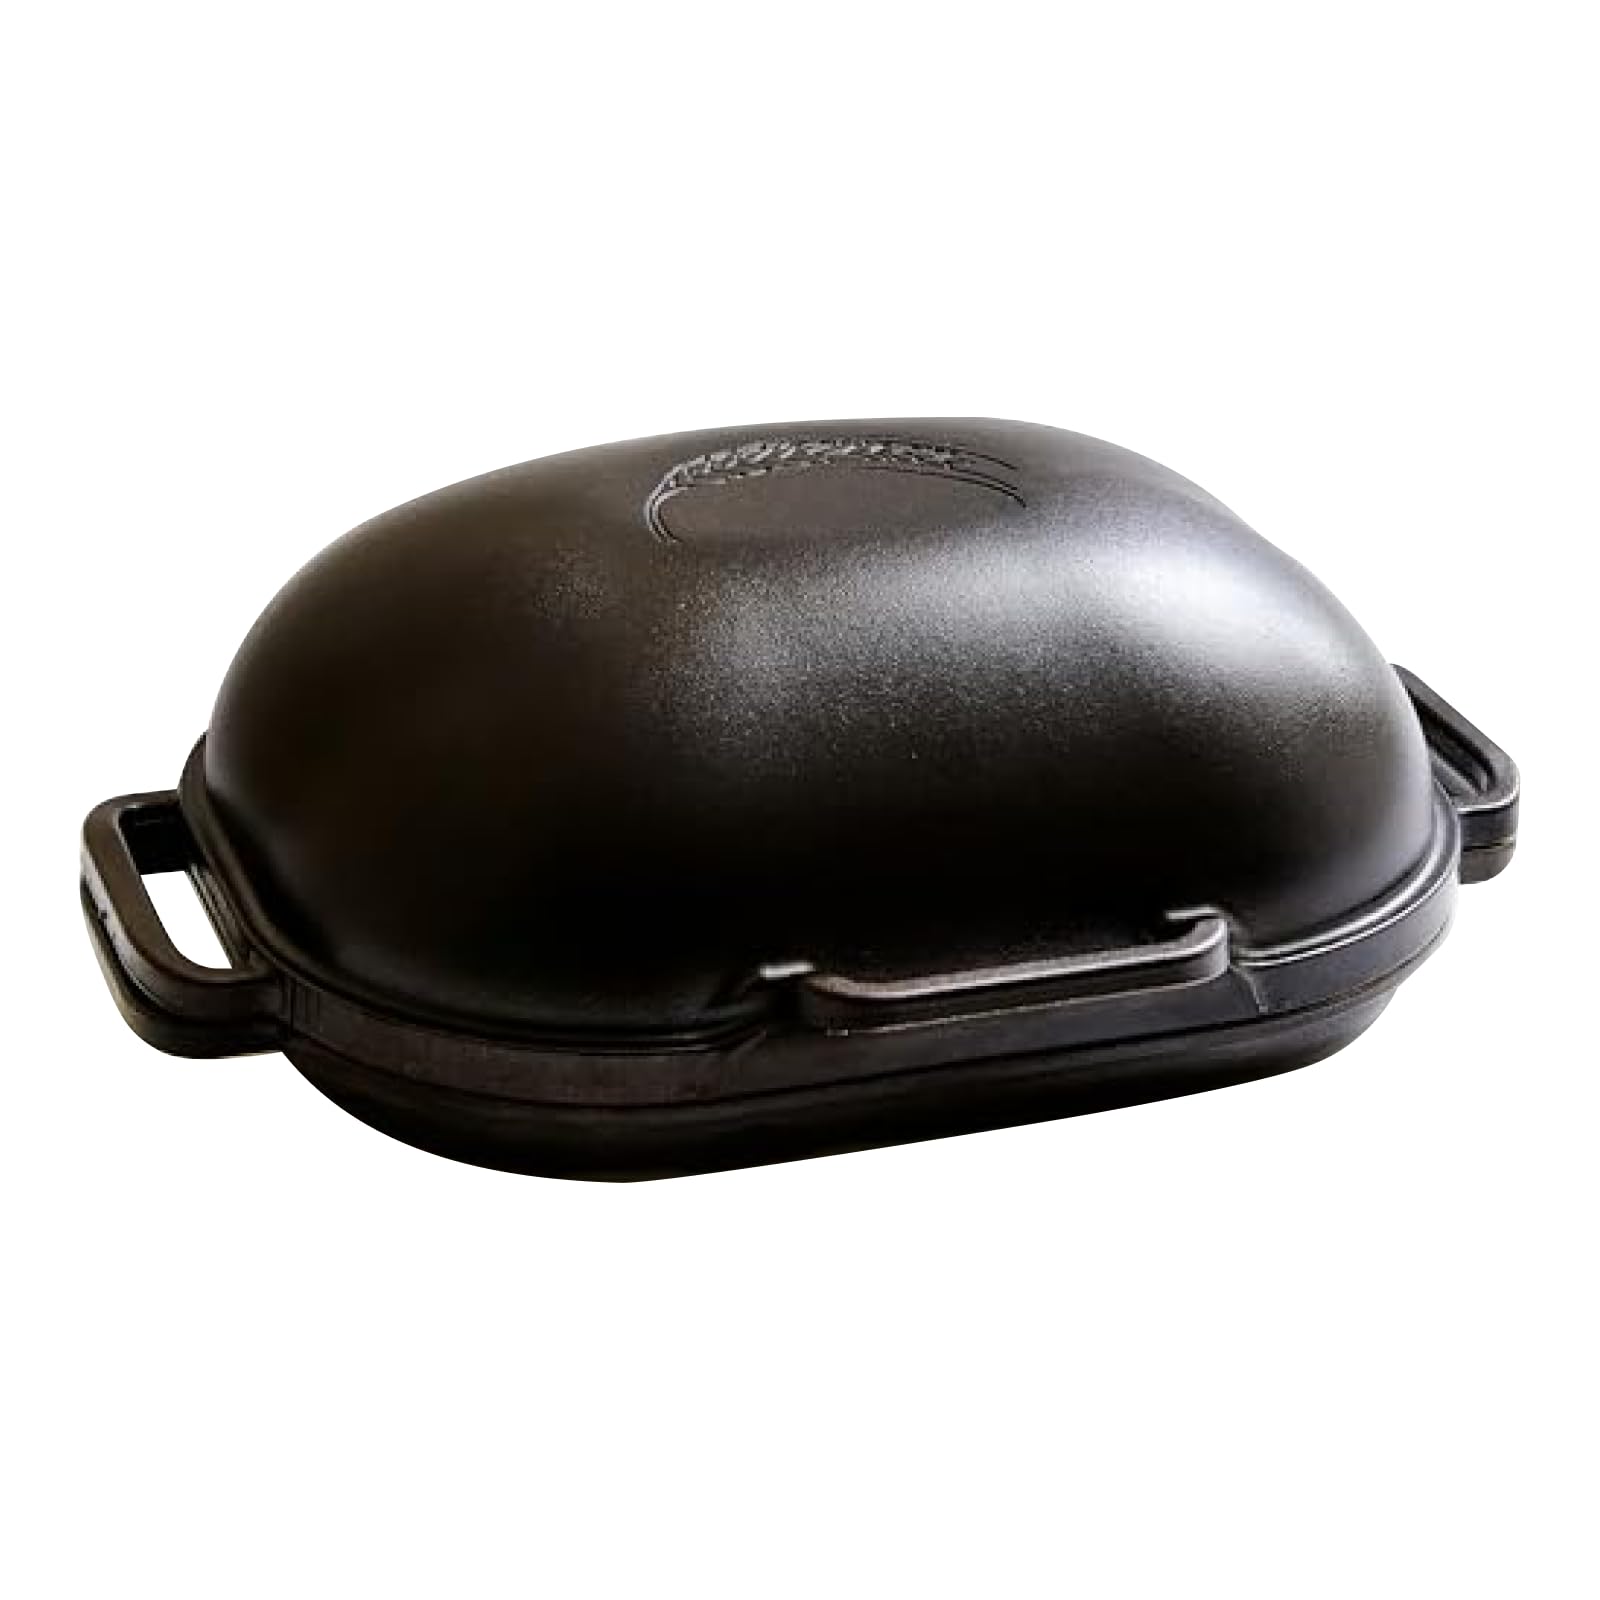
I always love using the Dutch oven method for steaming bread. The enclosed environment traps the moisture evaporating from the dough and circulates it, helping the loaf expand beautifully. Then, once the loaf has finished expanding, I remove the lid so the crust can set and turn perfectly crisp and golden.
If you don’t have a Dutch oven, no worries! You can bake the loaf uncovered. Just toss some boiling water or a few ice cubes into a hot pan in the oven during the first part of the bake. This will create the steam you need to help the loaf rise before the crust sets.
Suggested Timeline
DAY 1
8:00 a.m.
- Premix all ingredients except the sourdough starter.
11:00 a.m.
- Fold in the starter.
11:30 a.m.
- Laminate.
12:30 p.m.
- Coil fold the dough.
2:30 p.m.
- Coil fold the dough.
6:30 p.m.
- Shape and refrigerate.
DAY 2
8:00 a.m.
- Preheat the oven.
9:00 a.m.
- Bake and enjoy!
📌 Quick Tip: Read the recipe in its entirety before you start cooking. This will help you understand the ingredients, steps, and timing involved, and allow you to prepare any necessary equipment or ingredients beforehand.


Whole Grain Spelt-Strong Country Bread
Ingredients
Instructions
-
Premix
In a 2-qt mixing bowl, combine the whole spelt flour, whole wheat flour, bread flour, vital wheat gluten, salt, and water. Rest 2-4 hours (73-75 F; 22-23 C) before incorporating the starter.
-
Add Starter
When both the starter and the dough are ready, smear the starter on top of the premixed dough, then perform as many coil folds as possible to incorporate the starter through layering without tearing the gluten network. Cover and rest for 30 minutes (ambient temp 73-75 F; 22-23 C).
STOP folding the dough as soon as you notice it beginning to tear. Even better if you can fold the starter in completely without the dough tearing at all.
-
Laminate
After 30-45 minutes, laminate the dough. This step further incorporates the starter and strengthens the dough.
To laminate: Lightly spray your work surface with water. Turn the dough out onto the surface and gently stretch it into a rectangle, being careful not to tear it. Fold the dough into thirds, like a letter, then roll it up from bottom to top.
Transfer the dough to a proofing container (I switch to an 11-cup Pyrex container at this stage), cover, and let it rest for another hour (ambient temp 73-75 F; 22-23 C).
-
Coil Fold #1
After one hour, give the dough one set of coil folds to add structure and tension-strength to the dough. Rest another two hours (ambient temp 73-75 F; 22-23 C).
-
Coil Fold #2
After two hours, give the dough one more set of coil folds. Cover and rest until the dough has doubled in volume, or filled an 11-cup Pyrex container 2/3 of the way to the top, about four more hours (ambient temp 73-75 F; 22-23 C).
At 73-75 F (22-23 C), bulk fermentation should take approximately 7.5 hours in total (from the time the starter is added to the time the dough is shaped).
-
Shape & Refrigerate
Turn the dough out onto a lightly floured counter. Shape the dough using a gentle shaping method.
To do this, fold the left and right sides of the dough into the middle, like a letter, then gently roll the dough up and pinch the edges closed.
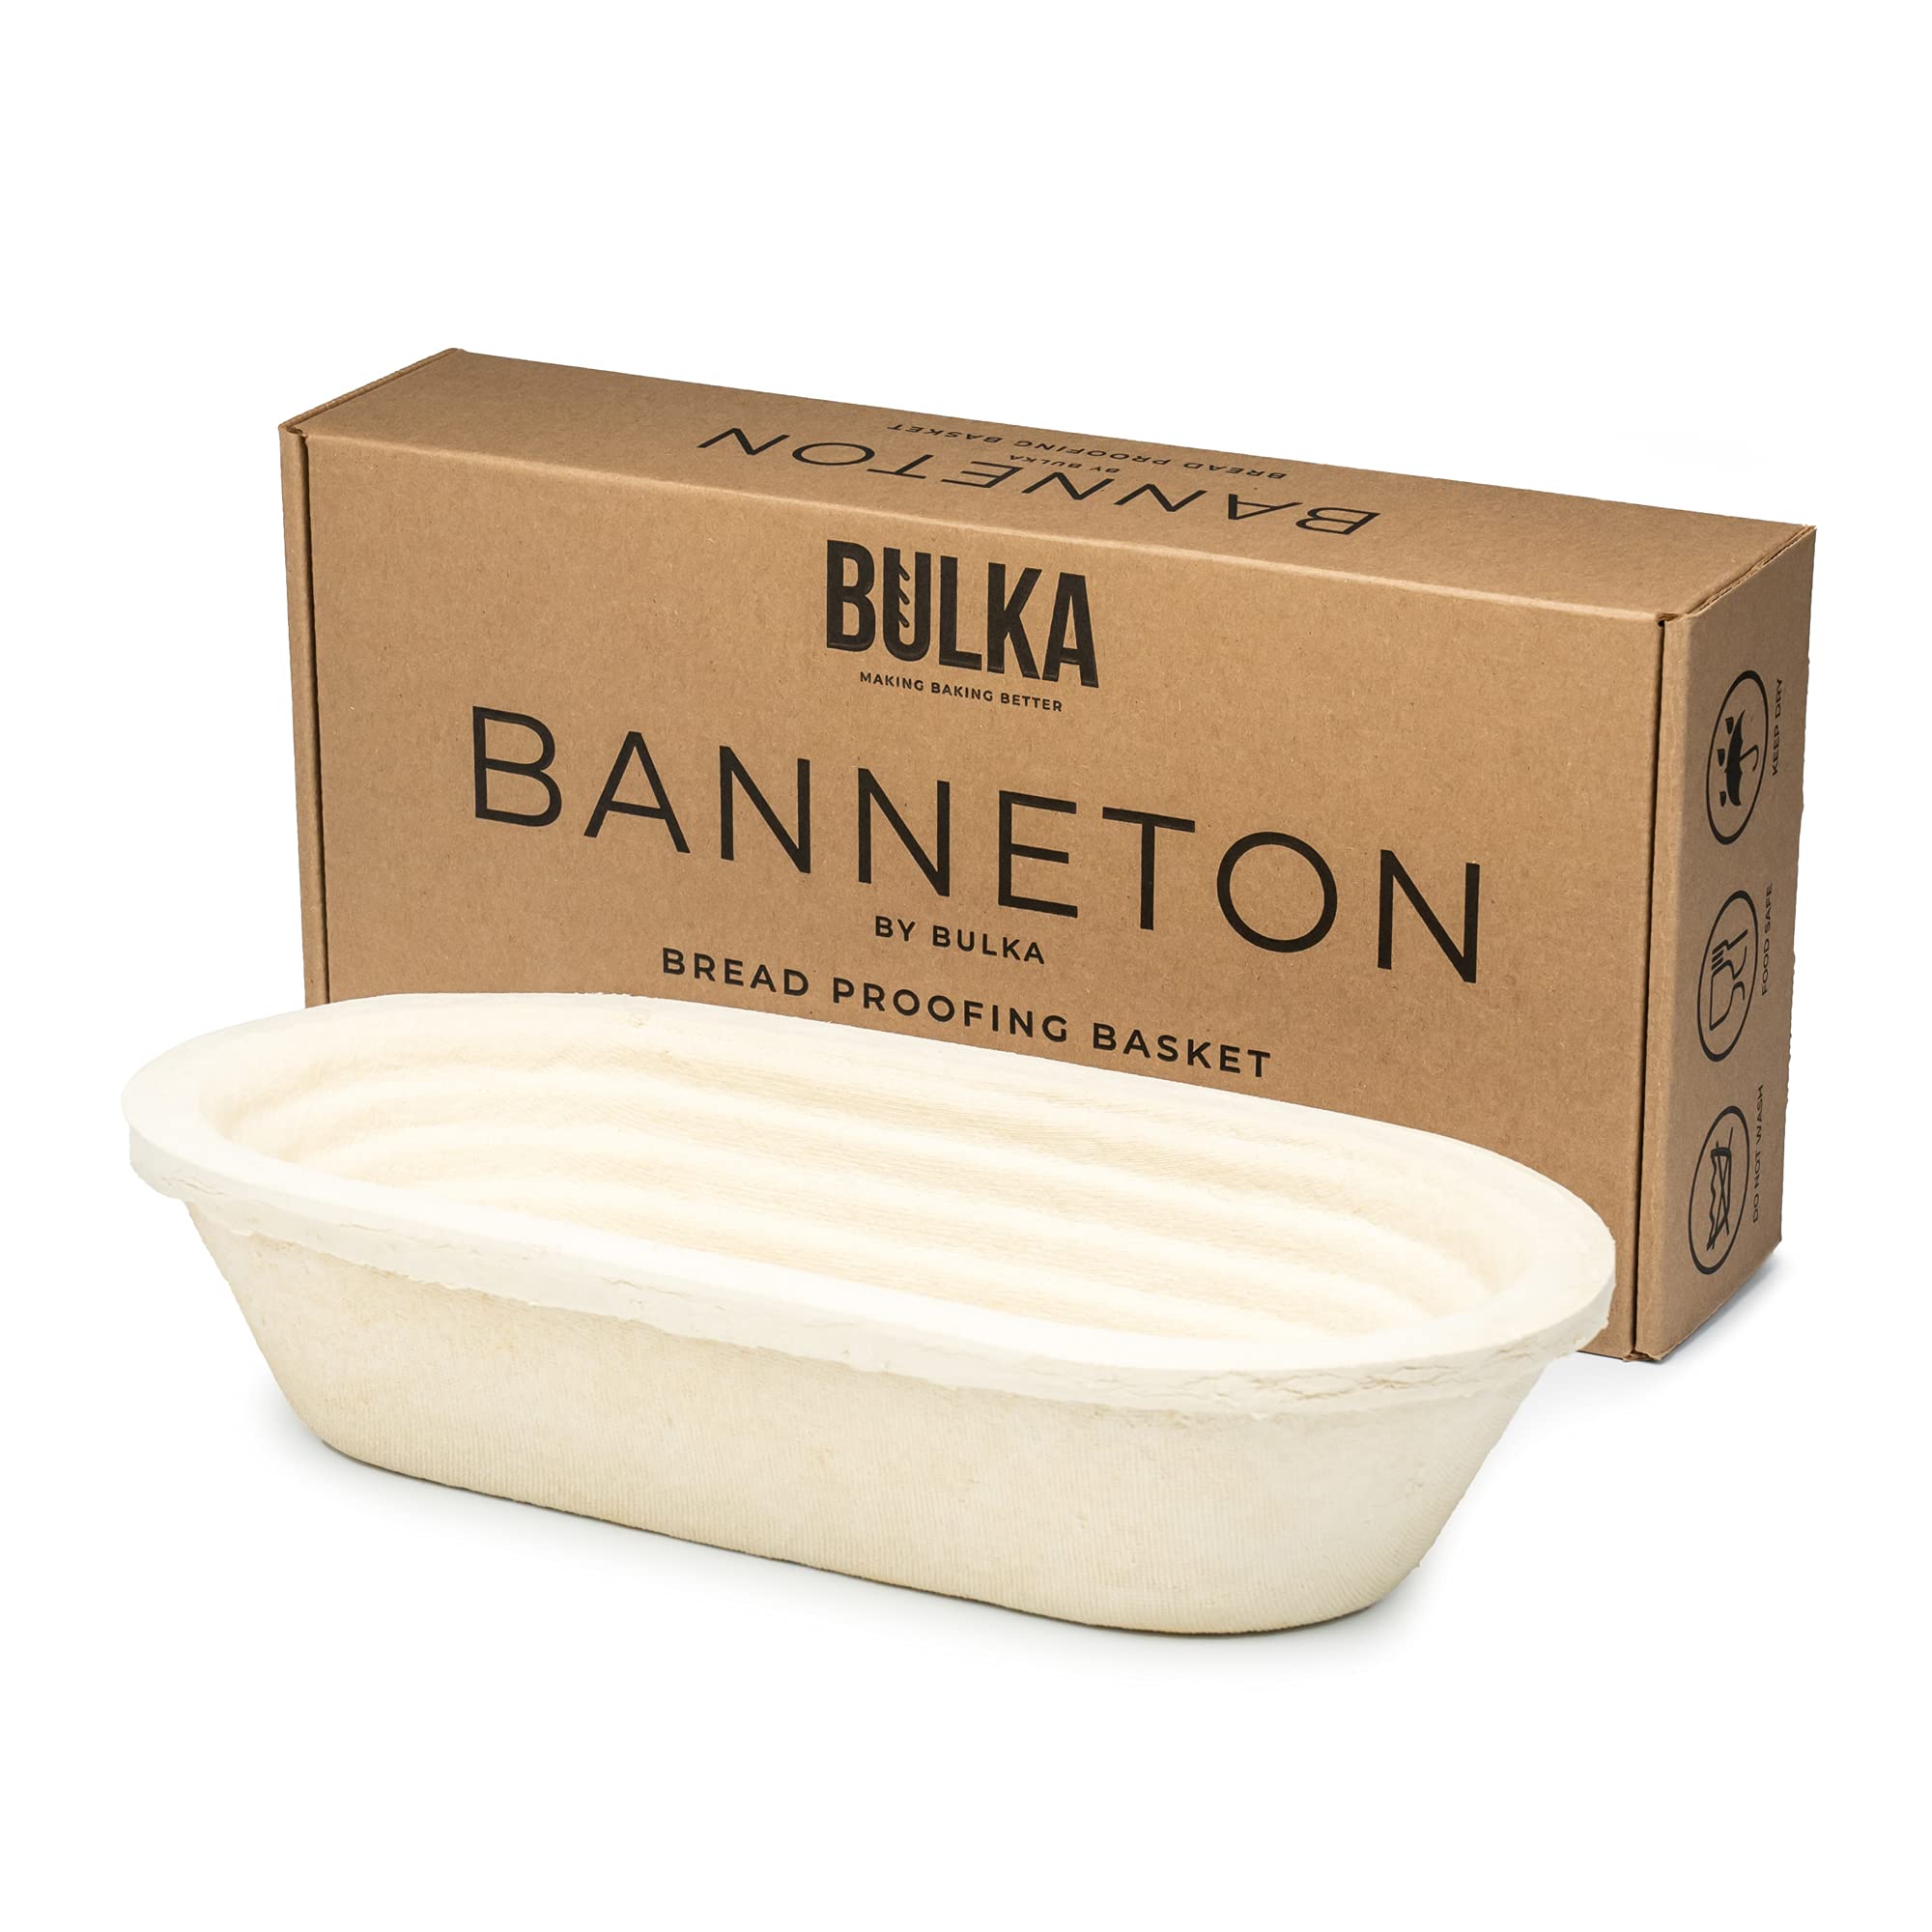
Dust the top with rice flour, then gently place the dough upside-down into a 500 g banneton (I use this wood-pulp banneton from Bulka). Pinch the seam closed and pop any air bubbles. Cover and refrigerate overnight at 38-40 F (3-4 C).
-
Preheat Oven
The next morning, preheat an oven to 450 F (230 C), with a cast iron Dutch oven inside, for one hour before baking the bread.
-
Score
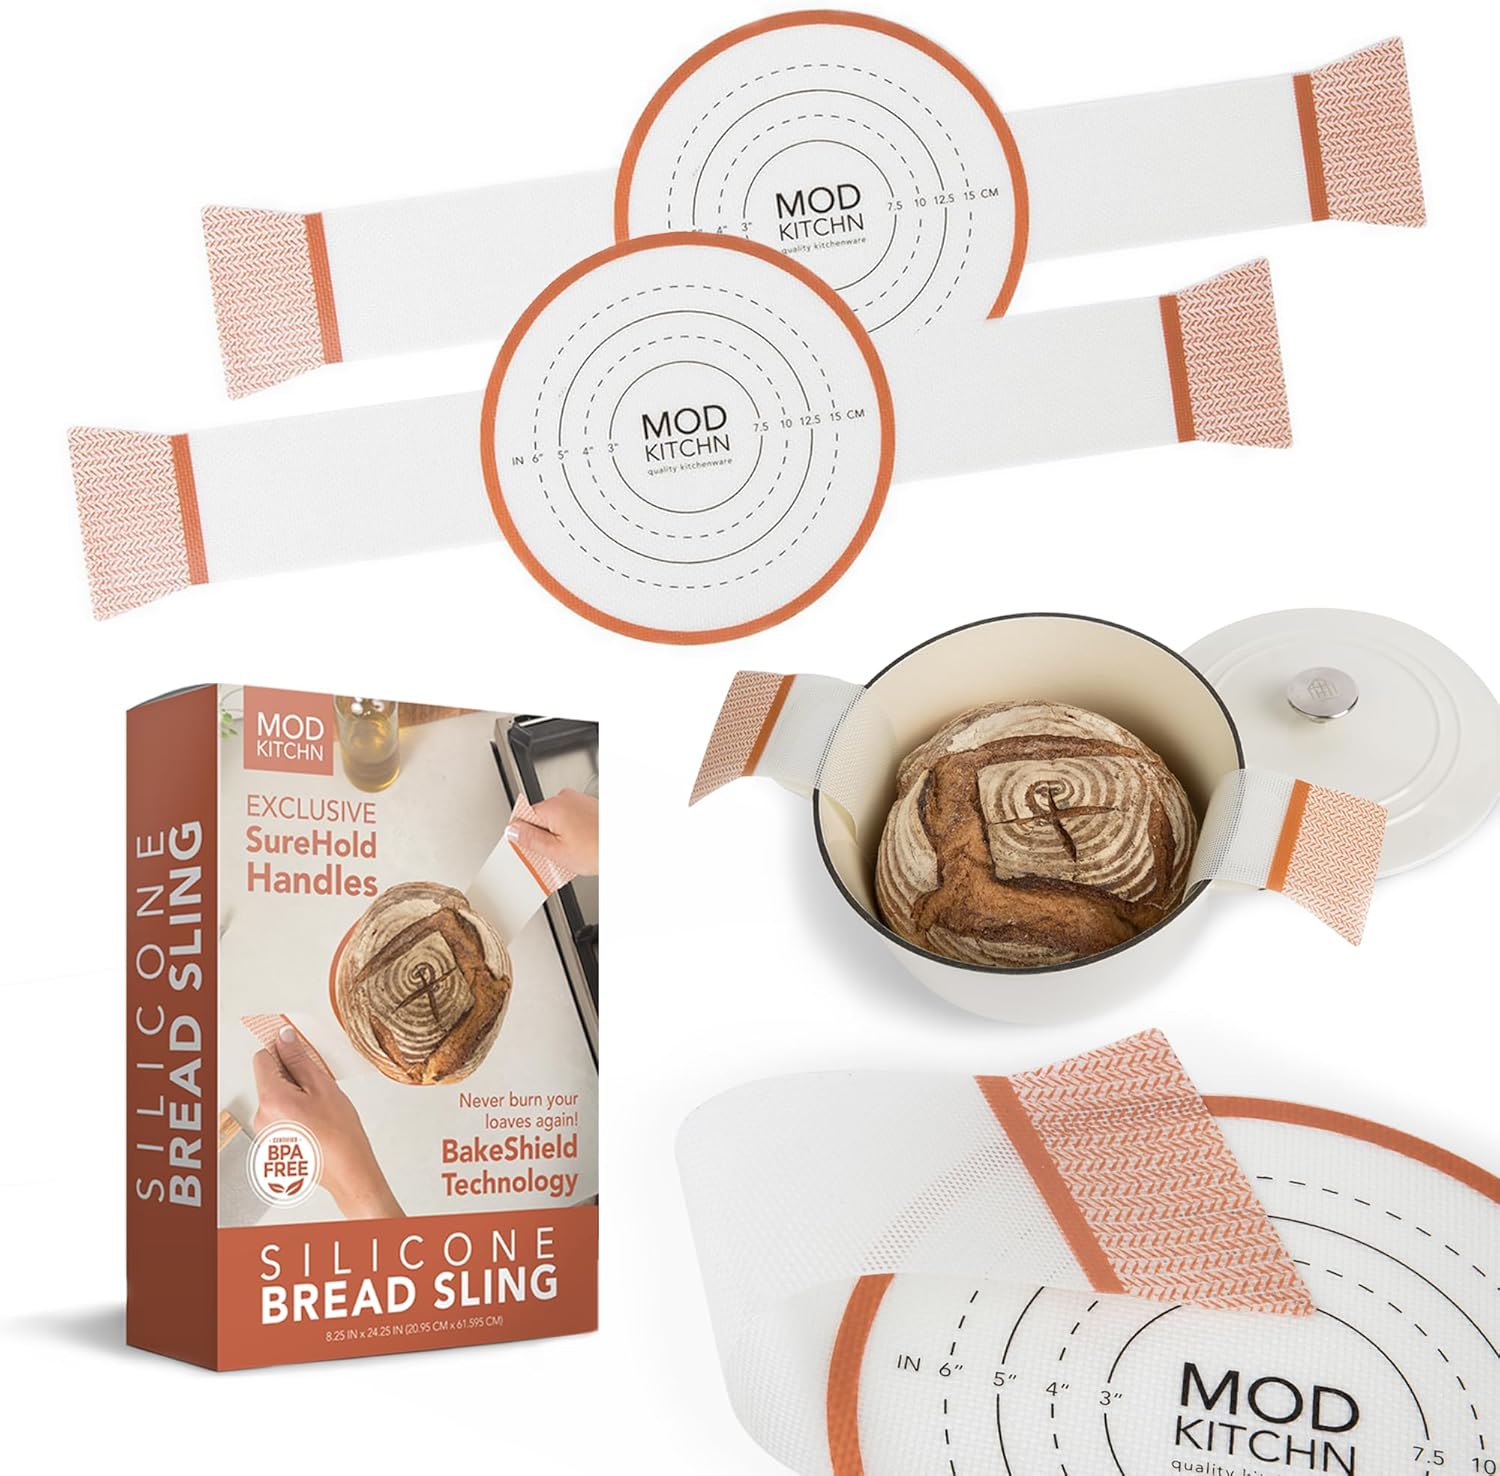
After the oven is preheated, turn the dough out onto a silicone sling or parchment paper and score 1/4 to 1/2 inch deep. Optionally, spray lightly with water. Transfer to the Dutch oven and cover.
-
Bake
Bake the bread with the lid on for 20 minutes, then remove the lid and bake for 15-20 minutes more, until browned to your liking. The internal temperature should register at least 200 F (93 C).
-
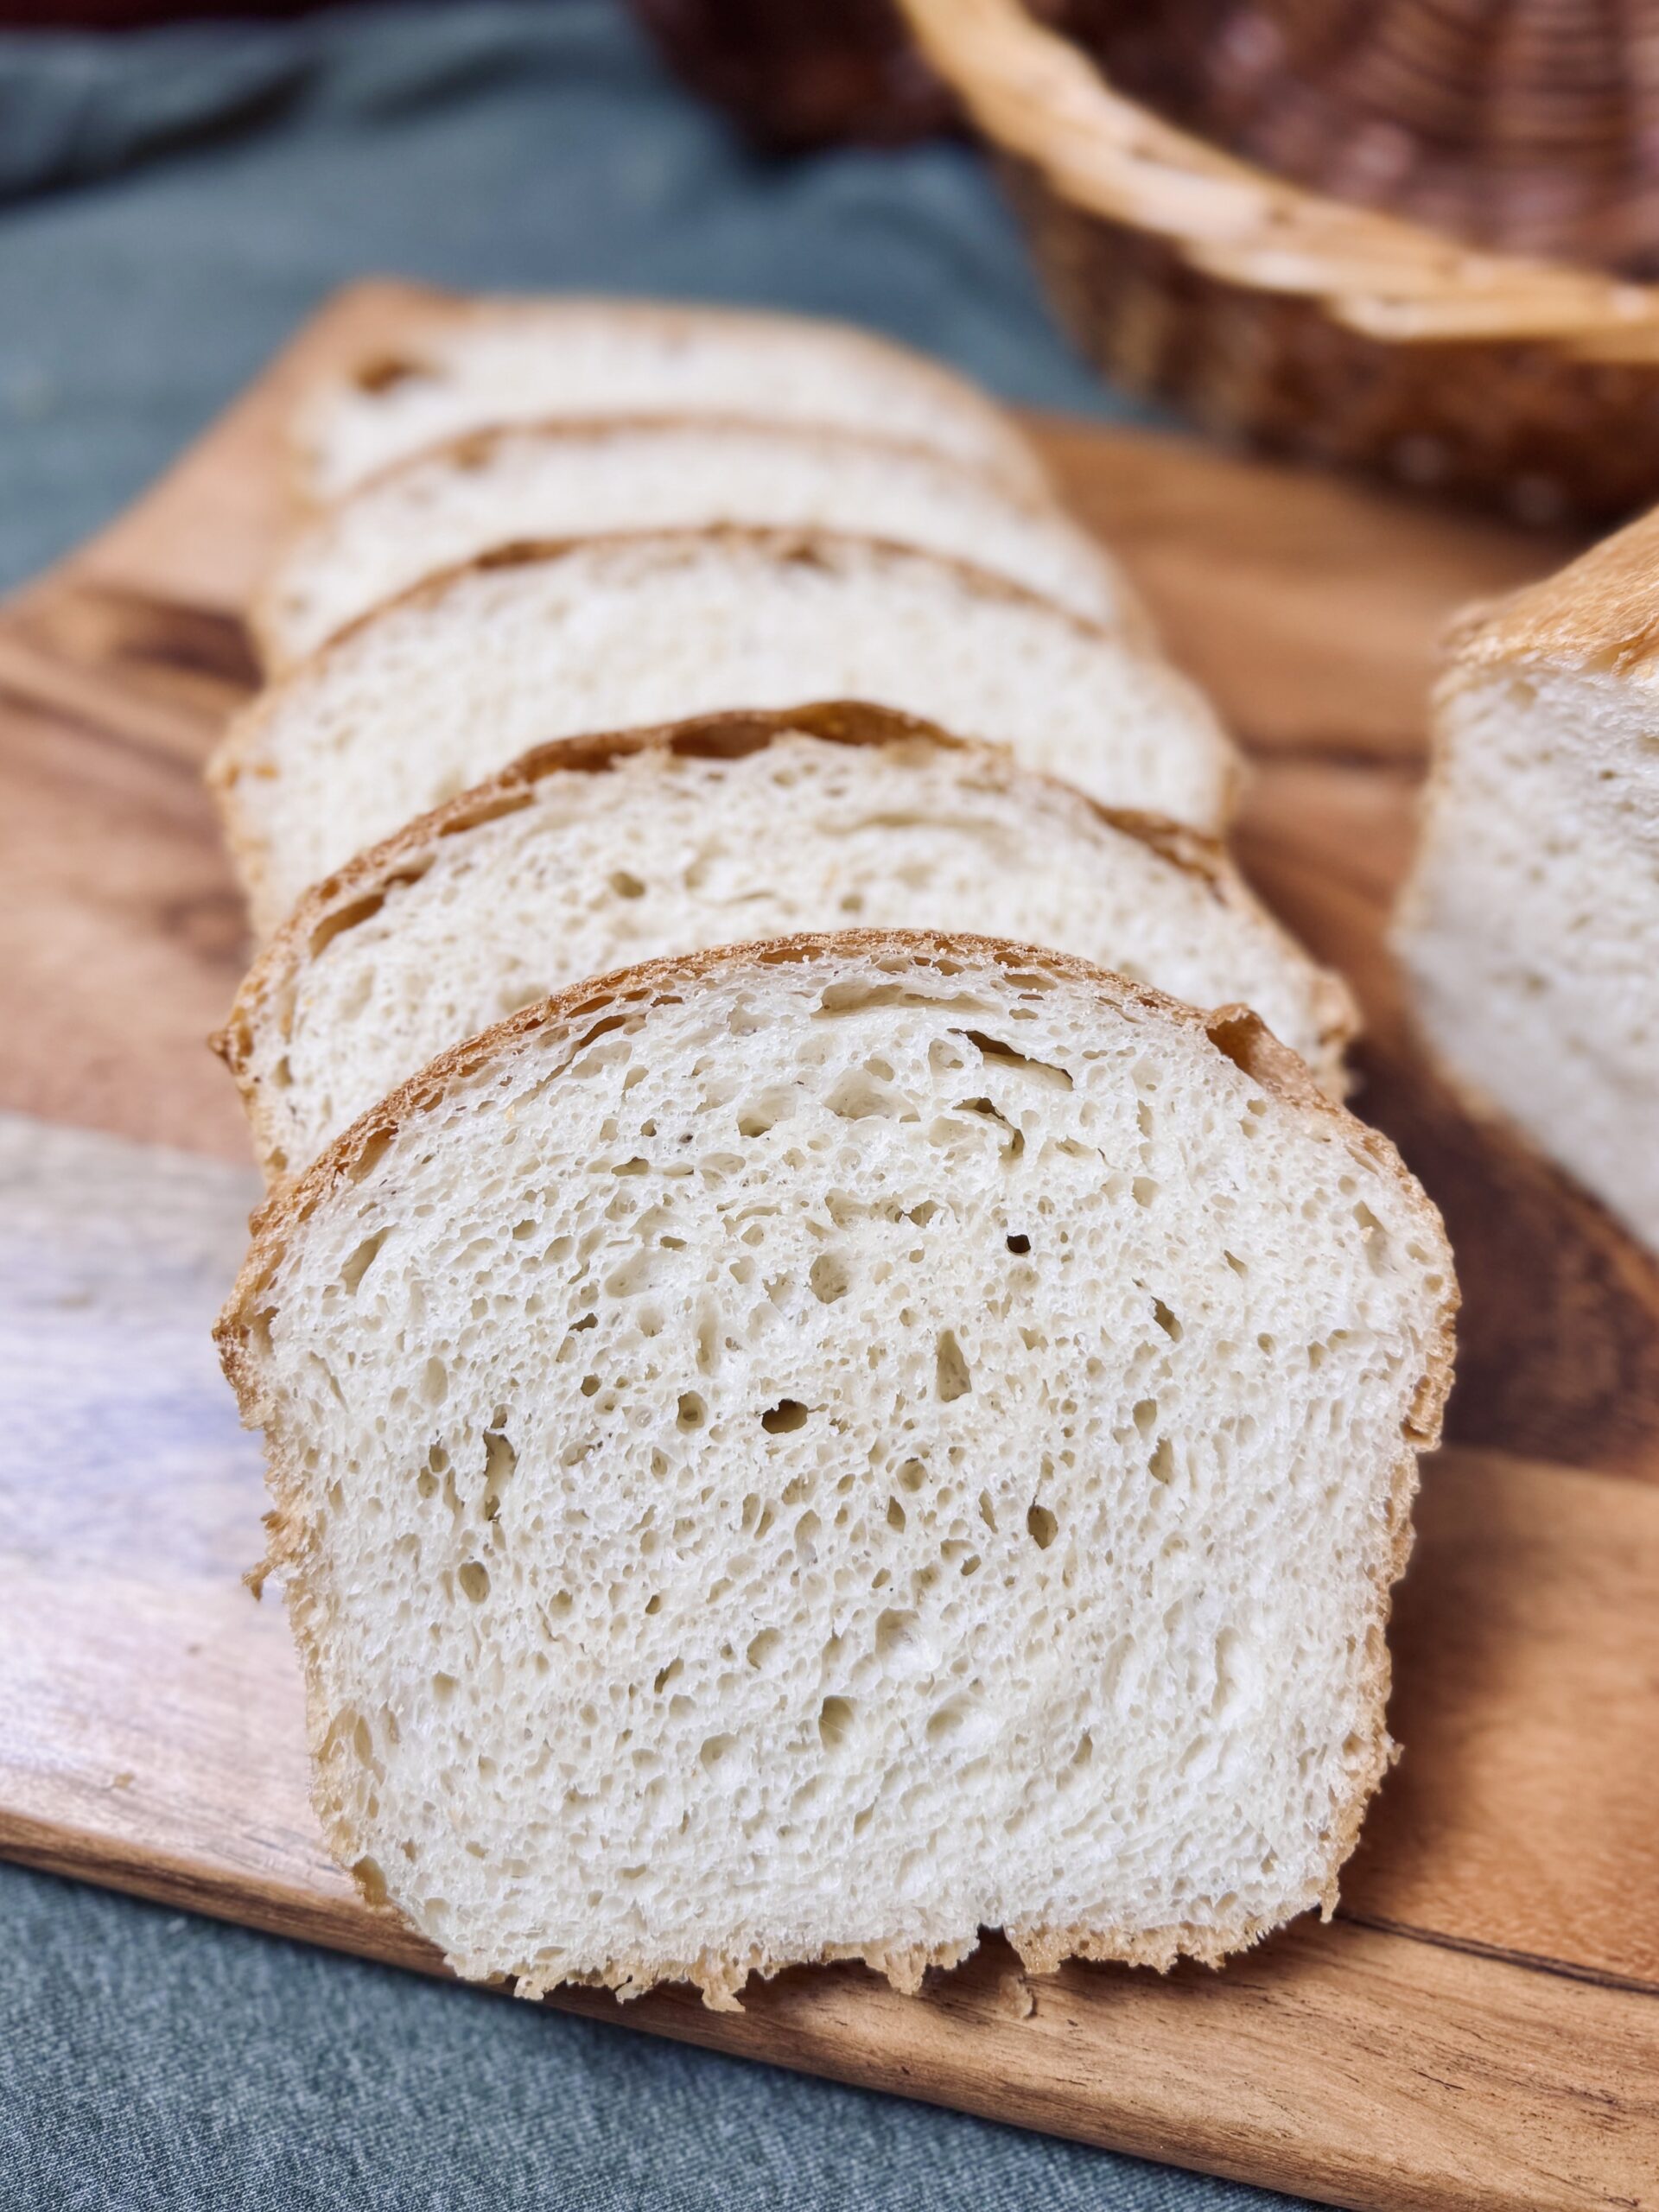
Cool, Slice, Enjoy!
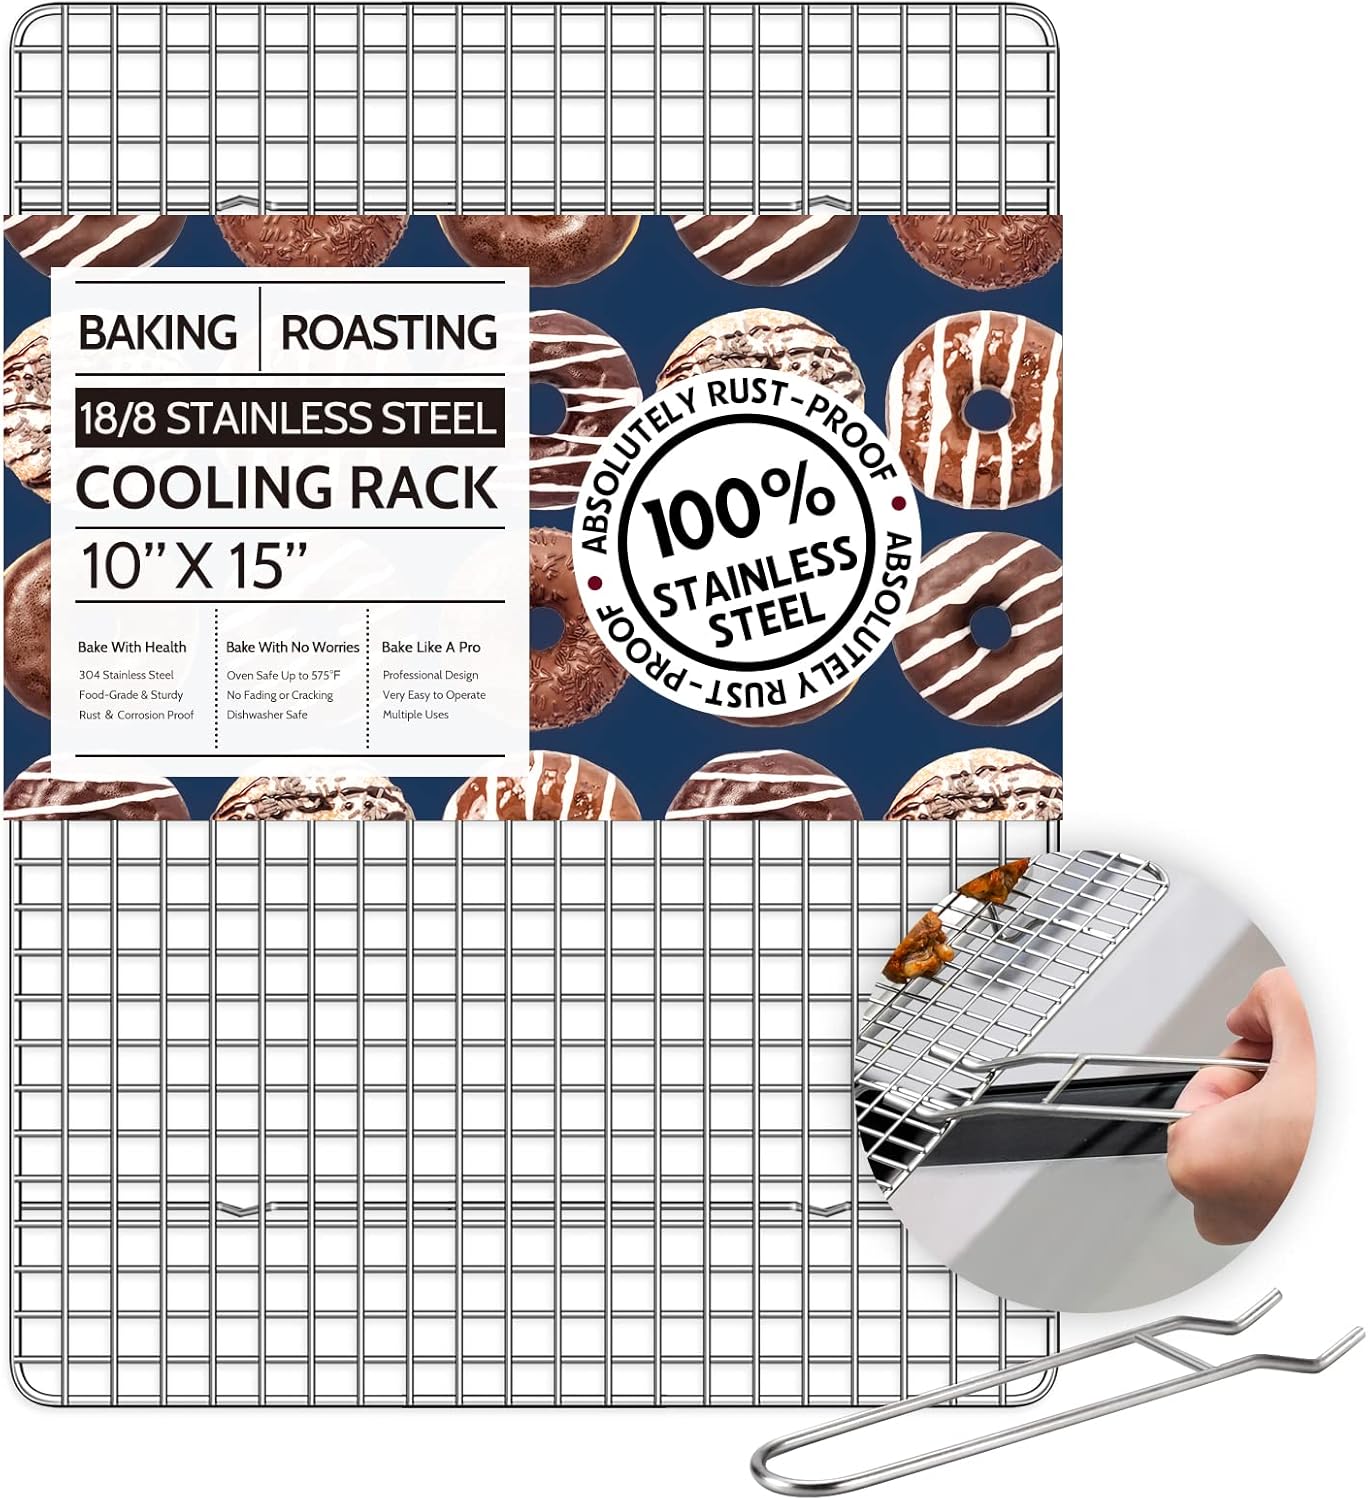
Cool the loaf for no less than 30 minutes before slicing. Enjoy!

You might need...


Affiliate Disclosure: This post contains Amazon affiliate links. This means when you buy a product using one of my links, I may receive a small commission at no cost to you. Thank you, in advance, for supporting my work.
Nutrition Facts
Servings 12
- Amount Per Serving
- Calories 119.09kcal
- % Daily Value *
- Total Fat 0.74g2%
- Saturated Fat 0.12g1%
- Sodium 138.36mg6%
- Potassium 77.61mg3%
- Total Carbohydrate 23.93g8%
- Dietary Fiber 2.04g9%
- Sugars 1.12g
- Protein 4.71g10%
- Calcium 10.62 mg
- Iron 1.51 mg
- Vitamin E 0.18 mg
- Vitamin K 0.56 mcg
- Thiamin 0.21 mg
- Riboflavin 0.11 mg
- Niacin 2.32 mg
- Vitamin B6 0.05 mg
- Folate 14.61 mcg
- Phosphorus 78.33 mg
- Magnesium 25.7 mg
- Zinc 0.64 mg
* Nutrition values are auto-calculated and should be used as an approximation only.

Notes
- Storage: Store in a Ziploc or bread bag on the counter for three to five days, or slice and store in the freezer. Toast to warm.


