About This Recipe
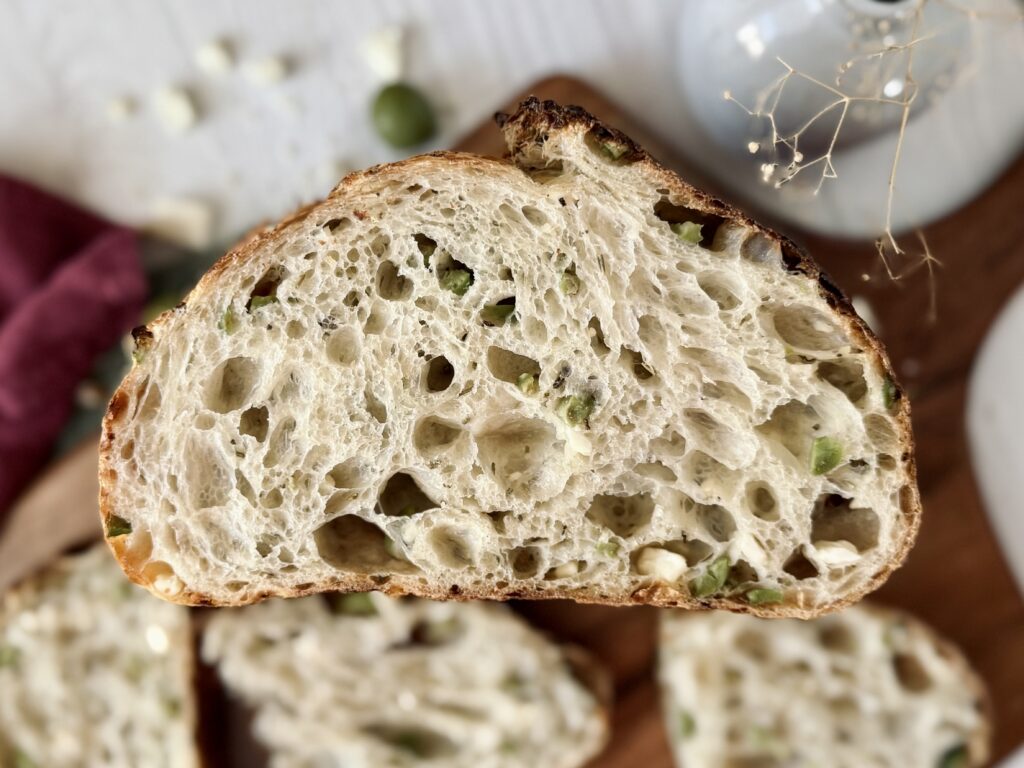
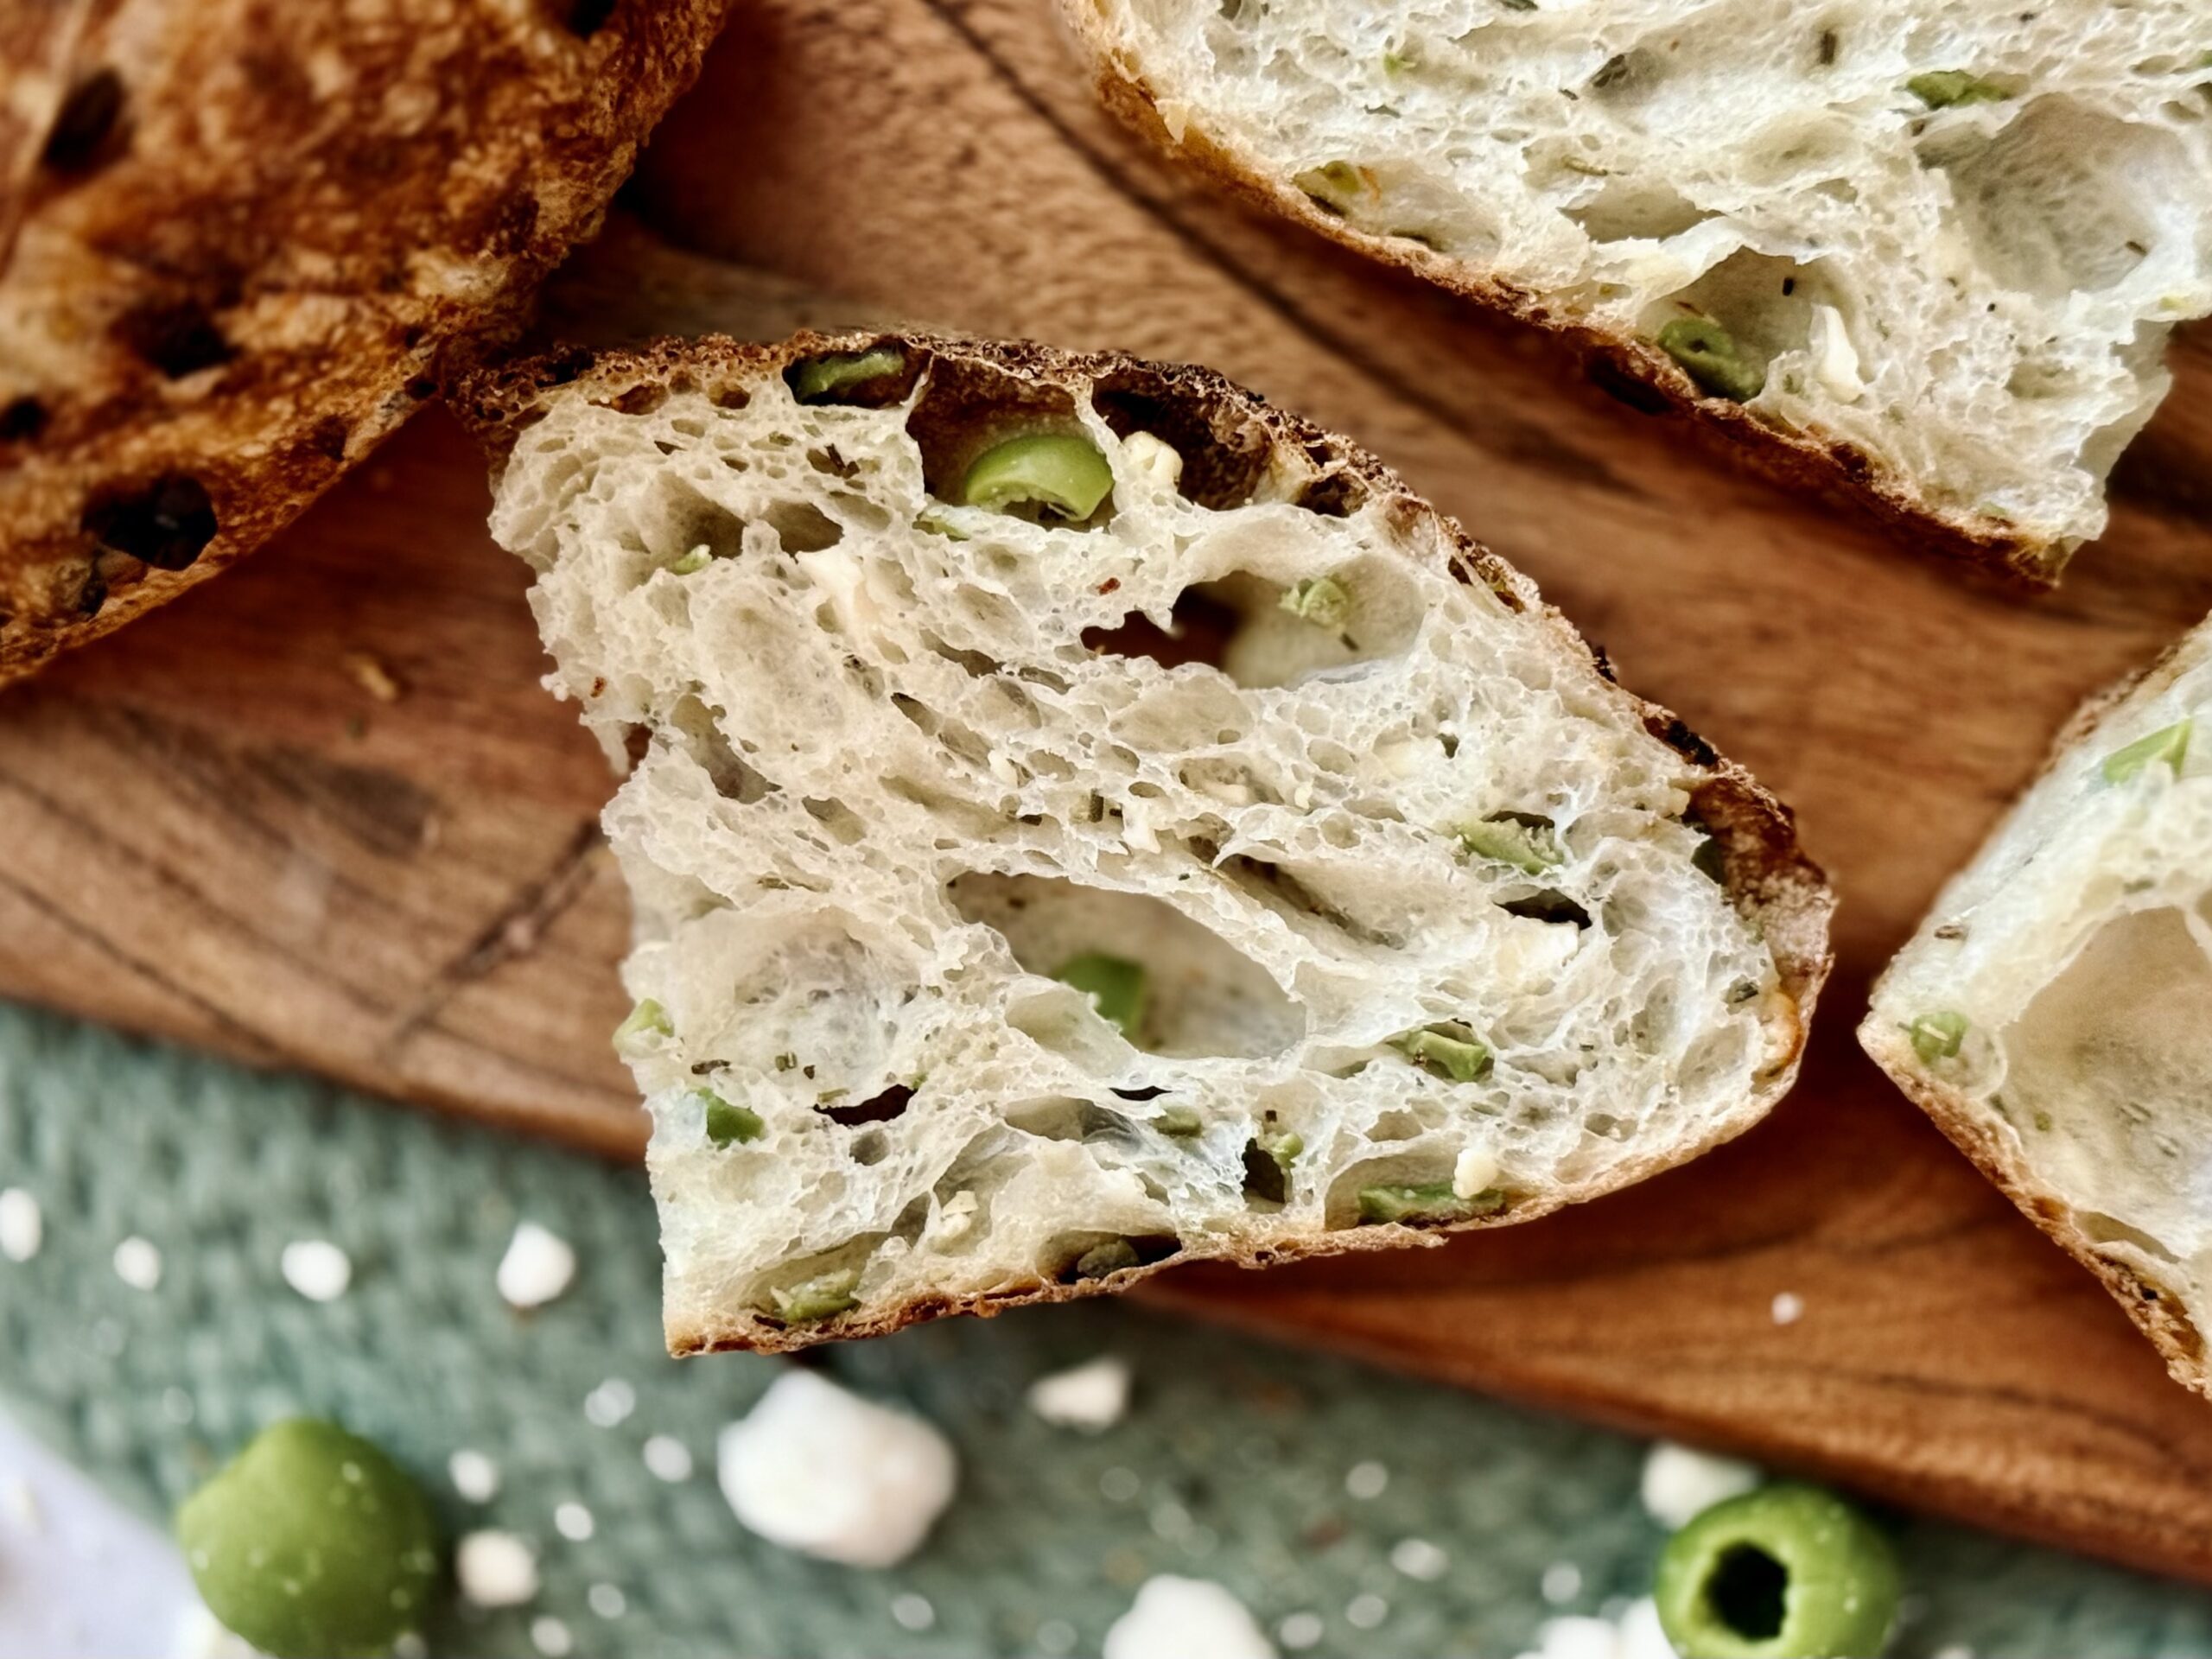
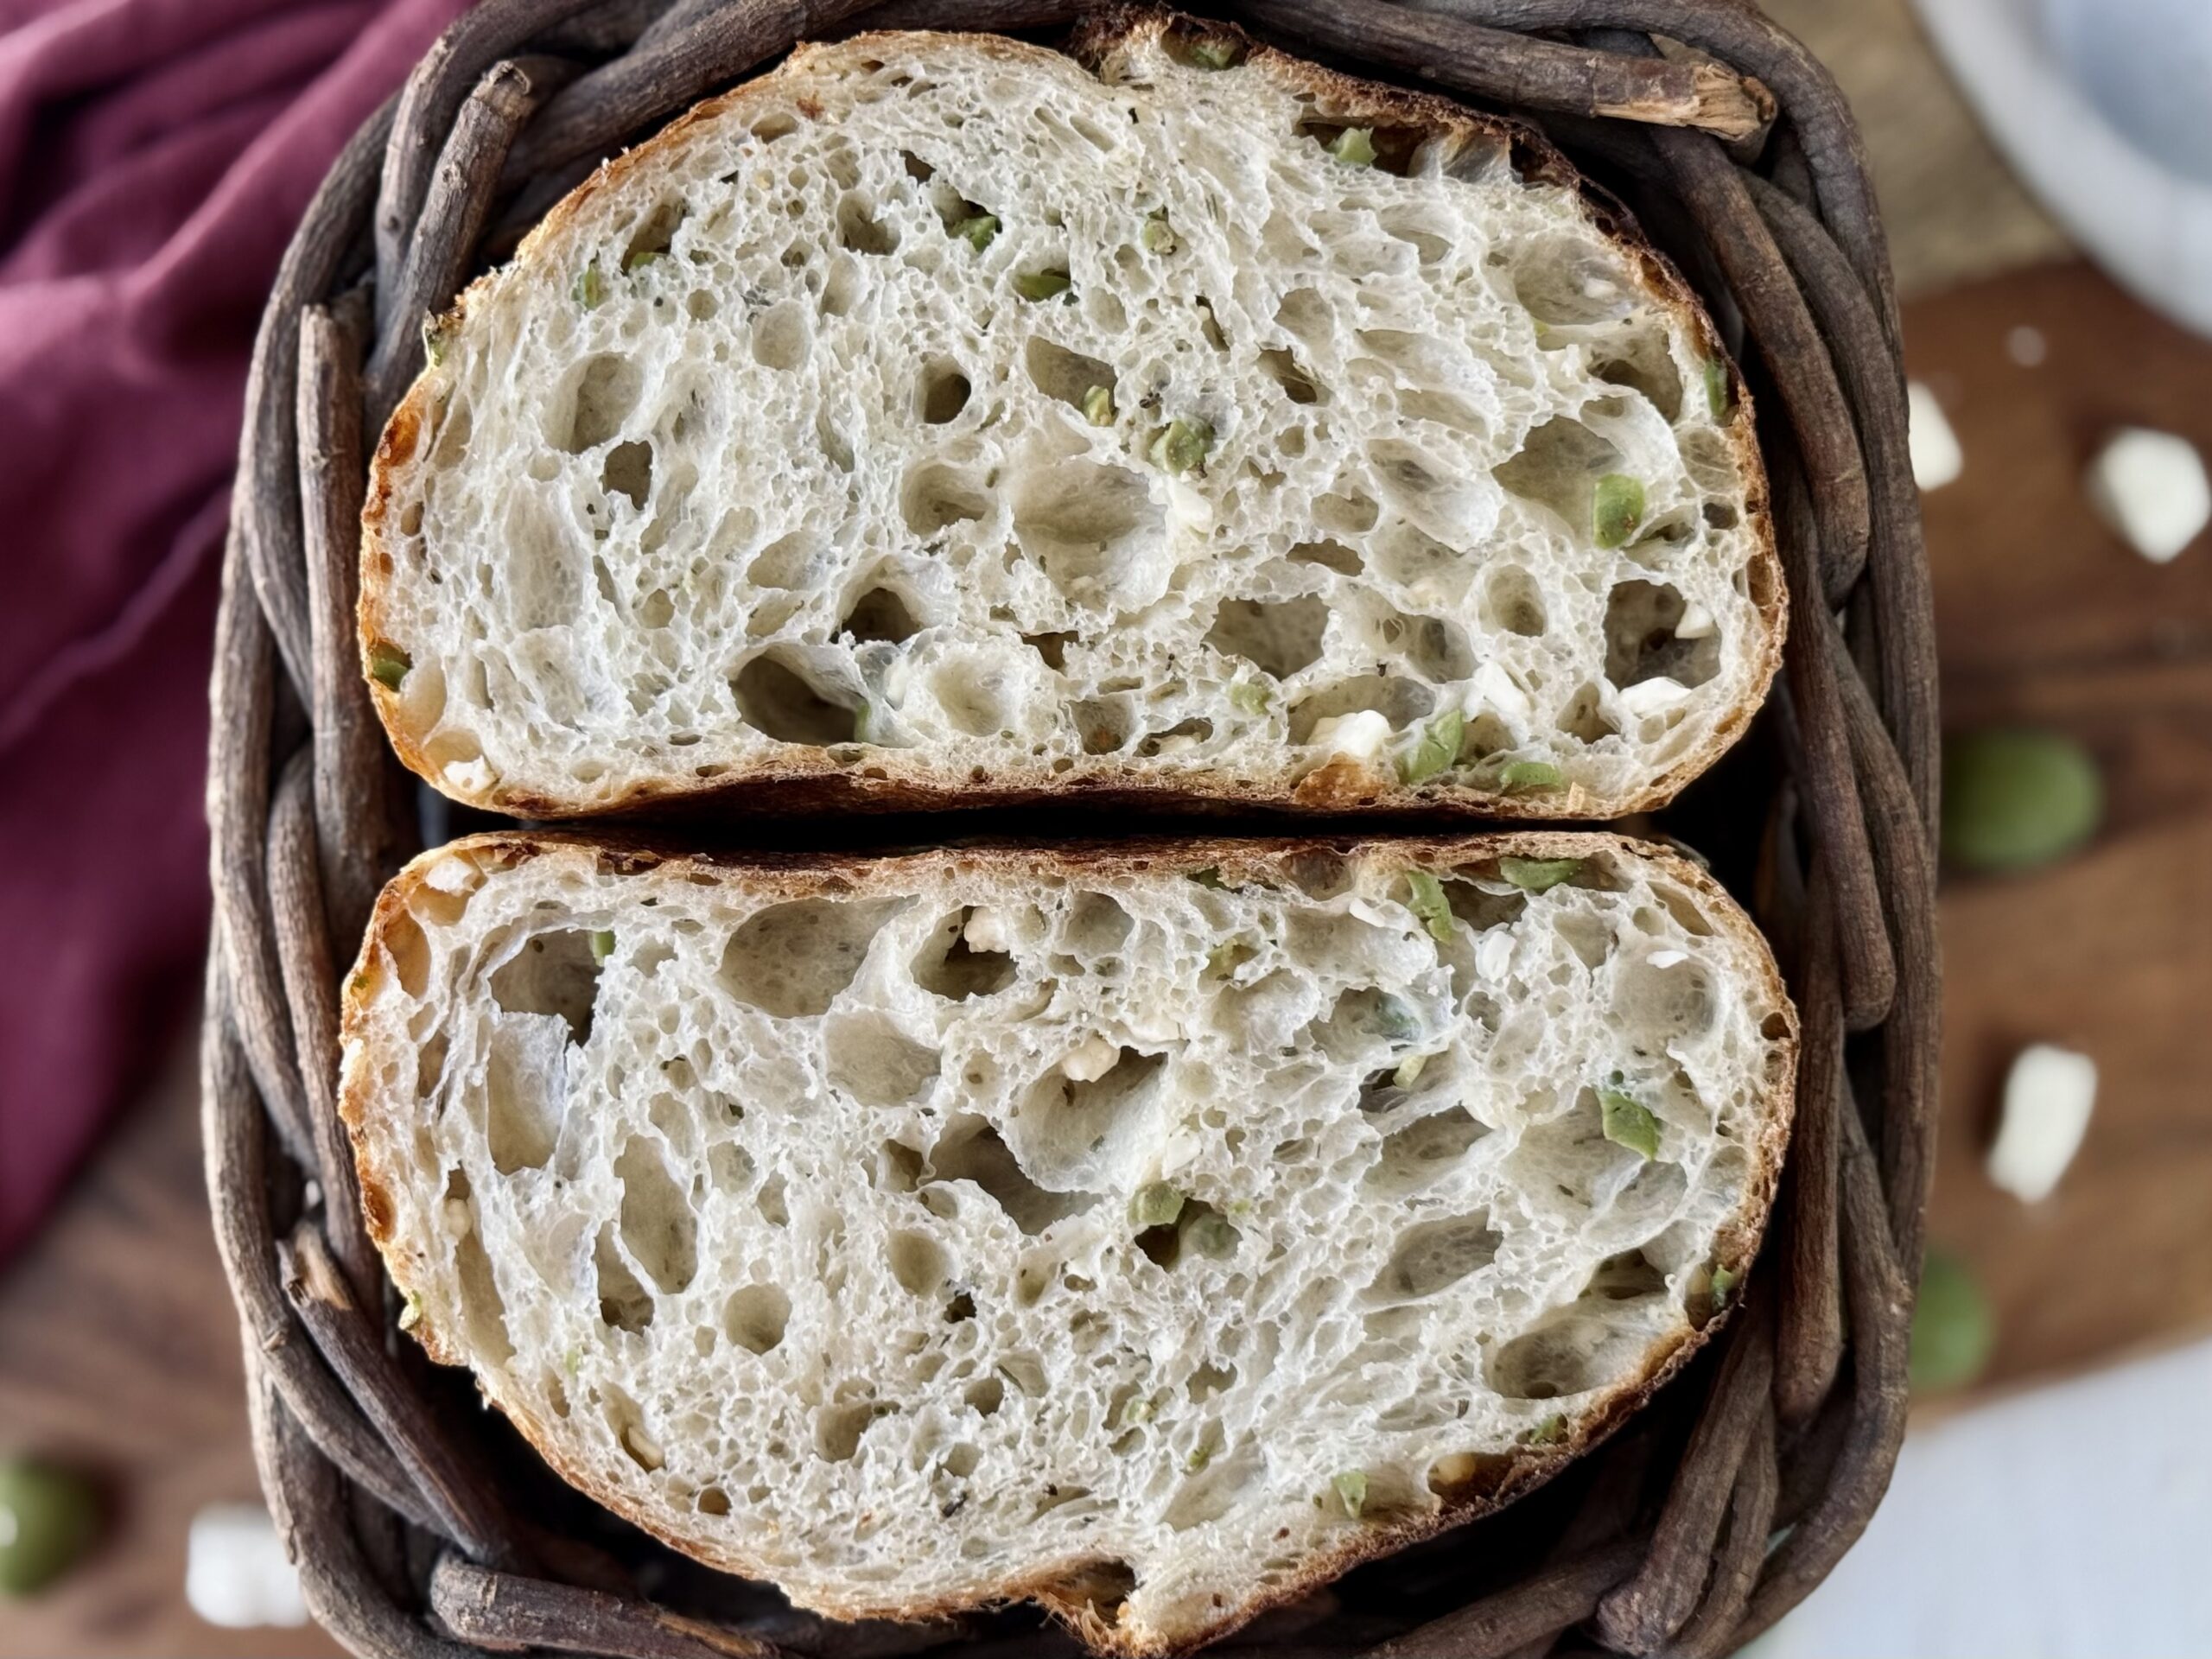
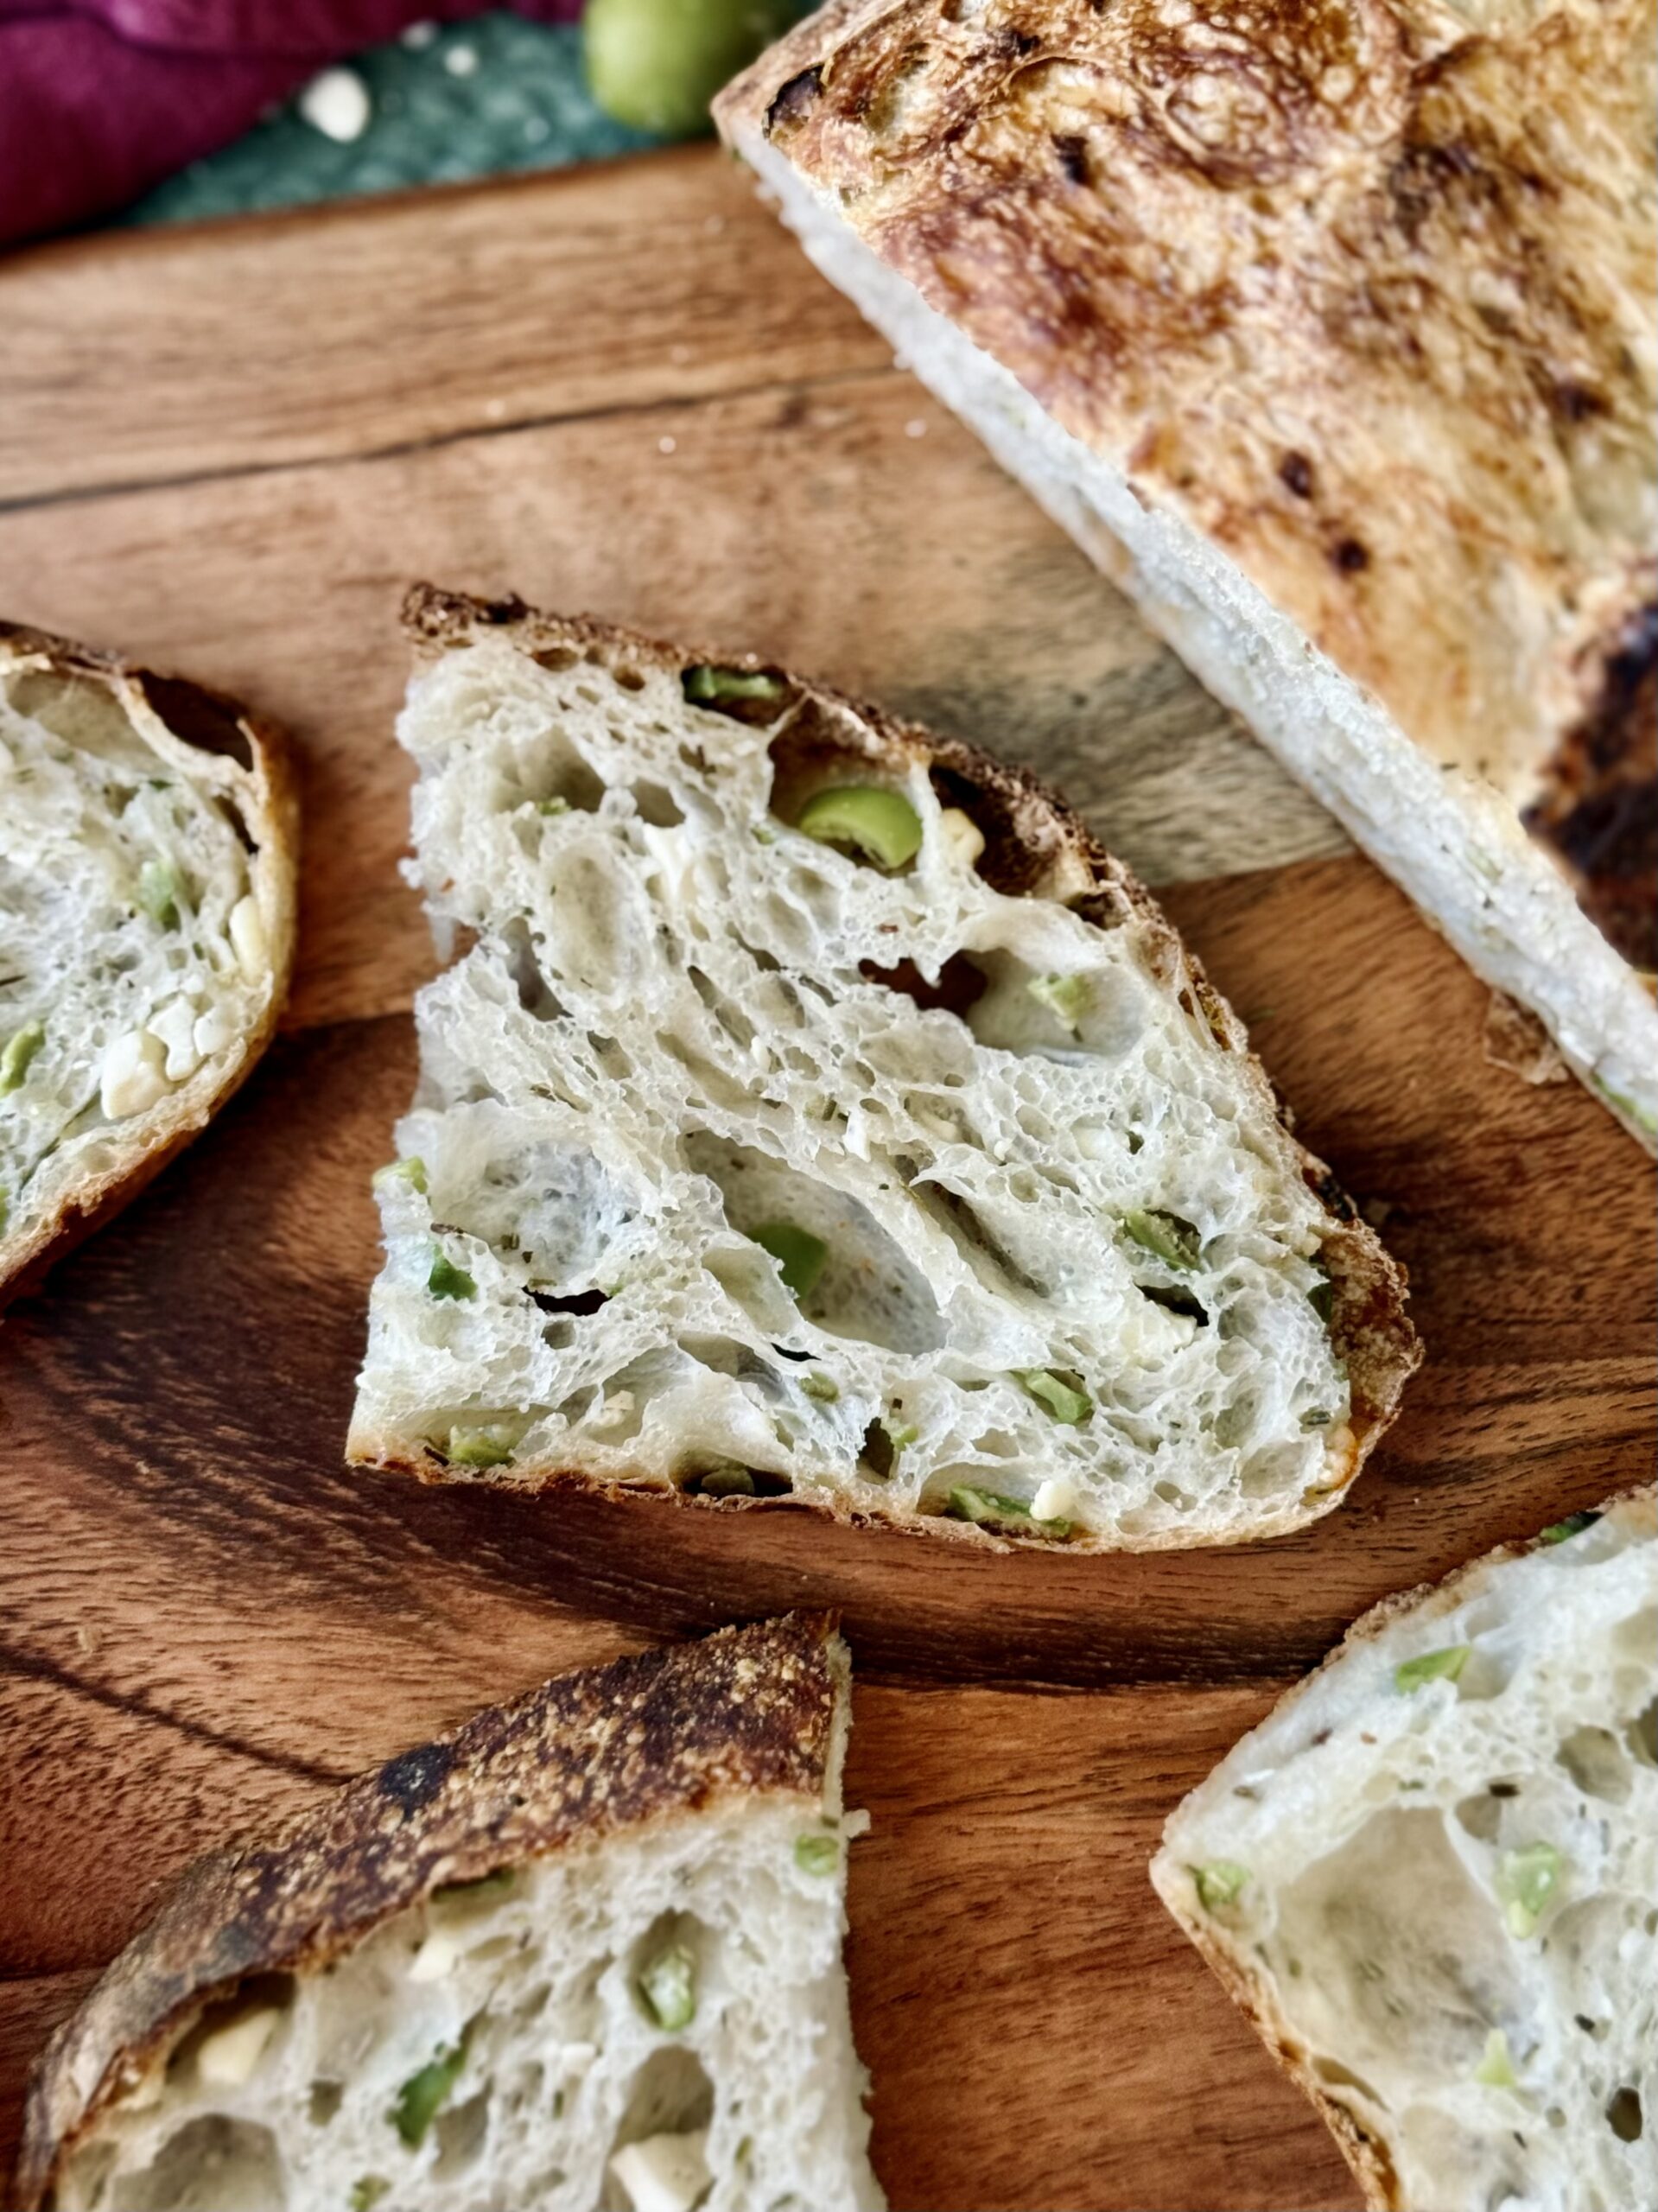
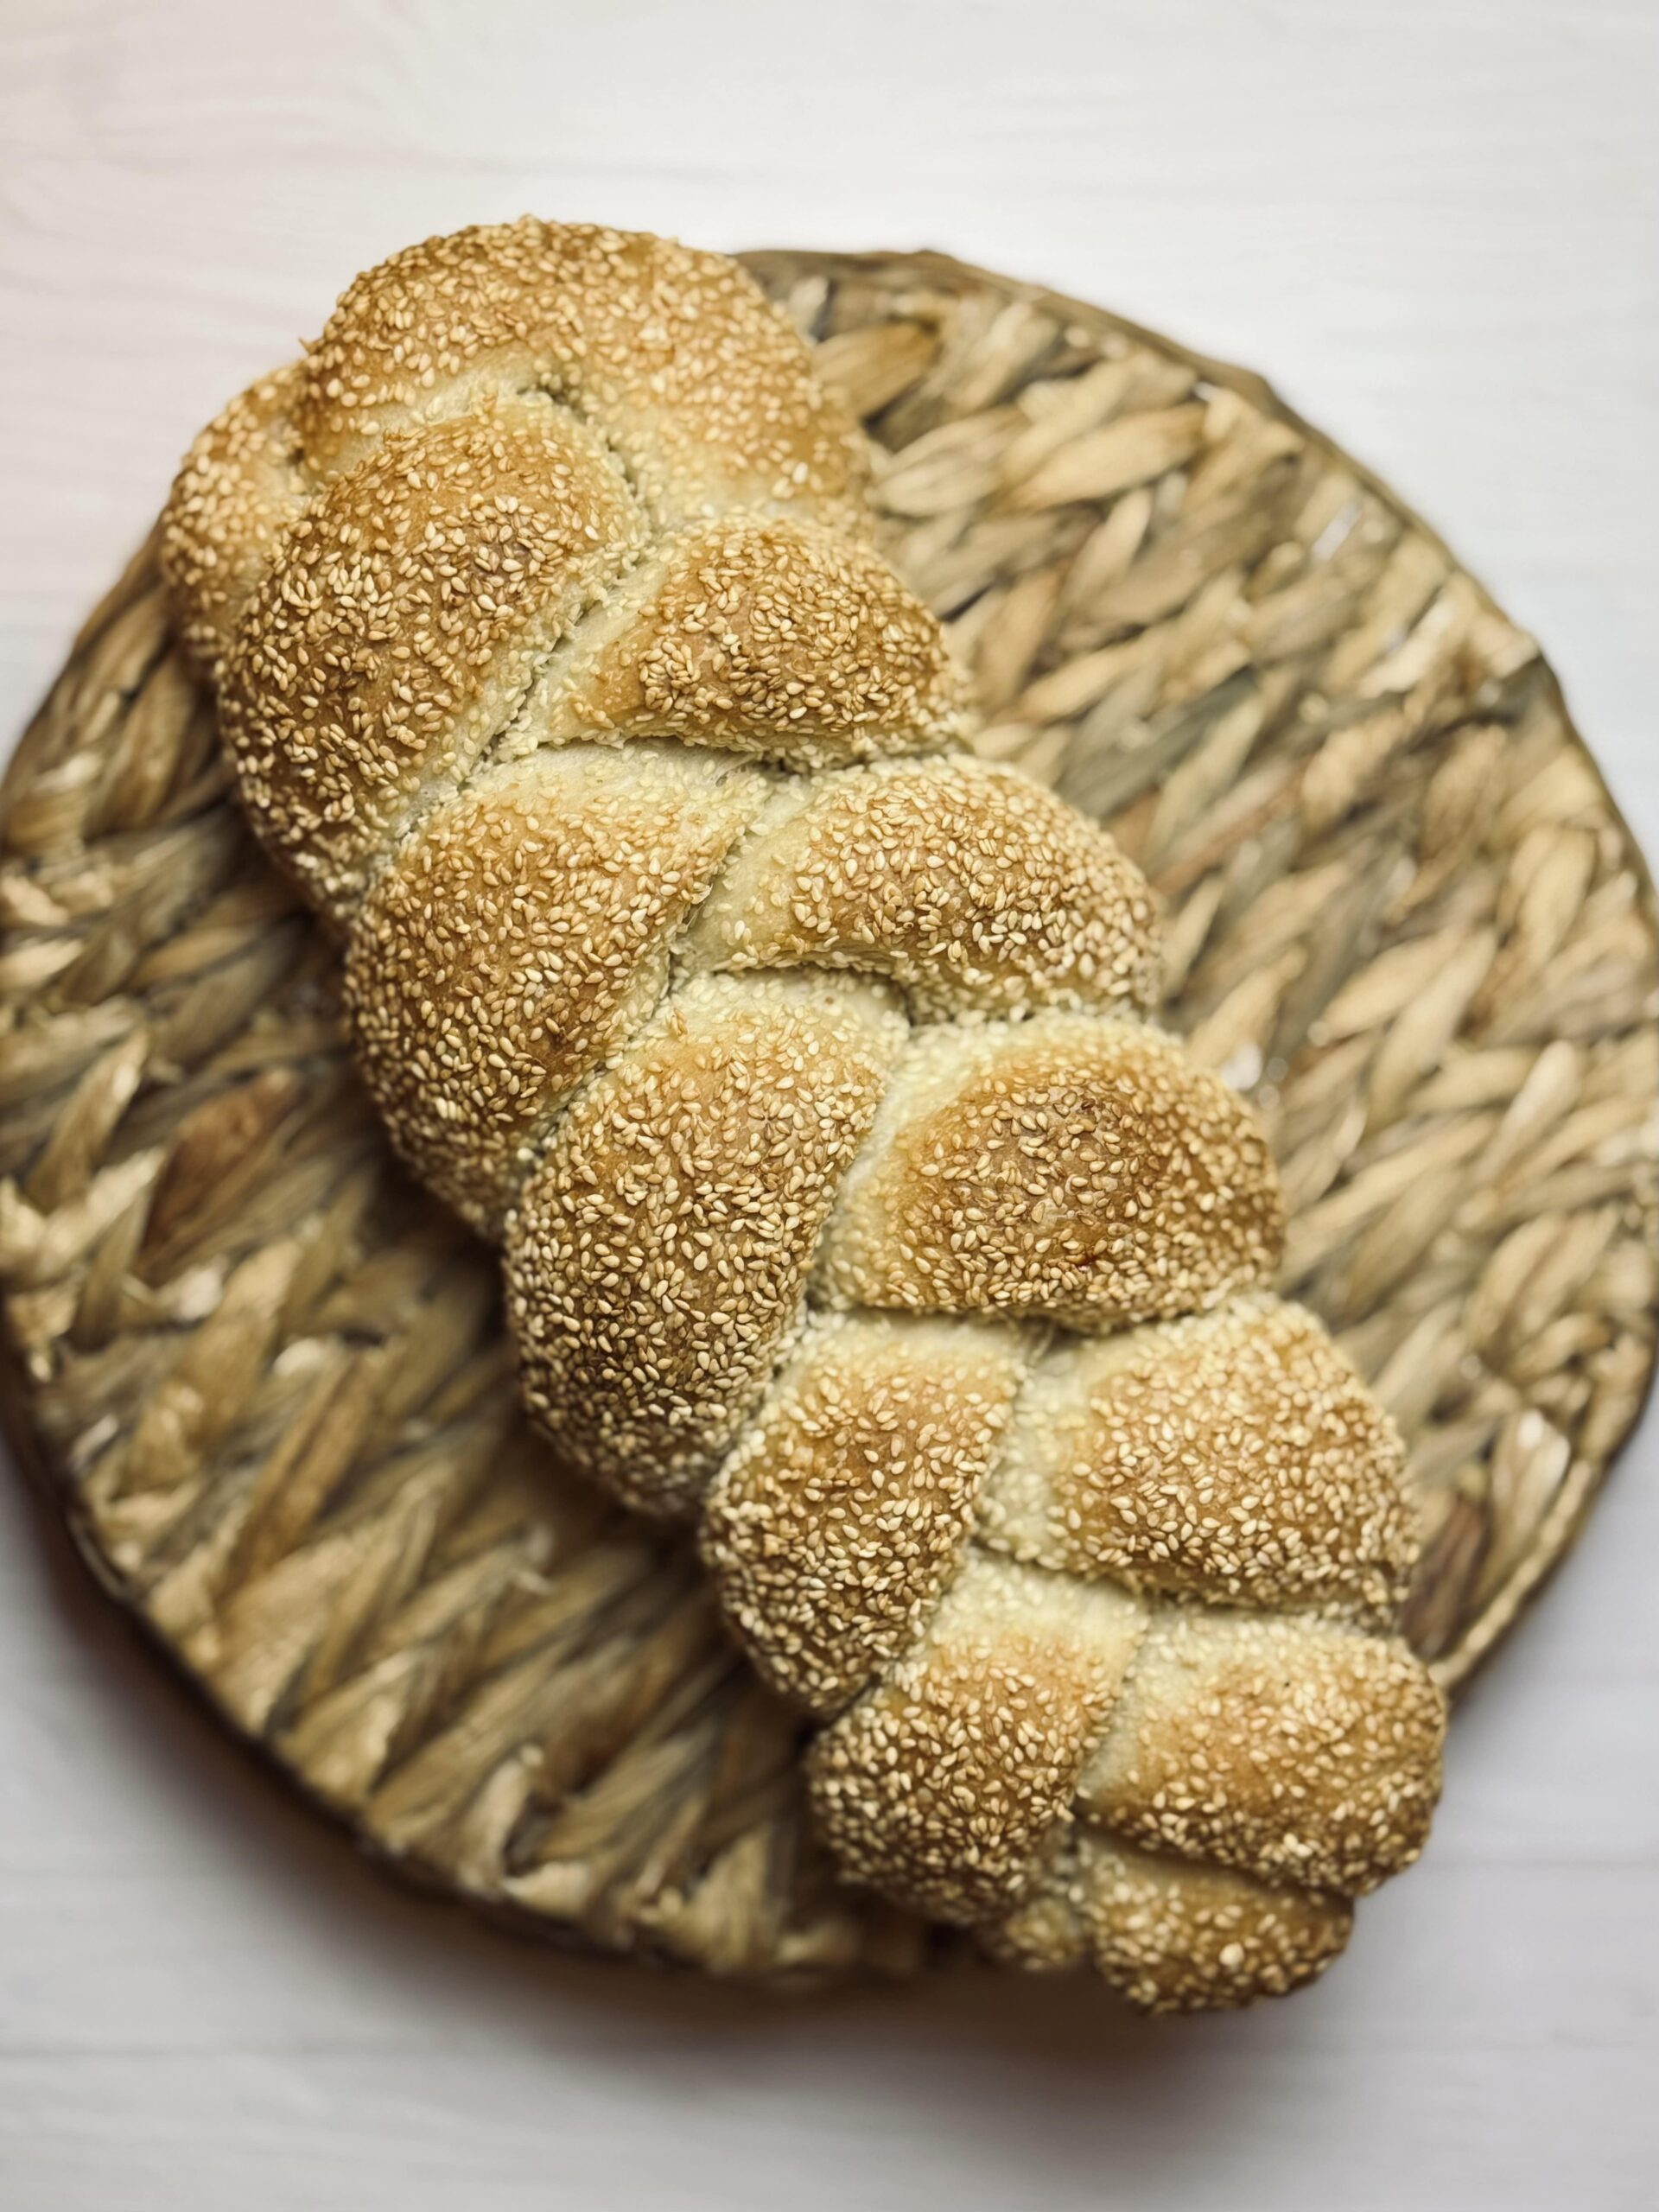
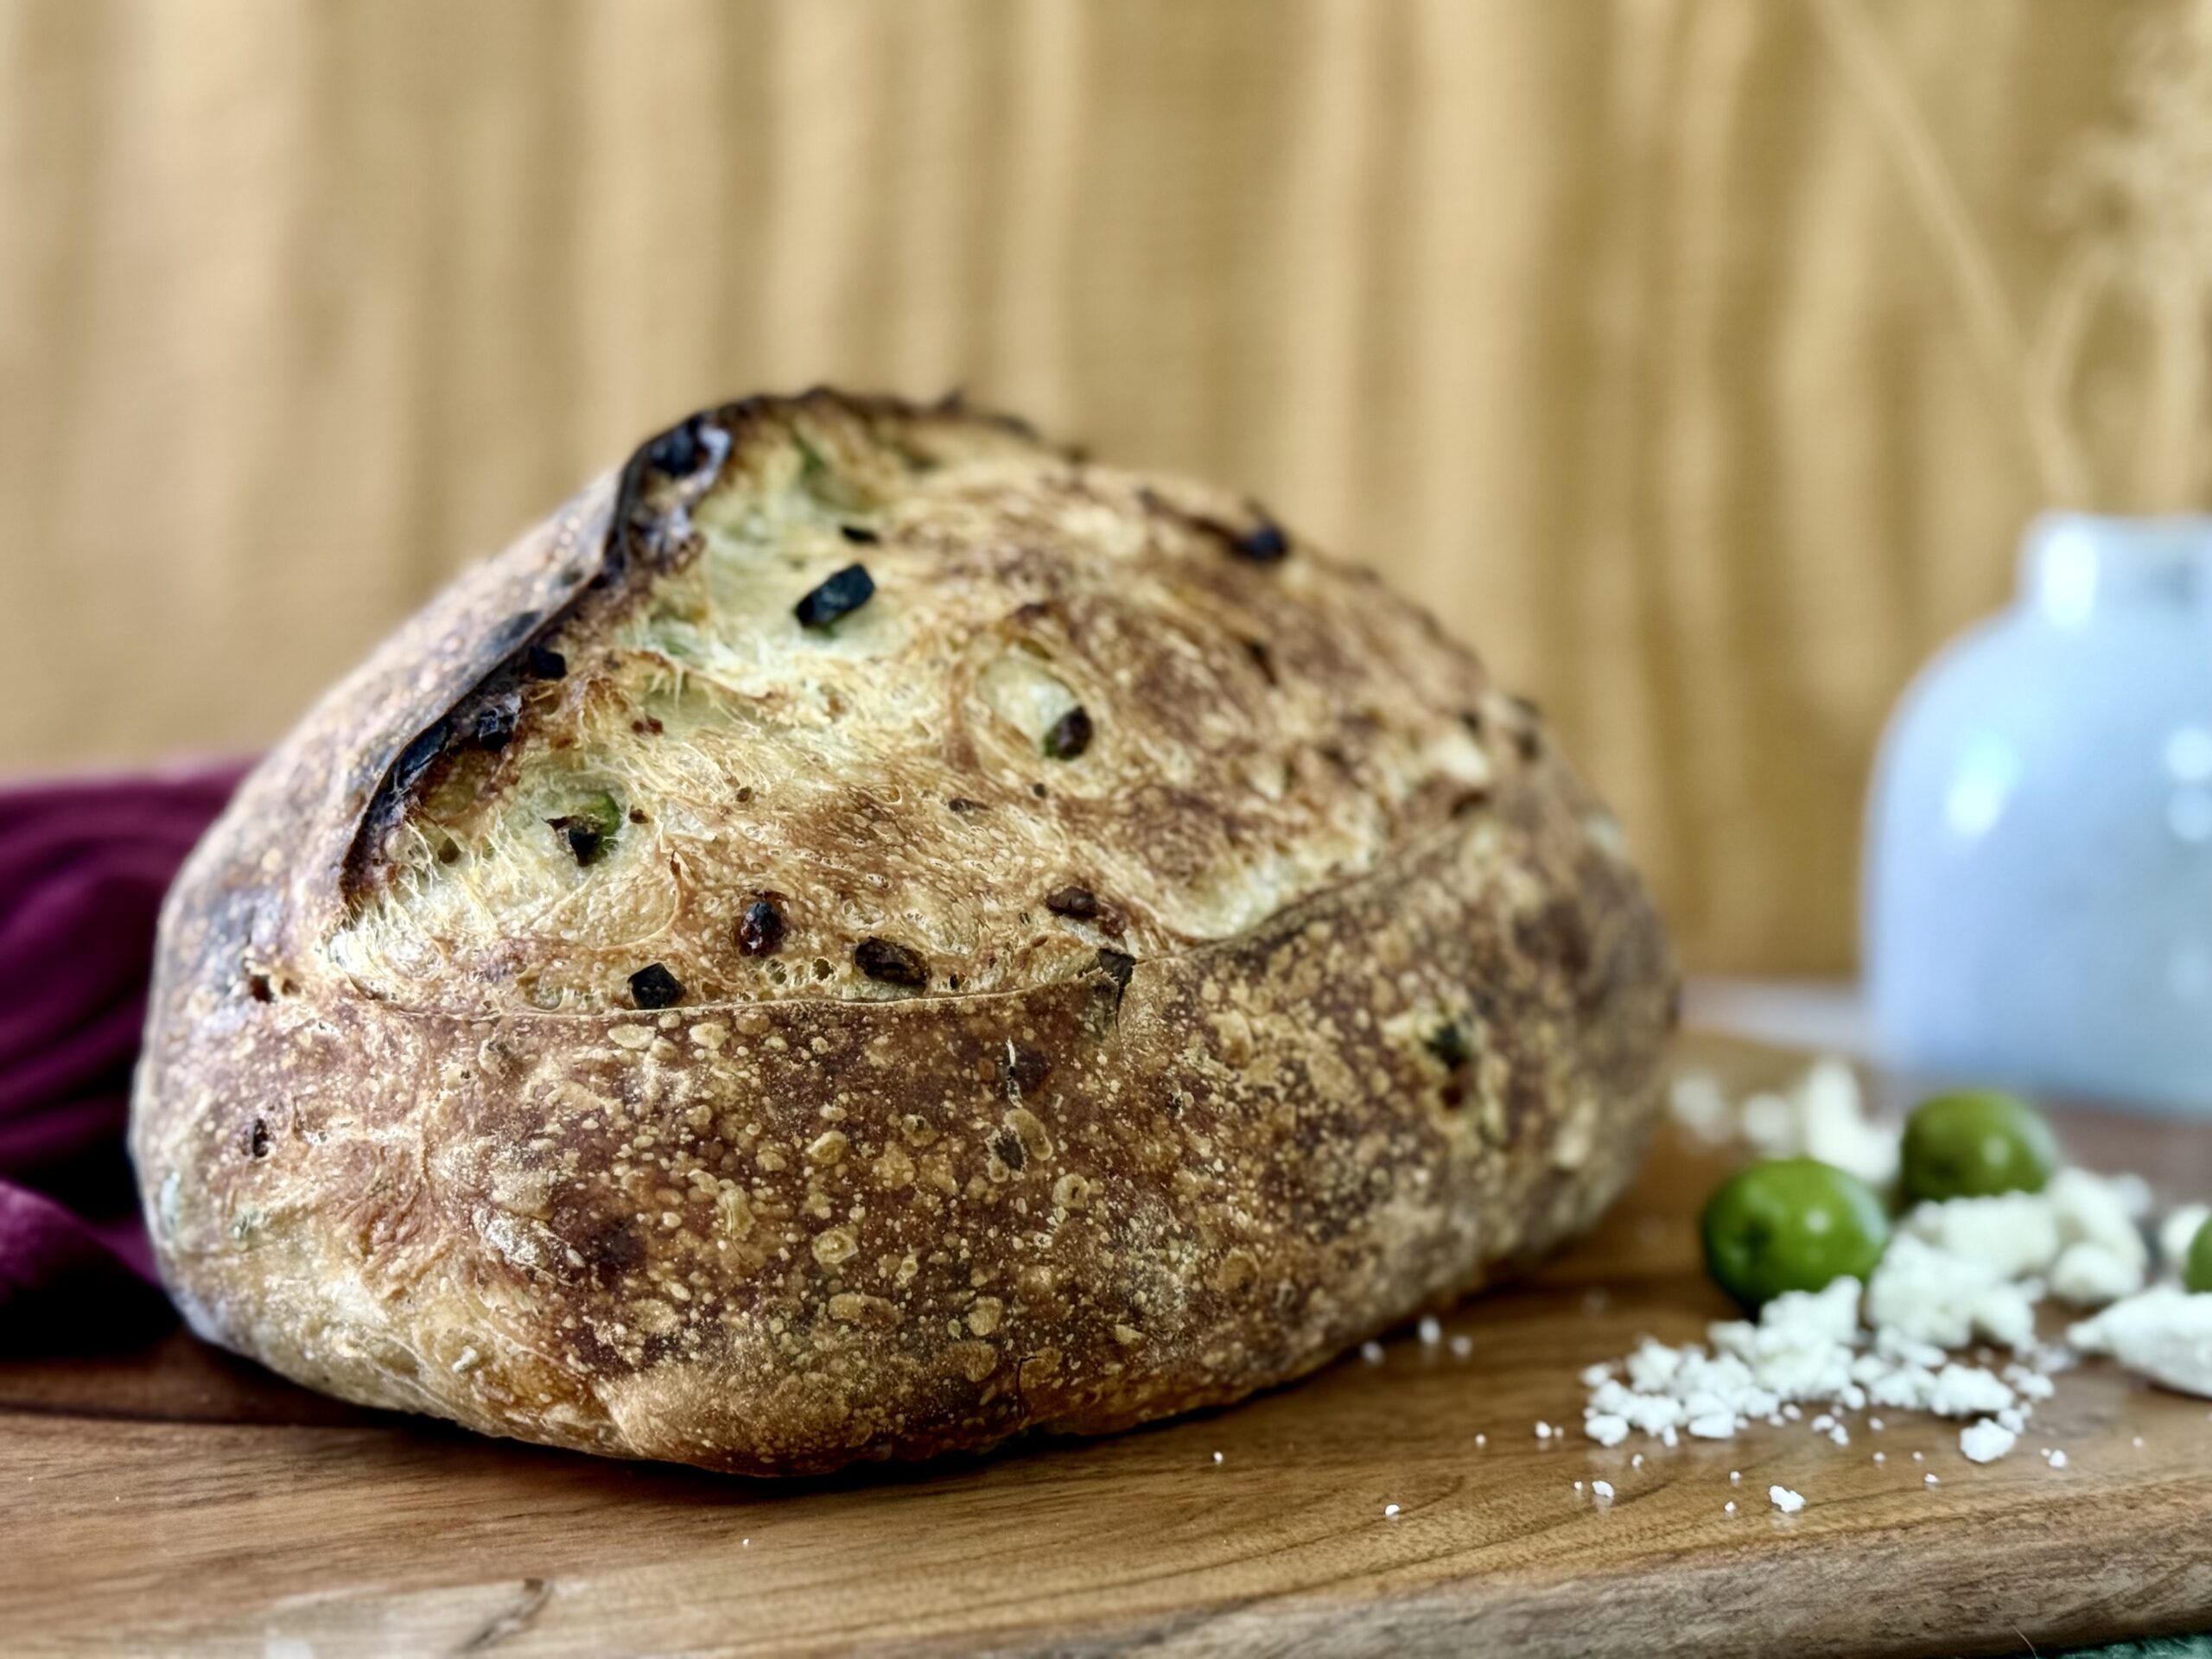
To date, this is my all-time favorite inclusion combo, which is saying a lot coming from someone who has never cared for olives! But something magical happens when you mix briny green olives with creamy feta and a touch of rosemary. The flavors are bold but balanced, and they bake up beautifully in a light, fluffy sourdough loaf. It’s the kind of bread that feels fancy enough for a dinner party but simple enough to enjoy on a Tuesday afternoon with some olive oil or alongside your favorite soup. Trust me, if this loaf could convert me into an olive person, it just might do the same for you.
What Is Country Bread?
Country bread is a French-inspired rustic loaf of sourdough bread. It can be shaped into a boule (round) or a batard (oval). This is the bread that most people simply call “sourdough” today. This bread was popularized in the early 2000’s by Chad Robertson, whose book, Tartine Bread, is the root for which all modern sourdough is based today.
This type of bread is made from a fairly wet dough, which easier to develop by hand. The long fermentation time allows gluten to come together, as well as provides the dough with most of its strength. It is baked at a high temperature with steam (for a fuller expansion) to achieve a sort of “explosion” in the oven, which gives the loaf a beautiful oven spring and interior.
About The Flavor Combo
Olives, feta, and rosemary are a classic combo that just works. The olives bring a salty, bold flavor, the feta is creamy and slightly tangy, and the rosemary adds a fresh, woodsy note. They balance each other out, so no one flavor takes over.
You’ll see these ingredients together in lots of Mediterranean dishes, like Greek salads, savory pastries, or herbed flatbreads. It’s a go-to mix when you want something flavorful but not too heavy.
This pairing is perfect for sourdough because the light, fluffy texture of the bread gives the bold toppings room to shine. Since the sourdough itself is neutral and airy, it lets the olives, feta, and rosemary do the talking. Every bite feels balanced and satisfying without being too rich or intense.
What I Love About This Recipe
I know I’m repeating myself, but the flavor of this loaf is seriously incredible. Every one of my taste testers agreed, even one who doesn’t usually like olives! And if you do love olives, you’re really in for a treat. On top of that, this recipe uses my easy premix method, so you get a simple, low-effort dough that’s full of bold, delicious flavor.

The “Why” Behind The Ingredients
Bread Flour
In my book, bread flour is a must for making great bread. Bread flour has more gluten-forming proteins, which naturally build a stronger gluten network. This helps trap air better during fermentation, leading to a lighter, airier texture. It’s especially important in a recipe like this one, where most of the dough’s strength comes from time (premixing, lamination, and just a few folds).
You can use all-purpose flour if that’s what you have, but you might notice some differences. The dough might not hold air as well, and it can sometimes tear during folds or shaping. These are signs of weaker flour, which usually means a denser loaf that spreads out more instead of rising tall. If you notice this happening, I definitely recommend trying the recipe again with a different flour.
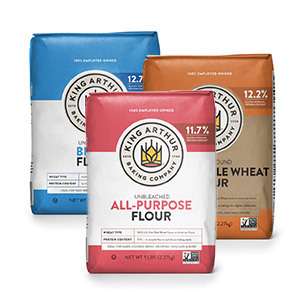
For most recipes that call for “bread flour,” I use King Arthur Bread Flour because of its higher protein content (12.7%) and amazing gluten strength. I’ve also tested this recipe with Bob’s Red Mill Artisan Bread Flour (around 12.5% protein). It’s a little softer overall, but it still works just fine here.
Salt
When it comes to salt, I like to use a fine salt without any anti-caking agents. Fine salt dissolves more easily, and skipping the caking agents means a cleaner dough. Lately, I’ve been loving Redmond’s Real Salt for all my bread recipes.
Salt does way more than just make bread taste good (without it, bread would honestly taste like nothing). It also acts as a tightening agent, helping to create a stronger, more elastic dough. On the flip side, salt does slow down fermentation and gluten development a little—but that’s totally normal and something we plan for when building the recipe. Bread needs salt, no question about it. The key is using just the right amount: enough to bring out the flavor without stopping the dough from rising properly.
Since olives are naturally salty, I reduce the salt in this recipe from 2% to 1%. In my opinion, this creates a better balance. Not only does it keep the dough from becoming too salty, but it also prevents excess salt from slowing down fermentation, which we definitely don’t want.
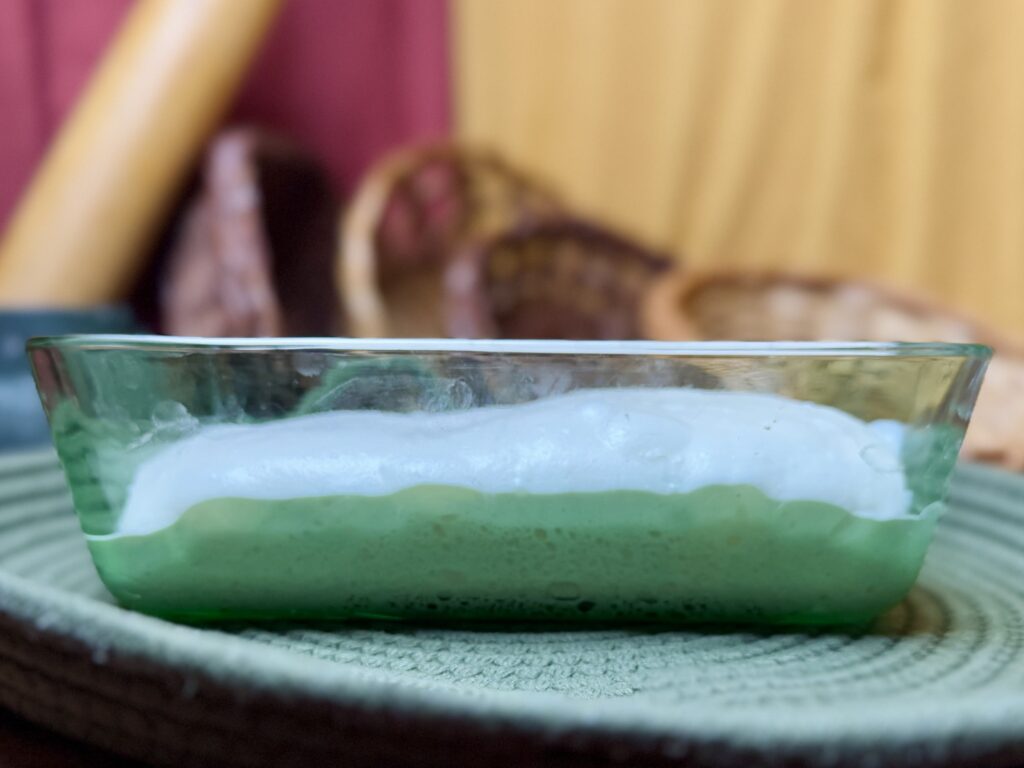
Sourdough Starter
If you know me, you know I’m all about keeping a healthy starter. For the best fermentation, feed your starter at a higher ratio, about 1:5:5 or 1:6:6, to cut down on acid buildup. Let it ferment somewhere in the 70s F (ideally 73–75 F, or 23–24 C) to favor yeast growth and keep the acid levels balanced. At this feeding ratio and temperature, your starter should triple in size in about twelve hours.
If you want to go the extra mile, you can give your starter one or two sets of stretch-and-folds during the first four hours of fermentation. This traps extra oxygen and encourages the yeast to pump out more CO2 (and less ethanol), which helps it rise higher and keeps the alcohol flavor mild.
After about twelve hours, you can take what you need to refresh your starter or tuck some away for maintenance. I like to give it one more set of folds at this point, then let it rest for another 3–4 hours alongside my premix. The starter should double or triple again during this time.
Olive-Feta-Rosemary
I used Castelvetrano green pitted olives when developing this recipe, but any plain, pitted olive will work beautifully—so go with your favorite! I don’t recommend using stuffed olives. Not only will they introduce strong, competing flavors, but they could also affect fermentation in ways I haven’t accounted for in this recipe.
To pair with the olives, I went with feta and rosemary, which is an absolutely incredible combination (in my opinion). While feta can influence fermentation (due to saltiness), I’ve already reduced the overall percentage of salt in the dough to balance out the saltiness from olives, which plays to our favor for the cheese as well. Plus, by incorporating the feta during lamination, it stays mostly intact and is less likely to interfere with fermentation.
As for the rosemary, I specifically prefer crushed dried rosemary, as I find whole dried needles a bit too long for my taste. Chopped fresh rosemary would work just as well if that’s what you have on hand.
The “Why” Behind The Method
Hydration
While I love working with higher hydration doughs (meaning doughs with more water), I know that’s not everyone’s cup of tea. For this recipe, I’ve set the hydration around 80%, which works really well with the type of flour I use. It creates a soft and supple dough that naturally builds gluten over time, without requiring a lot of hands-on time. It’s also just the right hydration for easy coil folds (the dough isn’t too stiff), and the final bread has a texture that feels perfectly balanced.
You might need to tweak the water amount slightly depending on your flour, but I don’t recommend changing the dough’s overall consistency. Doing so would throw off the whole process and give you very different results.
You can read more about dough hydration (in general) here.
Premixing Method (For Dough And Gluten Development)
Premixing has become my new obsession because it does so much for the dough with almost no extra effort from the baker. Time does most of the heavy lifting, and we’re just there to give a little support along the way. It creates a dough with a beautiful crumb, great oven spring, and a texture that’s easy to work with (and super versatile!).
The reason premixing works so well is because this dough is unenriched—meaning it is only made from flour, water, and salt. That means gluten bonds naturally start forming the moment flour and water meet, and they keep getting stronger over time.
Time doesn’t just build gluten, it also gives enzymes a chance to go to work. Amylases break down complex carbs into simple sugars, creating easy food for the yeast once the starter is added (you can read a bit more about that here). At the same time, proteases start breaking down proteins, helping the dough become more stretchy and extensible.
Another bonus: time lets the flour fully absorb the water, making the dough much less sticky and way easier to handle.
Now, unlike an autolyse or fermentolyse, premixing includes the salt right from the start. While an advanced baker might notice that salt slightly tightens the dough early on, I actually prefer this. Since the salt is already there, we never have to break any gluten bonds to mix or knead again. In fact, we’ll never even need to knead this dough! Yet it still builds the perfect balance of strength.
With premixing, time does most of the work, but we still have a few simple jobs. First, we need to incorporate the starter, which is done with a few gentle coil folds. Then, we add our inclusions (olives, feta cheese, and rosemary) by laminating them into the dough. Both moves—especially lamination—stretch and strengthen the gluten network, building tension that will trap gases efficiently during fermentation. Finally, as the dough starts to fill with gas, we’ll give it just two—yes, only two!—more coil folds to add a little extra structure. This not only strengthens the dough but also helps layer the inclusions even more, setting it up for a gorgeous bake with well-distributed inclusions.
Like I said, this recipe is beautifully hands-off, yet massively effective.
Bulk Fermentation
Because I’ve balanced this dough well, bulk fermentation lies in my usual window of 7-8 hours at an ambient temperature of 73–75 F (23–24 C). I usually go for 7.5 hours on the money.
I always judge the end of bulk fermentation by the dough’s size increase. If the gluten (from the flour) is strong enough to trap air and the acids (from the starter) are well-balanced (read more here!), the rise is the best sign that the dough has built up enough gas (which is what creates that light, airy texture we want!).
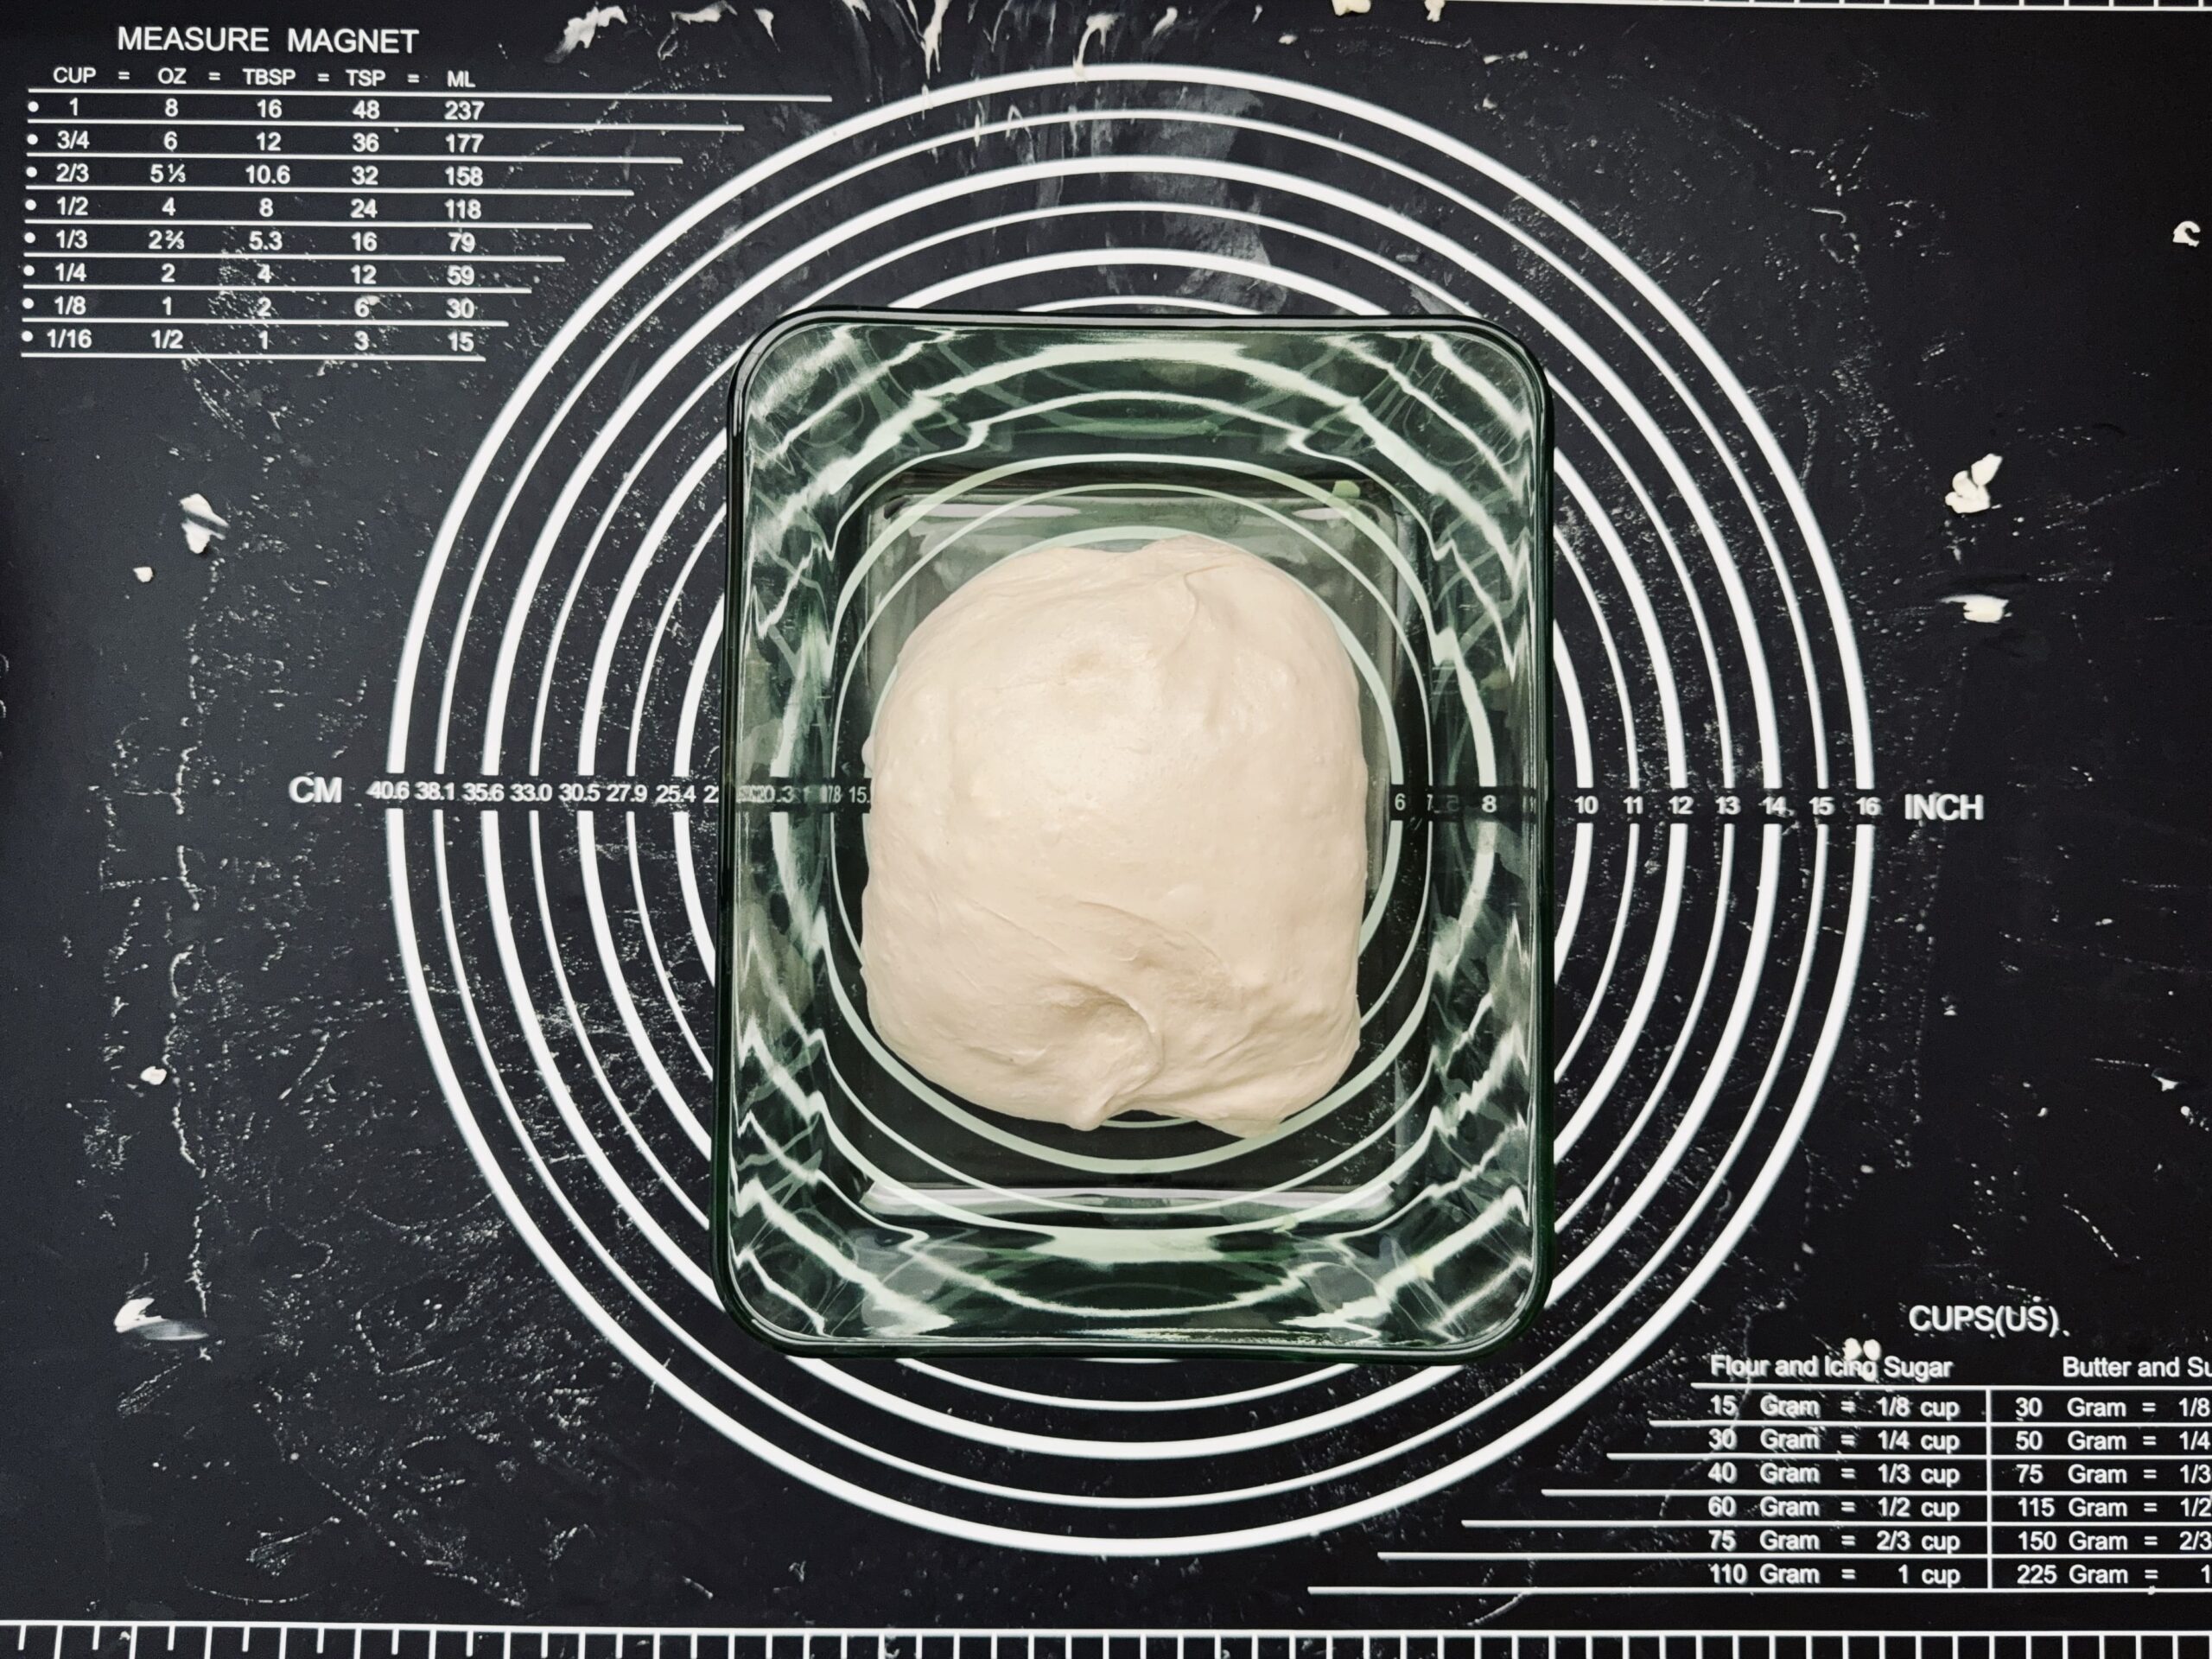
By the time bulk fermentation is done, the dough should be about doubled in size, filling an 11-cup rectangular Pyrex dish about ⅔ of the way full.
Temperature
I prefer (and recommend) fermenting bread dough in the 70s F to help with acid balance; however, with a well-balanced starter you should be able to ferment in wide range of temperatures (upper-60s to low-80s) with great results. And, for this recipe, the actual fermenting temperature isn’t as important as it is in some other recipes, like this croissant country bread recipe.
However, I’ve found there’s a connection between temperature and the timing of your folds. Folds help build structure in fermenting dough, and since that structure is influenced by gas accumulation, the dough’s temperature plays a role in how much tension each fold creates and holds.
Warmer temperatures also encourage the production of lactic acid, which leads to a stretchier, more extensible dough that needs a bit more support. On the other hand, cooler temperatures promote more acetic acid, which strengthens the dough, meaning it naturally needs less support.
So, if your fermentation is happening at a cooler temperature than mine, you may need to space your folds a bit further apart. On the flip side, if your dough is fermenting in a warmer environment, you might need to place your folds a bit closer together. I ferment my dough at an ambient temperature of 73–75 F (23–24 C) for most of my artisan premix recipes, including this one.
Shaping
Some things about my shaping technique:
- When I only make one loaf of bread, I do not pre-shape (unless something went wrong during fermentation).
- Since I let the dough fill with air, which provides strength, I use a gentle shaping technique (demonstrated in a video on the recipe card).
If you are a pre-shaping advocate and want to chat about it, I’d love to have that conversation with you. But from my experience, it’s just not necessary for this recipe. I really only pre-shape if something went wrong during fermentation or if I’m dividing the dough and need each piece to be easier to shape later. Since this dough is already full of air—thanks to strong gluten and a full fermentation—it doesn’t need the extra tension or development that pre-shaping would add.
The same goes for final shaping. With this method, we don’t need to add a lot of tension because the dough already has a strong gluten network and plenty of gas built up during fermentation. That internal strength helps the loaf stand tall without needing to be forced into shape. A simple, gentle rolling technique (which I show in this video) creates just enough tension to help the loaf hold its form.
Cold Proof
With this method, I find that a cold proof fits perfectly into the baking timeline. I can be around during bulk fermentation to fold the dough and watch for the right size increase, then shape it and pop it into the fridge at the end of the day. The cold proof not only builds flavor overnight, but also creates just enough condensation on the loaf so I don’t even have to add extra water or steam to my Dutch oven. It’s a win-win, and easily my favorite method for this kind of bread.
Scoring
When it comes to scoring, I like to keep it super simple. Usually, I just do one clean slash, about 1/4 to 1/2 inch deep, that’s it! But honestly, you can score this loaf however your heart desires.
The main goal of scoring is to release tension at a specific spot, so the loaf expands exactly where you want it to, instead of cracking or blowing out randomly. If the dough is well-fermented with the right balance of stretchiness (extensibility) and strength (elasticity), you don’t even have to score it!
Using a sharp razor will give you the cleanest score, which can help with both expansion and looks. But if all you have is a pair of scissors, go for it! And if you’re worried that scoring will drag and deflate your dough, it’s totally fine to skip it altogether and let the loaf open up naturally.
Baking Method
Normally, I like to bake my loaves around 500 F (260 C). But with my new, smaller oven, things bake much more efficiently, so I’ve started lowering the temperature to 450 F (230 C) to keep them from burning.
I always love using the Dutch oven method for steaming bread. The enclosed environment traps the moisture evaporating from the dough and circulates it, helping the loaf expand beautifully. Then, once the loaf has finished expanding, I remove the lid so the crust can set and turn perfectly crisp and golden.
If you don’t have a Dutch oven, no worries! You can bake the loaf uncovered. Just toss some boiling water or a few ice cubes into a hot pan in the oven during the first part of the bake. This will create the steam you need to help the loaf rise before the crust sets.
Suggested Timeline
DAY 1
8:00 a.m.
- Premix the flour, salt, and water.
11:00 a.m.
- Fold in the starter.
- Prepare olives, feta, and rosemary
11:30 a.m.
- Laminate and add inclusions.
12:30 p.m.
- Coil fold the dough.
2:30 p.m.
- Coil fold the dough.
6:30 p.m.
- Shape and refrigerate.
DAY 2
8:00 a.m.
- Preheat the oven.
9:00 a.m.
- Bake and enjoy!
📌 Quick Tip: Read the recipe in its entirety before you start cooking. This will help you understand the ingredients, steps, and timing involved, and allow you to prepare any necessary equipment or ingredients beforehand.

Olive Feta Rosemary Country Bread
Ingredients
Instructions
-
Premix
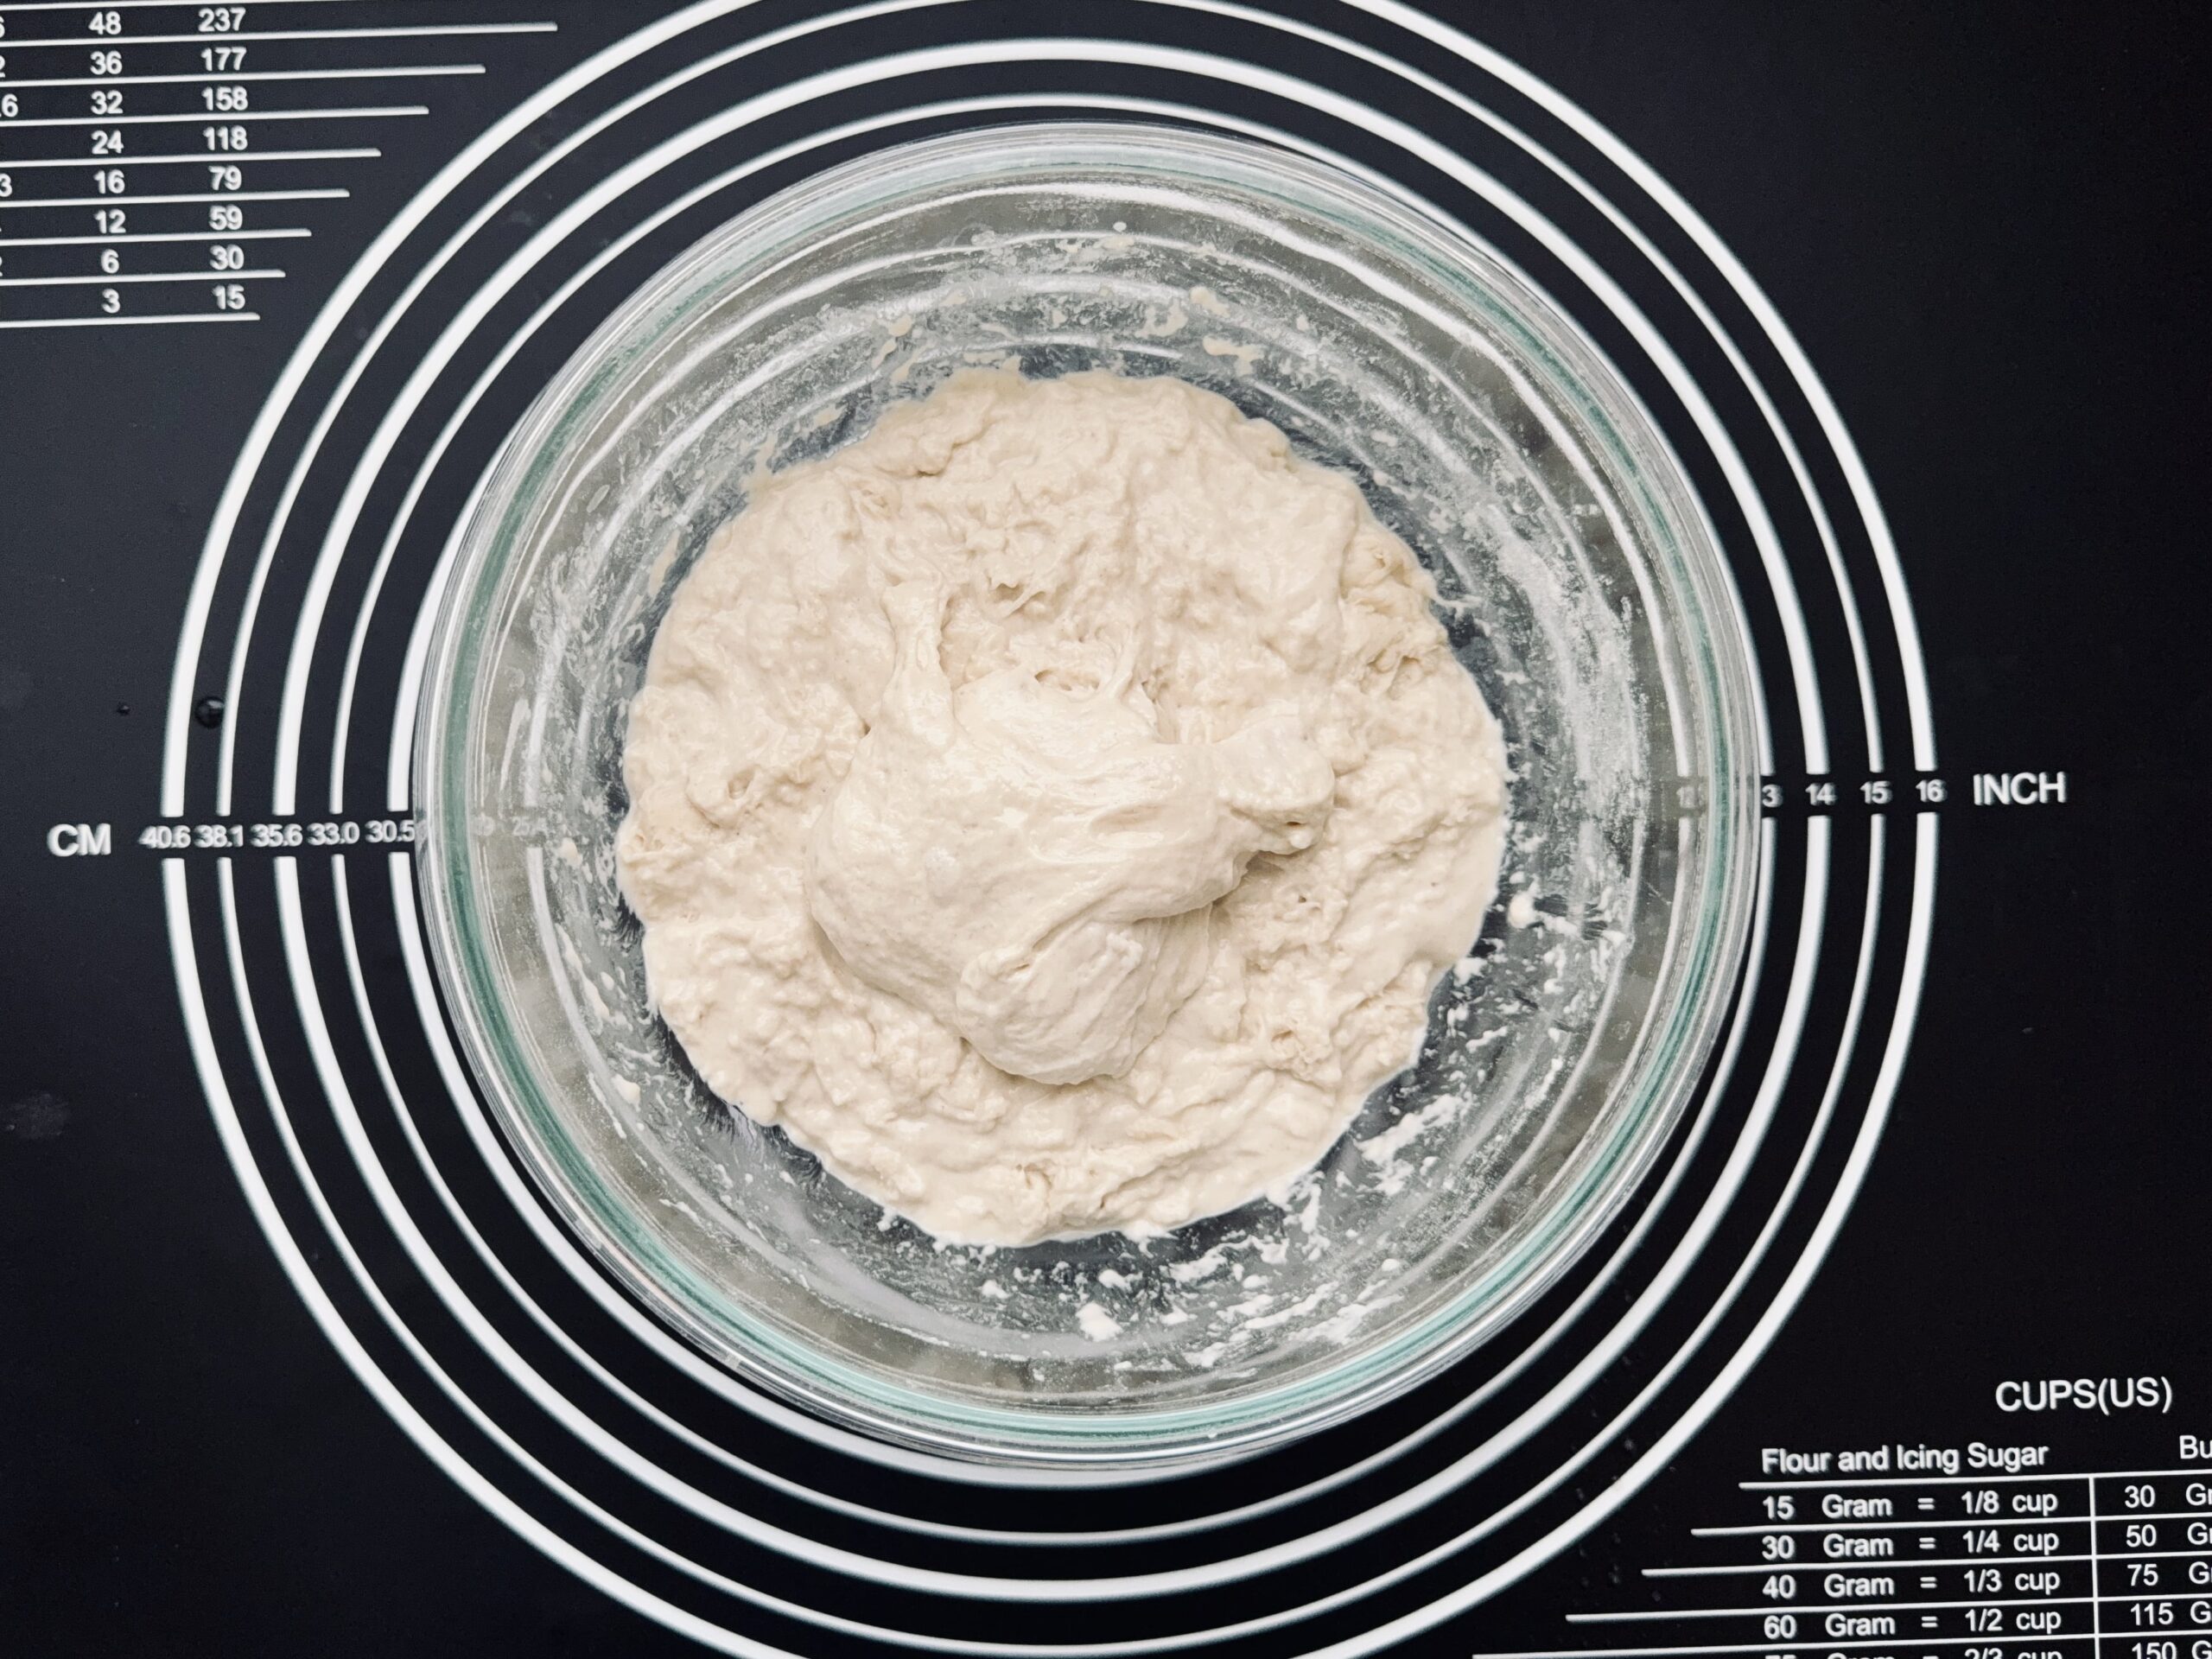
In a 2-qt mixing bowl, combine all of the flour, salt, and water. Rest 2-4 hours (73-75 F; 22-23 C) before incorporating the starter.
-
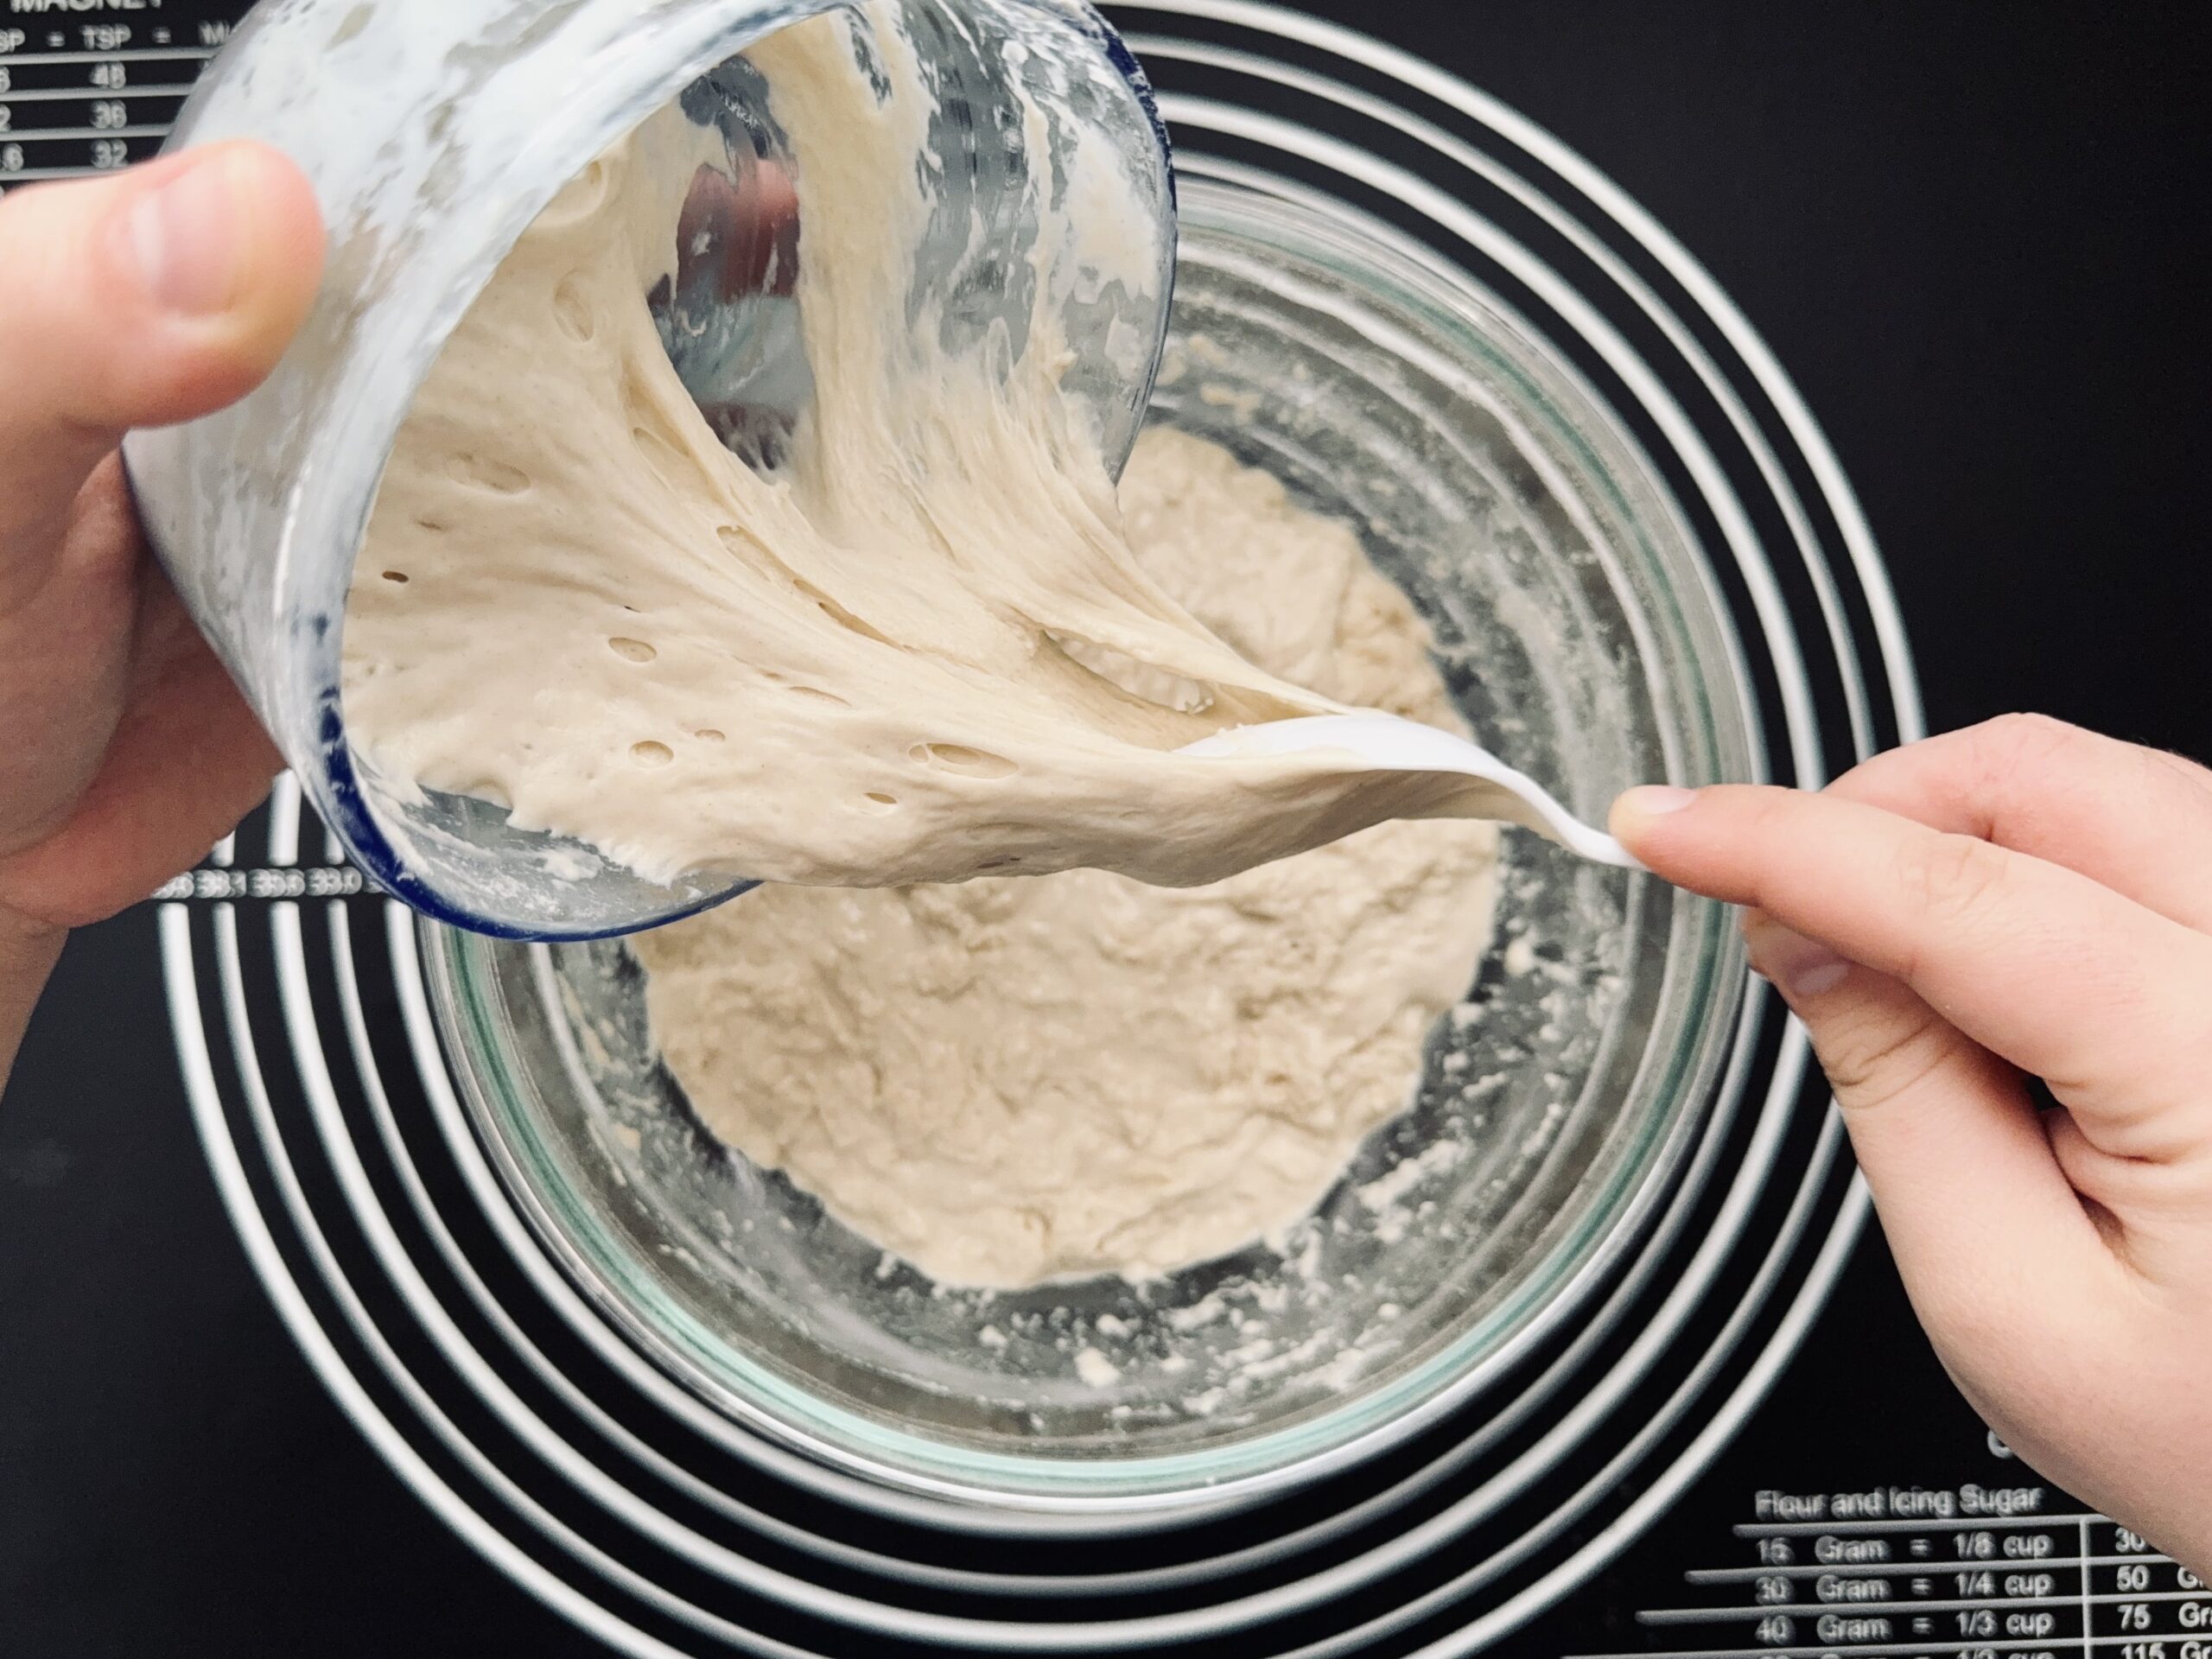
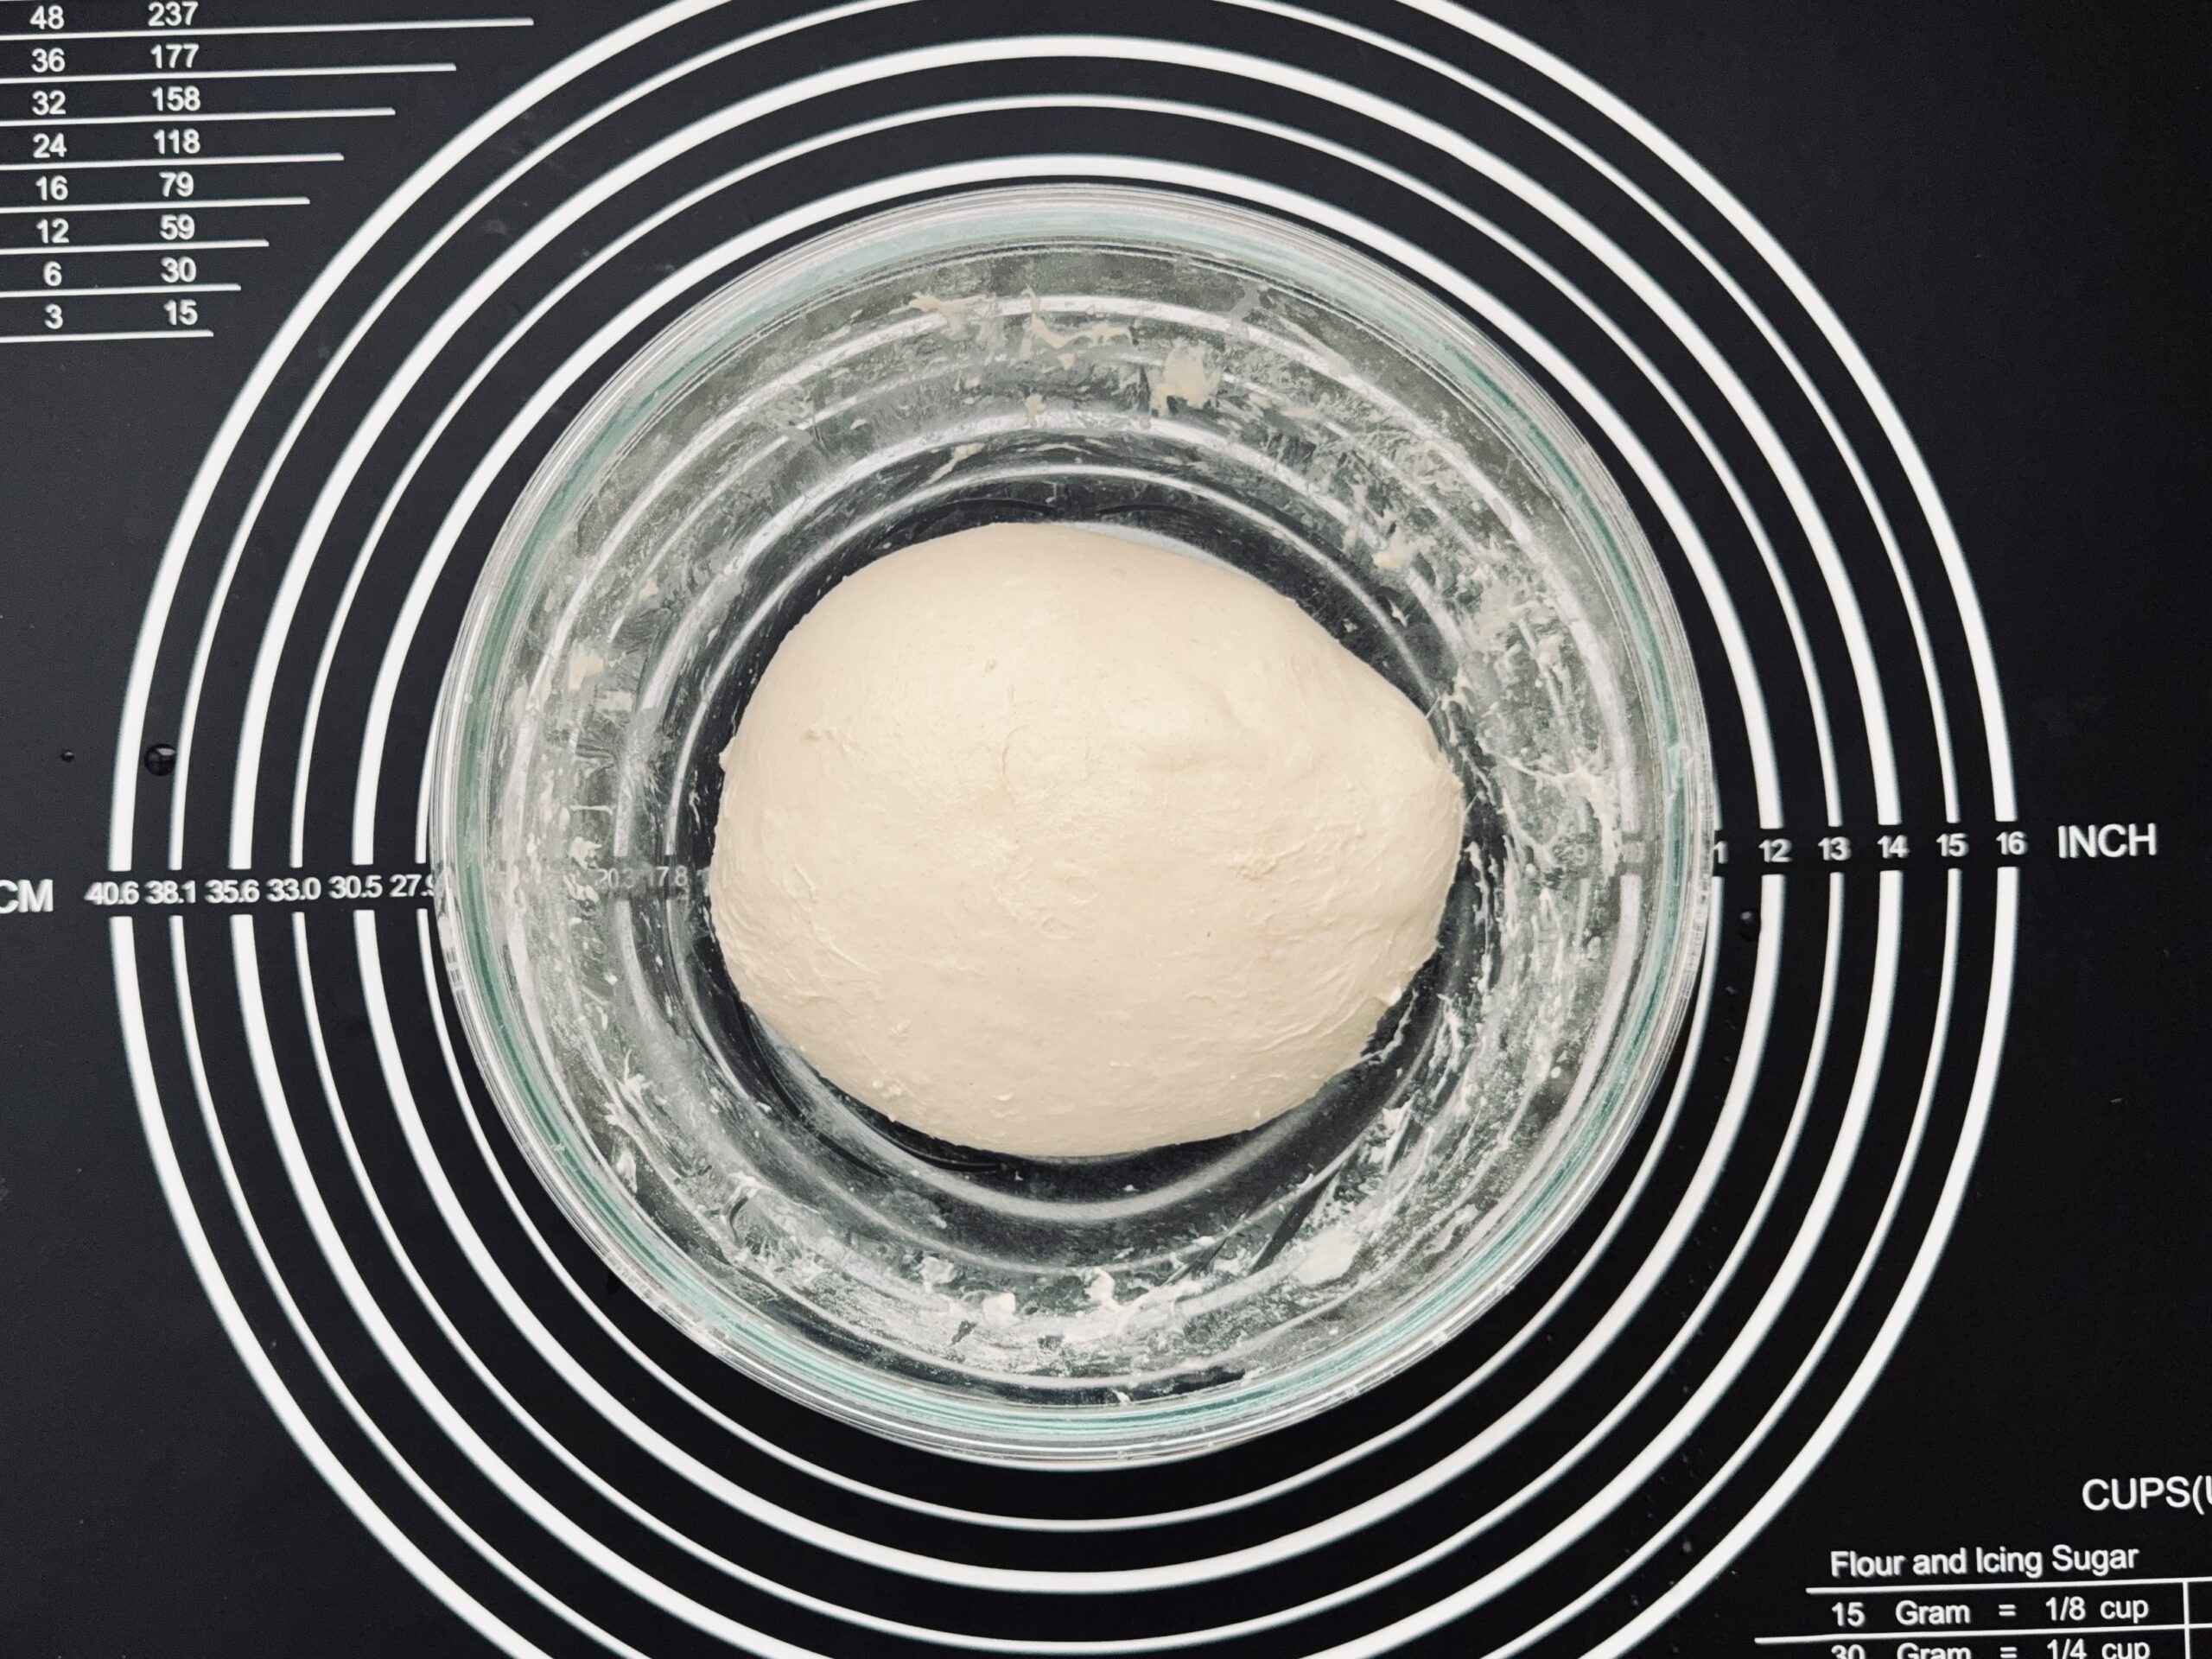
Add Starter
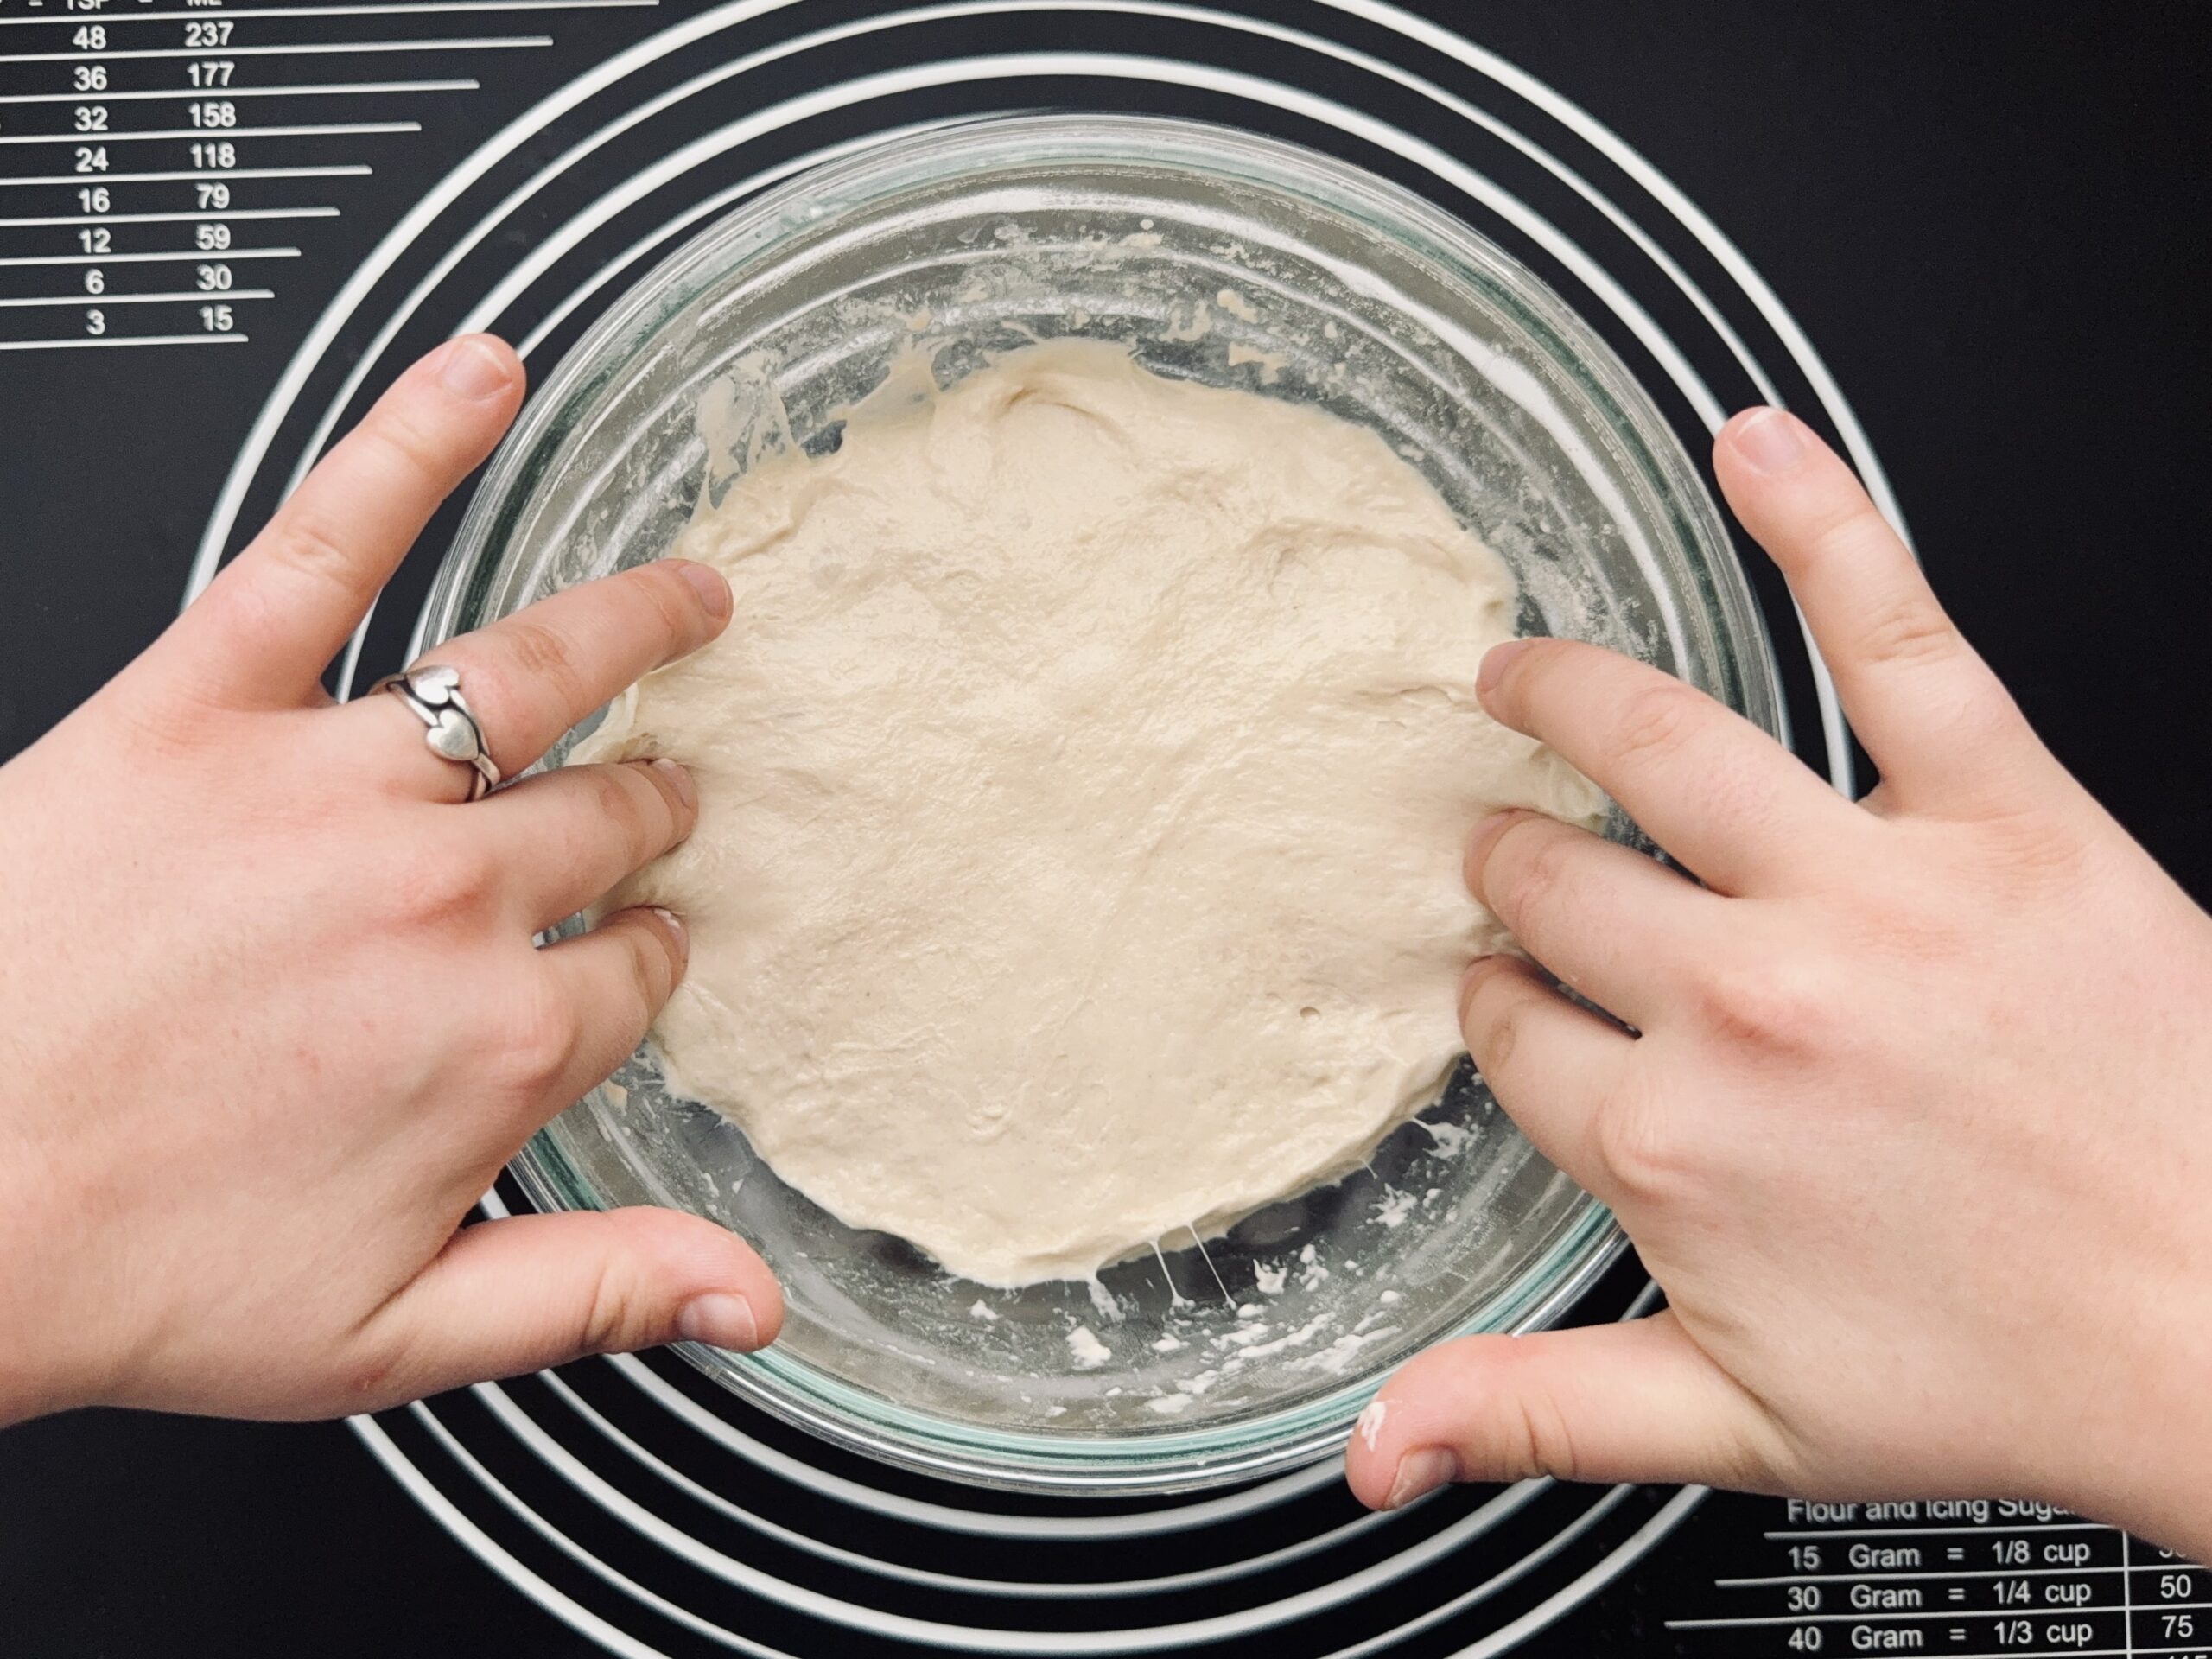
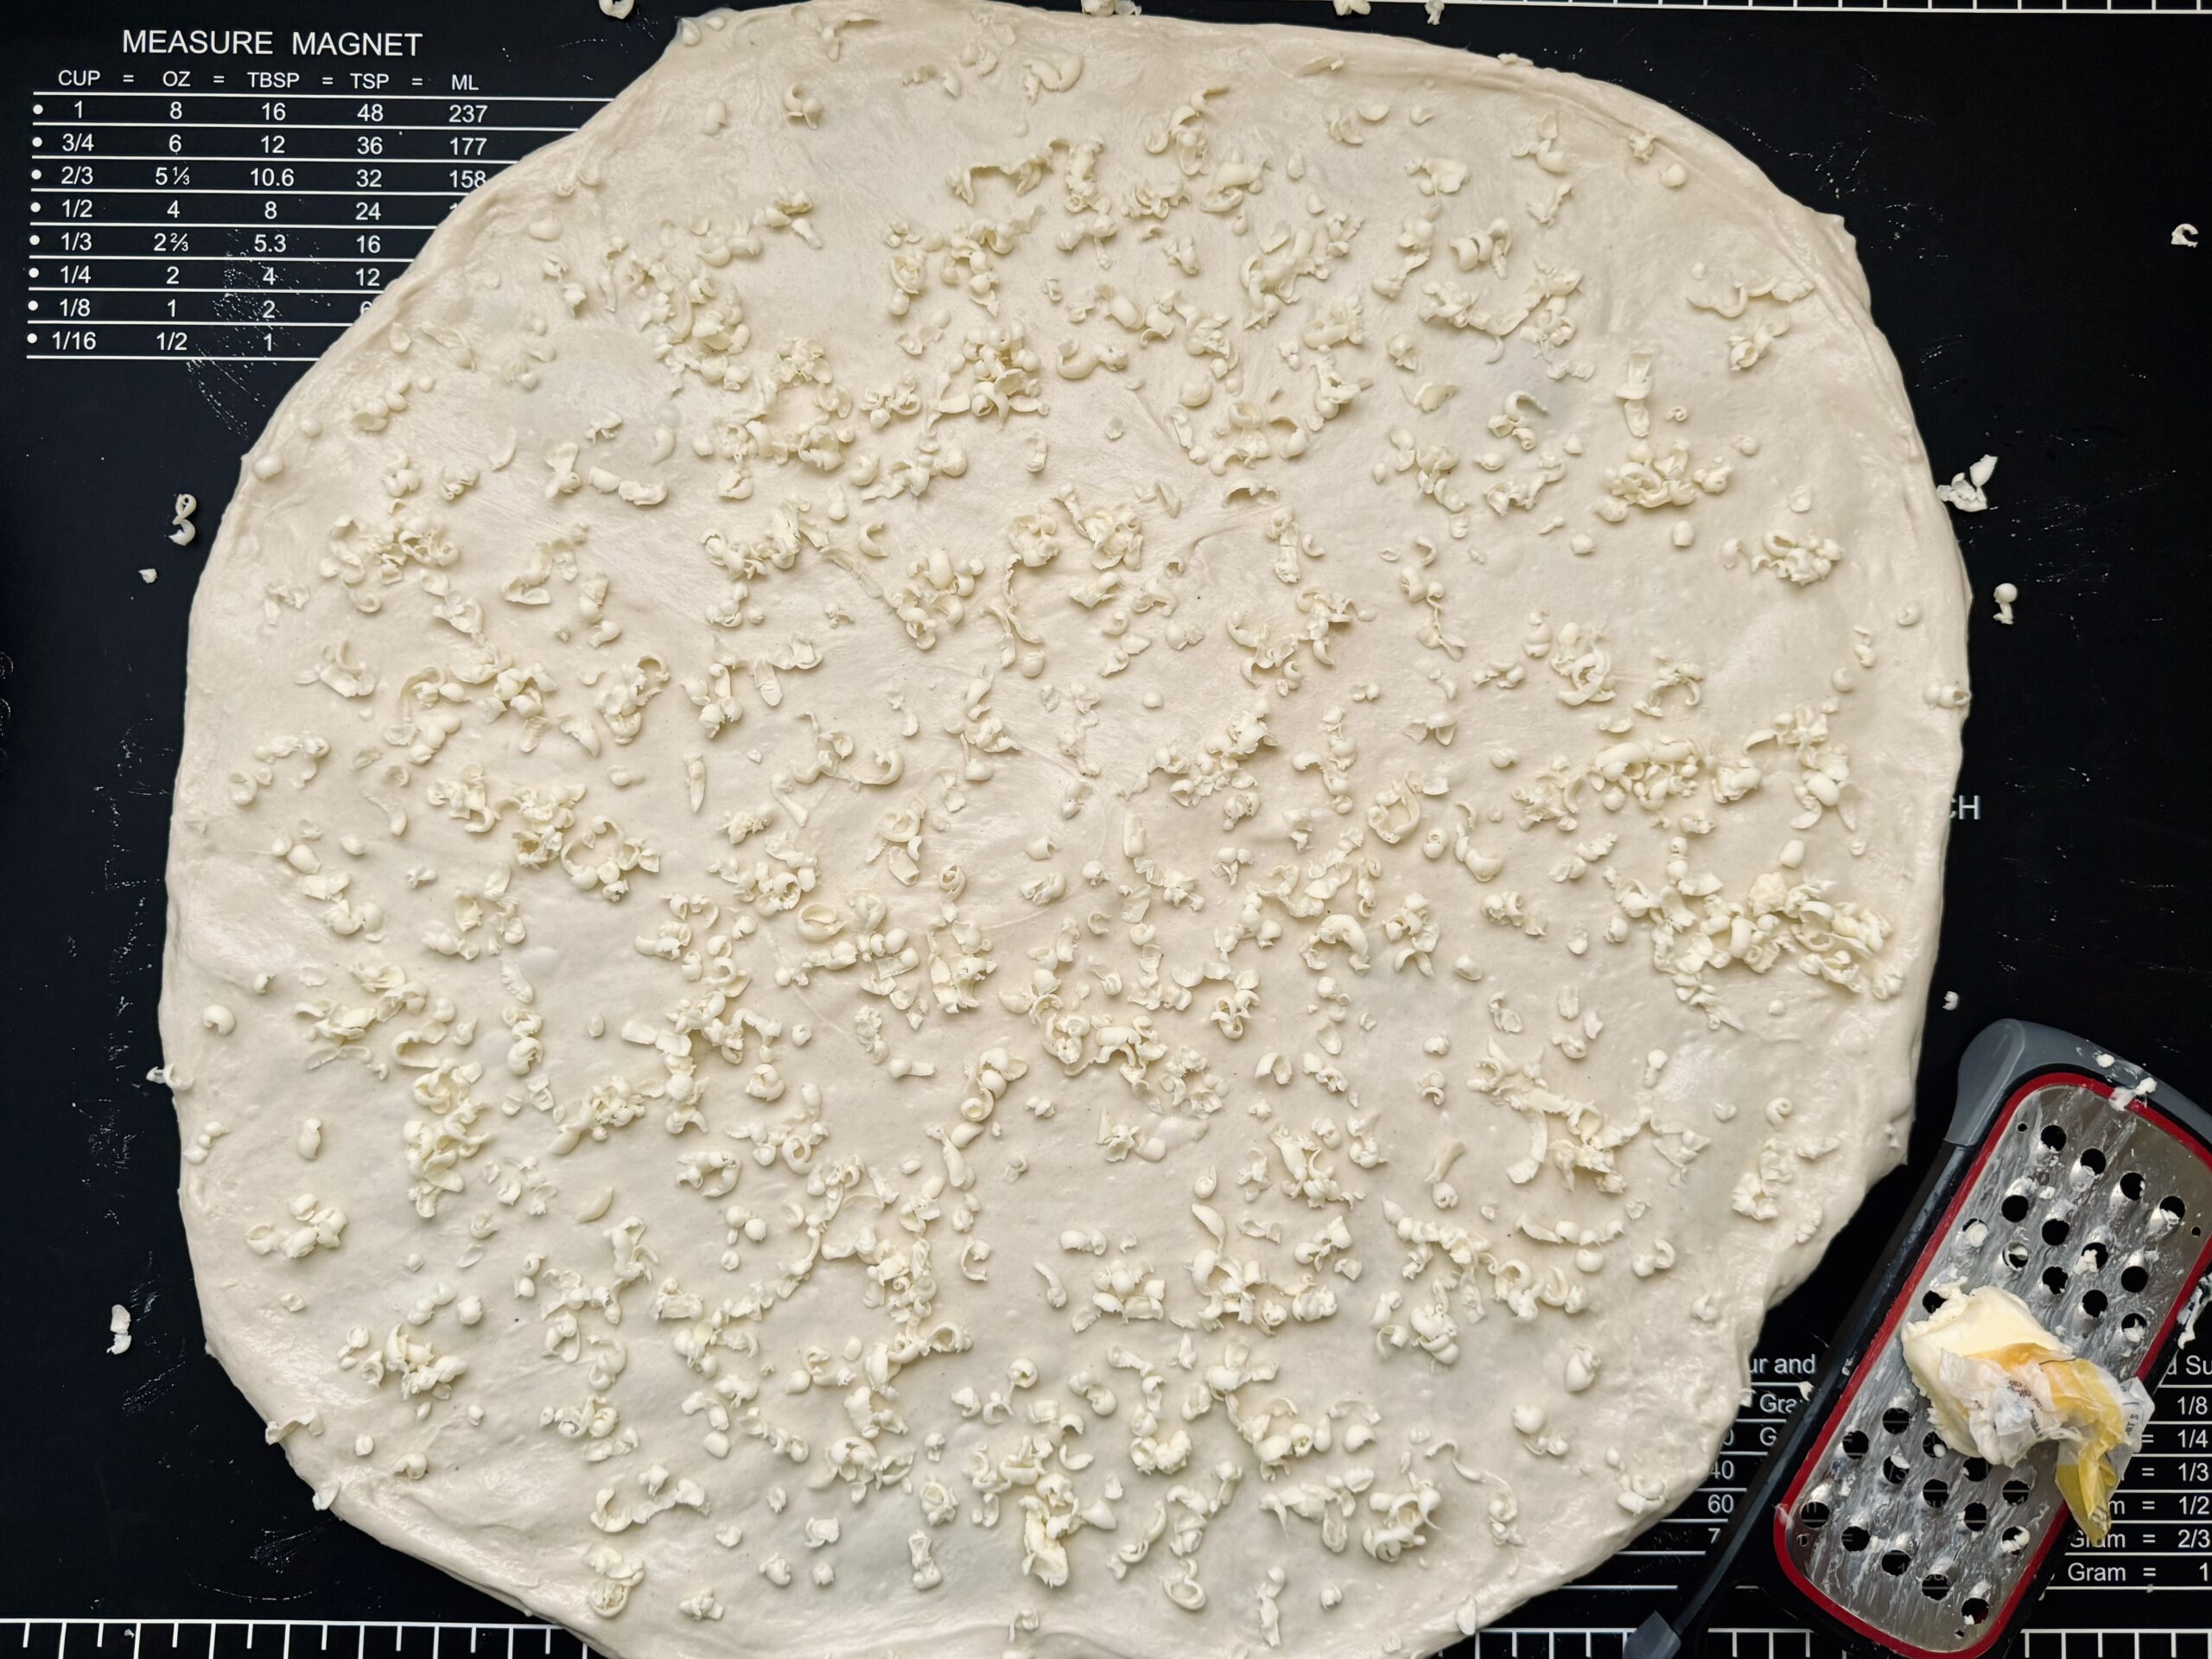
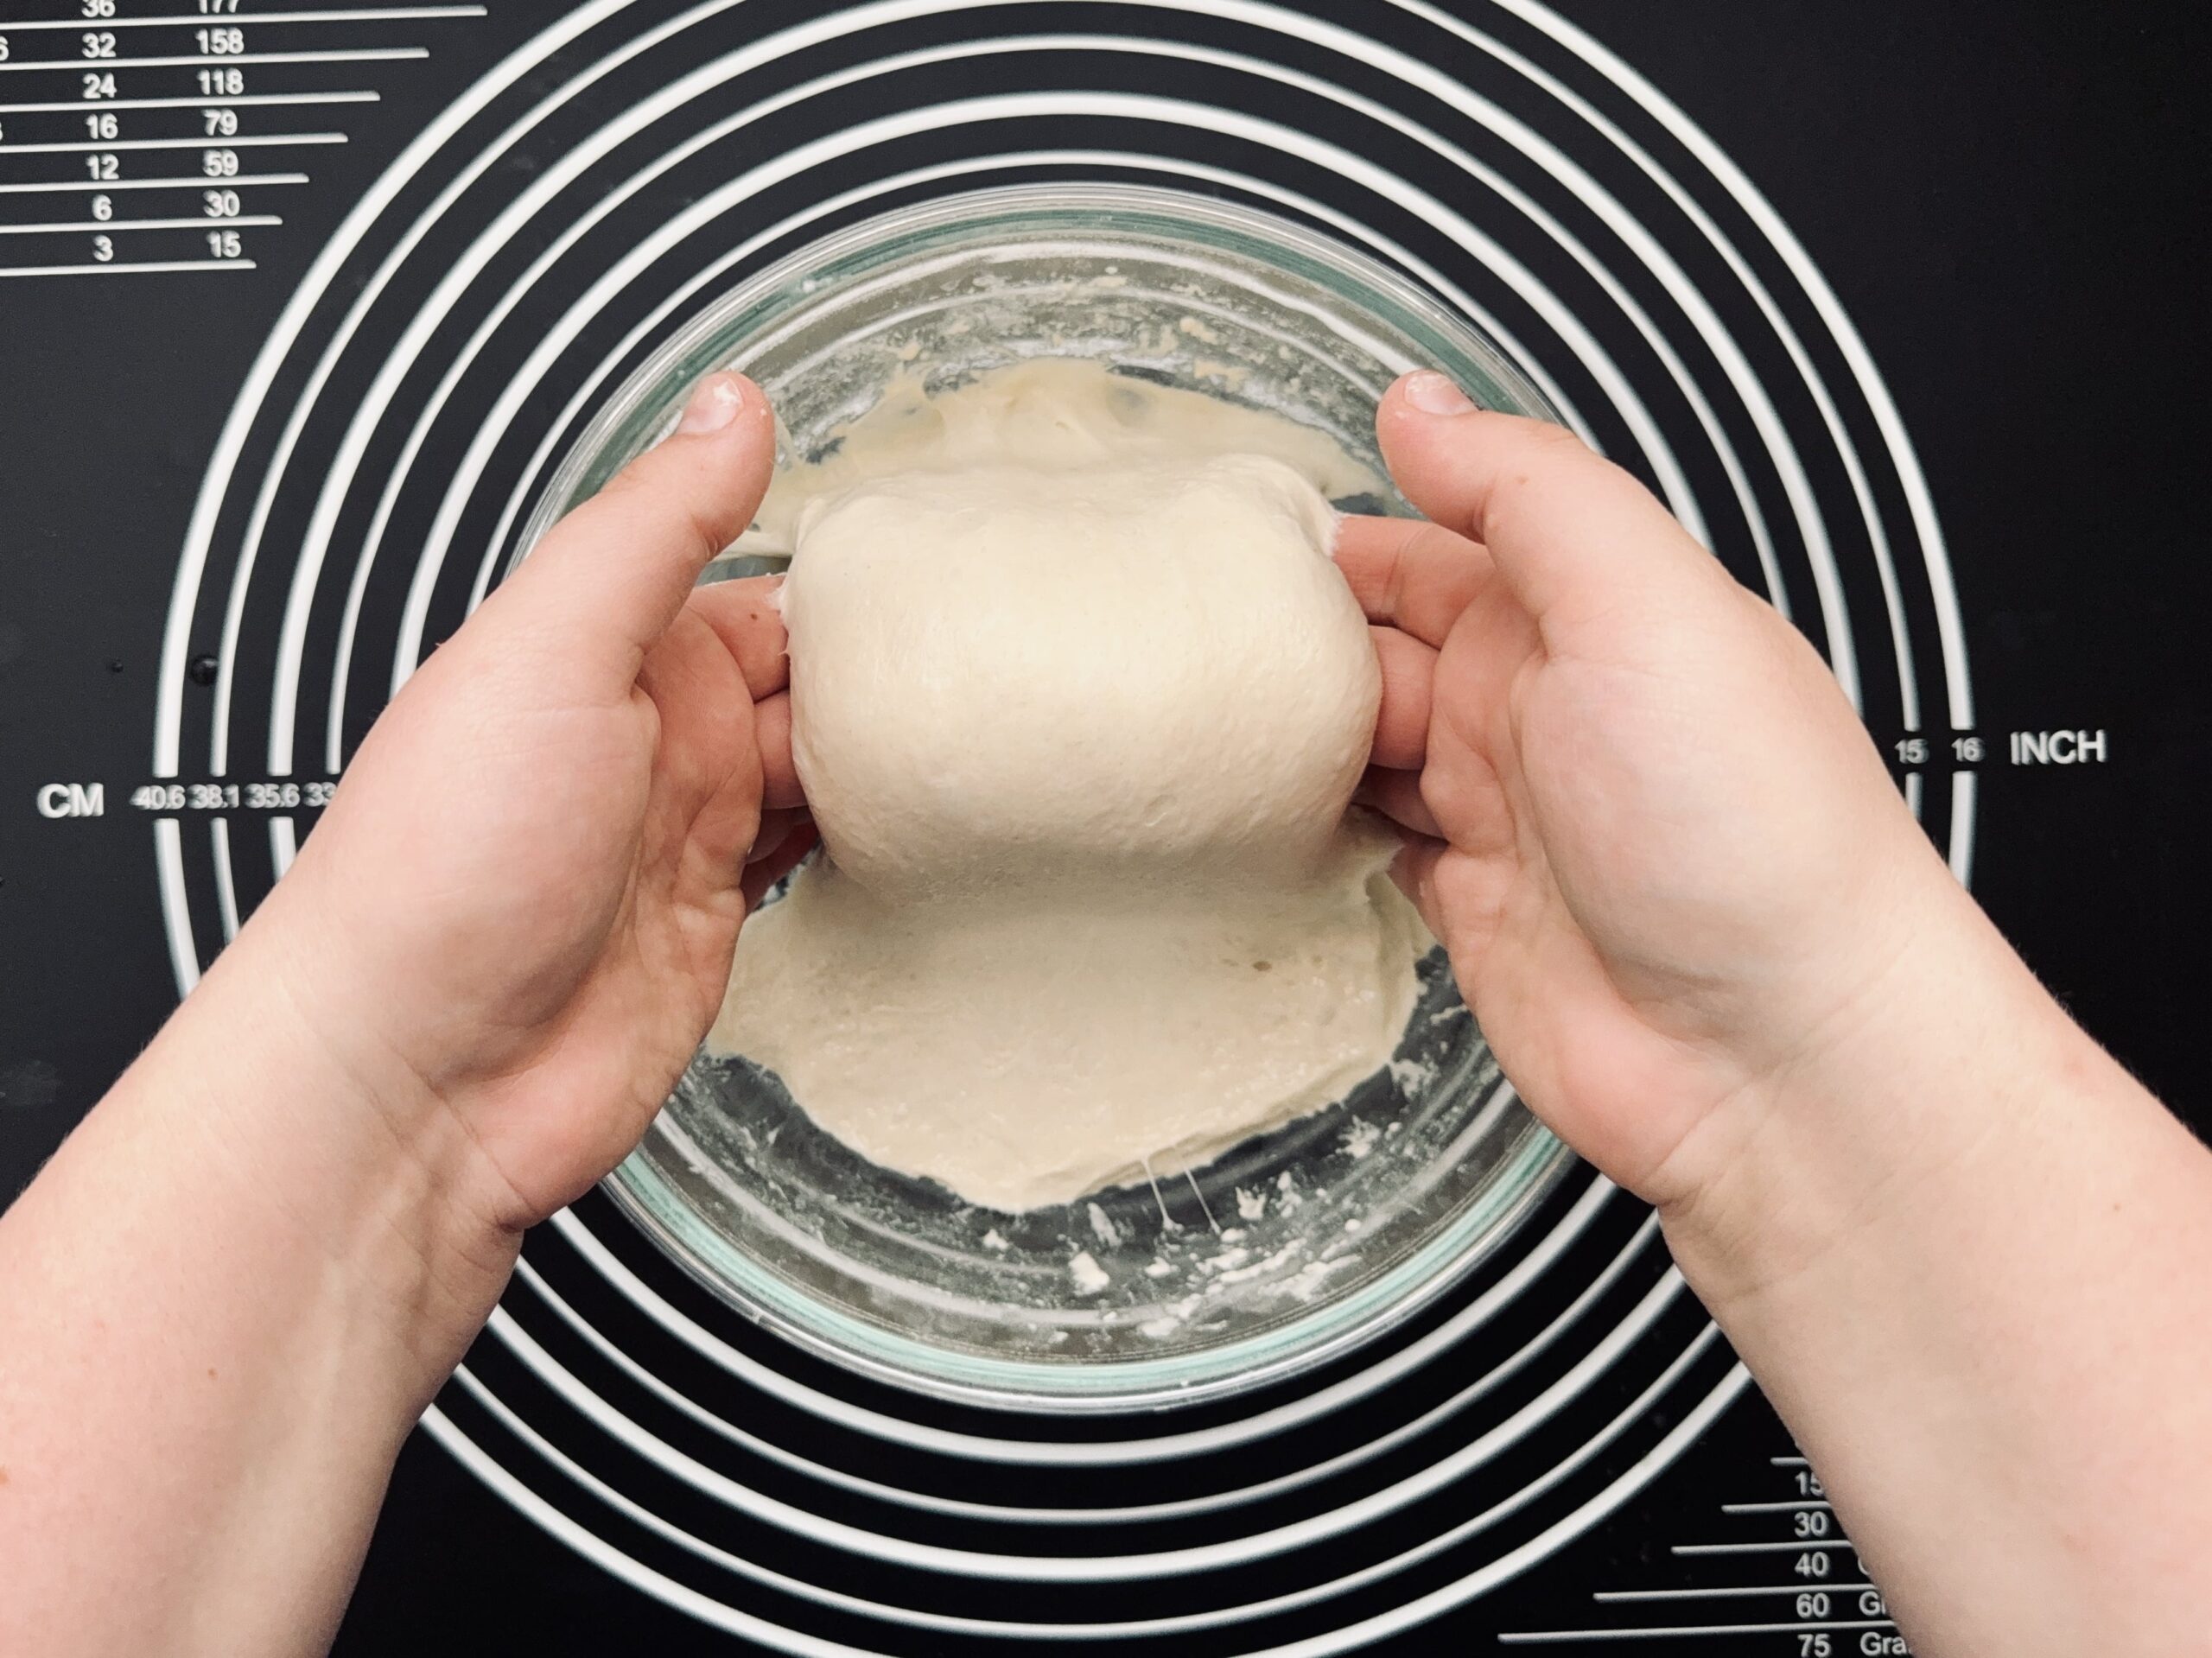
When both the starter and the dough are ready, smear the starter on top of the premixed dough, then perform as many coil folds as possible to incorporate the starter through layering without tearing the gluten network. Cover and rest for 30 minutes (ambient temp 73-75 F; 22-23 C).
 +2 photos
 -
Prepare Olives
Meanwhile, chop up the olives and pat them dry. Add them to a small bowl with the feta crumbles and crushed rosemary. Mix to combine all the inclusions thoroughly. Set aside until the dough is ready to laminate.
This step can be done in advance and stored in the refrigerator, if desired.
-
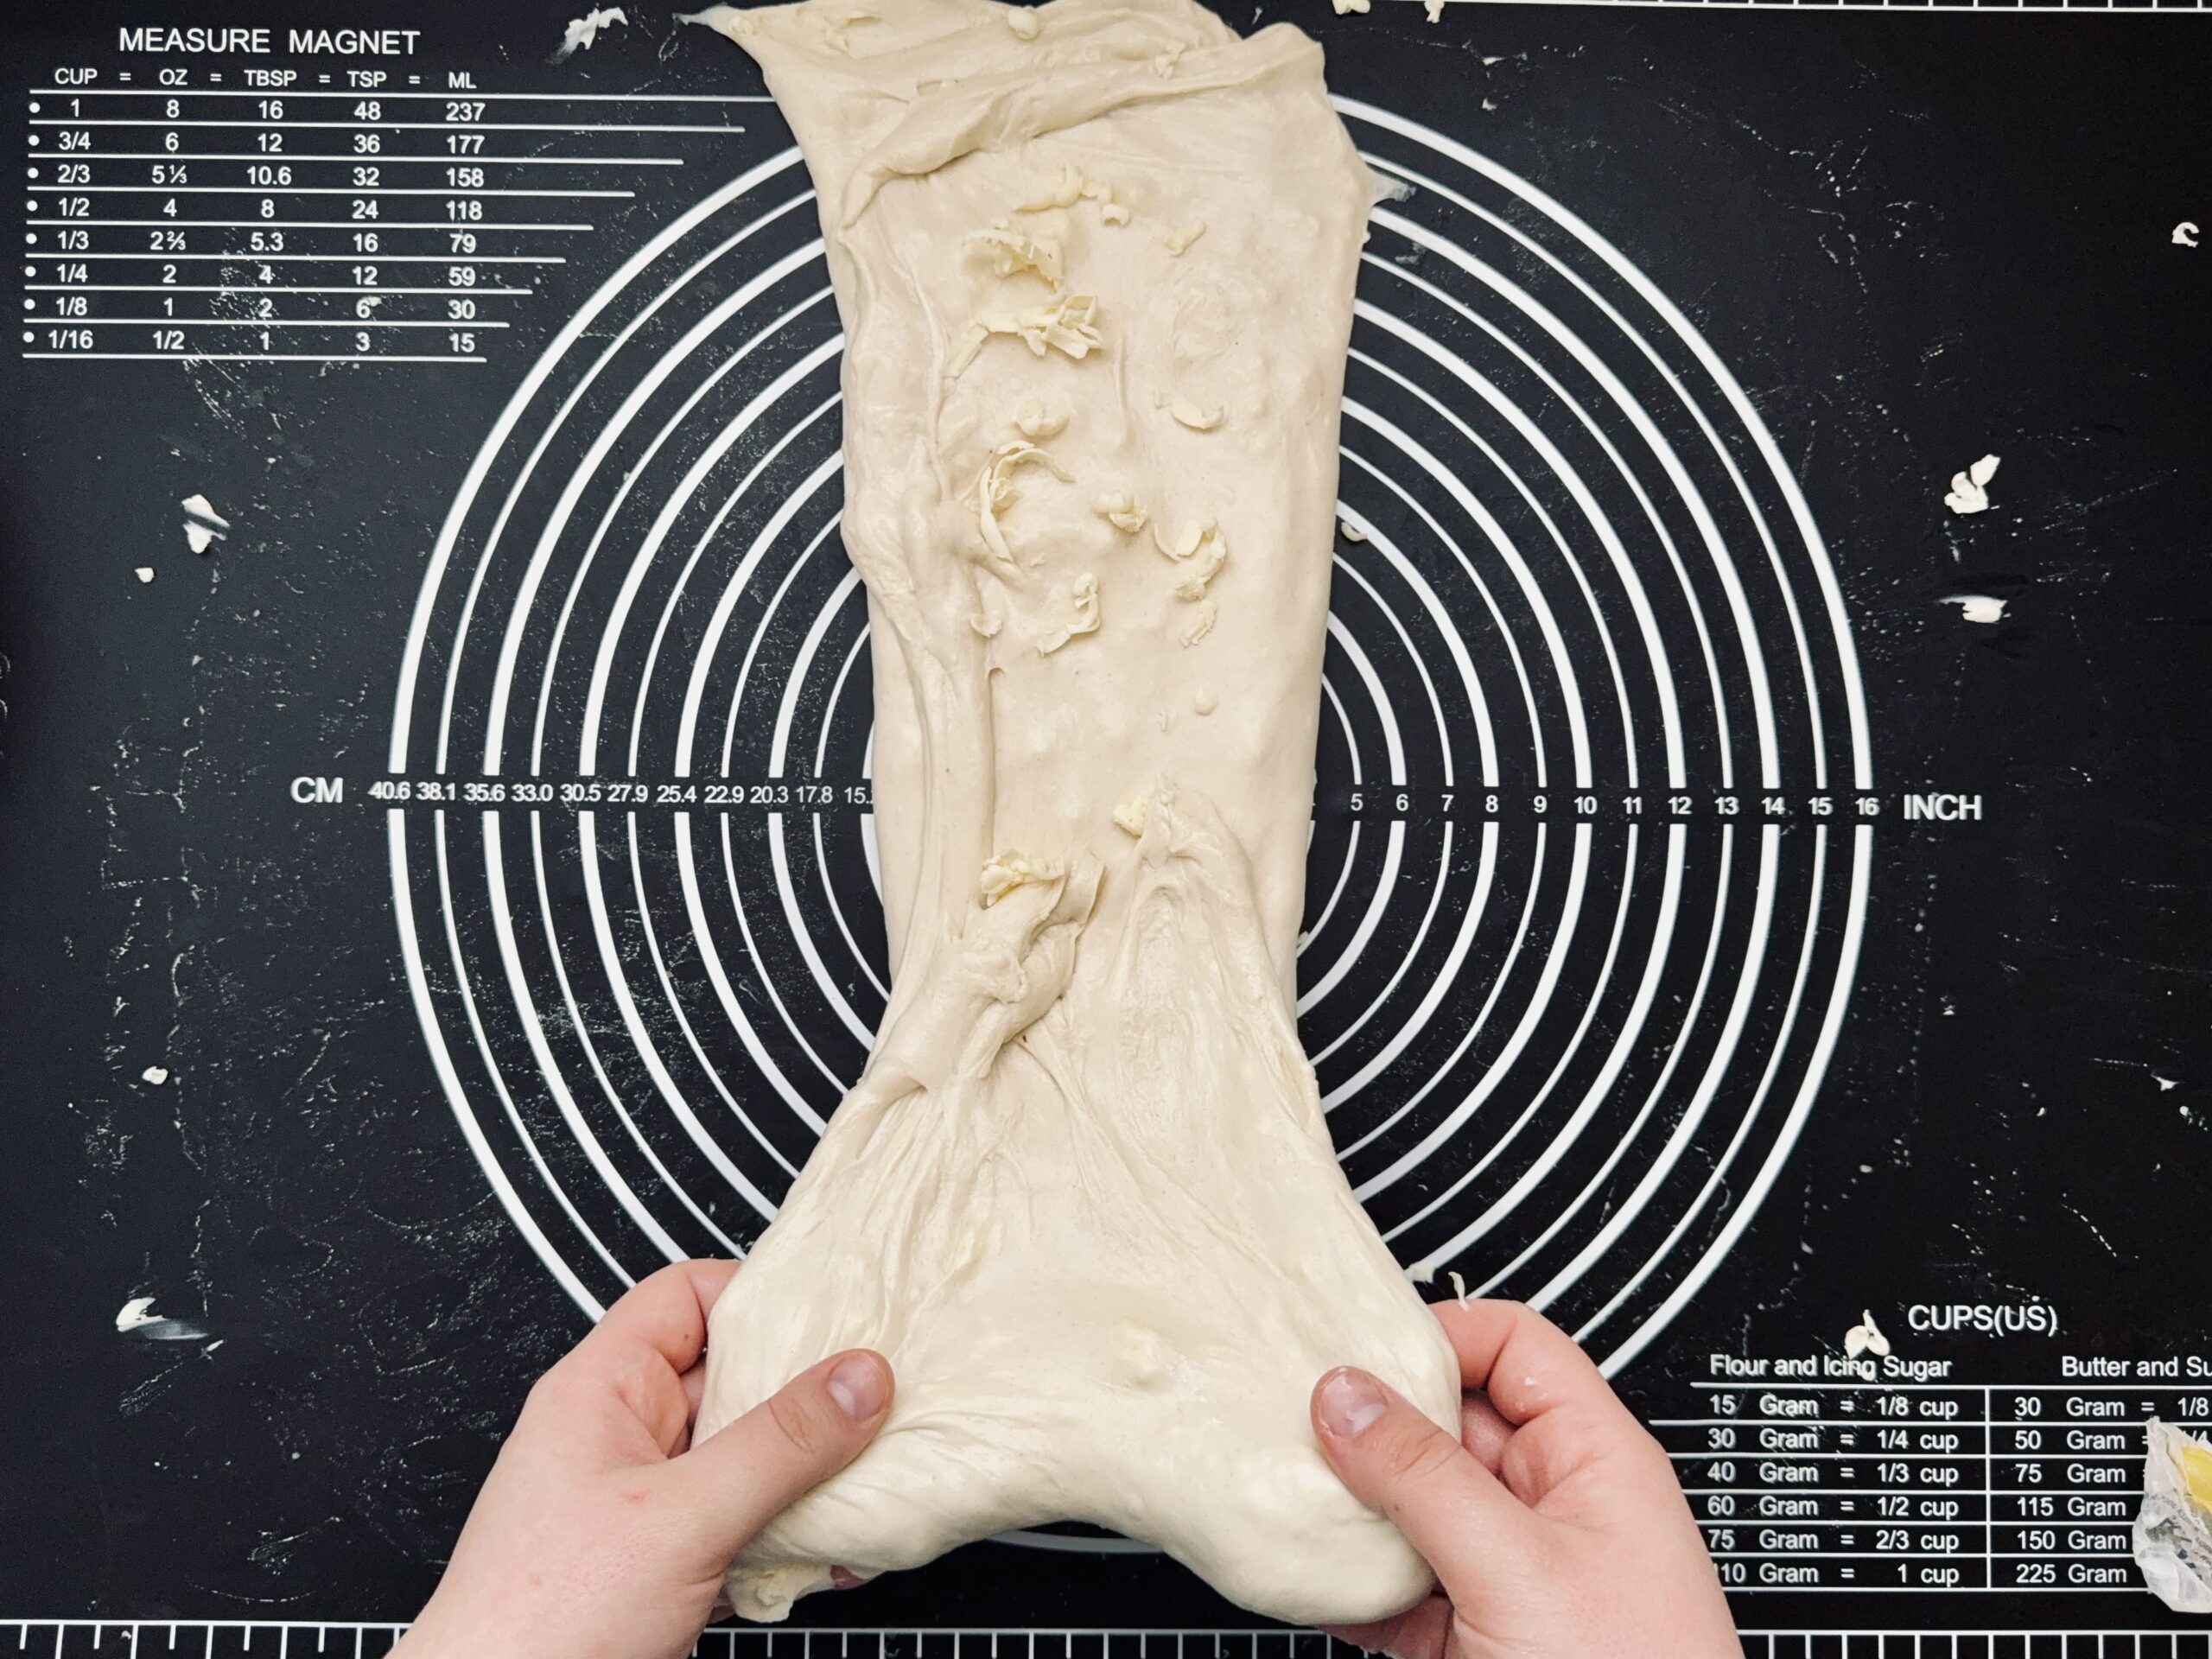
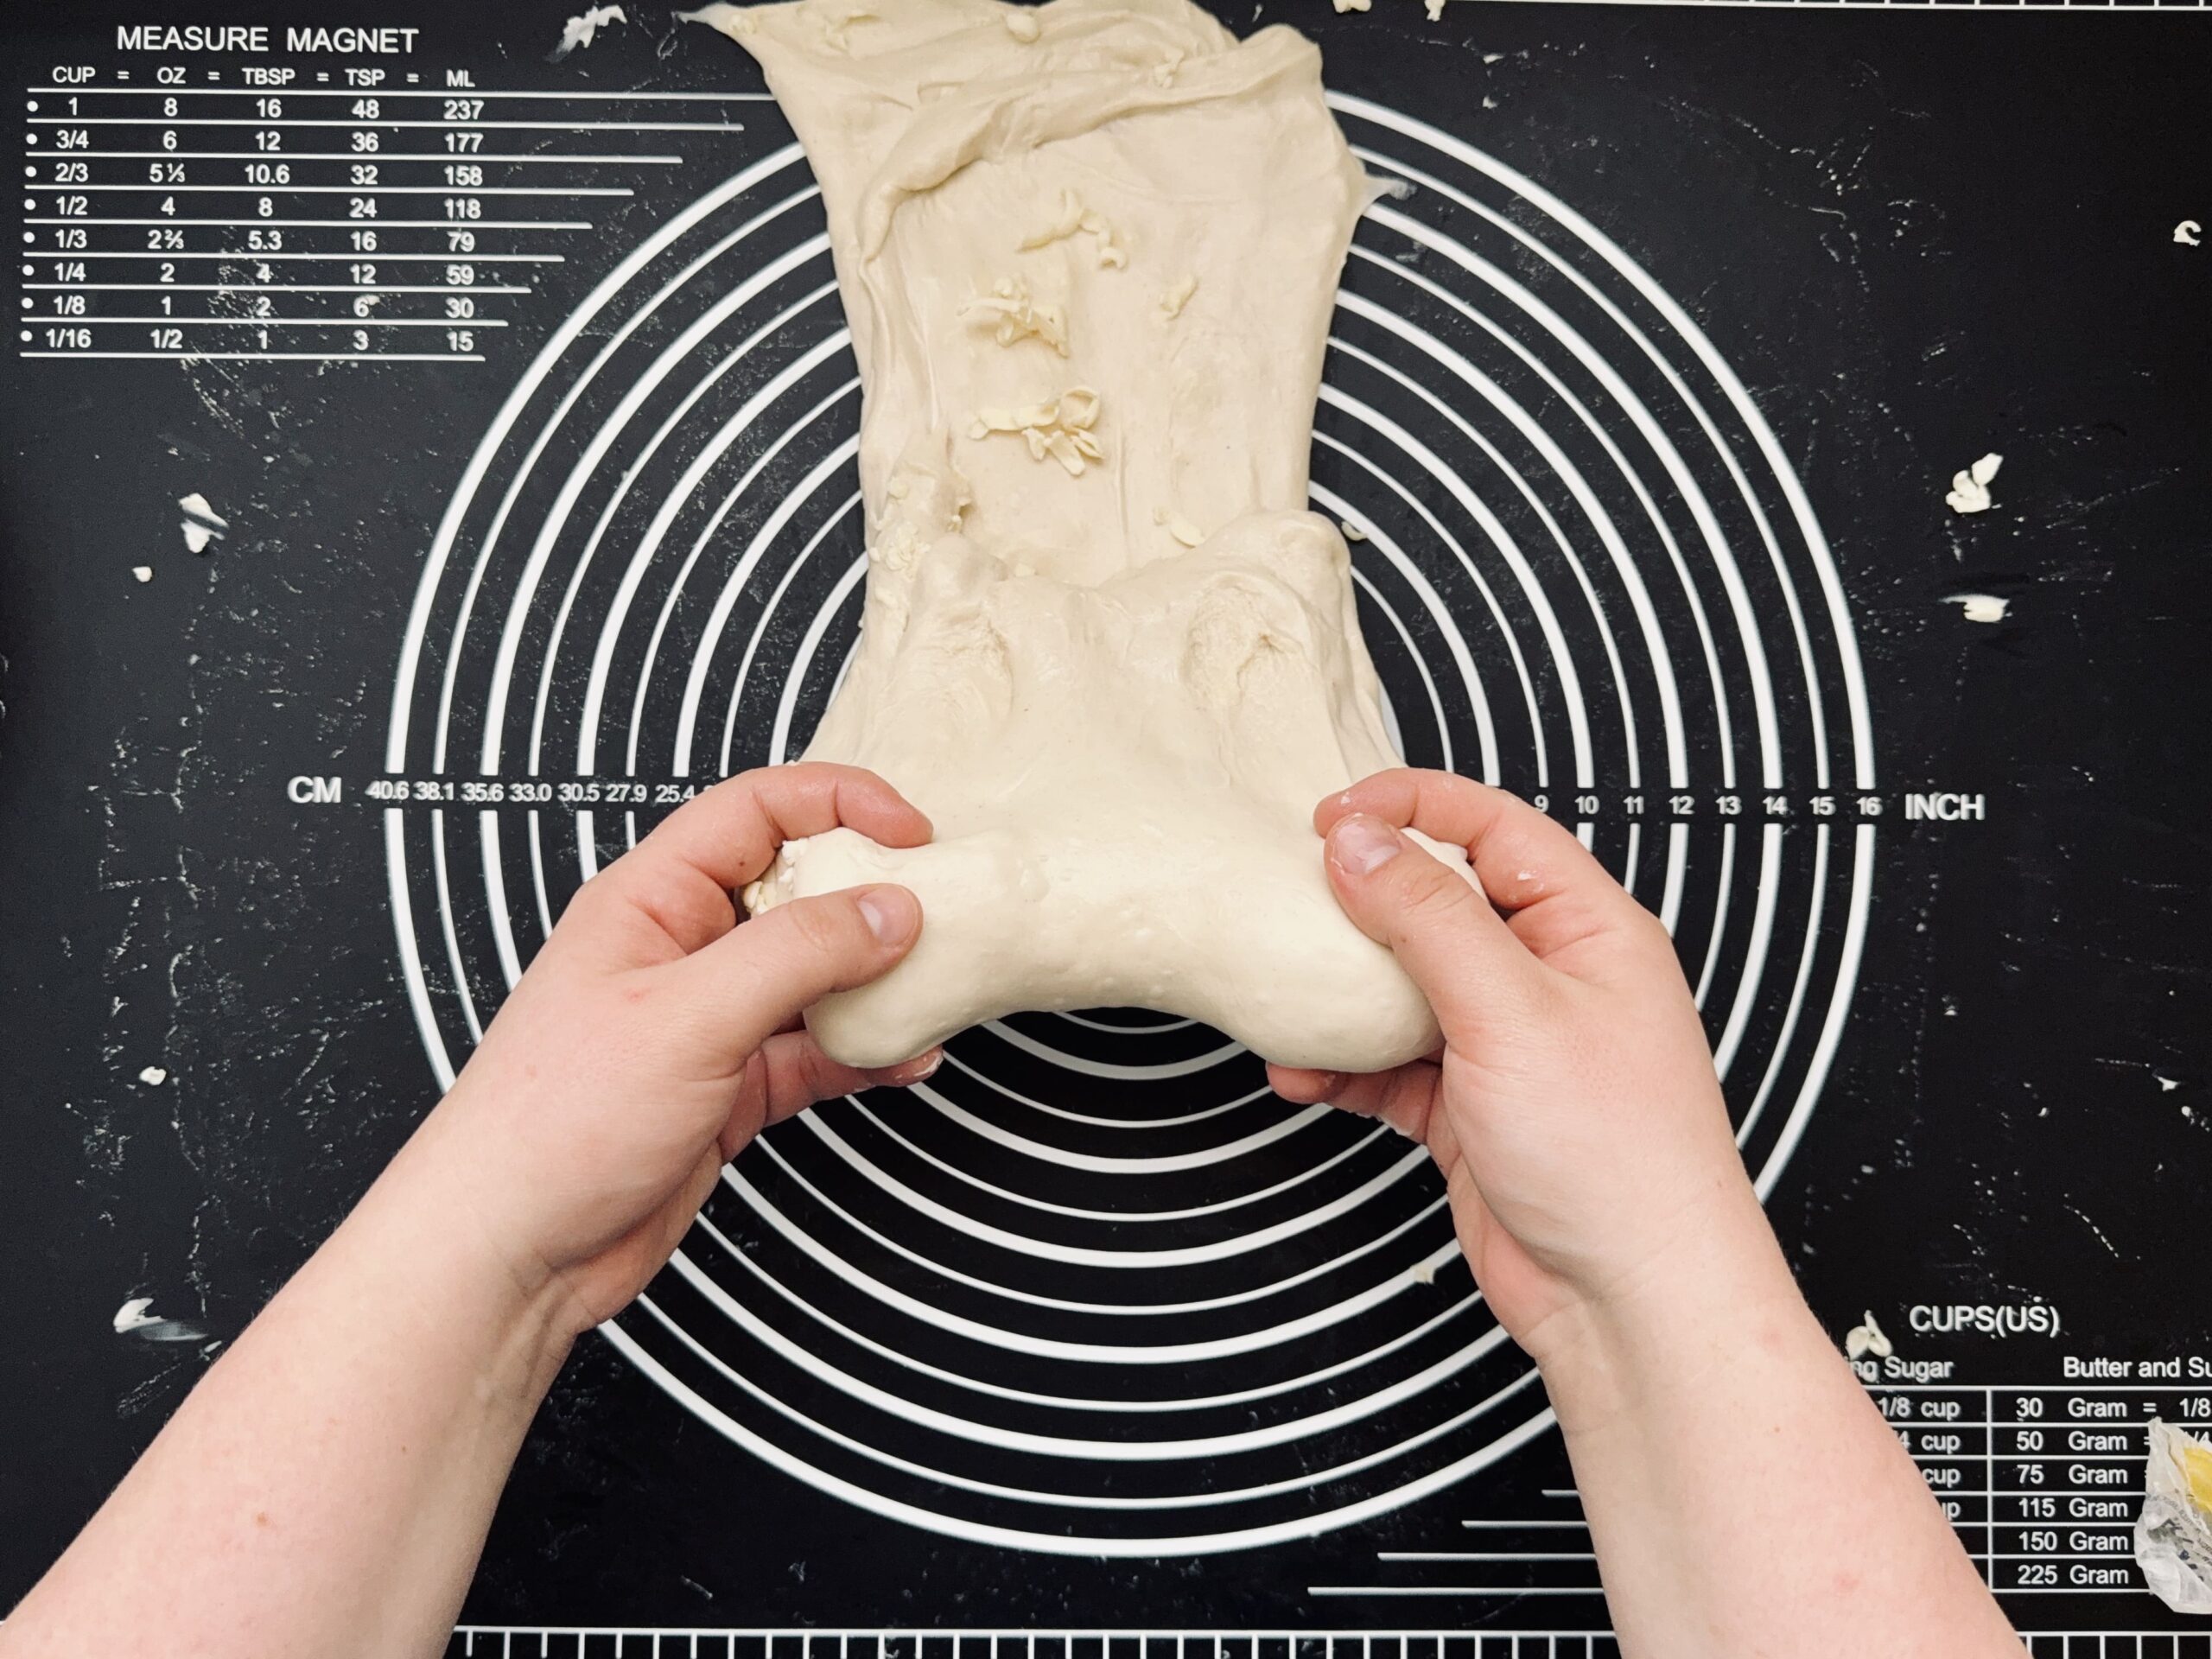
Laminate
After 30-45 minutes, laminate the dough. This step further incorporates the starter, strengthens the dough, and adds the olives, feta, and rosemary to the mix.
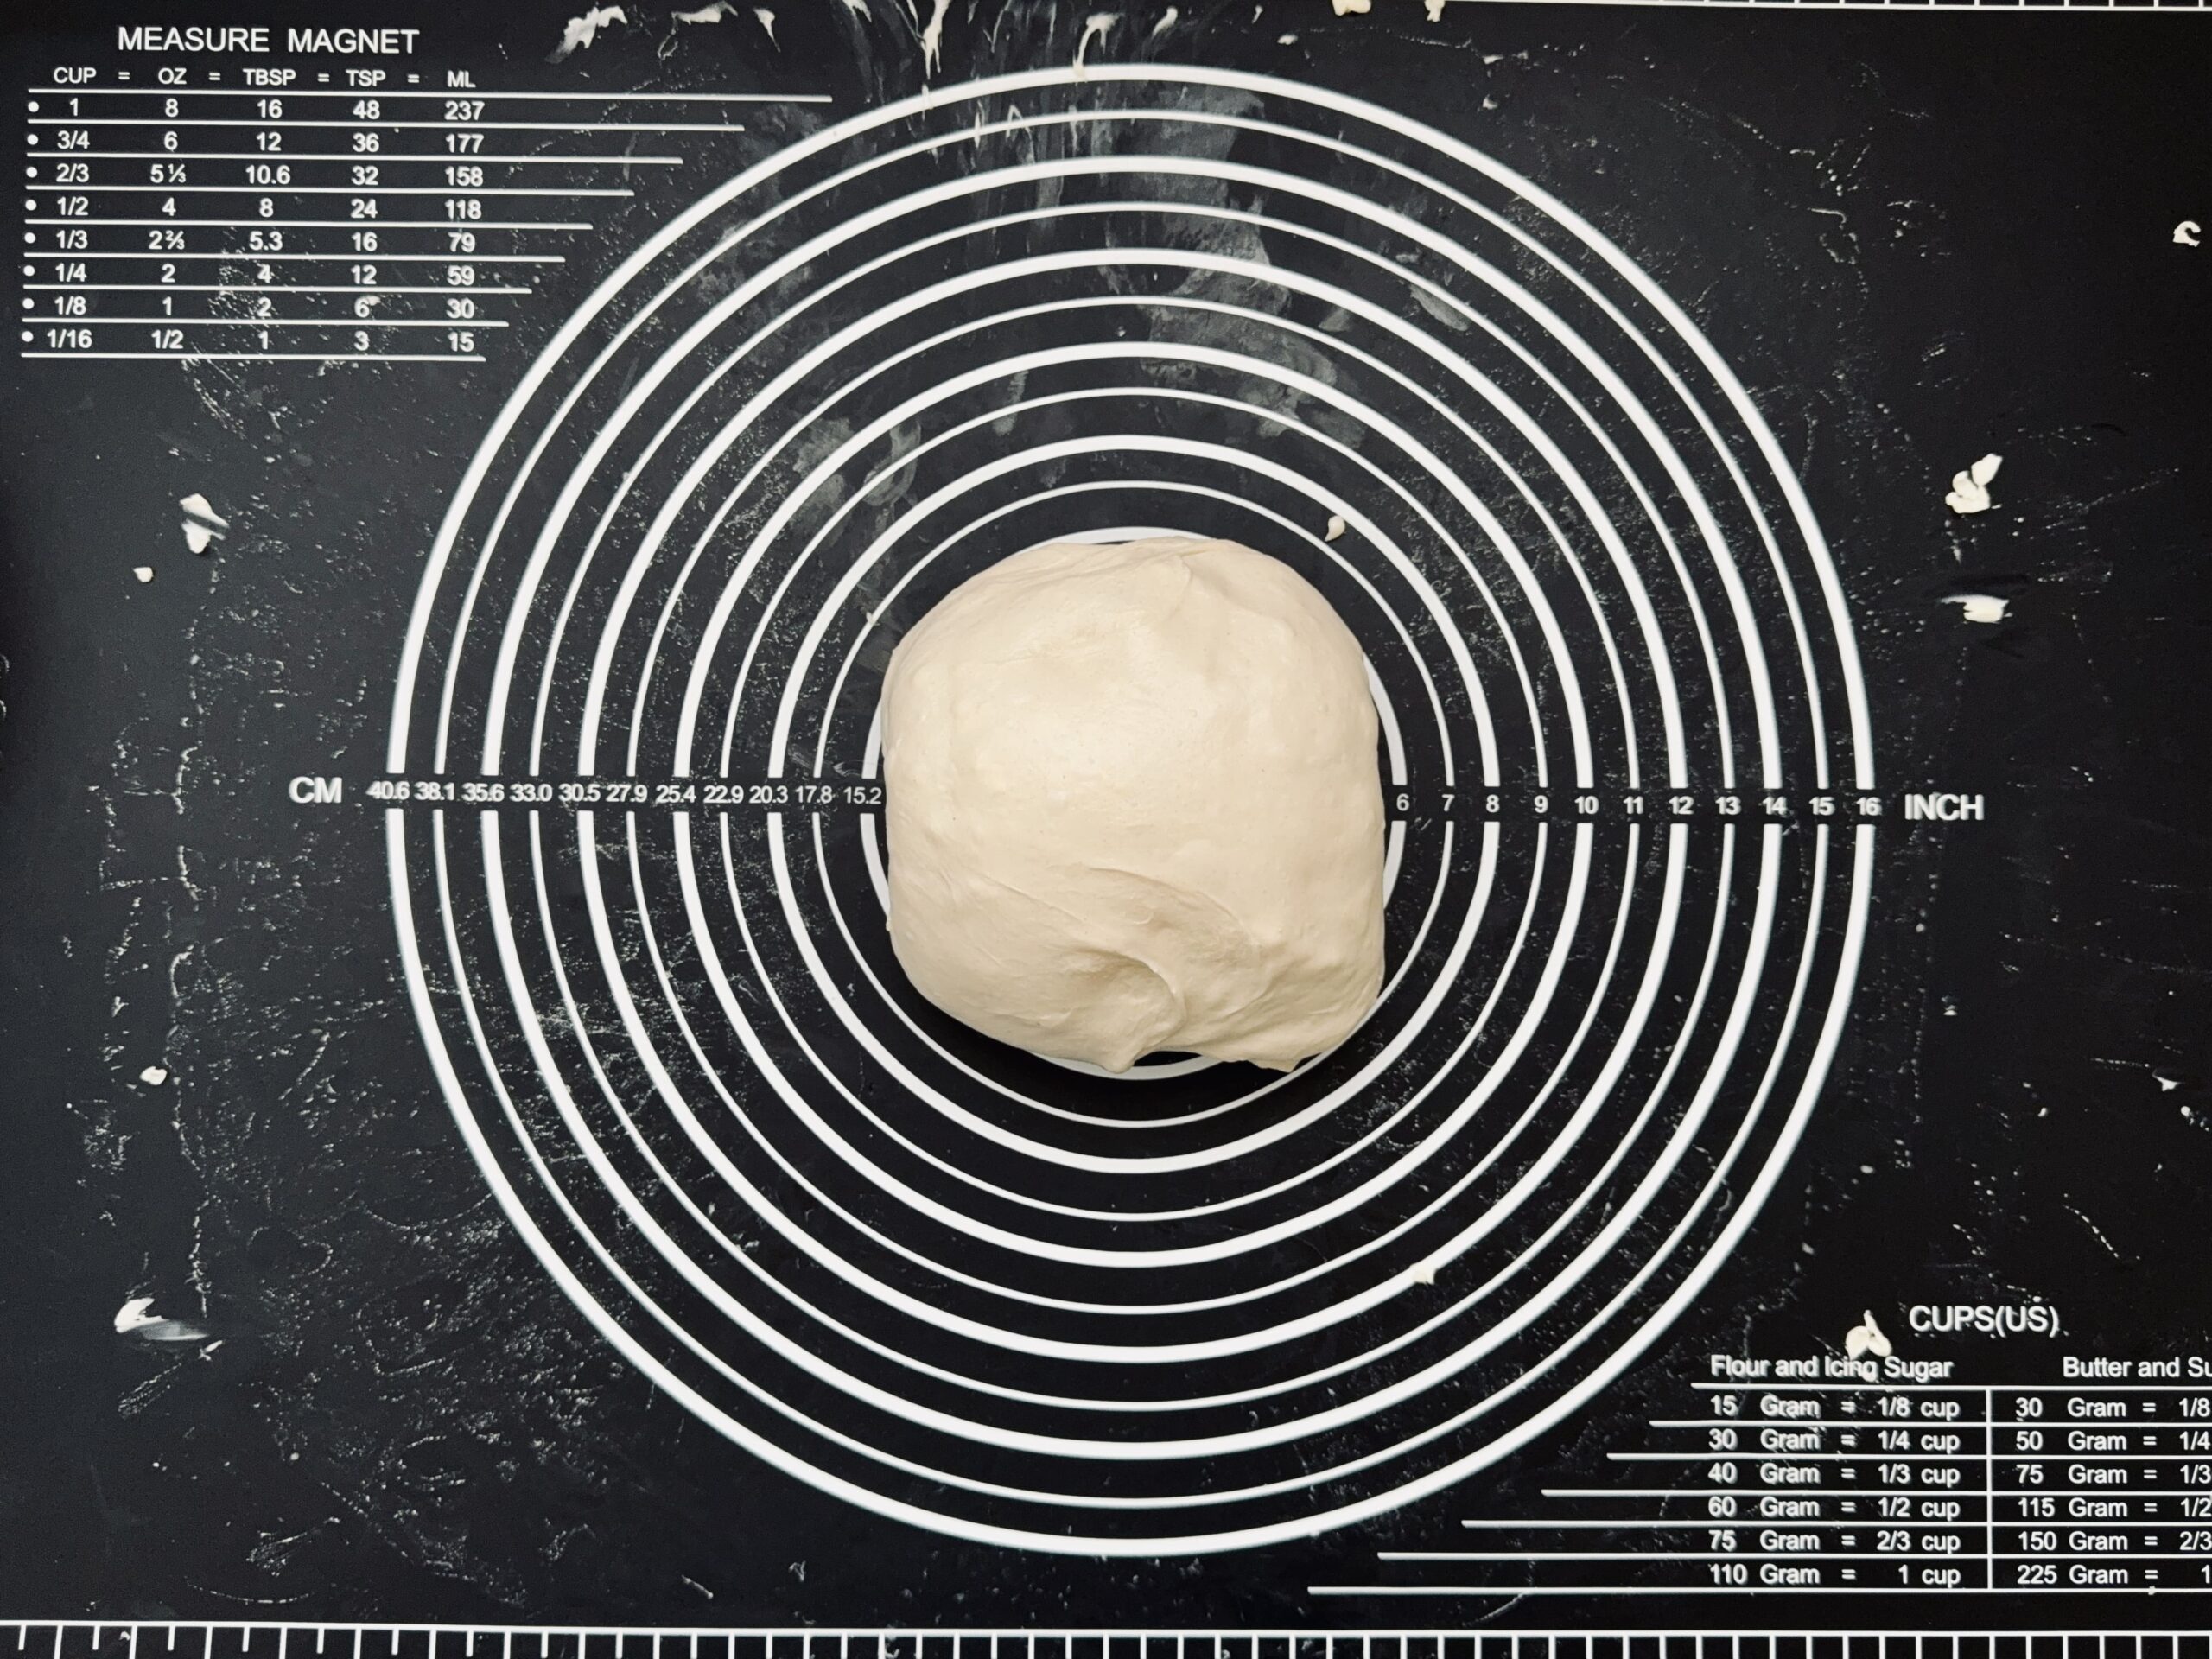
To laminate: Lightly spray your work surface with water. Turn the dough out onto the surface and gently stretch it into a rectangle, being careful not to tear it. Sprinkle the olive, feta, and rosemary mixture all over the dough. Fold the dough into thirds, like a letter, adding any of the remaining olive mix. Then roll the dough up, adding even more of the mix if there's any left.
Transfer the dough to a proofing container (I switch to an 11-cup Pyrex container at this stage), cover, and let it rest for another hour (ambient temp 73-75 F; 22-23 C).
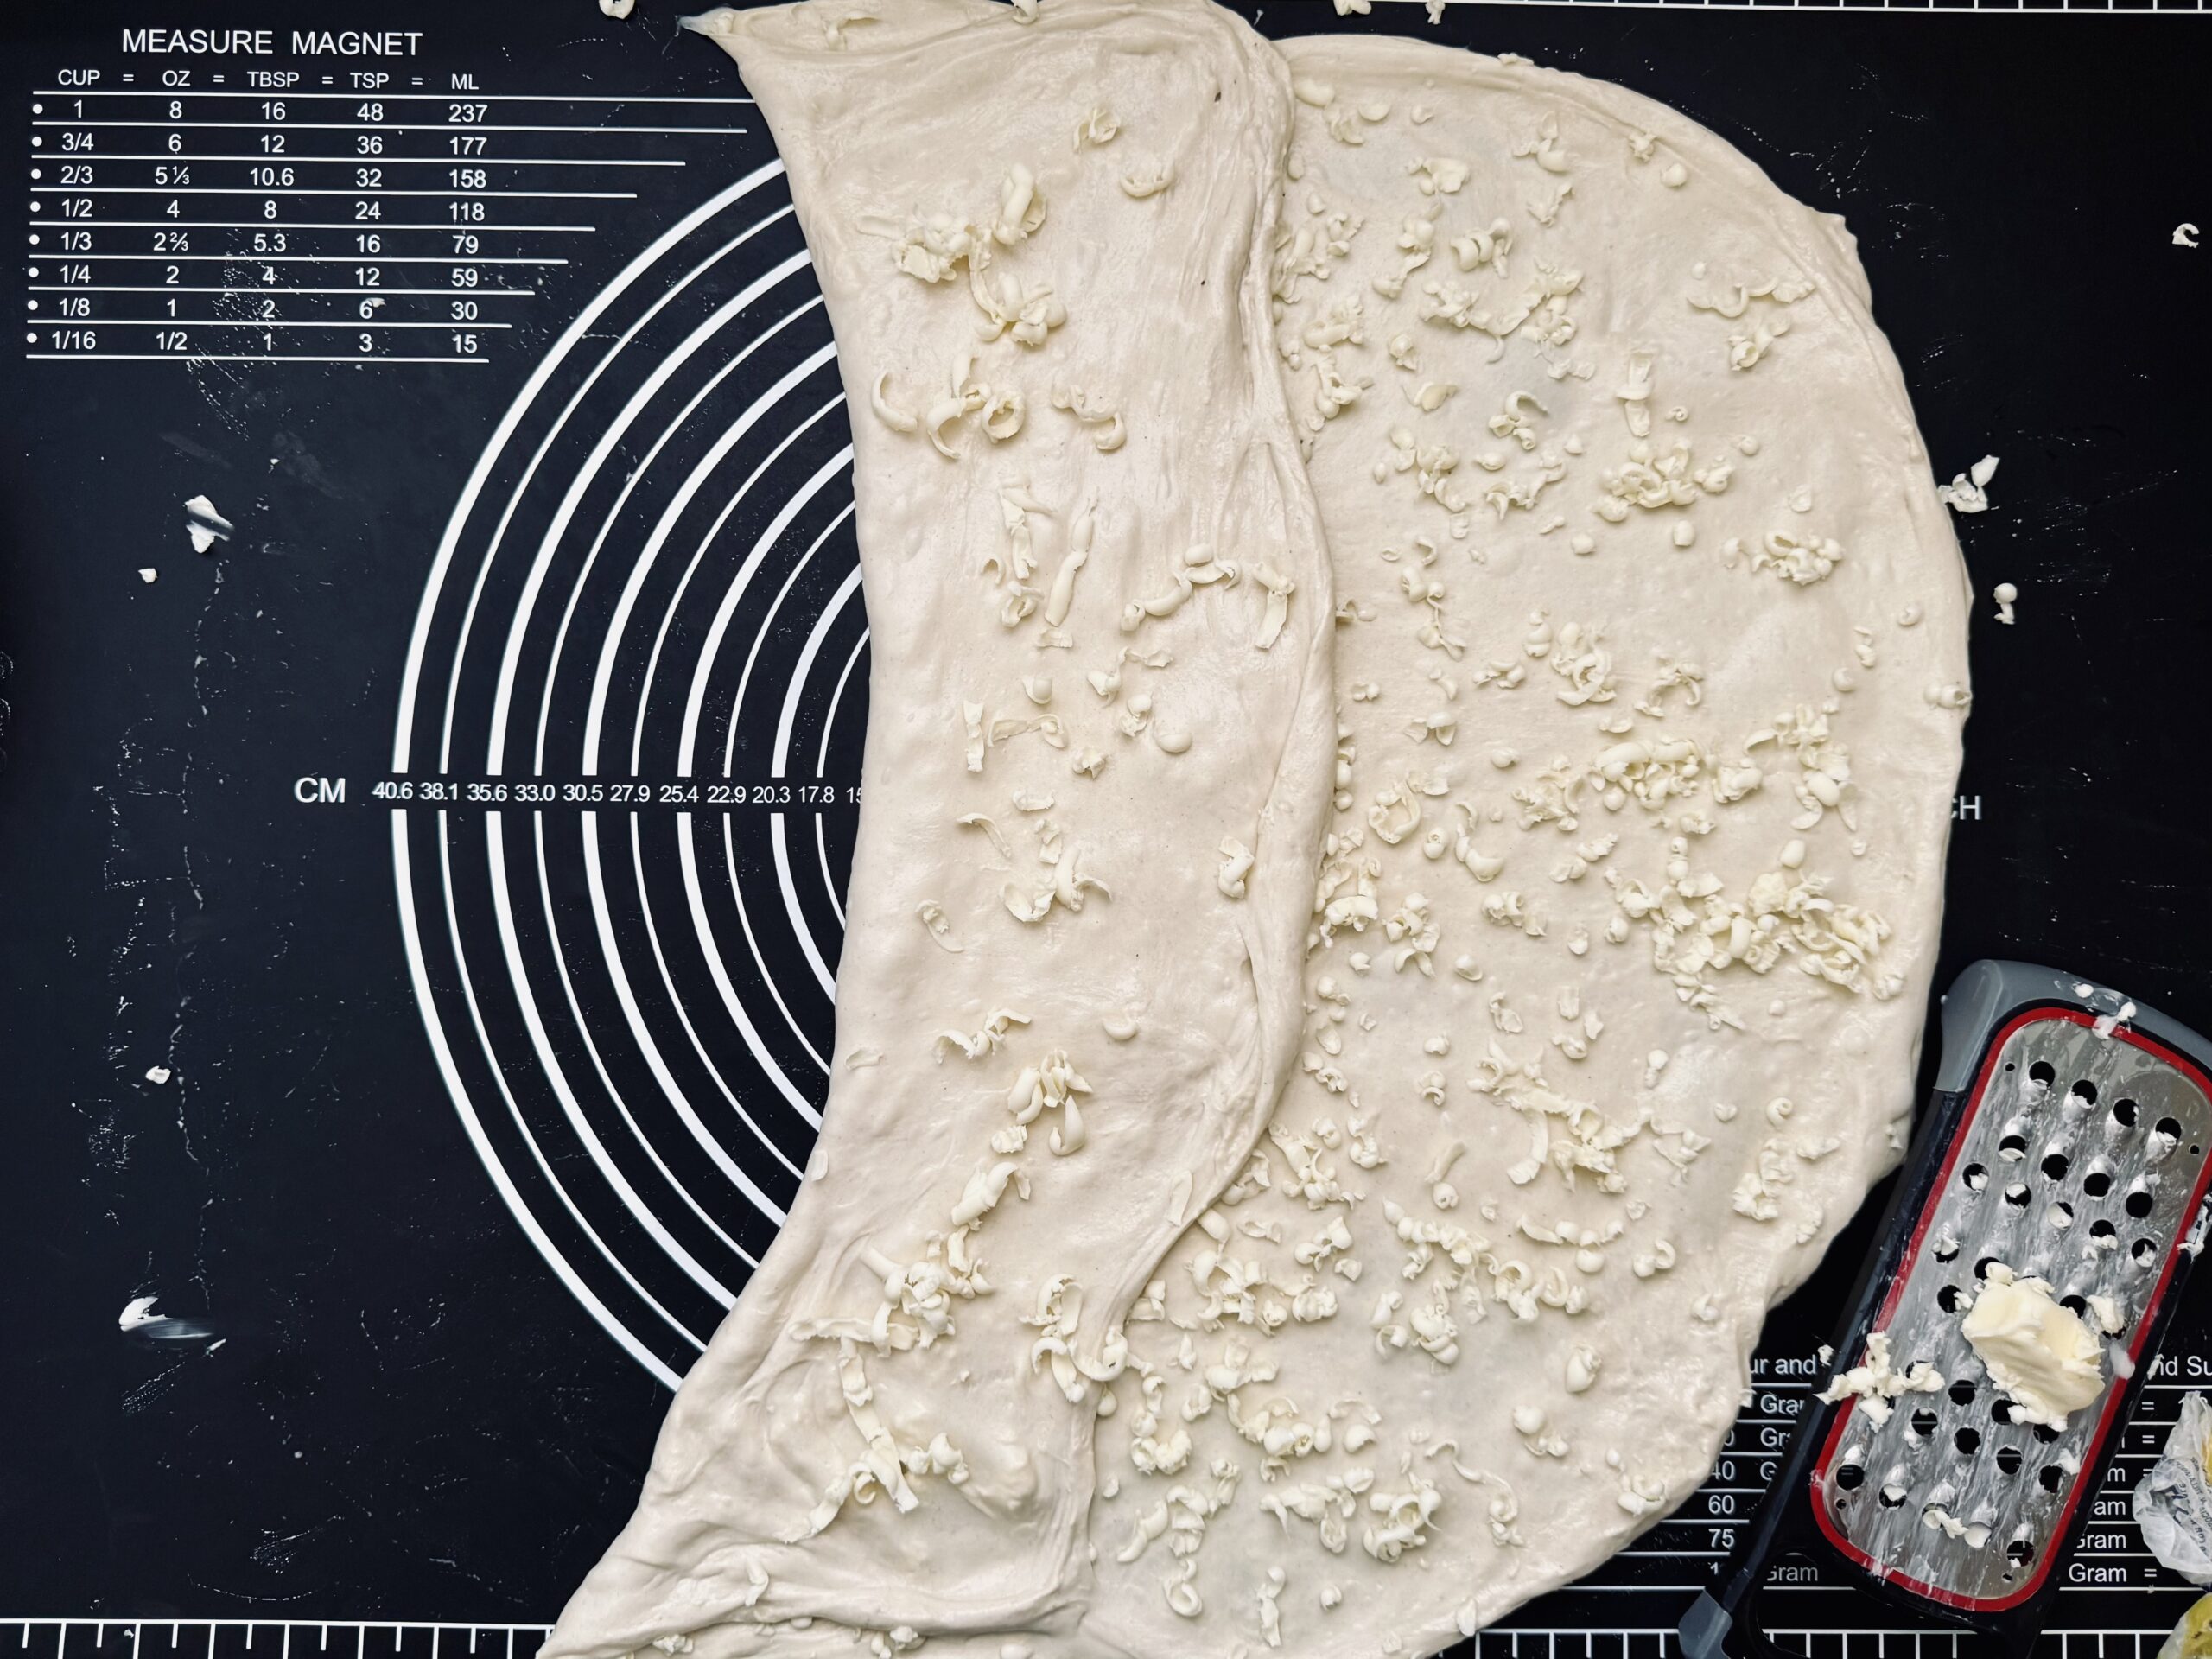
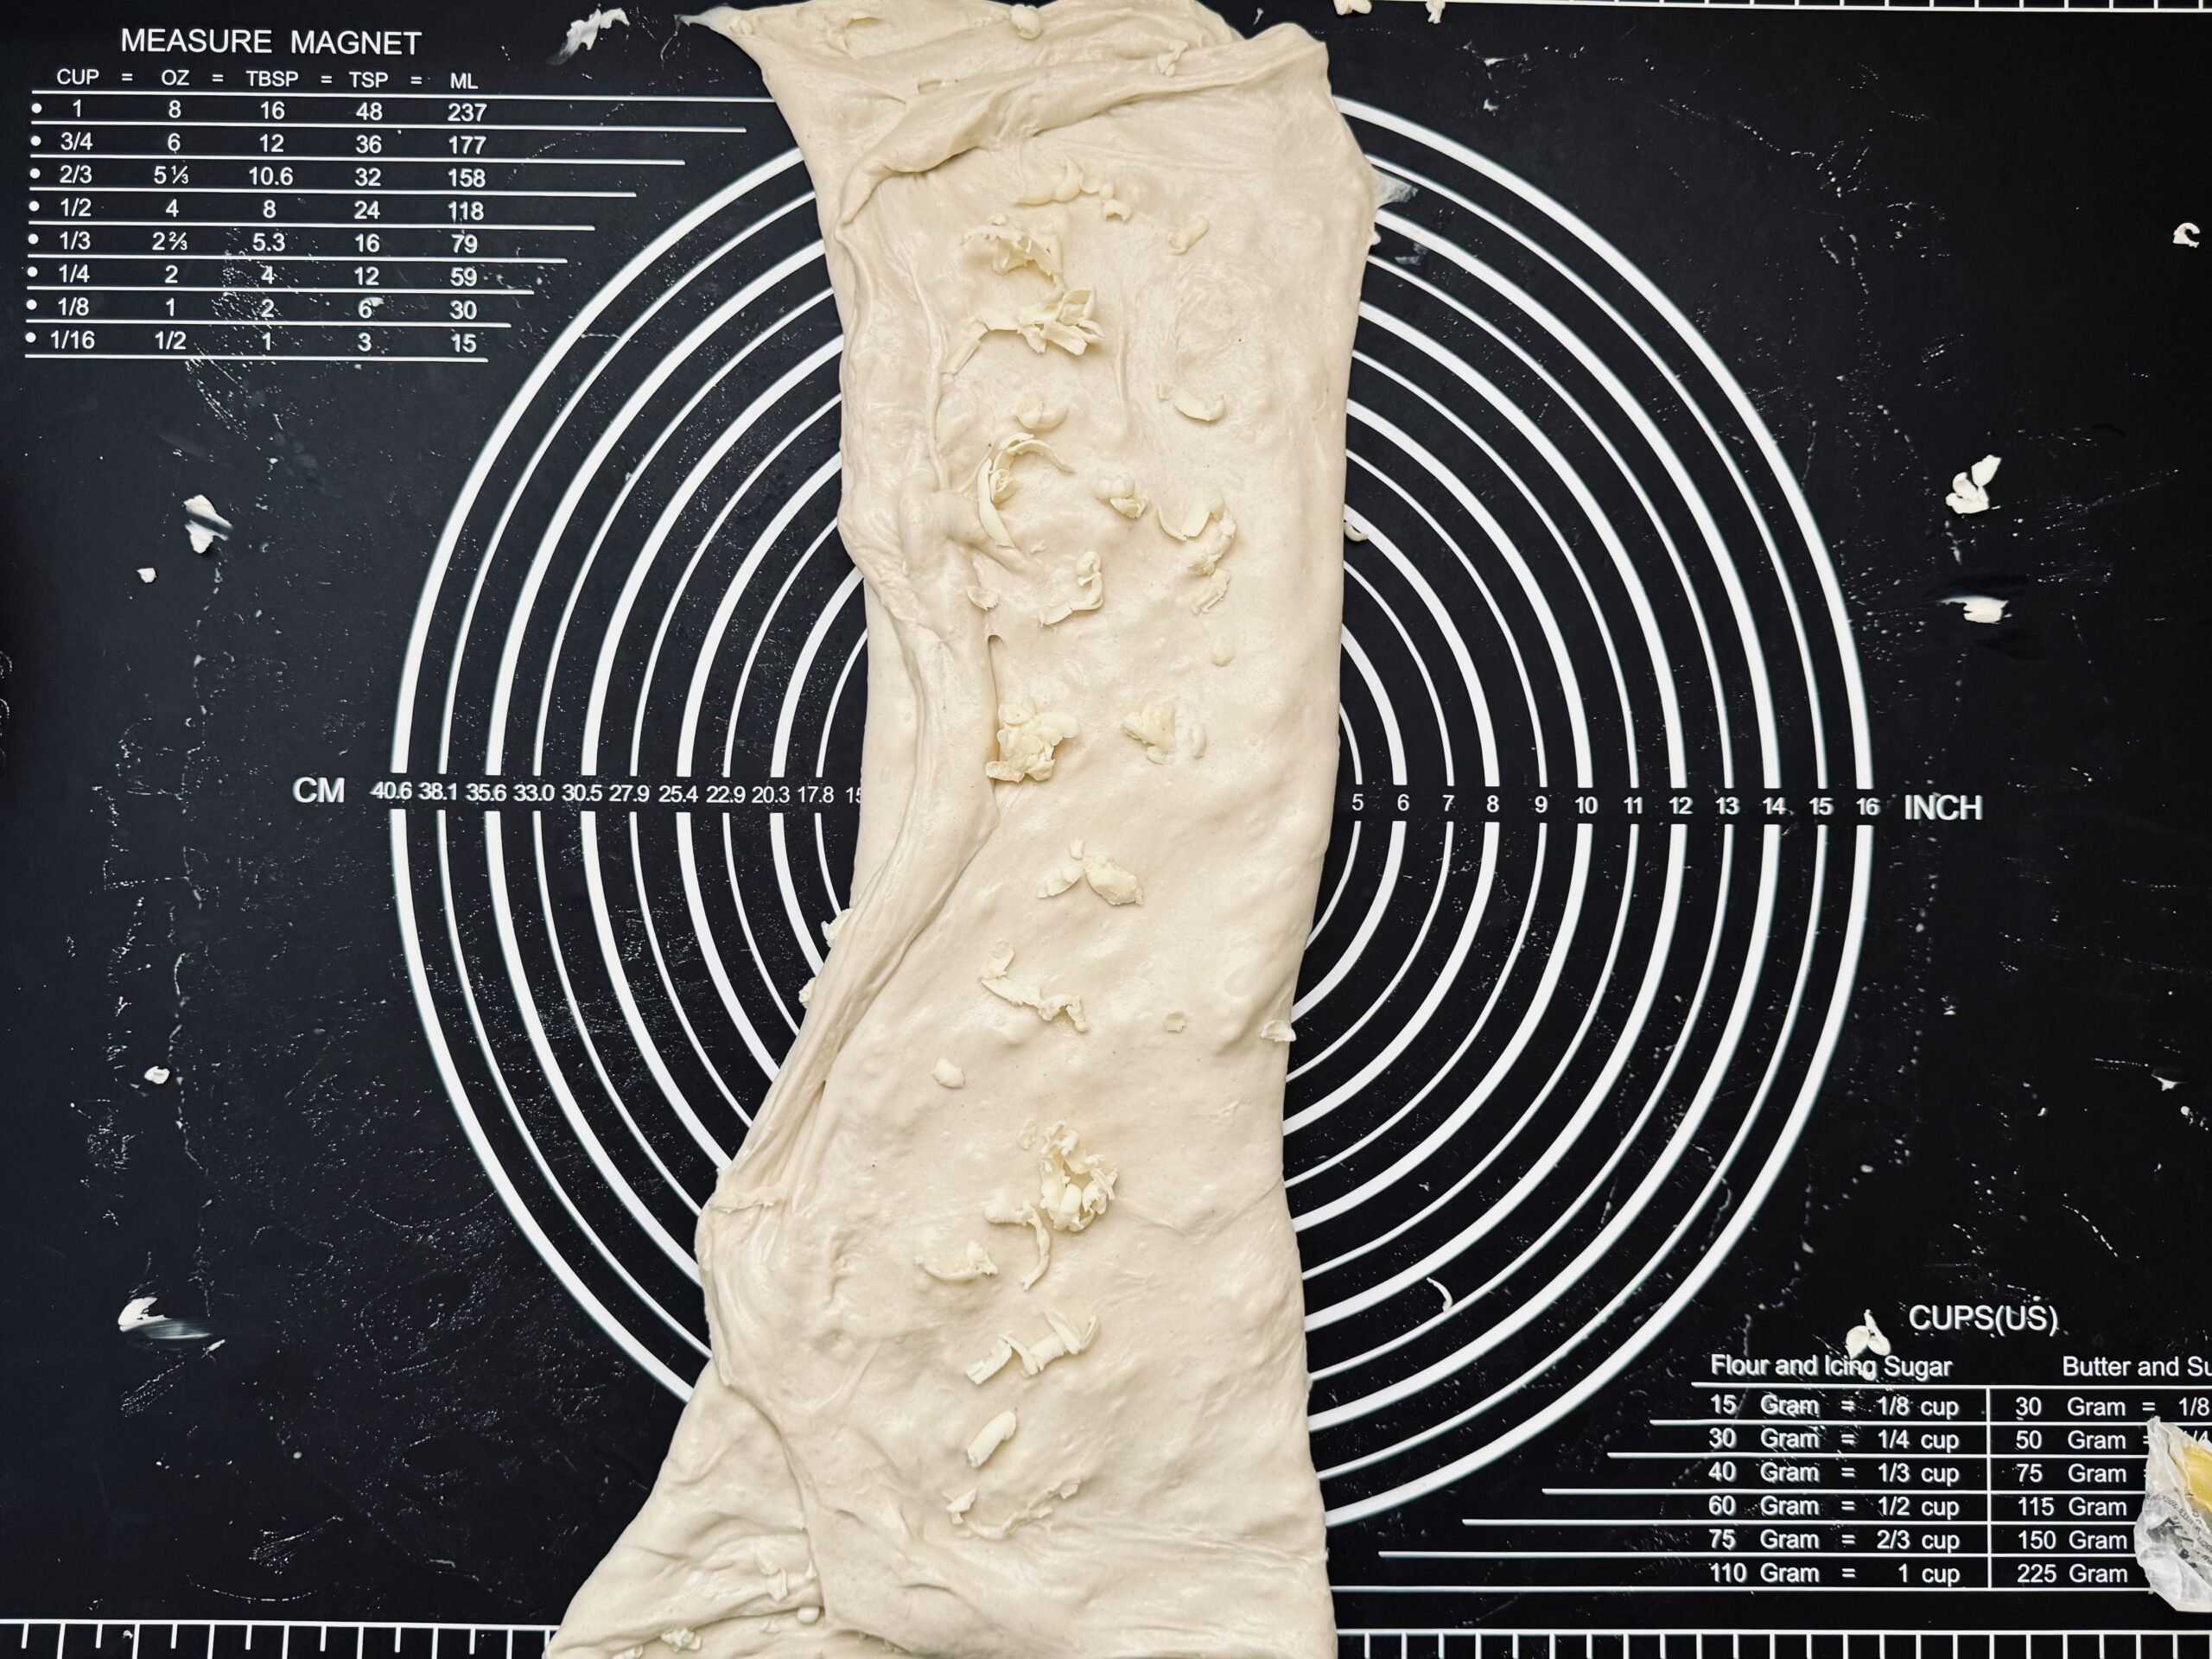 +4 photosBe careful not to stretch the dough too far. We want to avoid tearing, and at the same time, we need to prevent the olives and cheese from poking through when the dough is folded. Aim to keep the dough thick enough that it holds together without tearing during the fold.
 -
Coil Fold #1
After one hour, give the dough one set of coil folds to add structure and further disperse the olive mix. Rest another two hours (ambient temp 73-75 F; 22-23 C).
-
Coil Fold #2
After two hours, give the dough one more set of coil folds. Cover and rest until the dough has doubled in volume, or filled an 11-cup Pyrex container 2/3 of the way to the top, about four more hours (ambient temp 73-75 F; 22-23 C).
At 73-75 F (22-23 C), bulk fermentation should take approximately 7.5 hours in total (from the time the starter is added to the time the dough is shaped).
-
Shape & Refrigerate
Turn the dough out onto a lightly floured counter. Shape the dough using a gentle shaping method.
To do this, fold the left and right sides of the dough into the middle, like a letter, then gently roll the dough up and pinch the edges closed.
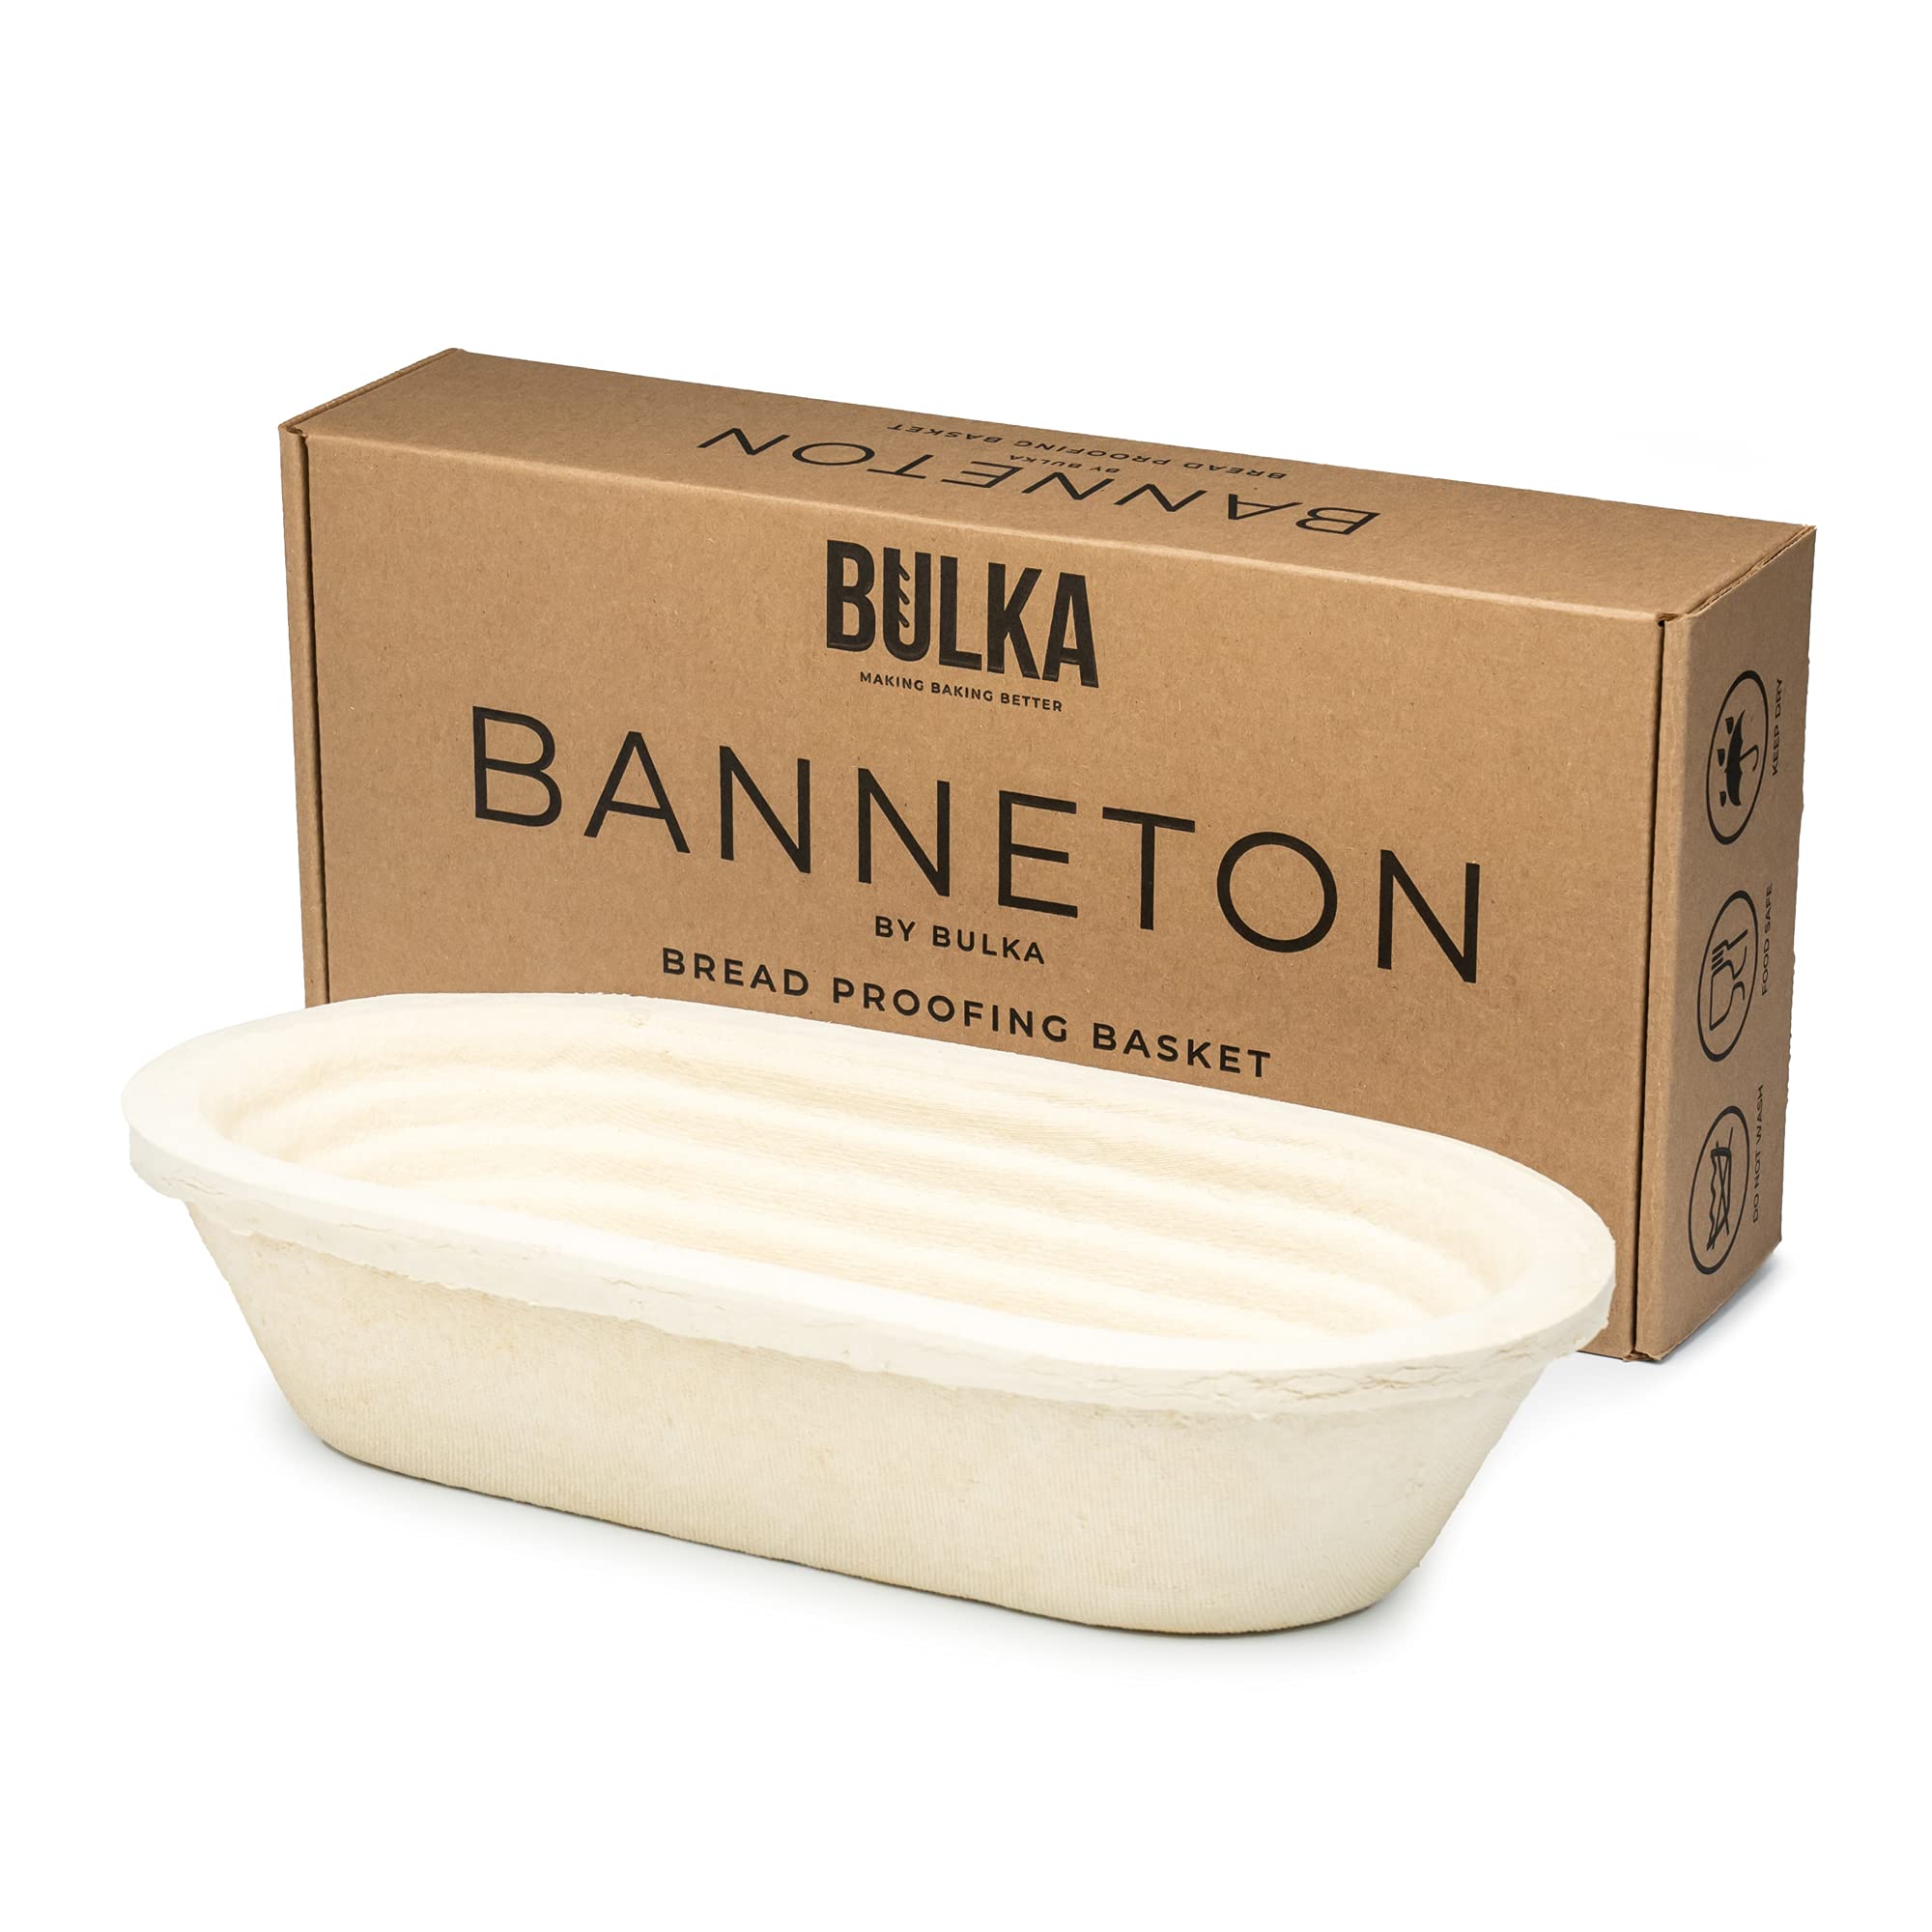
Dust the top with rice flour, then gently place the dough upside-down into a 500 g banneton (I use this wood-pulp banneton from Bulka). Pinch the seam closed and pop any air bubbles. Cover and refrigerate overnight at 38-40 F (3-4 C).
-
Preheat Oven
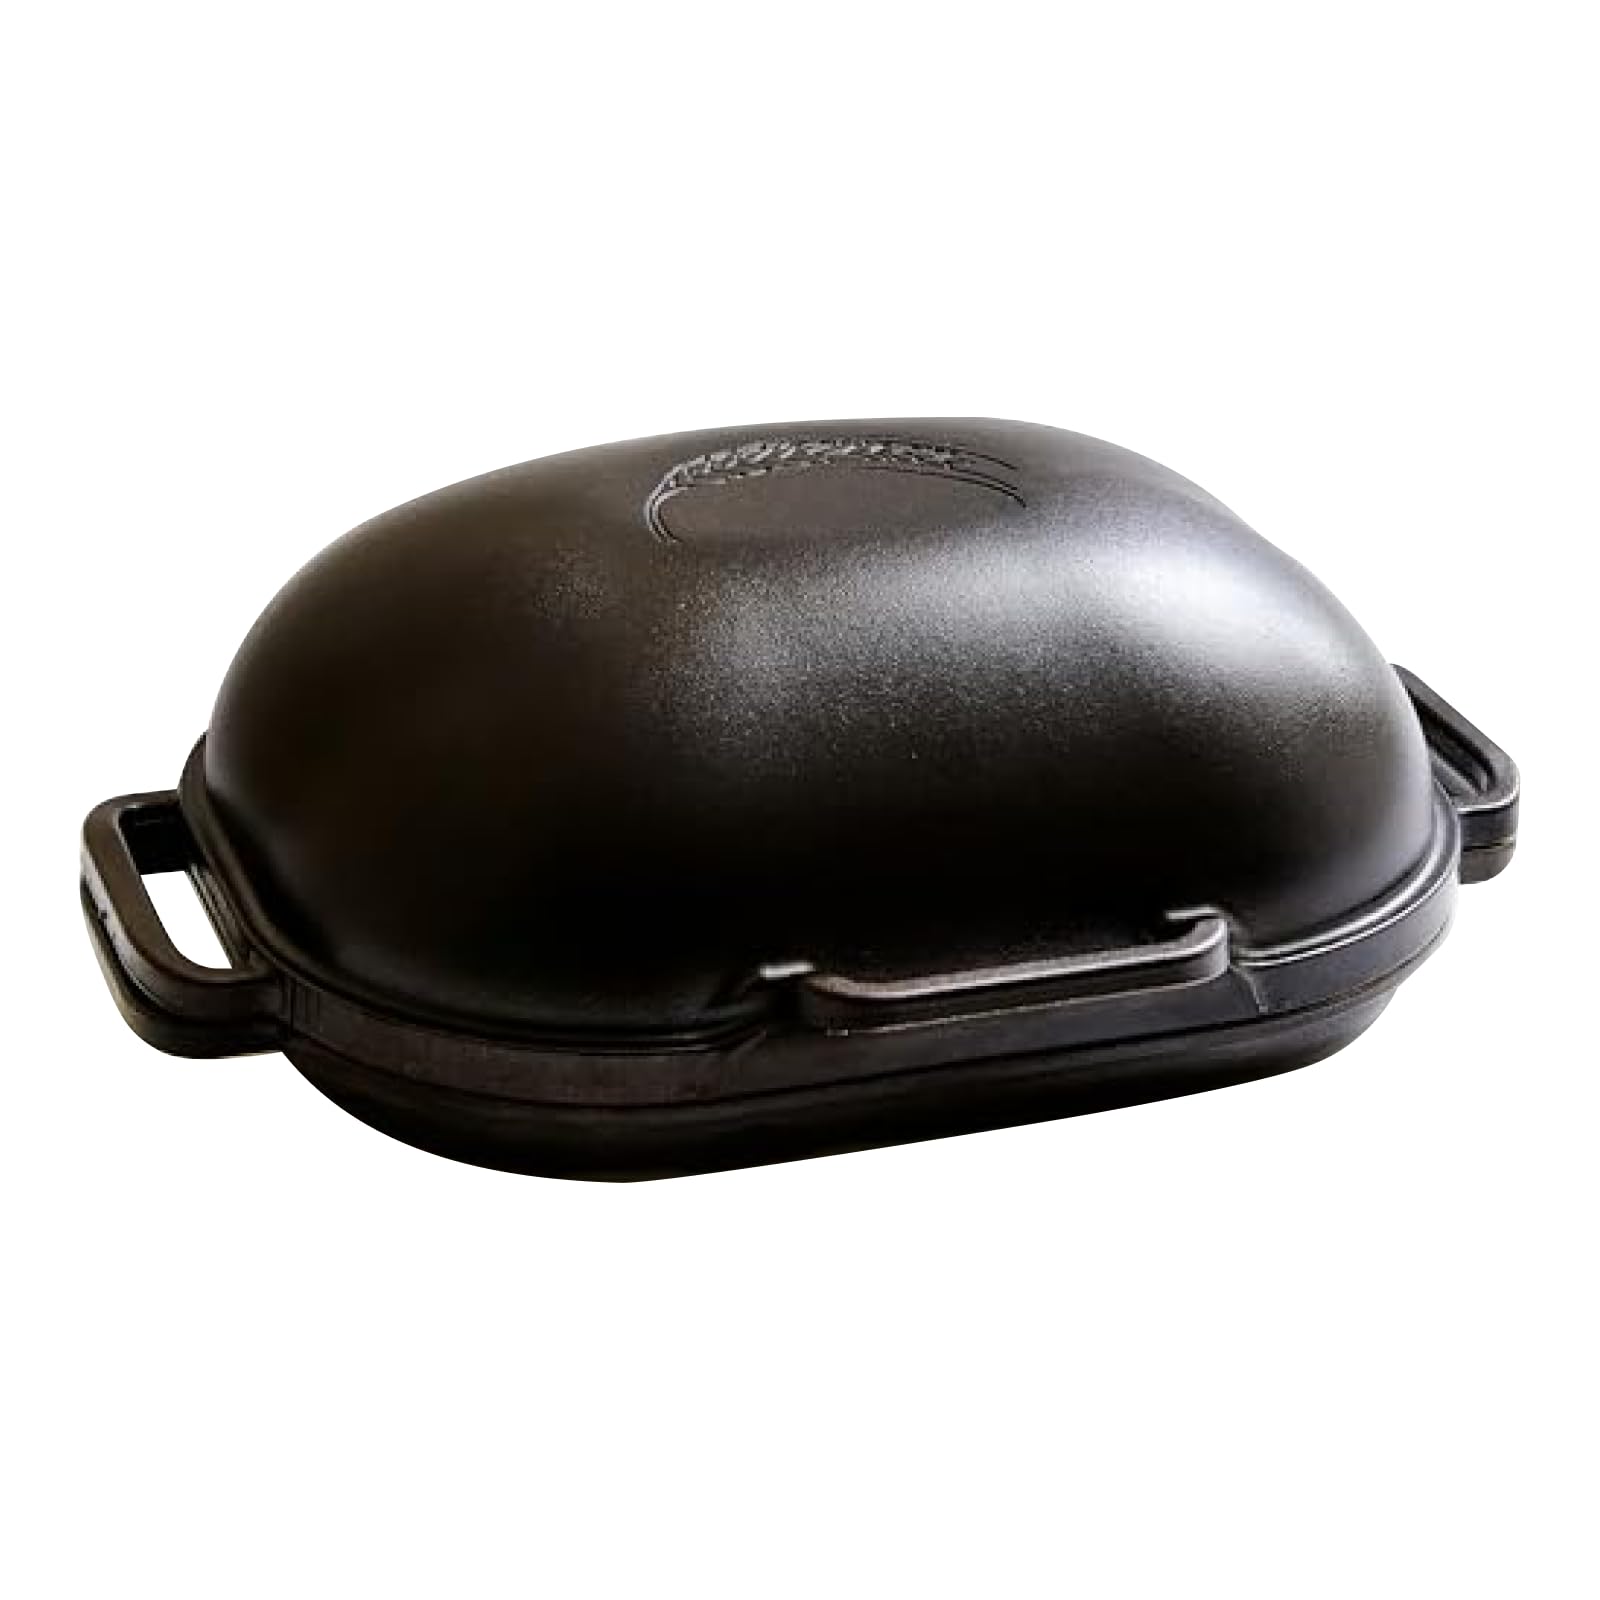
The next morning, preheat an oven to 450 F (230 C), with a cast iron Dutch oven inside, for one hour before baking the bread.
-
Score
After the oven is preheated, turn the dough out onto a silicone sling or parchment paper and score 1/4 to 1/2 inch deep. Optionally, spray lightly with water. Transfer to the Dutch oven and cover.
-
Bake
Bake the bread with the lid on for 20 minutes, then remove the lid and bake for 15-20 minutes more, until browned to your liking. The internal temperature should register at least 200 F (93 C).
-
Cool, Slice, Enjoy!
Cool the loaf for no less than 30 minutes before slicing. Enjoy!

You might need...


Affiliate Disclosure: This post contains Amazon affiliate links. This means when you buy a product using one of my links, I may receive a small commission at no cost to you. Thank you, in advance, for supporting my work.
Nutrition Facts
Servings 12
- Amount Per Serving
- Calories 142.76kcal
- % Daily Value *
- Total Fat 2.43g4%
- Saturated Fat 0.93g5%
- Cholesterol 4.45mg2%
- Sodium 162.58mg7%
- Potassium 42.77mg2%
- Total Carbohydrate 24.95g9%
- Dietary Fiber 1.07g5%
- Sugars 0.35g
- Protein 4.9g10%
- Vitamin A 7.83 IU
- Vitamin C 0.26 mg
- Calcium 42.53 mg
- Iron 2.03 mg
- Vitamin D 0.02 IU
- Vitamin E 0.24 IU
- Vitamin K 0.3 mcg
- Thiamin 0.28 mg
- Riboflavin 0.21 mg
- Niacin 2.53 mg
- Vitamin B6 0.04 mg
- Folate 15.51 mcg
- Vitamin B12 0.08 mcg
- Phosphorus 51.68 mg
- Magnesium 11.32 mg
- Zinc 0.47 mg
* Nutrition values are auto-calculated and should be used as an approximation only.
Notes
- Storage: Store in a Ziploc or bread bag on the counter for three to five days, or slice and store in the freezer. Toast to warm.


